Makeup Brushes Guide for Beginners: What Each Brush Does
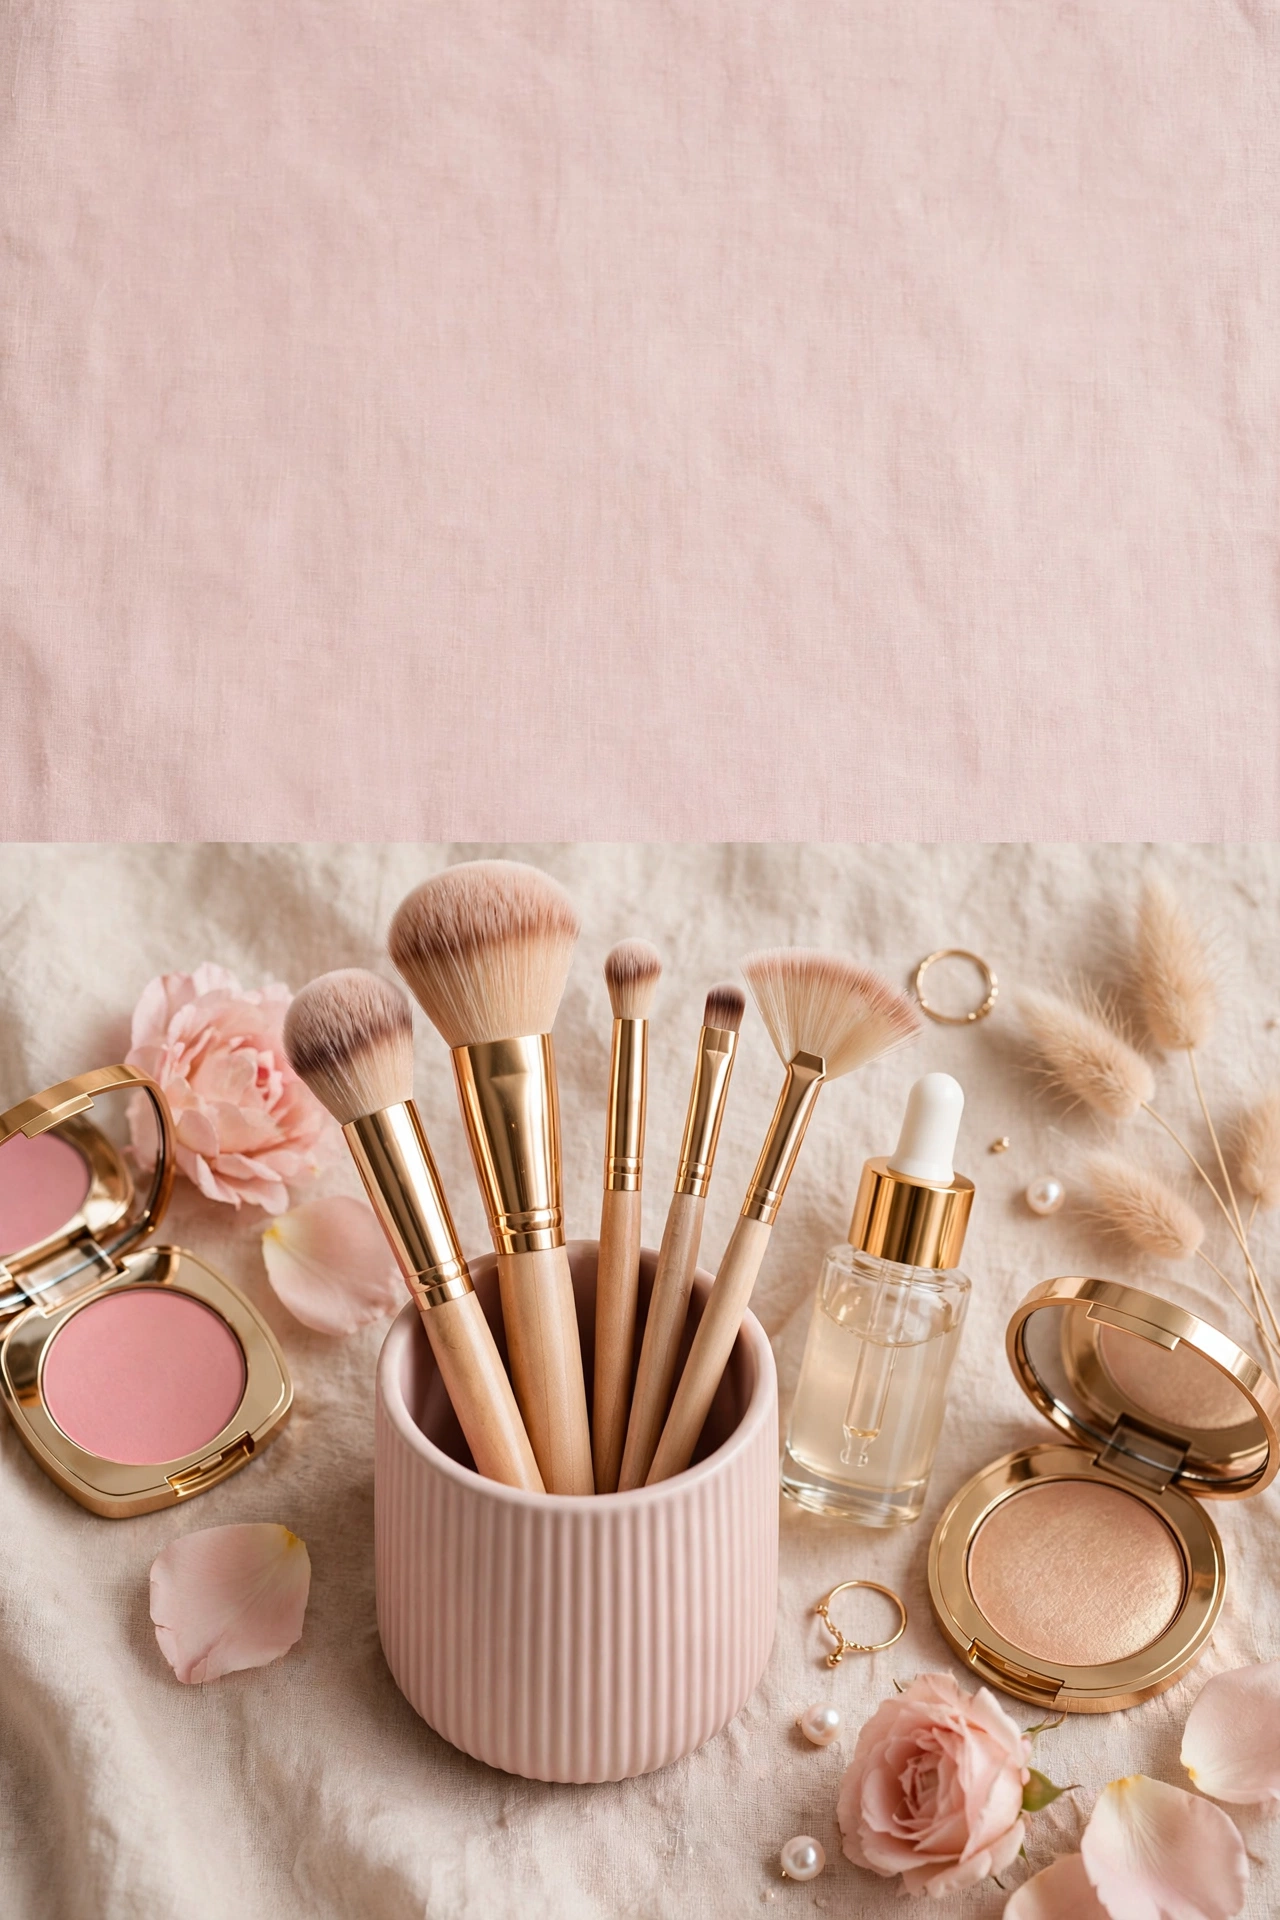
Standing in front of a 32-piece brush set can feel like staring at an artist’s toolbox with no instructions. Dense kabuki, flat paddle, fluffy dome, tiny pencil — they all look important, but which ones actually matter for your face?
Here’s the good news: most of those brushes are variations on a few core shapes, and once you understand what each shape is designed to do, the whole collection starts making sense. This guide breaks down every essential makeup brush — what it looks like, what it’s for, and exactly how to use it — so you can build a kit that works for you instead of guessing. If you’re still learning the steps themselves, start with our step-by-step makeup guide for beginners and come back here to match the right tool to each step.
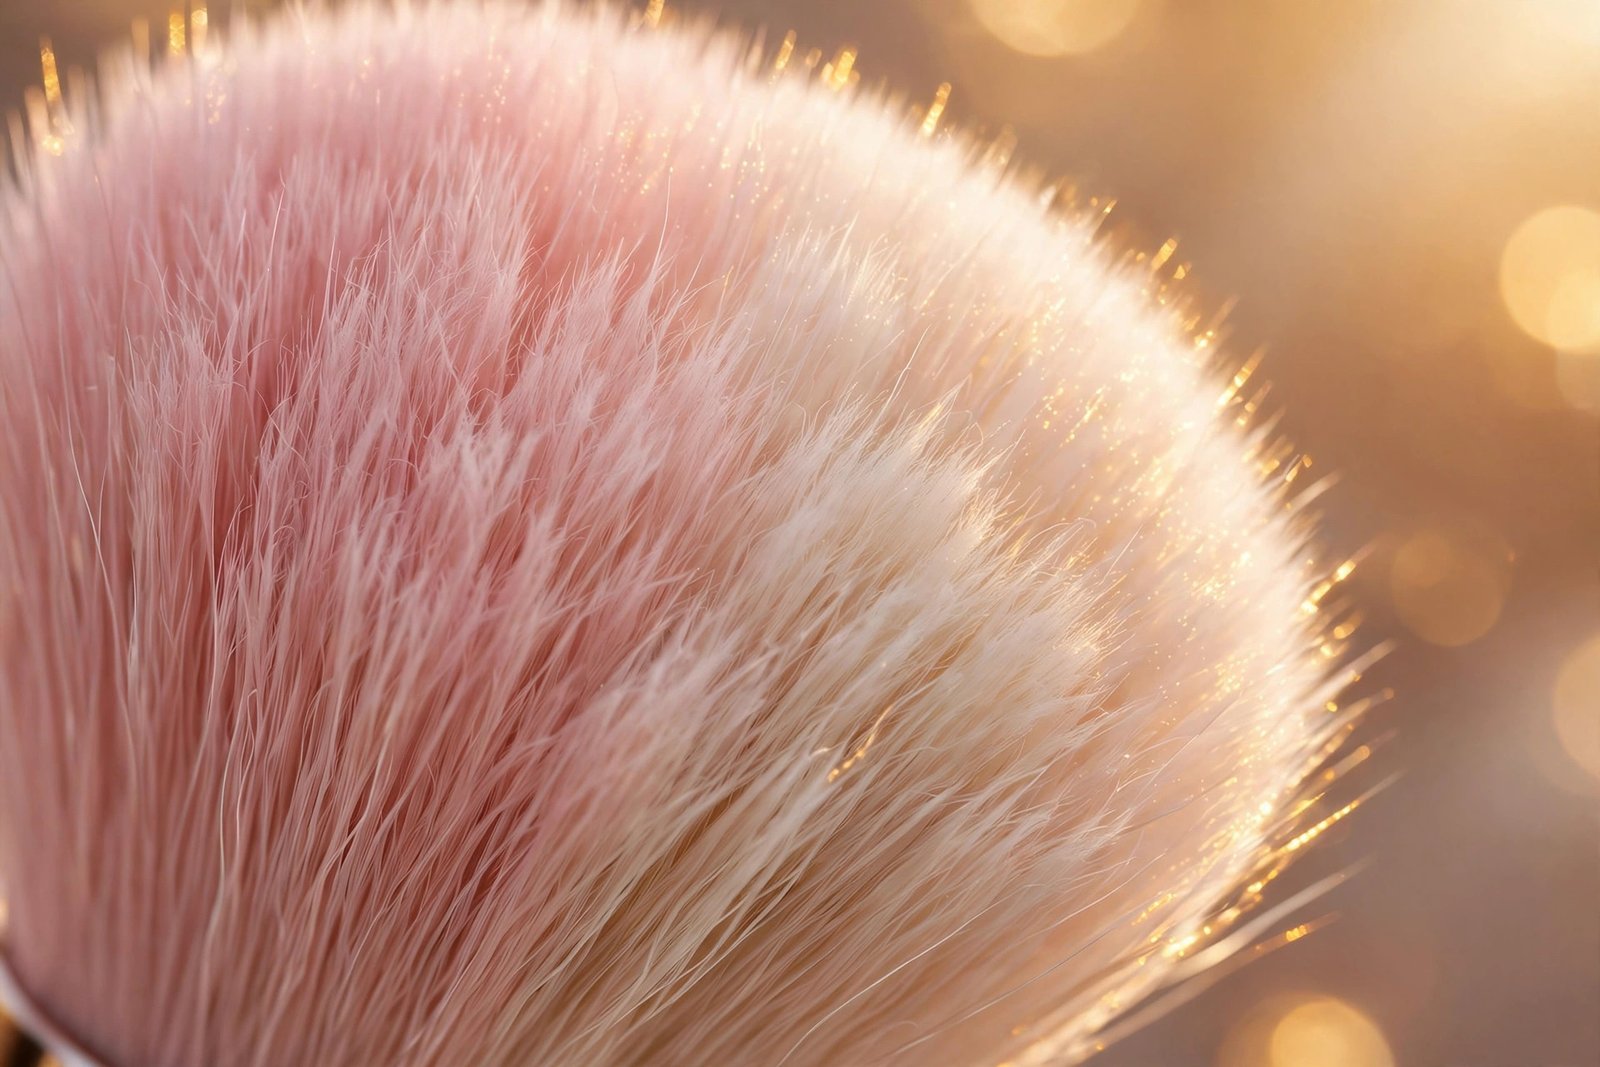
Why the Right Brush Actually Matters
A brush isn’t just a delivery device for product — the shape, density, and bristle type of a brush directly change how makeup looks on your skin. Makeup artists consistently point to three things a good brush does:
- Controls placement. A dense, flat brush packs foundation exactly where you want it. A fluffy, diffused brush sheers blush out so it melts instead of sitting in a stripe. Using a powder brush for foundation (or vice versa) gives you the wrong finish because the shape fights the formula.
- Controls coverage. Dense bristles pick up more product and deposit more of it; sparse, airy bristles pick up less and blend more. This is why the same foundation can look full-coverage with one brush and natural with another.
- Blends edges. Most beginner makeup mistakes — harsh contour lines, visible eyeshadow edges, patchy blush — are blending problems, not product problems. The right brush does the blending for you.
That said, technique matters more than price. An affordable brush used correctly will outperform an expensive one used wrong. Focus on shapes first, brands second.
Synthetic vs Natural Bristles: Which Should Beginners Choose?
Every brush you’ll encounter is made from one of two bristle types, and understanding the difference saves you from buying the wrong tool for the job.
Synthetic brushes
Synthetic bristles are made from man-made fibers (usually nylon or taklon). They don’t absorb product the way hair does, which makes them the better choice for creams and liquids — foundation, concealer, cream blush, cream contour, and lip products. Product sits on the bristles instead of soaking in, so you waste less and get a smoother, more even application.
Synthetic brushes are also:
– Cruelty-free and vegan by nature
– Easier to clean — dried liquid makeup washes out of synthetic fibers readily
– Less prone to shedding than cheap natural brushes
– Generally more affordable
Beginner verdict: Start with synthetic brushes. Almost every step of a beginner routine (foundation, concealer, cream products) works best with synthetic bristles, and they’re forgiving to clean while you’re still learning.
Natural brushes
Natural bristles come from animal hair (goat, squirrel, pony, and others). Their slightly porous surface grabs and holds powder beautifully, which makes them excellent for powder products — setting powder, powder blush, bronzer, and powder eyeshadow. They tend to give a softer, more diffused finish with powders than synthetics.
The trade-offs:
– They absorb product, which is bad for liquids and creams (wasteful, streaky)
– They’re harder to clean and take longer to dry
– Quality varies enormously — cheap natural brushes shed and feel scratchy
– They’re not vegan or cruelty-free
Beginner verdict: A couple of natural-hair brushes for powder steps are a nice upgrade later, but you can absolutely do your entire routine with quality synthetic brushes. Many professional makeup artists now work with fully synthetic kits.
What to look for when buying
Regardless of bristle type, check these three things before buying any brush:
- The ferrule (the metal band holding the bristles) should be firmly attached with no wiggle, and the bristles shouldn’t pull out when you tug gently.
- The bristles should feel soft against the back of your hand — not scratchy or prickly. Run your finger across them; they should spring back into shape.
- The handle should feel balanced and comfortable, not too heavy or too flimsy. You’ll be holding it at different angles, so comfort matters.
Face Brushes: The Foundation of Your Kit
Foundation Brushes
Foundation brushes come in three main shapes, and each gives a different finish.
Flat foundation brush (paddle brush): Recognizable by its flat, tongue-like shape with densely packed bristles. It’s designed to paint liquid foundation onto the skin in smooth strokes. Use it by applying small dots of foundation to your face first, then sweeping the brush outward in long strokes to spread and even it out. It gives medium-to-full coverage but can leave streaks if you don’t blend afterward — makeup artists often recommend finishing with a stippling motion or a damp sponge to erase lines.
Buffing brush (dense kabuki): Short, dense, and domed or flat-topped, the buffing brush works foundation into the skin in small circular motions. This “buffing” action melts product into the skin for a smooth, airbrushed finish with medium-to-full coverage. It’s one of the most beginner-friendly foundation tools because the circular motion naturally blends as it applies — streaks are almost impossible.
Stippling brush (duo-fiber brush): Has two layers of bristles — longer, sparser fibers on top and shorter, denser ones underneath, often with white tips. It picks up very little product and deposits it in a diffused, airbrushed layer. Use it with a light bouncing or stippling motion for the sheerest, most natural foundation finish. Ideal if you want light coverage or have textured skin that heavier application can emphasize.
Wondering whether a sponge might suit you better than any of these? Our comparison of beauty blender vs makeup brush breaks down which gives a better finish for different foundations and skin types.
How to use foundation brushes in general: Start with less product than you think you need — you can always add more. Work from the center of the face outward (nose, cheeks, forehead, chin), since the center usually needs the most coverage and the edges need the least. Blend down the jawline and slightly onto the neck so there’s no visible line. And remember that tools come after prep — primer goes on before any brush touches your face, so if you’re unsure what it does, read our guide on what makeup primer does and whether you need it first.
Concealer Brushes
Concealer brushes are smaller, flatter versions of foundation brushes, sized for precise work around the eyes, nose, and blemishes.
Flat concealer brush: Small, flat, and tapered — shaped like a miniature paddle. It’s designed to pat and press concealer onto specific spots: under-eye darkness, blemishes, redness around the nose. Use a pressing or tapping motion rather than sweeping, which can drag the product away from where you need it. For under eyes, apply in a triangle shape and tap to blend the edges.
Precision/detail concealer brush: Even smaller, sometimes with a pointed tip. Reaches into the inner corner of the eye, around nostrils, and onto individual blemishes without disturbing the surrounding makeup.
Look for synthetic bristles here — concealer is a cream or liquid product, and synthetic fibers keep it on the skin instead of absorbing it.
Powder Brushes
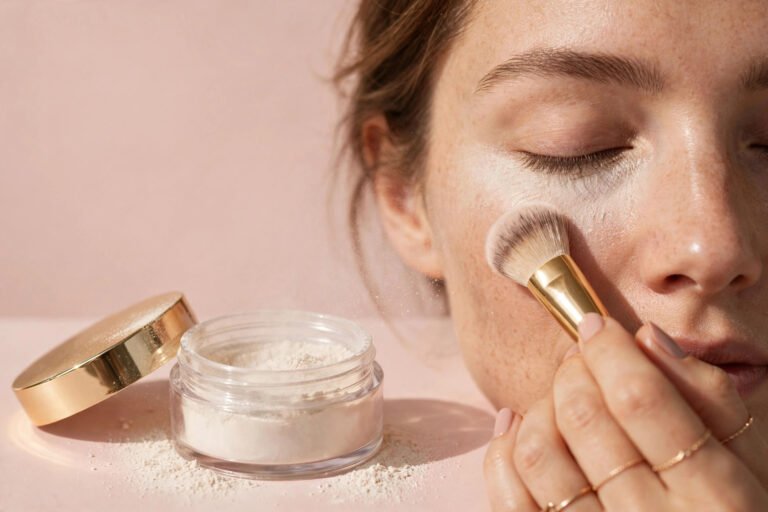
Large fluffy powder brush: Big, soft, and domed with loosely packed bristles. Its job is to dust setting powder lightly and evenly over the face. The loose packing is the point — it picks up a small amount of powder and distributes it sheerly, so you set your makeup without looking cakey. Swirl it in the powder, tap off the excess (always tap — excess powder is the main cause of a chalky finish), then sweep it over the face in large, light motions, focusing on the T-zone where shine appears first.
Pressed powder brush: Slightly smaller and denser than a loose powder brush. Used with pressed powder for touch-ups during the day. The denser bristles pick up enough product for targeted mattifying without disturbing the makeup underneath.
If you’re interested in the technique of pressing extra powder under the eyes and letting it “bake,” our guide on what baking in makeup is and how to do it explains the method step by step — the fluffy powder brush is the tool you’ll use to dust off the excess.
Blush Brushes
Angled or domed blush brush: Medium-sized, soft, and either angled or gently domed. The shape fits the curve of the cheek, making placement intuitive. Smile lightly, then sweep blush onto the apples of your cheeks and blend upward toward the temples. The angled cut is especially forgiving for beginners because it naturally guides the product along the cheekbone instead of depositing a round circle.
Cream blush brush: Smaller and denser than a powder blush brush, with synthetic bristles. Used to stipple cream blush onto the cheeks with a bouncing motion. You can also just use clean fingertips for cream blush — many makeup artists prefer fingers for creams and reserve brushes for powders.
The biggest beginner blush mistake is applying too much at once. Tap off excess, apply lightly, and build up. It’s easy to add more; it’s much harder to take away.
Contour and Bronzer Brushes
Angled contour brush: Dense, angled, and medium-sized — the angle is cut to fit precisely under the cheekbone. It’s designed for sculpting: applying contour powder or cream in the hollows of the cheeks, along the jawline, and at the temples. Use it to place the product, then blend thoroughly — unblended contour is the fastest way to look striped instead of sculpted.
Fluffy bronzer brush: Larger and softer than a contour brush, with a rounded or tapered shape. Bronzer goes where the sun would naturally hit — forehead, cheekbones, nose bridge, chin — so it needs a diffusing tool rather than a precise one. Sweep it in a loose “3” shape along each side of the face.
Contour placement takes practice to get right, so pair this brush with our beginner’s contouring tutorial to learn exactly where each shade goes.
Eye Brushes: Small Tools, Big Difference
Eye brushes are where beginners get the most overwhelmed, because the brushes are small and the differences between them look subtle. But each shape has a distinct job, and using the right one is what separates blended, professional-looking eyeshadow from muddy, uneven color.
Flat Shader Brush
What it is: A flat, densely packed brush with a straight or slightly rounded edge — like a small paintbrush.
What it does: Packs eyeshadow onto the lid with maximum color payoff. The dense, flat surface presses pigment onto the skin instead of dusting it around.
How to use it: Pat or press the shadow onto the eyelid rather than sweeping — pressing gives you the true color of the pan. Use it for the main lid color and for packing shimmer shades, which need pressing to show up. Dampening the brush very slightly before picking up shimmer or metallic shades intensifies them further.
Blending Brush
What it is: A fluffy, domed brush with loosely packed bristles — the workhorse of eyeshadow.
What it does: Diffuses and blends eyeshadow, softening harsh edges between colors. This is the brush that makes eyeshadow look seamless instead of stripey.
How to use it: After applying lid color, take a clean blending brush and use small windshield-wiper motions back and forth through the crease to melt the edges of each shade into the next. For a simple everyday look, you can do an entire eye with just two brushes: a flat shader for the lid and a blending brush for everything else. When switching between dark and light shades, wipe the brush on a clean towel or use a color-switch sponge so you don’t muddy your colors.
Detail / Pencil Brush
What it is: A small, narrow brush with a tapered or pencil-like tip.
What it does: Applies shadow precisely to small areas — the outer corner of the eye, along the lower lash line, and the inner corner highlight.
How to use it: Use it to deepen the outer V of the eye for dimension, to smudge shadow along the lower lashes (softer than eyeliner), and to place a light shimmery shade in the inner corner to brighten the eyes. Because it’s small and precise, it’s also useful for cleaning up edges: a detail brush with a touch of concealer sharpens the outer edge of eyeshadow into a clean line.
Eyeliner Brushes
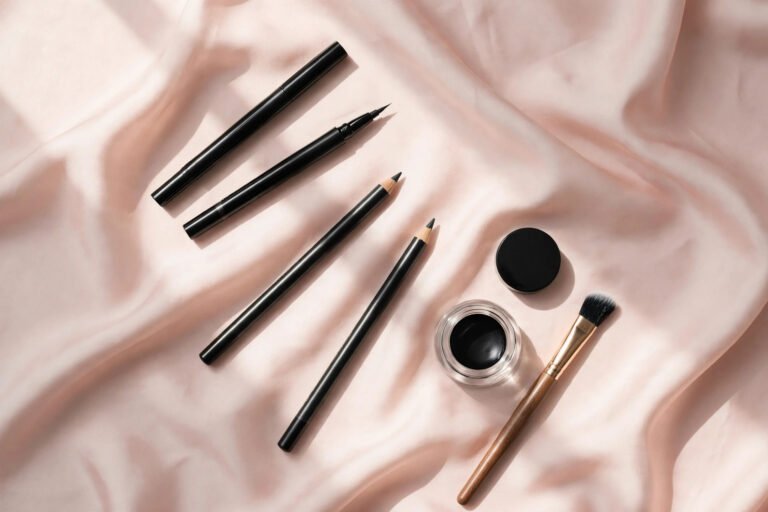
Angled eyeliner brush: Small, thin, and cut at a sharp angle. Designed for gel or cream eyeliner — the angled edge lets you stamp and drag a line along the lashes, and the sharp tip makes winged liner dramatically easier than a pencil. Rest your elbow on a table for stability, look down into a mirror, and draw in short connected strokes rather than one long line.
Fine pointed liner brush: Ultra-thin with a pointed tip, for precise liquid or gel lines and tightlining (lining right at the base of the lashes). Also useful for applying shadow as liner: dampen it, pick up a dark eyeshadow, and press along the lash line for a softer alternative to liquid liner.
Brow Brushes
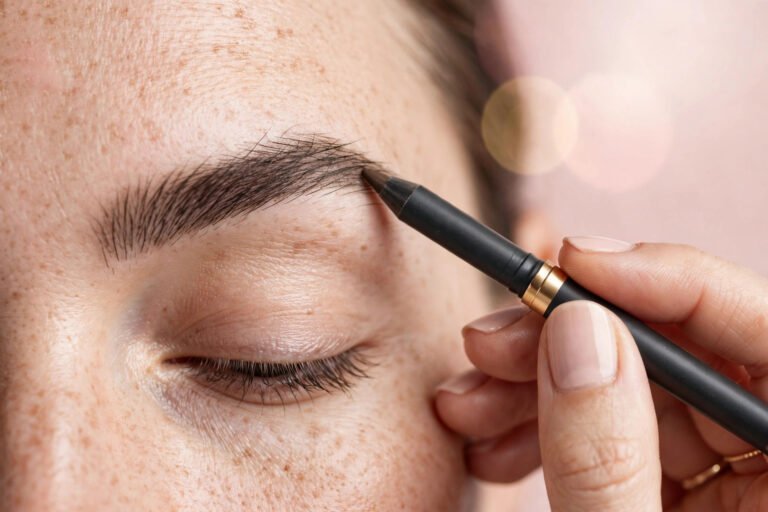
Angled brow brush: Small, stiff, and angled — similar to an angled liner brush but firmer. Used with brow powder, pomade, or wax to fill in sparse areas with hair-like strokes. The stiffness matters: it keeps the product controlled so you draw precise strokes instead of a block of color. Always use a light hand and follow your natural brow shape; filling slightly is flattering, overdrawing looks harsh.
Spoolie: The mascara-wand-like brush with bristles spiraling around a central stem. Every brow routine needs one. Use it to brush brow hairs upward before filling (so you can see the sparse spots), to blend and soften the product after filling (the difference between natural and drawn-on brows), and to tame unruly hairs with a touch of brow gel. Most brow pencils and gels come with a spoolie on the other end — if yours doesn’t, buy a standalone one; it’s one of the cheapest and most-used tools you’ll own.
Lip Brushes
What it is: A small, firm brush with a tapered or pointed tip, often retractable.
What it does: Applies lipstick and lip color with precision — clean edges, even coverage, and no bleeding outside the lip line.
How to use it: Pick up product from the bullet (or a palette) and outline the lips first, then fill in. A lip brush is especially useful for dark or bold shades, where a shaky edge is obvious, and for making lipstick last longer — the brush works color into the lip lines more thoroughly than a bullet swipe. For everyday nudes and sheer formulas, applying straight from the tube is perfectly fine; the brush earns its place with reds, berries, and deep shades.
Fan Brushes and Other Specialty Tools
Fan brush: Instantly recognizable — bristles fanned out into a thin, wide shape. It’s a whisper-light tool: the sparse bristles pick up the tiniest amount of product. Its main job is applying highlighter to the tops of the cheekbones, brow bone, and nose with a delicate touch that dense brushes can’t match. It’s also perfect for dusting away eyeshadow fallout from under the eyes without disturbing foundation, and for sweeping off the excess powder after baking.
Lash tools: Beyond the spoolie, an eyelash curler is the tool that makes the biggest visible difference to lashes before mascara. If yours pinches or you’re nervous about using one, our guide to using an eyelash curler without pinching walks through the technique that keeps it comfortable.
How Many Brushes Does a Beginner Actually Need?
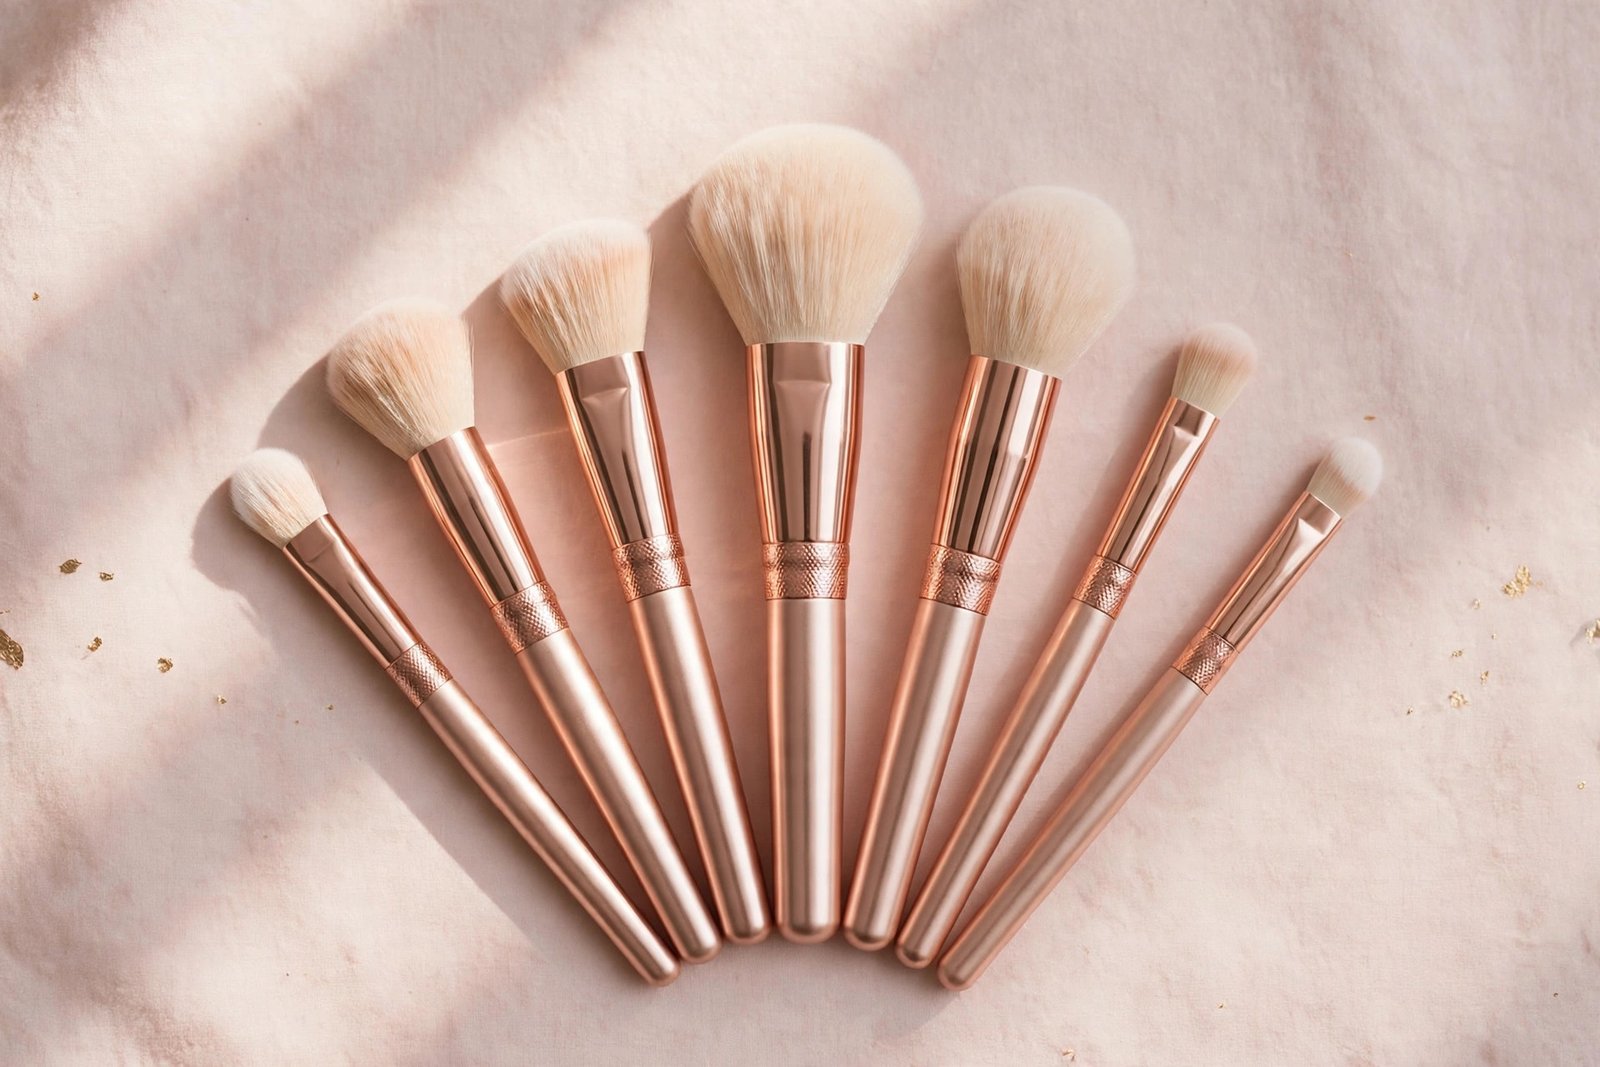
Not 32. Not even 15. A beginner can do a complete face with 8 to 10 brushes, and honestly, the first five on this list cover the essentials:
- Buffing foundation brush — foundation application and blending
- Flat concealer brush — under eyes and blemishes
- Large fluffy powder brush — setting powder
- Blush brush — blush (and bronzer in a pinch)
- Fluffy blending brush — all eyeshadow blending
- Flat shader brush — lid color
- Angled brush — brows, and eyeliner if you use gel liner
- Spoolie — brows and lash separation
- Detail/pencil brush — lower lash line and outer corner (nice to have)
- Lip brush — bold lip colors (nice to have)
If a brush set you’re considering contains these shapes, it’s a good starter set — ignore the rest until you know what you like. Many beginners find that a curated 8-to-12-piece synthetic set plus one fluffy powder brush covers everything for a year or more.
What about multitasking? You absolutely can use one brush for multiple steps if you wipe it between uses — a clean blush brush can apply bronzer, and a blending brush can apply transition shades and highlight. Just avoid using the same brush for cream and powder products without washing it in between, since the residue mixes formulas and muddies colors.
How to Hold a Makeup Brush (Yes, It Matters)
Where you grip the brush changes how much pressure you apply, and pressure changes the result:
- Hold it near the end of the handle for the lightest touch — best for powder, blush, bronzer, and blending eyeshadow. Gripping far from the bristles naturally reduces pressure, which gives you sheer, diffused application.
- Hold it in the middle of the handle for medium control — good for foundation buffing and general eyeshadow work.
- Hold it close to the ferrule (the metal band) for maximum precision — best for eyeliner, brow filling, lip lining, and detail work. The closer your grip, the steadier and more controlled your strokes.
Think of it like holding a paintbrush: choke up for detail, hold back for washes of color. Makeup artists recommend practicing the light grip first, because heavy-handed application is the single most common beginner mistake — most products are designed to be built up in thin layers, not applied in one heavy pass.
Brush Care: Cleaning and Storage
Dirty brushes are one of the most common causes of breakouts, muddy eyeshadow, and streaky foundation. Product buildup, oils, and bacteria accumulate in the bristles with every use, and they transfer straight back onto your skin.
How often to clean:
– Foundation and concealer brushes: once a week (liquid product breeds bacteria fastest)
– Eye brushes: once a week, or every few days if you wear eye makeup daily
– Powder, blush, and bronzer brushes: every 1–2 weeks
How to clean: Wet the bristles with lukewarm water (keep water away from the ferrule — water loosens the glue holding bristles in), swirl the brush on a gentle soap or dedicated brush cleanser in your palm, rinse until the water runs clear, gently squeeze out excess water, reshape the bristles, and lay flat or hang bristles-down to dry. Never dry brushes standing bristles-up while wet — water seeps into the ferrule and loosens it.
For the full method, including what to do about stained bristles and how to deep-clean, see our detailed guide on how to clean makeup brushes without ruining them.
Storage: Store brushes upright in a cup or holder, bristles up, in a dry place — not in a humid bathroom drawer where bacteria thrive. Keep them out of direct sunlight, which can fade and dry out bristles. If you travel, use a brush roll or guards that keep the bristles’ shape.
When to replace: Even well-cared-for brushes wear out. Replace a brush when it sheds persistently, the bristles stay splayed after washing, it feels scratchy, or the ferrule loosens. Quality synthetic brushes typically last 1–3 years with regular cleaning.
6 Beginner Mistakes to Avoid
- Using the wrong brush for the formula. Dense synthetics for liquids and creams; fluffy brushes (natural or synthetic) for powders. Swapping them gives you streaky foundation and patchy powder.
- Skipping the tap. Always tap or flick excess product off the brush before it touches your face — especially with powder, blush, and eyeshadow. Most “too much” makeup problems start with an overloaded brush.
- Sweeping when you should stipple (and vice versa). Foundation and concealer go on best with pressing, stippling, or buffing motions. Sweeping drags product around and leaves streaks. Powders and blush, on the other hand, want light sweeping — pressing them packs on too much.
- Using a dirty brush for a light color. Yesterday’s dark eyeshadow on your blending brush will muddy today’s light look. Wipe brushes on a clean dry towel between shades, and wash regularly.
- Pressing too hard. A death grip on the brush deposits too much product and creates harsh lines. Hold the brush loosely toward the end of the handle and let the bristles do the work.
- Buying a huge set before knowing what you use. Start with the 8–10 essentials, learn which steps you actually do daily, then add specialty brushes for the techniques you reach for most.
Frequently Asked Questions
Do I need expensive brushes as a beginner?
No. What matters is the shape, density, and softness of the bristles — not the price tag. Many affordable synthetic brush sets perform as well as luxury ones for everyday makeup. Makeup artists generally recommend spending the least on brushes when starting out and upgrading individual brushes later, once you know which shapes you reach for daily. One exception: a scratchy, shedding brush isn’t worth any price, so check softness and ferrule quality no matter the budget.
Can I apply makeup with my fingers instead of brushes?
For some steps, absolutely. Fingertips work well for cream blush, tinted moisturizer, and patting concealer — the warmth of your fingers even helps creams melt in. But fingers can’t match brushes for powder products, precise eyeshadow blending, or even foundation coverage, and they transfer oils onto the skin that can break down makeup faster. Most people end up with a hybrid: fingers for creams, brushes for everything else.
How do I stop my eyeshadow from looking muddy?
Muddiness almost always comes from one of three things: using a dirty brush carrying yesterday’s colors, over-blending different shades together until they merge into one gray tone, or applying dark shades with a brush that’s too big for the area. Fix it by wiping your blending brush on a clean towel between shades, using the flat shader to pack each color before blending only the edges, and keeping dark colors to the outer corner and crease with a smaller brush.
What’s the difference between a kabuki brush and a regular powder brush?
A kabuki is short, dense, and usually has a stubby handle — it’s designed to buff product into the skin for higher coverage. A regular powder brush is larger, fluffier, and longer-handled — designed to dust product lightly over the skin for sheer coverage. Use a kabuki when you want to build coverage (foundation, powder foundation); use a fluffy powder brush when you want to set without adding coverage.
Should I wet my brushes before using them?
Only for specific techniques. Dampening a flat shader brush slightly before picking up shimmer or metallic eyeshadow intensifies the color and reduces fallout. A damp beauty sponge (not a brush) is the standard tool for foundation if you prefer a dewy finish. But never use a wet brush with powder products as a general rule — water makes powder clump and go patchy, and repeatedly wetting natural-hair brushes shortens their life.
How long do makeup brushes last?
With regular cleaning, quality synthetic brushes last one to three years; well-made natural brushes can last even longer. Replace any brush that sheds persistently, won’t hold its shape after washing, feels scratchy against your skin, or has a loose ferrule. If a brush starts irritating your skin or your makeup suddenly applies unevenly, the brush — not your technique — is often the culprit.
Key Takeaways
- Brush shape determines the result: dense, flat brushes pack on product for coverage, while fluffy, loose brushes diffuse product for a blended finish.
- Beginners should start with synthetic brushes — they work best with the liquid and cream products that dominate a starter routine, and they’re easier to clean.
- You only need 8–10 brushes to do a complete face: foundation buffer, concealer brush, powder brush, blush brush, blending brush, shader brush, angled brush, and a spoolie.
- Match the motion to the product: stipple, press, or buff liquids and creams; sweep powders lightly. Always tap off excess before the brush touches your face.
- Hold the brush toward the end of the handle for light, diffused application and close to the ferrule for precise detail work.
- Clean foundation and concealer brushes weekly and powder brushes every one to two weeks — dirty brushes cause breakouts and muddy color.
- Learn the core shapes before buying a big set, then add specialty brushes only for the techniques you actually use.
Love this? Pin it for later!