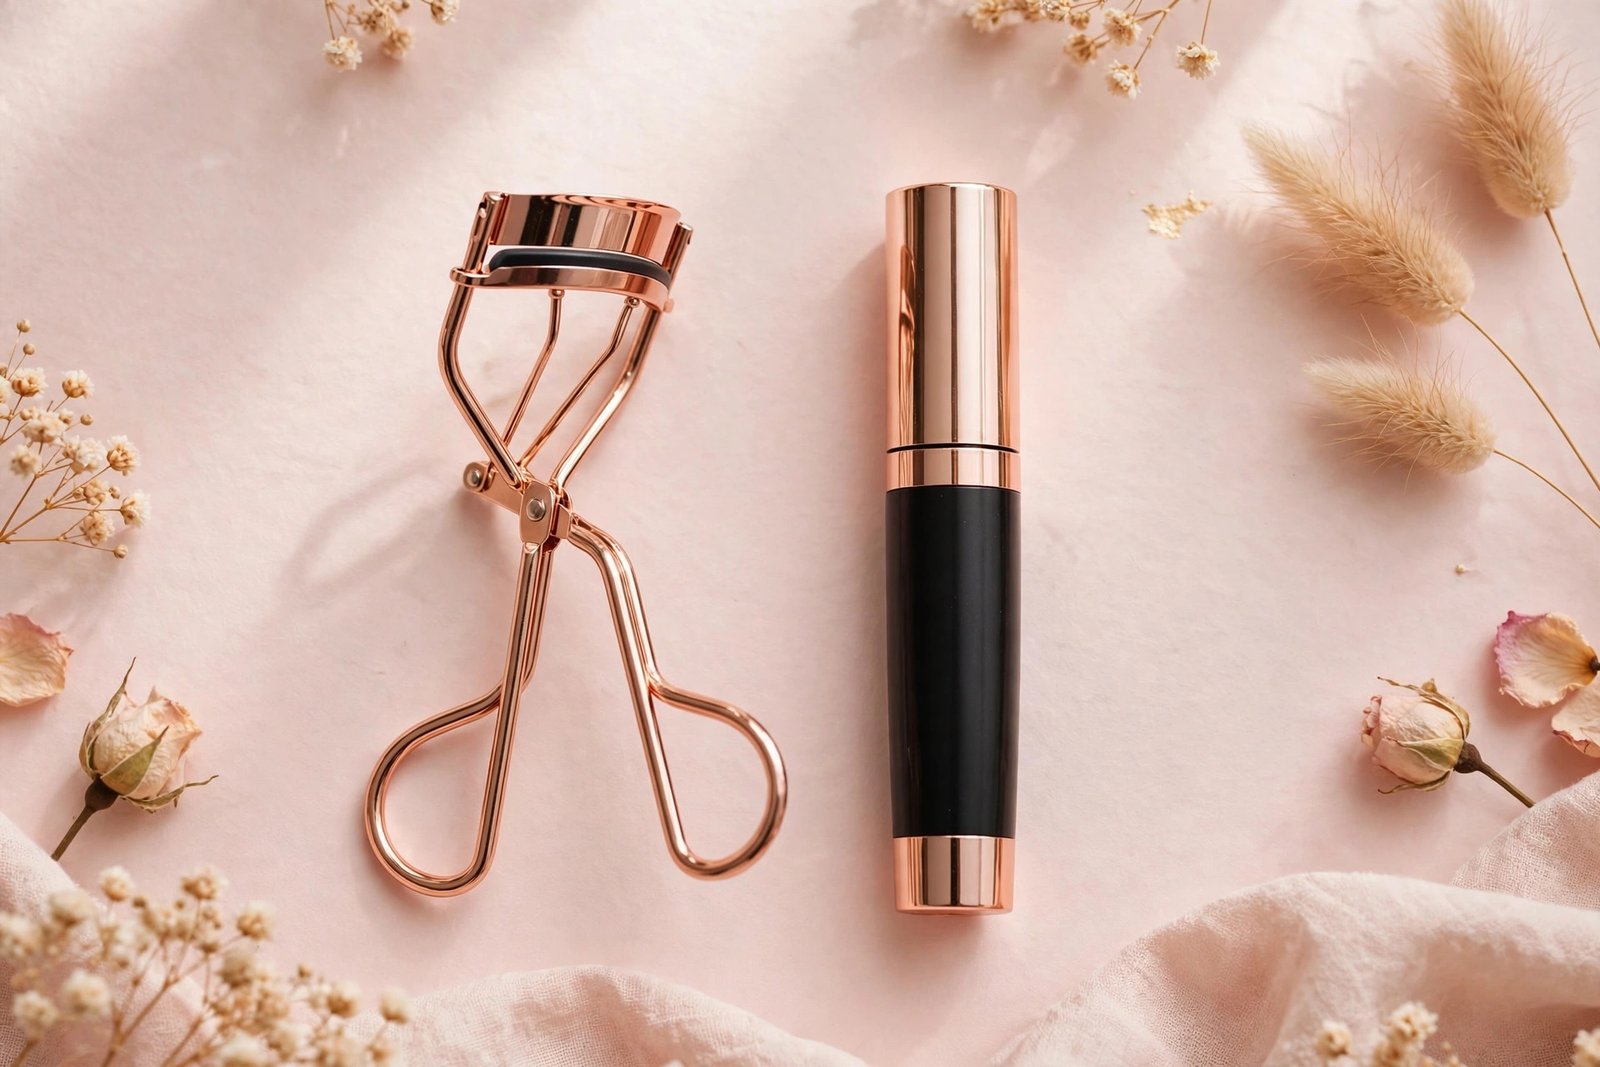
How to Use an Eyelash Curler Without Pinching (Beginner Guide)
An eyelash curler is one of the simplest tools in a makeup bag — and one of the most intimidating. That clamping metal frame gets uncomfortably close to the eyelid, and anyone who has pinched themselves with one remembers it. The good news: pinching is almost always a technique problem, not a tool problem. Once you learn the right positioning and pressure, an eyelash curler becomes a painless 30-second step.
If you’re building out your beginner kit, this guide pairs well with the complete beginner’s guide to makeup brushes and tools, where the eyelash curler sits alongside the other essential tools every new makeup user should know.
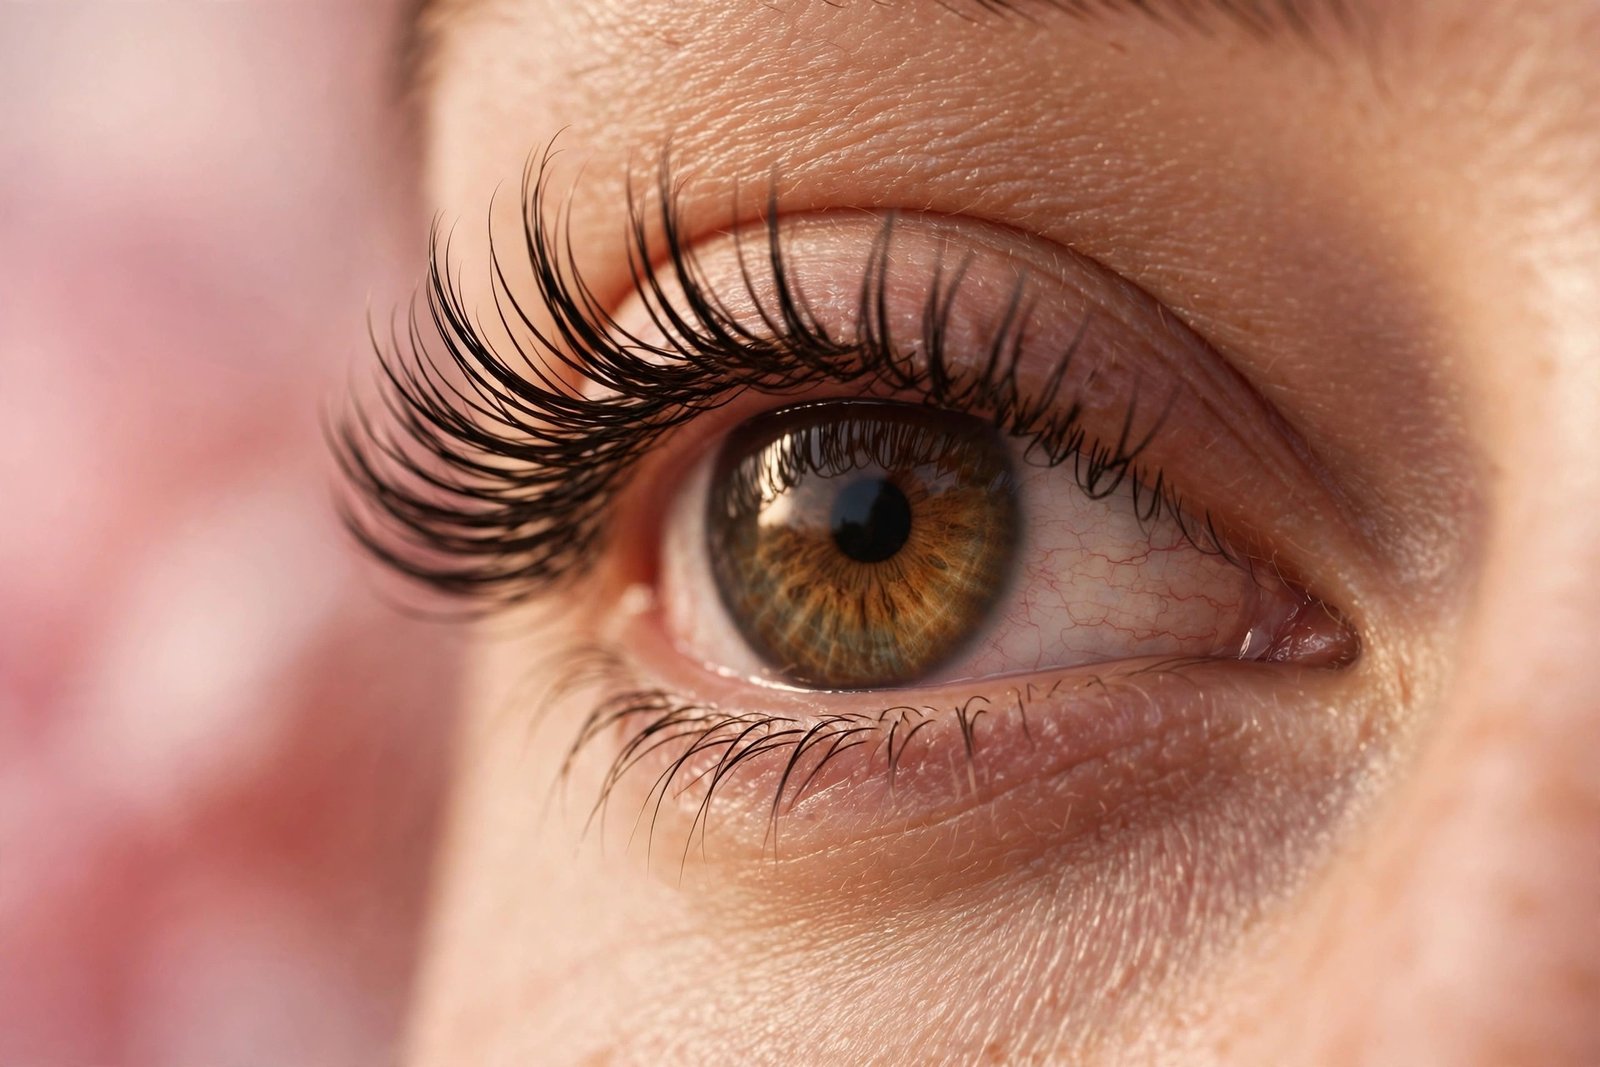
How an Eyelash Curler Actually Works
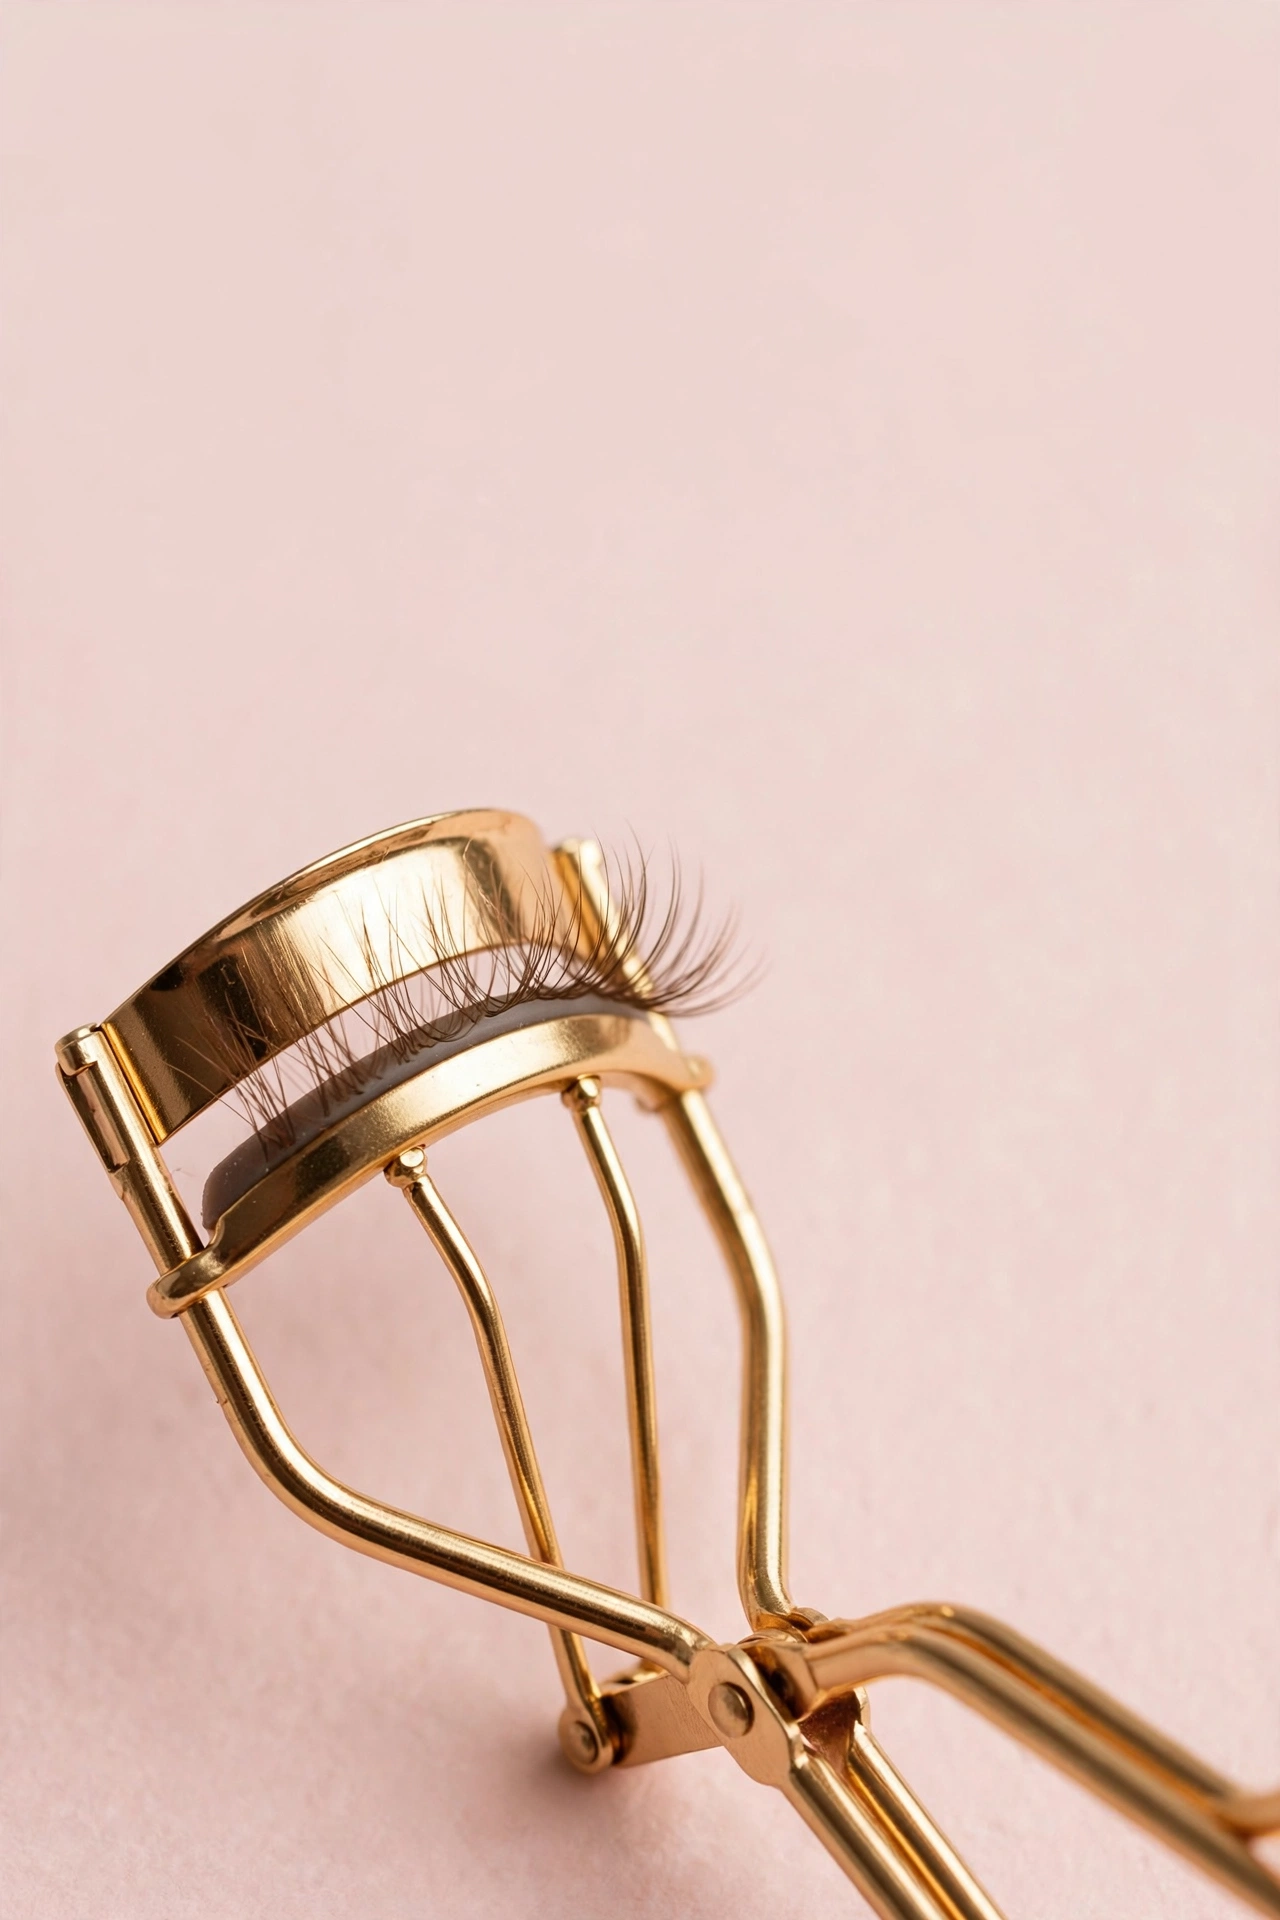
Before touching one to your face, it helps to understand the mechanics. A standard eyelash curler has three parts:
- The frame: the metal arch that fits around your lashes and against the lash line.
- The clamp (upper bar): the part you squeeze down with the handles. It presses lashes against the lower pad.
- The rubber pad: the soft strip seated in the lower frame. This is what the clamp presses against — it distributes pressure so the metal doesn’t cut or crease your lashes.
When you squeeze, the clamp presses the lashes upward against the pad, bending them into a curve. The rubber pad is the unsung hero of the whole process: a fresh, soft pad means even pressure and a smooth curl. A worn, hardened, or split pad means uneven pressure, pinching, and crimped lashes — so checking the pad before use is one of the easiest things you can do to make curling comfortable.
Most curlers also have an open-frame design, meaning you can see through the top as you position it. That’s deliberate — it lets you line up your lashes and confirm the skin of your eyelid isn’t inside the frame before you squeeze.
The Right Technique: Step-by-Step
Follow these steps in order the first few times until the motion becomes second nature.
Step 1: Start with Clean, Dry Lashes
Curl before mascara, not after — more on why in the section below. Make sure lashes are clean and completely dry. Wet or product-coated lashes slip inside the curler and are harder to position precisely, which is exactly what leads to pinching.
Hold the curler with the handles facing outward (away from your face) and the opening facing your lashes. The curve of the frame should follow the curve of your eye — the frame’s arc matches the shape of the lash line.
Step 2: Position at the Base of the Lashes
This is the step where pinching happens, so take your time.
- Look straight into a mirror (not down or up). Keeping your eyes level makes it easier to see the lash line.
- Open the curler fully and slide it toward your eye, upper frame above the lashes.
- Rest the lower frame as close to the lash line as possible without touching the skin of the lid. You want the lashes to thread up through the open frame.
- Look through the opening to check that all your lashes are inside the frame and no eyelid skin is caught. This visual check is the single most important anti-pinching habit.
The frame should sit right at the base of the lashes — the roots — not on the lid itself. Beginners tend to push too deep toward the eye in an effort to get “all” the lashes, and that’s the number one cause of pinching. The roots are enough.
Step 3: Squeeze Gently — Never Slam
Once positioned, close the handles with a slow, controlled squeeze. Think “firm handshake,” not “pliers.”
- One gentle pulse of 5–10 seconds at the base is all you need.
- Never pump the handles rapidly — quick repeated clamping increases the chance of catching skin.
- If it hurts or you feel skin caught, open the curler immediately and reposition. Pain is feedback, not part of the process.
The clamp should press the lashes against the pad and hold them there. If your lashes are slipping, you’re either squeezing too hard (forcing them out of position) or the lashes weren’t fully threaded through the frame before you closed.
Step 4: Move Up the Lash (Optional “Walking” Technique)
For a natural curve rather than a sharp angle, you can curl in two or three positions:
- First squeeze: at the base of the lashes (the roots), 5–10 seconds.
- Release fully, then reposition the curler about a third of the way up the lashes.
- Second squeeze: gentler than the first, 3–5 seconds.
- Optional third squeeze: near the tips, very light pressure, 2–3 seconds.
Releasing fully between positions matters — dragging the curler up the lashes while still closed pulls and breaks lashes. Open, move, reposition, check, squeeze.
Step 5: Repeat on the Other Eye
Resist the temptation to curl the same eye twice at maximum pressure. One round at each position is plenty. After both eyes are done, apply mascara to lock in the curl — more on the right pairing in a moment.
Why Pinching Happens (and How to Avoid It)
Pinching is the curler catching skin from the eyelid (or occasionally the brow bone area) between the clamp and the pad. It happens for a handful of predictable reasons:
Pushing the curler too close to the eye. The most common cause. The frame only needs to sit at the lash roots — if you feel it pressing into the lid, you’ve gone too far. Back it off a millimeter or two and look through the opening to confirm.
Squeezing with the handles at an angle. If the curler isn’t parallel to your lash line, one end of the frame sits deeper than the other, and the deep end can catch skin. Line the frame up evenly along the whole lash line before closing.
A worn or damaged rubber pad. When the pad hardens, cracks, or splits, the clamp’s pressure becomes uneven, and skin can get trapped in the gaps. Most manufacturers sell replacement pads — replacing them every 3–6 months is cheap insurance against pinching. If the pad has a visible groove worn into it, it’s overdue for replacement.
Curling with shaky positioning. Holding the curler and squeezing in one hurried motion means you never check what’s inside the frame. The two-step rhythm — position, check through the opening, then squeeze — removes almost all the guesswork.
Using a curler that doesn’t fit your eye shape. Curlers come in different frame widths and curves. A frame that’s too flat for deep-set eyes, or too wide for smaller eyes, will press against skin no matter how carefully you position it. If pinching is constant despite good technique, trying a different curler shape is a legitimate fix, not user error.
Heated vs. Regular Eyelash Curlers
You’ll see two types of curlers on the market, and they work differently:
| Regular (manual) curler | Heated curler | |
|---|---|---|
| How it works | Mechanical clamp bends lashes | Heated comb or wand shapes lashes |
| Best for | Most lash types, daily use | Very straight or stubborn lashes, touch-ups over mascara |
| Pinching risk | Low with correct technique | Essentially none (no clamp) |
| Learning curve | Requires positioning practice | Easier to position, but requires battery/charging |
| Cost | Inexpensive | More expensive |
Regular curlers are the classic choice and the focus of this guide. They’re cheap, don’t need charging, and give a strong curl when used correctly. The tradeoff is the positioning learning curve.
Heated curlers look more like a mascara wand or a small comb with a heated edge. Because there’s no clamp, there’s nothing to pinch you — you simply brush the heated surface upward through the lashes. They’re a genuinely good option for anyone who finds the clamp psychologically nerve-wracking, or for lashes that refuse to hold a curl. The tradeoff: they take longer, need charging or batteries, and the heat requires common sense — let it reach full temperature first, and don’t press it against skin.
If straight, stubborn lashes are the reason you’re curling in the first place, pair whichever curler you choose with the right formula afterward — the best mascaras for straight lashes that won’t hold a curl are designed to set and support a curled shape all day.
Should You Curl Before or After Mascara?
Always curl before mascara. This is one of the few near-universal rules in makeup, and the reasons are practical:
- Clean lashes position cleanly. Mascara makes lashes sticky and clumpy, so they don’t thread through the curler frame evenly — which means more repositioning and a higher chance of catching skin.
- Wet mascara + clamp = broken lashes. The clamp can stick to wet mascara and pull lashes out when you open it. Even dry mascara makes lashes brittle, and the pressure of the clamp can snap them.
- Mascara residue ruins the pads. Mascara transfers onto the rubber pad and the clamp, building up gunk that makes the next curl uneven and the curler harder to clean.
Apply mascara after curling to “set” the shape — the mascara coats and holds the curl in place. One coat on the curled lashes, and you’re done.
The one exception: heated curlers are generally safe to use over dry mascara for touch-ups, since there’s no clamp pressing on coated lashes. Even then, wait until the mascara is fully dry.
How to Clean Your Eyelash Curler
A clean curler curls better and pinches less. Residue on the pads and clamp creates uneven pressure — the same uneven pressure that catches skin.
After every use:
– Wipe the rubber pad and clamp with a dry tissue or cotton pad to remove any skin oils or product.
Once a week (or whenever you see buildup):
1. Dampen a cotton pad with rubbing alcohol or a gentle makeup remover.
2. Wipe the clamp, the rubber pad, and the inner frame thoroughly.
3. Let it air-dry completely before storing.
Pad replacement:
– Check the pad monthly. If it’s cracked, split, hardened, or has a deep groove, replace it.
– Replacement pads are inexpensive and usually sold in multi-packs by the curler’s brand.
– Never use a curler with a missing pad — the bare metal clamp will crease and damage lashes.
For a broader routine around keeping your tools in good shape, see the tool-care section of the makeup brushes and tools guide for beginners — clean tools apply makeup better and last longer across the board.
Common Beginner Mistakes
- Curling after mascara. Coated lashes stick to the clamp and break. Always curl on bare, dry lashes.
- Pumping the handles rapidly. Fast repeated squeezing is the express route to pinching. One slow, controlled squeeze per position.
- Skipping the visual check. Not looking through the frame to confirm no skin is caught is the single biggest avoidable cause of pinching.
- Pushing the frame into the lid. The curler sits at the lash roots, not against the eyeball. If you feel lid pressure, back off.
- Squeezing too hard. More pressure doesn’t mean more curl — it means crimped lashes and a higher pinching risk. Firm and controlled is enough.
- Using a curler with a worn pad. A cracked or grooved pad applies pressure unevenly. Replace pads every 3–6 months.
- Curling the same spot twice at full pressure. If the curl didn’t take, reposition slightly or adjust your mascara — not more force.
Frequently Asked Questions
Does an eyelash curler damage your lashes?
Not when used correctly on clean, dry lashes with a curler in good condition. Damage happens from curling after mascara (lashes stick and snap), squeezing too hard, or using a curler with a worn pad. Replaced pads and gentle pressure keep lashes intact.
Why do my lashes look straight again an hour after curling?
Lashes that won’t hold a curl are usually very straight, fine, or coated in heavy oils. Curling in multiple positions (base, middle, tips) gives a more lasting shape, and applying a curl-holding mascara right after curling helps set it. For persistently stubborn lashes, a heated curler or a waterproof mascara formula tends to hold longer — see the best mascaras for straight lashes that won’t hold a curl for options designed for exactly this problem.
Can you use an eyelash curler with lash extensions?
No — mechanical curlers can crush, bend, or pull out lash extensions, and the pressure can damage the adhesive bond. If you have extensions, skip the curler entirely. If your natural lashes are straight and you’re considering extensions partly for the curl, that’s worth discussing with your lash technician.
How often should you replace an eyelash curler?
The curler itself can last years if the metal frame stays intact and aligned. The rubber pads are the consumable part — replace them every 3–6 months, or sooner if cracked or grooved. If the frame bends or the hinge loosens so the clamp no longer meets the pad evenly, replace the whole curler.
Why does my eyelash curler pinch even when I’m careful?
Persistent pinching despite good technique usually means a fit problem: the frame curve doesn’t match your eye shape, or the pad is worn and applying uneven pressure. Try a replacement pad first (cheapest fix). If pinching continues, a curler with a different frame width or curvature — or a heated curler with no clamp at all — is the next step.
Key Takeaways
- An eyelash curler works by pressing lashes against a rubber pad — the pad’s condition matters as much as your technique, so replace worn pads every 3–6 months.
- Position the frame at the lash roots (never pressed into the lid), look through the opening to confirm no skin is caught, then squeeze with one slow, controlled motion.
- Pinching almost always comes from pushing too close to the eye, squeezing at an angle, or a worn pad — all fixable with the position-check-squeeze rhythm.
- Always curl before mascara on clean, dry lashes; curling after mascara risks breakage and gums up the pads.
- Heated curlers are a legitimate pinch-free alternative for anyone nervous about the clamp or dealing with stubbornly straight lashes.
- Curled lashes can transfer mascara to skin if the formula isn’t right — if smudging is your issue, see how to stop mascara smudging under your eyes for the fix.
Love this? Pin it for later!