How to Remove Gel Nails at Home Without Damaging Your Nails
Removing gel polish the right way is just as important as applying it. Gel nails look flawless for weeks, but when it’s time to take them off, peeling or scraping them away strips layers off your natural nail — leaving them thin, weak, and painful. The good news: you can remove gel nails safely at home with the same foil-and-acetone soak method salons use, as long as you follow the steps properly.
This guide walks you through everything — what you’ll need, the exact soak method, how long to leave the foil on, how to push the gel off without gouging your nails, and what to do afterward so your nails recover well. If you’re new to the full gel cycle, start with our complete guide to doing gel nails at home for application basics, then come back here when it’s removal day.
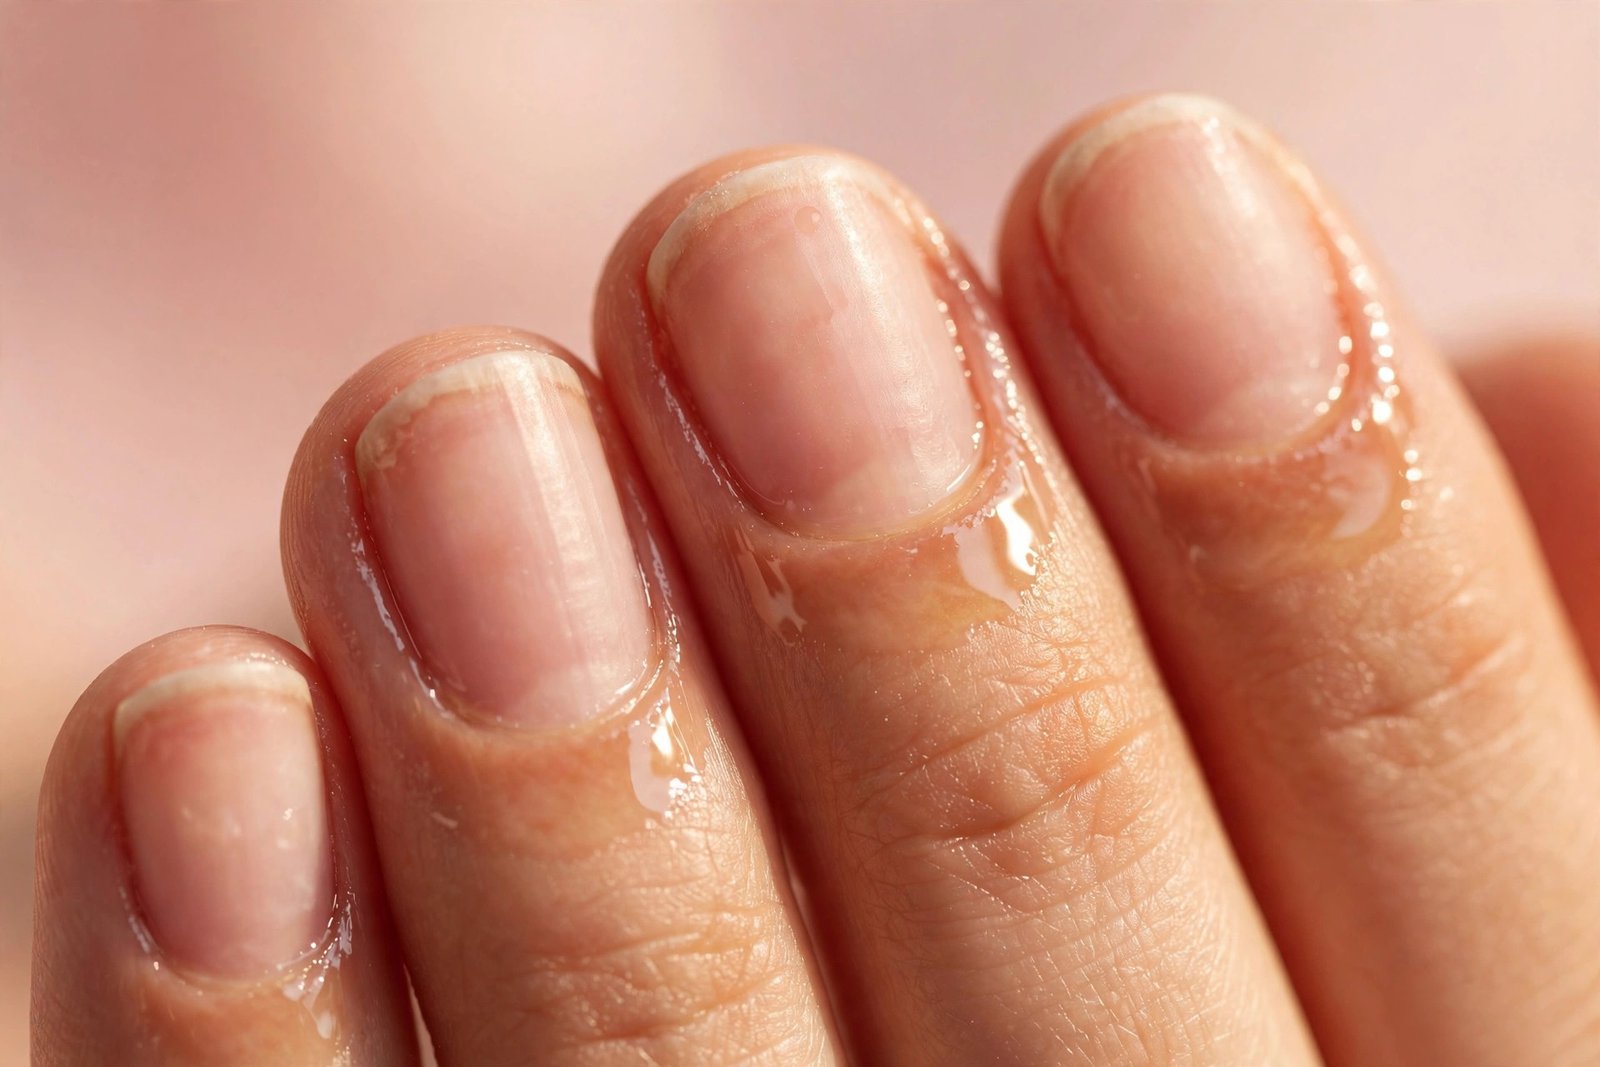
Why Proper Removal Matters (Never Peel)
This is the single most important rule of gel removal: never peel or pick gel polish off your nails. When you peel gel, it doesn’t just take the polish — it takes the top layer of your natural nail plate along with it. That’s why nails look thin, flaky, and white-spotted after being peeled, and why they feel sore.
Gel polish is designed to bond tightly to the nail through chemical adhesion (and the base coat layer). Acetone breaks that bond by softening the gel. Peeling skips the chemistry and uses brute force instead, ripping off keratin layers that take months to fully grow out.
Proper acetone removal, on the other hand, keeps the nail plate intact. Nails may feel slightly dry afterward — acetone is dehydrating — but the structure of the nail itself stays healthy. That difference is everything when it comes to long-term nail health.
What You’ll Need
Gather these before you start. Having everything ready keeps the process smooth and minimizes how long your skin sits in acetone.
- 100% pure acetone (not regular nail polish remover — most standard removers are too weak to dissolve cured gel efficiently)
- Coarse nail file (100/180 grit) for breaking the top coat seal
- Aluminum foil cut into 10 squares (roughly 3×3 inches each)
- Cotton balls or cotton pads cut in half, or lint-free nail wipes
- Cuticle oil and petroleum jelly to protect the skin around your nails
- Orangewood stick or metal cuticle pusher for gently removing softened gel
- Nail buffer (fine grit) for smoothing afterward
- Hand lotion or moisturizer for post-removal care
- Optional: a bowl of warm water for the optional warm-soak speed-up trick
The Foil and Acetone Soak Method: Step by Step
This is the professional method, adapted for home. Take your time — rushing is what leads to damage.
Step 1: File off the shiny top coat
Using your coarse nail file, gently file the surface of each nail until the shiny finish is gone and the gel looks dull and matte. You don’t need to file down to the nail — just break the seal of the top coat so the acetone can penetrate. Filing through the top layer can cut your soak time significantly.
Be gentle: file in one direction rather than sawing back and forth, and stop as soon as the shine disappears. Filing too aggressively thins the nail underneath.
Step 2: Protect the surrounding skin
Acetone is drying to skin as well as nails. Dab a thin layer of petroleum jelly or cuticle oil around each nail — on the cuticles and the skin of the fingertips. This creates a barrier that limits dryness and irritation during the soak.
Step 3: Soak the cotton and wrap in foil
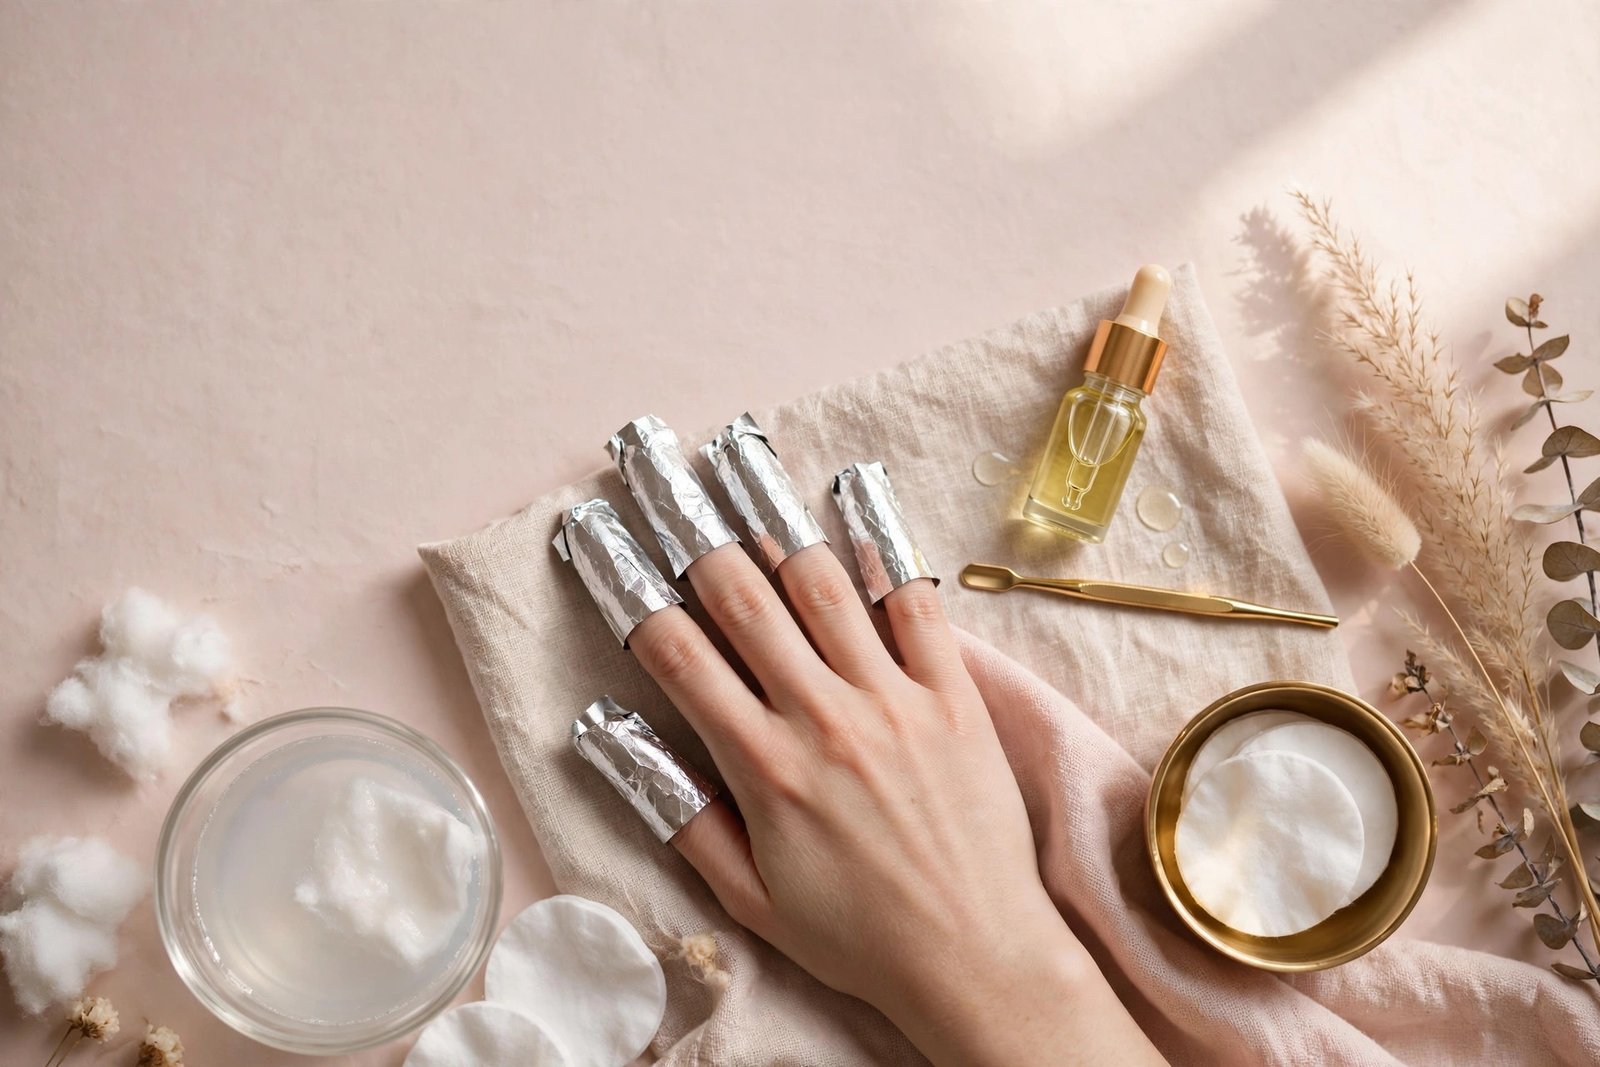
Soak half a cotton ball or cotton pad in pure acetone and place it directly on the nail. Then wrap the fingertip tightly in a square of aluminum foil, shiny side in, molding it snugly around the finger. The foil holds the acetone-soaked cotton in place and traps warmth, which helps the acetone work faster.
Repeat for all ten nails. It helps to do one hand at a time — five foils at once is much more manageable than ten, and you’ll still have one hand free.
Step 4: Wait — don’t peek early
Leave the foils on for 10 to 15 minutes. Resist the urge to unwrap and check after five minutes — each time you remove the foil, the acetone evaporates and you lose progress. Set a timer and relax.
For the warm-soak trick: rest your foiled hand in a bowl of warm (not hot) water during the wait. Gentle warmth speeds up the chemical breakdown and can shave several minutes off the soak.
How Long to Soak: What to Expect by Time
Soak time varies depending on how thick the gel was applied, how many layers there are, and how long the manicure has been on. Use these as general guidelines:
- Single layer of gel color (thin application): usually softens in 10–12 minutes
- Standard gel manicure (base + 2 color coats + top coat): 12–15 minutes
- Gel over builder gel or thicker overlays: 15–20 minutes, possibly in two rounds
After the first 10–15 minutes, unwrap one nail and check. The gel should look wrinkled, bubbly, or lifted at the edges — like it’s shriveling away from the nail. If it still looks smooth and intact, re-wrap and give it another 5 minutes.
If gel stubbornly refuses to budge after 20 minutes of soaking, don’t force it — re-file the surface to re-break the seal and soak again. Forcing dried-on gel off is exactly how nails get gouged.
Gently Pushing Off the Softened Gel
Once the gel is properly softened, removal should feel effortless. That’s the key test: if you have to scrape hard, it’s not ready.
- Unwrap one nail at a time. Keep the other foils on while you work through each nail so the acetone keeps working.
- Use an orangewood stick or cuticle pusher to gently push the gel from the cuticle area toward the free edge. Work in small, light strokes. Softened gel should slide off in flakes or sheets.
- Don’t dig at the nail plate. If a patch won’t lift easily, re-wrap that nail with fresh acetone cotton and give it another 5 minutes rather than gouging.
- Buff lightly afterward. Once all the gel is off, use a fine-grit buffer to smooth any remaining roughness. Use a light touch — three to four gentle passes per nail is plenty.
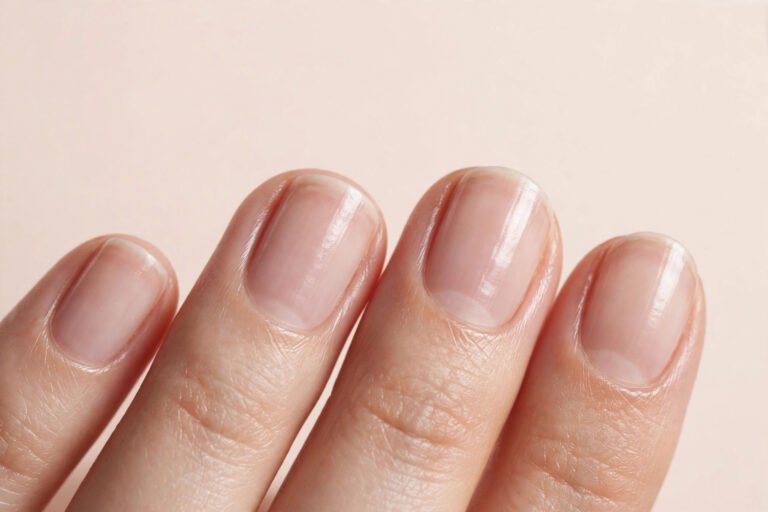
The nail underneath may look slightly dry or have faint white residue. That’s normal acetone dryness, not damage, and it resolves with proper aftercare.
What to Do After Removal: Hydration and Recovery
Your nails and the surrounding skin will be dehydrated from the acetone. The 24–48 hours after removal are when recovery happens — treat them well.
- Wash your hands with gentle soap and lukewarm water to remove acetone residue.
- Massage cuticle oil into every nail — the cuticle, the nail plate, and the surrounding skin. Cuticle oil (jojoba-based is ideal since jojoba closely mimics skin’s natural oils) helps rehydrate the nail plate itself.
- Apply a thick hand cream or moisturizer right after the oil. Layering oil under cream locks moisture in.
- Give your nails a breather if they need it. If your nails feel thin or fragile, wait a few days before applying a new gel set. During the break, keep them short and consistently oiled. If you’re dealing with ongoing weakness, our guide to strengthening weak, brittle nails covers a full recovery routine with nail strengtheners and dietary tips.
It’s normal for nails to feel slightly dry or flexible for a day after acetone removal. That’s dehydration, and consistent oiling brings them back. What isn’t normal is pain, deep ridges, or white patches that don’t fade — those are signs of mechanical damage from peeling or aggressive filing.
Mistakes That Damage Nails During Removal
Almost every “gel ruined my nails” story comes from the removal step, not the gel itself. Avoid these:
- Peeling or picking the gel off. The number one cause of thin, damaged nails. Even “just one corner” lifts nail plate layers with it.
- Using regular nail polish remover instead of pure acetone. Weak removers take forever, which tempts you to scrape — and scraping damages nails.
- Filing through to the natural nail. You only need to dull the top coat. Filing into the nail plate creates thin spots and weakens the whole nail.
- Skipping the seal-break. If you don’t file the top coat, acetone can’t penetrate and you’ll soak far longer than necessary, drying out everything.
- Scraping aggressively with metal tools. If gel doesn’t slide off easily, it needs more soak time, not more force.
- Soaking without skin protection. Unprotected cuticles and fingertips get red, dry, and irritated — petroleum jelly takes ten seconds to apply.
- Reapplying gel immediately to damaged nails. If your nails are thin from a bad removal, layering more gel on top traps the problem. Recover first.
Understanding why peeling happens in the first place also helps — if your gel nails keep peeling off on their own, that’s a different problem (usually prep or application issues), and the fixes are different from removal technique.
When to See a Professional
Home removal works for standard gel polish, but some situations call for a salon visit:
- Acrylic or hard gel overlays: These are much thicker than gel polish and often need an e-file to remove safely. Soaking alone can take 30+ minutes and still leave residue.
- Gel extensions or sculpted nails: Same issue — thickness and structure make professional removal with proper tools far safer.
- Signs of infection: If you notice green discoloration under the gel, swelling, pain, or pus around the nail, don’t try to remove it at home. See a nail technician or dermatologist — this could be a bacterial or fungal issue that needs proper treatment.
- Severely damaged nails: If nails are paper-thin, splitting, or painful from previous bad removals, a professional can assess whether removal plus a protective treatment is the right call.
- Allergic reaction: Itching, redness, or swelling of the skin around gel nails can indicate an acrylate allergy. Stop using gel products and consult a dermatologist.
For a standard gel polish manicure, though, the foil soak method above is exactly what most salons do — there’s no secret technique you’re missing. Doing it patiently at home is just as safe.
Frequently Asked Questions
Can I remove gel nails without acetone?
Technically yes, but not safely at home. The acetone-free methods (filing all the gel off by hand, or soaking in warm soapy water and prying) either take extremely long or damage the nail plate. Acetone is the tool designed for this job — the key is using it correctly with foil wraps and limiting skin exposure, not avoiding it. If you want to reduce acetone contact, the warm-water bowl trick shortens soak time.
How often can I remove and redo gel nails?
There’s no strict limit if removal is done properly each time. Many people wear gel continuously for months without issues when they soak off correctly and keep nails hydrated between sets. Problems start when removal is rushed or nails are peeled — then a break of one to two weeks with consistent cuticle oil helps them recover.
Why do my nails feel thin after removing gel?
If removal was done correctly, that “thin” feeling is usually just dehydration from the acetone, which resolves within a day or two of oiling and moisturizing. If the thinness persists for weeks, it’s more likely that gel was peeled or filed aggressively in a previous removal, which removed actual nail plate layers. Those layers need to grow out — which takes 3 to 6 months for a full nail.
Can I use a peel-off base coat to make removal easier?
Peel-off base coats (designed to let gel lift away without acetone) exist and work for short-term wear, but they shorten how long your manicure lasts — often to just a few days. They’re a reasonable option if you change colors frequently, but for a standard two-to-three-week gel manicure, the foil soak method on a regular base coat gives better wear and, done patiently, is equally safe.
Is it better to let gel grow out instead of removing it?
No. Letting gel grow out means weeks of lifting edges that catch, snag, and eventually peel — taking nail layers with them. A grown-out gel manicure also creates a gap where moisture gets trapped, which can lead to bacterial issues (the green discoloration sometimes called “greenies”). Timely, proper removal is always better than waiting it out.
Key Takeaways
- Never peel or pick gel polish off — peeling rips away layers of your natural nail plate and causes the thin, weak nails people blame on gel.
- The foil and acetone soak method is the professional standard: file off the top coat shine, protect skin with petroleum jelly, wrap each nail in acetone-soaked cotton and foil for 10–15 minutes.
- If gel doesn’t slide off easily, it needs more soak time — never more scraping force.
- After removal, wash hands, massage in cuticle oil, and layer a thick moisturizer to reverse acetone dehydration.
- If nails feel weak, give them a short break and follow a strengthening routine before the next set.
- See a professional for acrylics, hard gel, extensions, or any signs of infection or allergic reaction.
- Done patiently, at-home removal is just as safe as salon removal — the full gel nails process starts and ends with healthy technique on both sides.
Love this? Pin it for later!