Why Do My Gel Nails Peel Off? 7 Causes and Fixes
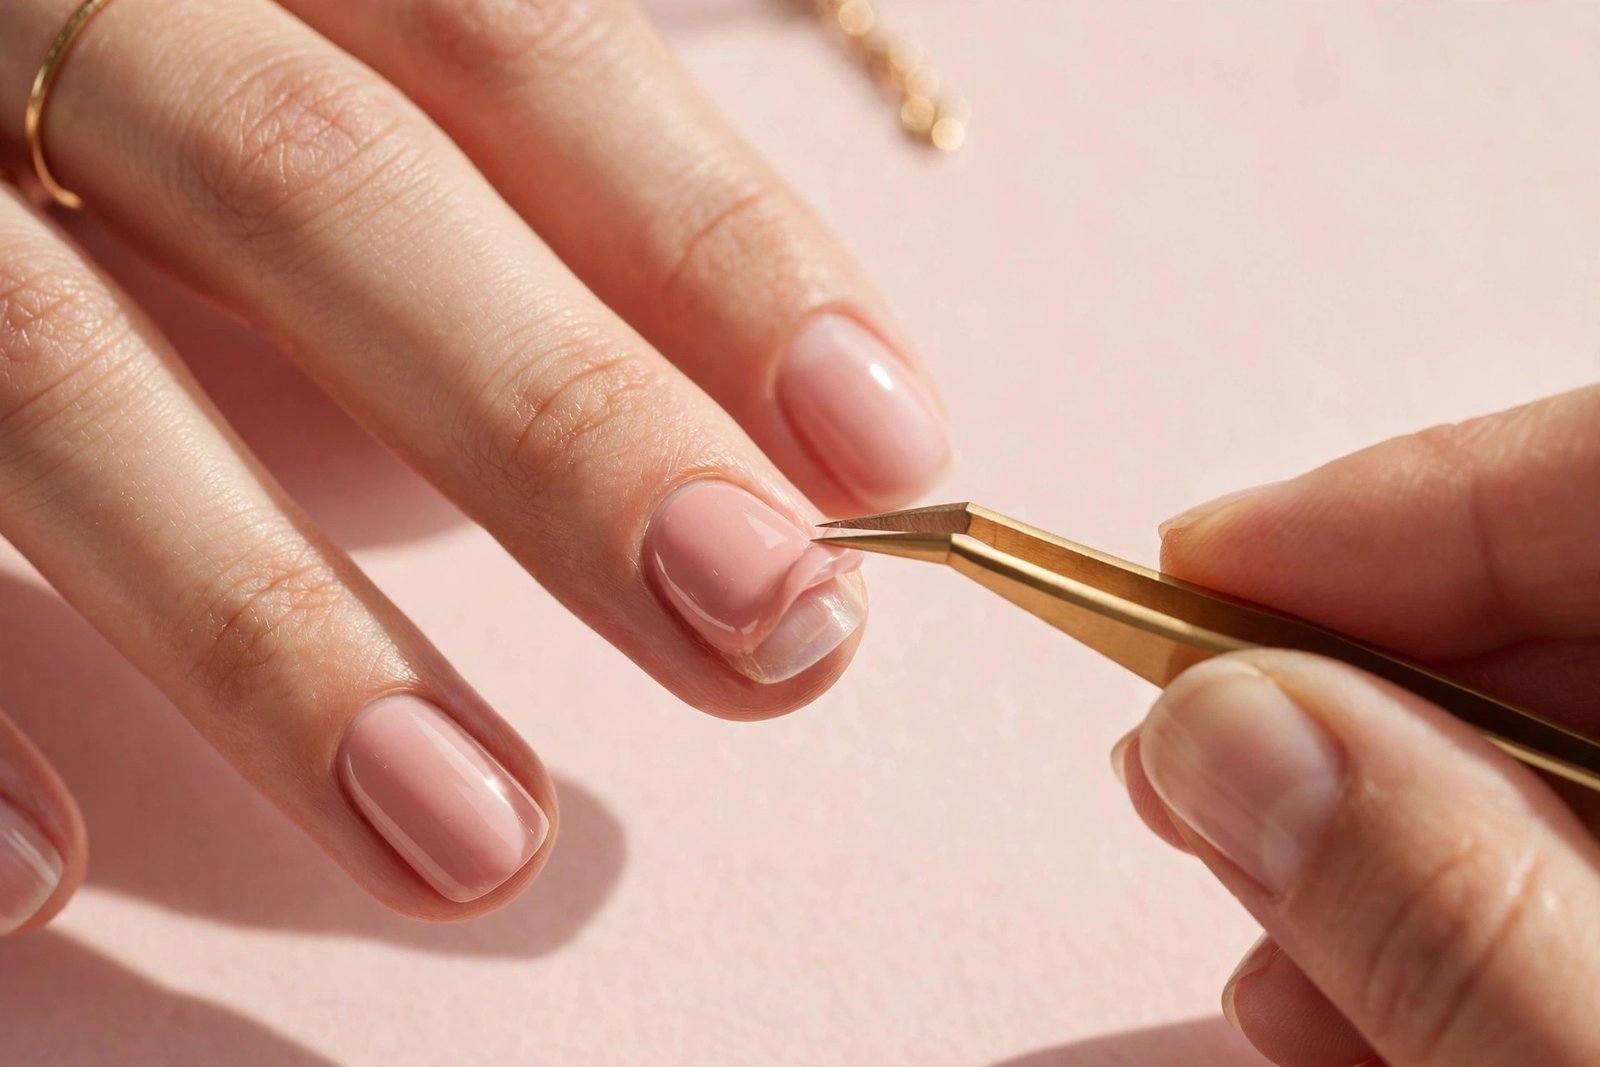
Few things are more frustrating than spending an hour on a gel manicure, only to watch it peel off in sheets three days later. Gel polish is supposed to last two to three weeks — so when it starts lifting, something in the application went wrong. The good news: peeling is almost always a technique problem, not a product problem, which means it’s fixable.
This is the troubleshooting companion to the complete guide to doing gel nails at home, covering the full application from start to finish. Below are the seven most common reasons gel nails peel off, how to fix each one, and a quick diagnostic to figure out which cause is behind your peeling.

1. Poor Nail Prep
Skipping or rushing prep is the number one reason gel nails peel. Gel polish needs a clean, dry, slightly roughened nail surface to grip. If there’s dust, oil, or leftover moisturizer on the nail plate, the base coat bonds to that residue instead of the nail — and the whole manicure lifts off once the residue breaks down.
The fix: Take prep seriously every single time:
- Push back cuticles gently and remove any dead tissue from the nail plate
- Lightly buff the entire nail with a 180-grit buffer — the goal is a matte surface, not thin nails
- Wipe each nail with isopropyl alcohol on a lint-free pad to remove dust and oils
- Apply a nail dehydrator, and follow with a primer if your polish system recommends one
One detail people miss: after prepping, don’t touch the nail surface with your fingers. Even clean fingertips transfer enough oil to weaken adhesion.
2. Coats That Are Too Thick
Gel polish is not like regular polish — thicker is not better. When coats go on too thick, the UV/LED light hardens the top layer while the product underneath stays soft and uncured. That gummy underlayer never fully bonds, so the polish eventually peels off in rubbery sheets.
The fix: Build color in thin layers instead of trying to get full coverage in one pass:
- Wipe excess polish off the brush against the bottle neck before applying
- Apply 2 to 3 thin coats rather than 1 thick one
- Cure each coat fully before adding the next
- Remember this rule: if you can see through the first coat, that’s fine — opacity builds with thin layers
3. Under-Curing
Under-curing means the polish didn’t receive enough light energy to harden completely. This happens when the lamp wattage is too low for the polish formula, when the hand is pulled out before the timer finishes, or when thick coats (see cause #2) block light from reaching the lower layers. The result feels dry on top but stays soft underneath — and peeling follows within days.
The fix:
- Cure for the full time your polish brand recommends — typically 60 to 90 seconds per layer in an LED lamp, longer in a UV lamp
- Check that your lamp matches your polish: LED polish in an LED lamp, UV polish in a UV lamp (many modern formulas are dual-cure, but verify on the bottle)
- Cure thumbs separately — they’re angled away from the light when all four fingers are flat in the lamp
- Keep nails still and centered under the light for the whole cycle
4. Cuticle Flooding
“Flooding” means polish has flowed onto the cuticle or surrounding skin. Gel can’t bond to skin the way it bonds to a prepared nail plate, so the edge of the polish starts lifting at the cuticle within a day or two. That lifted edge catches on everything, and the peeling spreads across the whole nail.
The fix: Leave a hairline gap — about 1 millimeter — between the polish and the cuticle:
- Use less polish near the base of the nail; you can always nudge it closer with a detail brush
- Before curing, run an orangewood stick or clean-up brush dipped in alcohol around the cuticle line to remove any flooded product
- Never cure polish that’s touching skin — once cured, flooded edges are much harder to remove cleanly
If lifting starts specifically at the cuticle rather than peeling across the whole nail, that’s a distinct problem with its own causes — see this breakdown of why gel nails lift at the cuticle.
5. Naturally Oily Nail Beds
Some people simply produce more oil on their nail plates, and that natural oil breaks the bond between the nail and the base coat. If your manicures peel quickly no matter how careful your technique is — and especially if you notice the same problem with regular polish — oily nail beds may be your main issue.
The fix:
- Use a dedicated nail dehydrator before the base coat; it temporarily removes surface oils
- Add an acid-free primer on top of the dehydrator for extra grip
- Avoid hand cream, cuticle oil, and lotion for at least an hour before application
- After the alcohol wipe, don’t touch the nail surface — put on the base coat right away
6. Old or Expired Products
Gel polish has a shelf life — usually 12 to 24 months after opening. Old polish can separate, thicken, or lose the photoinitiators that make it cure properly. An aging lamp is just as guilty: LED and UV bulbs lose output over time, so a lamp that once cured perfectly may now under-cure every layer.
The fix:
- Shake polish bottles well before each use — separated pigment cures unevenly
- If a bottle is thick, stringy, or smells off, replace it; no technique fixes expired product
- Test your lamp: if cure times that used to work suddenly don’t, the bulbs may be weakening
- Store polish upright in a cool, dark place — heat and sunlight degrade the formula faster
7. Skipping the Free Edge (No Capping)
The free edge — the very tip of the nail — takes the most abuse: typing, water, friction. If polish stops at the top of the nail without wrapping over the edge, water and daily wear creep under the polish from the tip, and peeling starts there.
The fix: Cap the free edge with every layer:
- After painting the nail surface, run the brush lightly along the tip edge to seal it
- Do this with the base coat, each color coat, and the top coat
- For short nails, capping is especially important since the edge is a larger share of the surface
This one step is detailed in the step-by-step gel nails at home tutorial, and it’s the single easiest habit that extends wear time.
How to Tell Which Cause Is Yours
Peeling looks different depending on the cause. Use these clues to diagnose your manicure:
- Peeling starts at the tip: The free edge wasn’t capped (cause #7)
- Whole nail peels off in one clean sheet: Prep was skipped or incomplete (cause #1)
- Lifting starts at the cuticle and spreads: Cuticle flooding (cause #4)
- Polish feels soft, gummy, or wrinkled underneath: Under-curing or coats too thick (causes #2 and #3)
- Everything peels within 1–2 days despite careful technique: Oily nail beds (cause #5)
- A routine that used to work suddenly doesn’t: Old products or a weakening lamp (cause #6)
Most peeling manicures have one primary cause and one or two contributing factors. Fix the primary cause first, then tighten up the rest.
Gel Nail Peeling Prevention Checklist
Run through this list before every application:
- [ ] Cuticles pushed back, nail plate lightly buffed to a matte finish
- [ ] Nails wiped with alcohol on a lint-free pad, then dehydrator applied
- [ ] Primer applied if your system calls for one
- [ ] Base coat applied thin, free edge capped, fully cured
- [ ] Color applied in 2–3 thin coats, each fully cured
- [ ] 1mm gap left at the cuticle; any flooding cleaned up before curing
- [ ] Thumbs cured separately, centered under the lamp
- [ ] Top coat applied thin, free edge capped, fully cured
- [ ] Hands kept dry and product-free for the first few hours after application
Frequently Asked Questions
Is it bad to peel off gel nails when they start lifting?
Yes — peeling gel polish off by hand pulls up layers of the natural nail along with it, leaving nails thin, weak, and prone to breaking. If a nail starts peeling, either trim the lifted edge and seal it with top coat, or remove the gel properly. Here’s how to remove gel nails at home safely without damaging the nail underneath.
How long should gel nails actually last?
A well-applied gel manicure lasts 2 to 3 weeks. If yours consistently peel within the first week, treat it as a technique issue to troubleshoot — not a sign that gel “doesn’t work” for your nails.
Why do my gel nails peel off after just 2 days?
Peeling that fast almost always points to poor prep or uncured product. Either the base coat never bonded to the nail plate (skipped buffing, missed dehydrator, oily residue), or the layers underneath stayed soft (coats too thick, lamp too weak, hand pulled out early). Walk through the diagnostic section above — 2-day peeling usually matches one of those two causes.
Can I fix a peeling gel nail without redoing the whole manicure?
Sometimes. If only a small edge has lifted, gently file the lifted area smooth, clean it with alcohol, apply a thin layer of base coat and top coat over the spot, and cure. If the peeling covers more than a third of the nail or the polish feels soft underneath, a spot fix won’t hold — remove and redo that nail properly.
Will gel polish ruin my natural nails if it keeps peeling?
The peeling itself does the damage, not the gel formula. Every time polish is peeled off manually, it takes nail layers with it. Nails that are always properly removed — never peeled — stay healthy through many gel cycles.
Key Takeaways
- Gel nails peel because of application problems, not because gel is unreliable — the seven main causes are poor prep, thick coats, under-curing, cuticle flooding, oily nail beds, old products, and skipping the free edge.
- Prep is the foundation: buff to a matte finish, dehydrate, and don’t touch the nail surface before the base coat goes on.
- Thin coats, full cure times, and capping the free edge are the three habits that prevent most peeling.
- Diagnose by pattern: tip peeling means no capping, full-sheet peeling means bad prep, cuticle lifting means flooding, gummy polish means under-curing.
- Never peel gel off by hand — it damages the natural nail. Remove it properly instead.
Love this? Pin it for later!