Caramel Latte Nails: Café-Inspired Fall Manicure Ideas
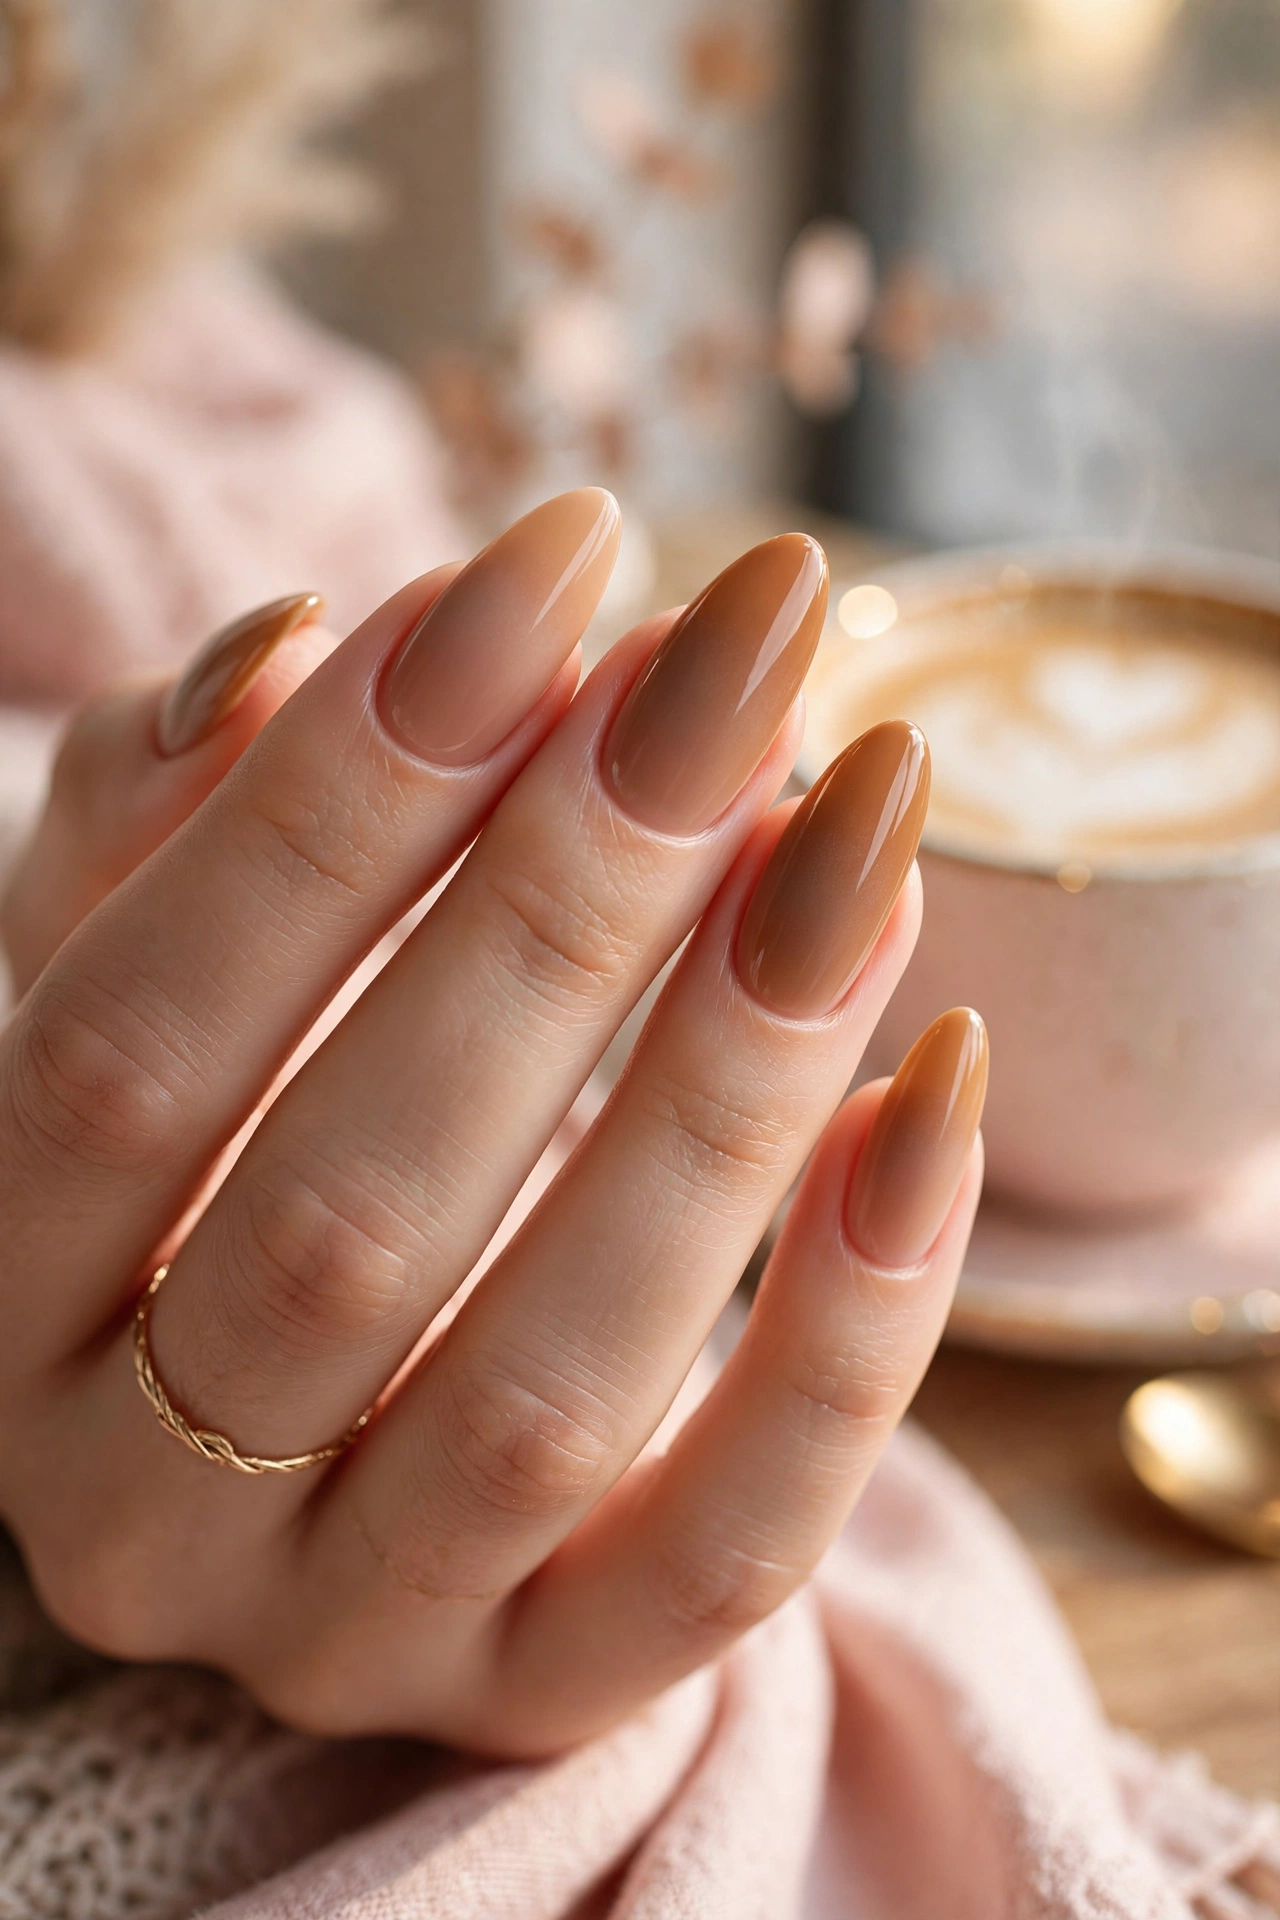
Some nail trends are loud. Caramel latte nails are the opposite — warm, creamy, quietly luxurious, like the foam on your favorite fall drink. This café-inspired palette of caramel, toffee, nude, and espresso has become Pinterest’s fall manicure obsession, with searches for “caramel nude nails” up +943% and “coffee nails ideas” up +922% as part of the Latte Lacquer trend. It is the manicure equivalent of a cashmere sweater: understated, flattering on every skin tone, and somehow appropriate everywhere from the office to a wedding.
What makes the trend so wearable is its range. “Latte nails” is not one shade — it is a whole spectrum from milky beige to deep espresso, spanning minimalist solids to artistic swirls that mimic actual latte art. Whether you are a DIY manicure devotee or collecting inspiration for your next salon visit, here are 15 ideas plus the know-how to make them last.
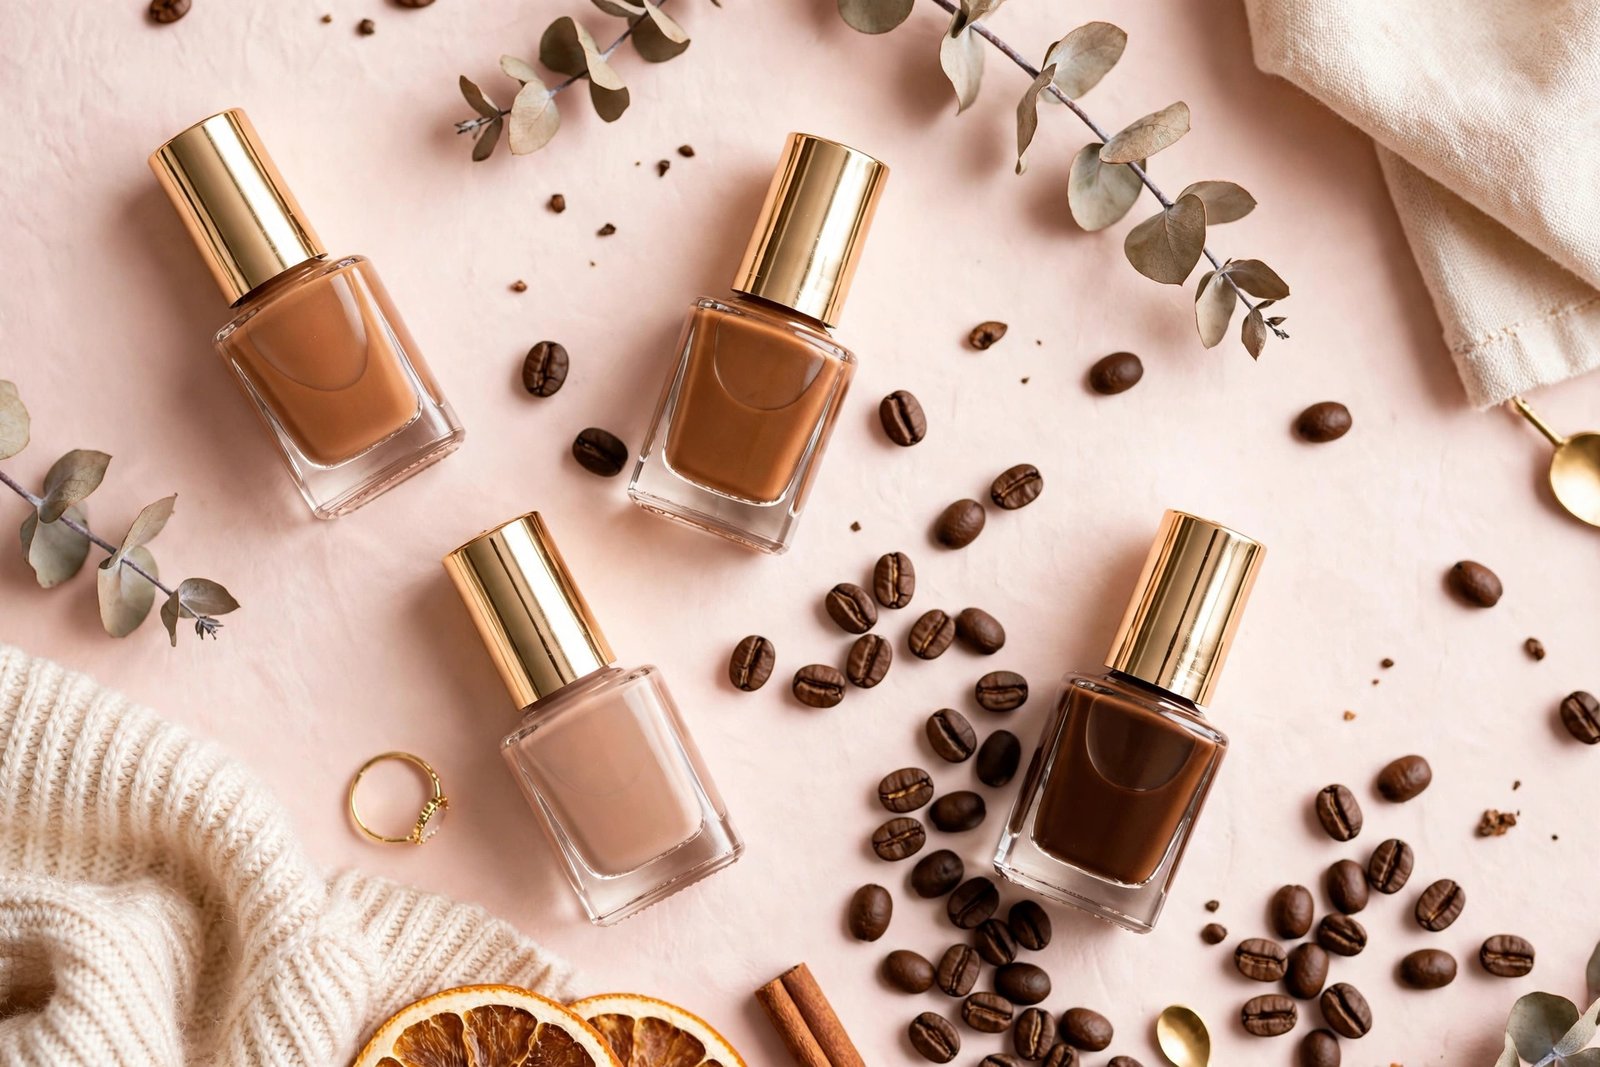
What Are Caramel Latte Nails?
Caramel latte nails draw their palette from coffee culture: the warm browns of espresso, the golden tones of caramel syrup, the creamy beiges of steamed milk, and the soft nudes in between. The defining quality is warmth — these are golden, honeyed, toffee-toned neutrals rather than cool grays or pinks.
The trend works because brown-nude nails solve a real wardrobe problem. They are neutral enough to pair with everything (like a classic nude) but richer and more interesting, with the depth to flatter deeper skin tones that can find pale pink nudes washing them out. On fair skin, milky caramel tones add warmth; on medium and deep skin, toffee and espresso tones look striking and tonal.
15 Caramel Latte Nail Ideas
1. Solid Caramel Crème
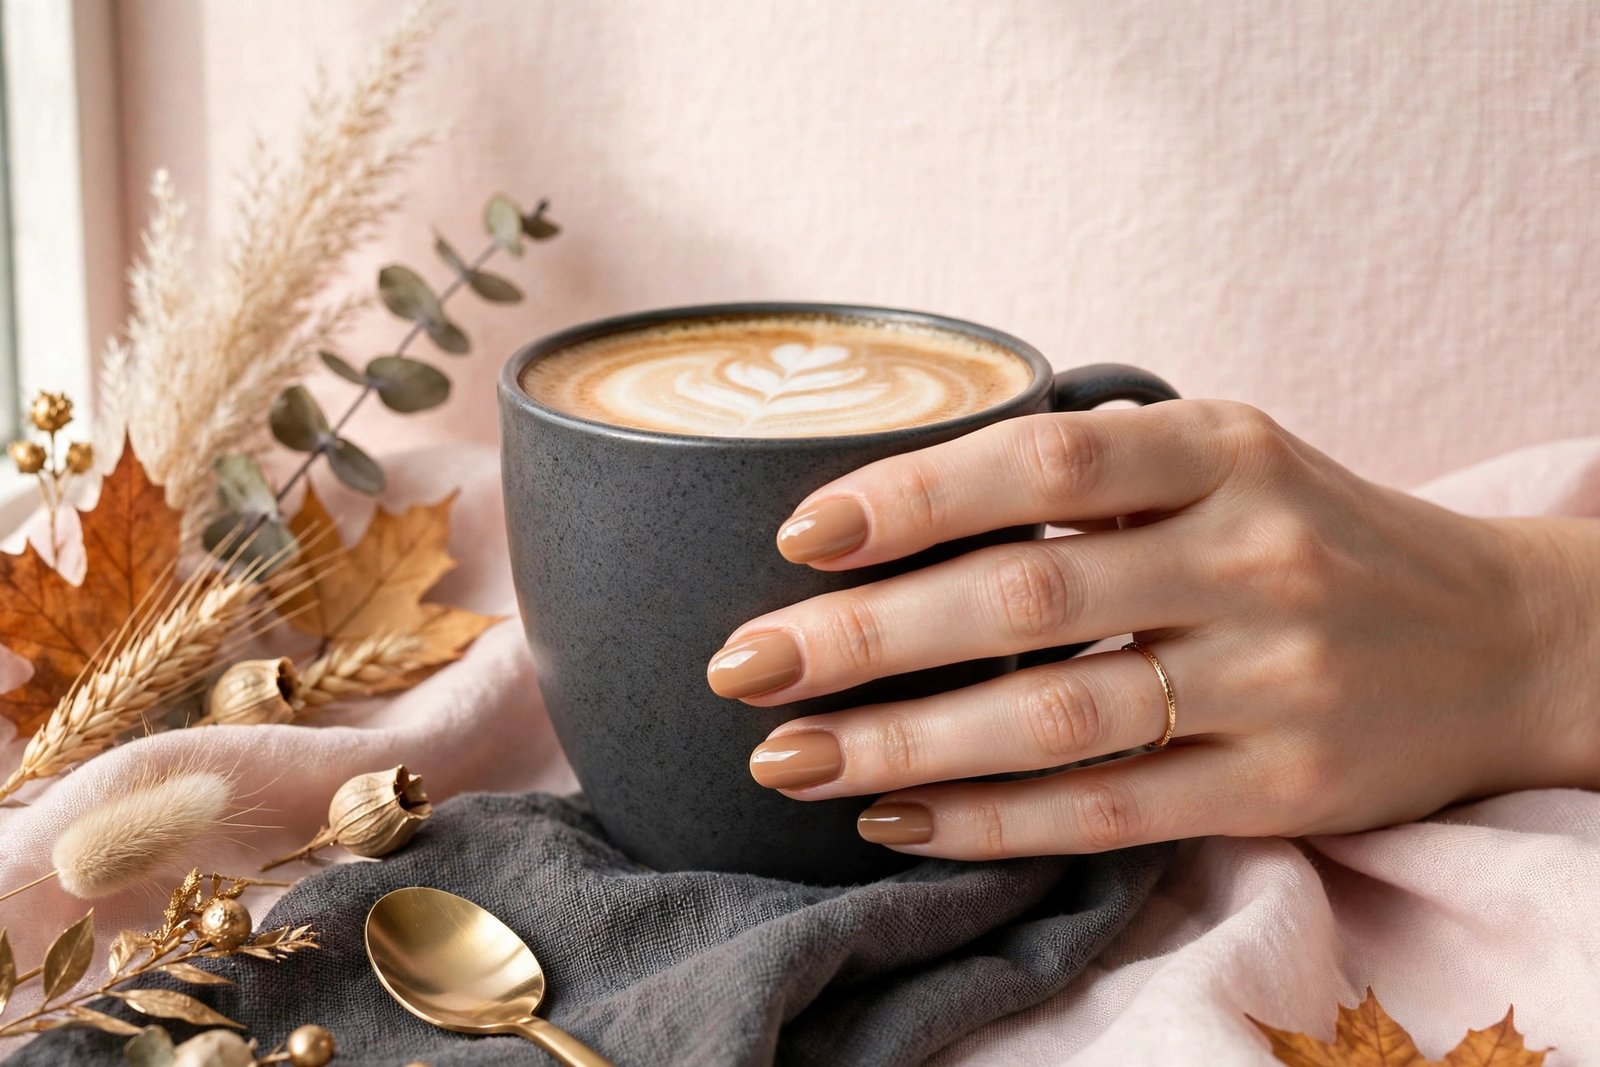
The foundation of the whole trend: one rich caramel crème shade across all ten nails. Choose a warm, medium caramel — not too orange, not too brown — and finish with a glossy top coat for a glass-like effect. The lowest-effort, highest-impact entry point.
2. Milky Latte
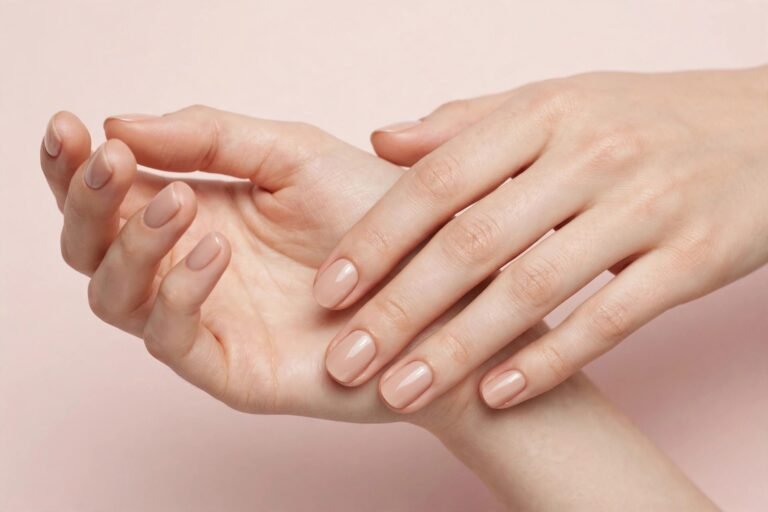
The lightest end of the spectrum — a sheer-to-opaque milky beige, like a latte with extra foam. Sheer milky shades forgive application imperfections, making this the best pick for DIY beginners. Two to three thin coats build a soft, diffused finish.
3. Espresso Solid
For drama: deep, near-black espresso brown in high gloss. It reads almost black indoors but reveals warm brown depth in sunlight — a chic alternative to black polish for fall, striking on long almond or coffin shapes.
4. Latte Art Swirls
The signature design — creamy white and caramel swirls on a nude base, mimicking the rosetta patterns baristas pour into lattes. Apply the nude base, then while a caramel shade is still tacky, drag a toothpick through dots of white and caramel to marble them. Each nail comes out unique, which is exactly the charm.
5. Caramel Ombré
A gradient from milky nude at the cuticle melting into deep caramel at the tip (or the reverse). Use the sponge technique: paint stripes of your shades onto a makeup sponge, dab onto the nail, and repeat for opacity. Clean up edges with acetone, then top coat generously to smooth the gradient.
6. French Twist With Caramel Tips
A fresh take on the classic French: a sheer milky-nude base with caramel or toffee tips instead of white. The result is softer and more modern than traditional French, and it elongates the nail beautifully. For a step-by-step French technique you can adapt with any tip color, see French manicure at home.
7. Tortoiseshell Accent
Tortoiseshell — the mottled amber-brown pattern — is caramel latte’s wilder cousin and pairs perfectly with solid caramel nails as an accent nail or two. Layer sheer amber, chocolate blobs, and a translucent brown wash; the organic pattern is forgiving, so it looks intricate with minimal precision.
8. Matte Caramel
The same caramel shade, transformed: a matte top coat turns glossy caramel into something velvety and modern, like suede. Matte finishes show imperfections more readily, so apply slightly thicker color coats and make sure the matte top coat is even. Try matte on all nails, or matte with one glossy accent nail for contrast.
9. Glazed Caramel (Chrome Effect)
Apply a caramel base, then buff a champagne or pearl chrome powder over it and seal with top coat. The result is a lit-from-within, glazed-donut glow in latte tones — dimensional and eye-catching without any nail art skill required. This is one of the most-saved variations on Pinterest.
10. Coffee Bean Accent
Tiny coffee bean motifs — simple brown ovals with a center line — painted on one or two accent nails over a milky base. Use a dotting tool or the tip of a bobby pin for the oval, then a striping brush for the center crease. Minimal skill needed, maximum café charm.
11. Toffee Tortoise French
Combine two trends: a French tip in tortoiseshell pattern over a sheer caramel base. Paint the smile line in amber, add chocolate mottling just on the tip area, and seal. It is detailed enough to look salon-done but confined to the tip, so mistakes are small and fixable.
12. Caramel Aura Nails
The aura technique — a soft, airbrushed halo of color in the center of the nail — in caramel and cream tones. Sponge a deeper caramel into the center over a milky base, keeping edges soft and diffused. The effect is dreamy and dimensional, like looking into a latte from above.
13. Half-Moon Latte
A retro design with modern colors: paint the nail caramel, then add a milky-nude half-moon at the cuticle (use reinforcement stickers as guides for crisp lines, or freehand for a softer look). It is graphic, elegant, and grows out gracefully since the cuticle area is the design focus.
14. Marbled Mocha
White, caramel, and espresso marbled together across the nail — like the swirl of a mocha. Use the water-marble technique (drops of polish on water, swirled with a toothpick, nail dipped through) or the simpler dry-marble: blob the three shades on the nail and swirl with a brush before they dry. Seal with two coats of top coat for glass-like depth.
15. Mixed Latte Skittle
Paint each nail a different shade from the latte spectrum — milky, beige, caramel, toffee, espresso — for a tonal gradient across the hand. No art skills required, yet it looks intentional and editorial. Order shades from lightest (thumb) to darkest (pinky) or the reverse for the most polished effect.
Choosing Your Shades: The Latte Spectrum
Building a latte-nail wardrobe starts with understanding the shade families:
- Milky/foam: Sheer to opaque creamy beiges (the lightest tones)
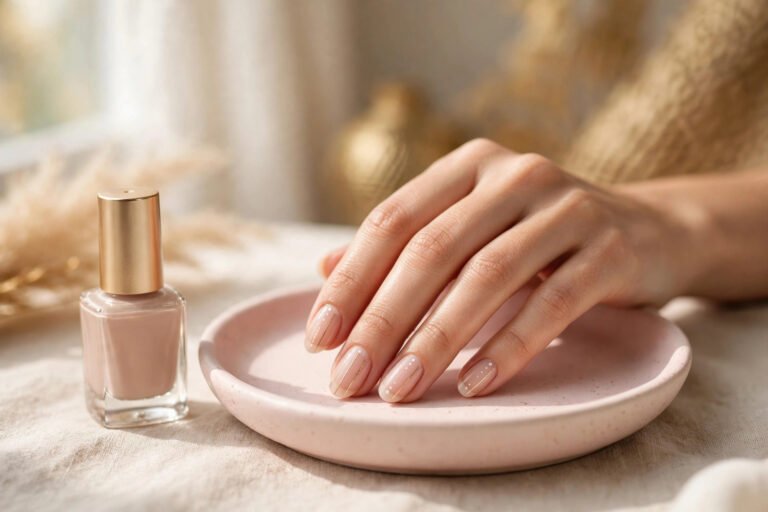
- Beige nude: True neutral-beige nudes with warm undertones
- Caramel: Golden medium browns — the heart of the trend
- Toffee: Deeper, richer golden-browns
- Espresso: Dark, near-black browns for contrast and depth
When shopping, look for shade names like “caramel,” “toffee,” “latte,” “macchiato,” “espresso,” and “butterscotch” — polish brands have fully embraced café naming. Hold the bottle against your skin in natural light: fair skin glows in milky and light caramel tones, medium skin loves true caramel and toffee, and deep skin looks stunning in toffee through espresso.
DIY Application Tips for a Salon-Smooth Finish
Great latte nails are 70% prep and 30% polish. Follow this routine:
- Prep meticulously. Push back cuticles, gently buff away nail shine, and wipe each nail with alcohol or remover to dehydrate. Polish adheres best to a clean, dry, slightly roughened surface.
- Base coat is non-negotiable. Caramel and brown pigments can stain the natural nail, especially deep espresso. Base coat prevents yellowing and gives color grip.
- Thin coats, always. Two to three thin coats beat one thick gloopy coat — thick coats bubble, dent, and dry slowly. Wipe excess off the brush and use light pressure.
- Cap the free edge. Run the brush along the nail tip with each coat of color and top coat. This seals the edge and dramatically reduces chipping.
- Clean up as you go. Trace a small acetone-dipped brush around cuticles after each hand. Crisp cuticle lines separate DIY from salon-looking.
- Top coat generously — then again. Apply over fully dry color, and refresh every 2–3 days. This single habit is the biggest longevity booster in home manicures.
If your nails are short or you are choosing between shapes for the trend, almond and oval elongate the latte tones beautifully — see best nail shapes for guidance on picking your most flattering shape.
Best Finishes for the Latte Look
Finish changes everything about how caramel tones read:
- High-gloss: The classic — makes caramel look juicy and expensive, like syrup. Best for solids, ombré, and French twists.
- Matte: Modern and velvety; gives toffee and espresso suede-like richness. Shows texture, so prep well.
- Chrome/glazed: Champagne or pearl chrome over caramel creates the viral glazed effect — dimensional and luminous with zero art skill.
- Jelly/sheer: Translucent caramel builds syrupy depth; very on-trend and forgiving to apply.
- Shimmer: A fine golden shimmer topper over matte caramel adds quiet evening sparkle.
Mixing finishes within one manicure (matte nails with one chrome accent, for example) is an easy way to make simple shades look designed.
How to Make Caramel Latte Nails Last
Brown and nude polishes show chips and tip wear readily, so longevity habits matter:
- Wear gloves for dishes, cleaning, and gardening — water and chemicals are polish killers.
- Reapply top coat every 2–3 days, capping the free edge each time. This alone can stretch a manicure from 4 days to 10+.
- Moisturize cuticles daily with cuticle oil. Hydrated cuticles do not lift and peel, which is where many manicures start to fail.
- Avoid using nails as tools — no prying, scraping, or opening cans. Every impact risks a chip.
- Fix chips immediately with a dab of matching polish and top coat rather than waiting — small repairs are invisible, while grown-out chips invite peeling.
- Strengthen underneath it all: polish lasts longer on healthy, hard nails. If your nails peel or break under polish, address the foundation first — see strengthening weak nails.
With good prep and top-coat maintenance, a DIY caramel latte manicure should wear 7–10 days; a gel version at a salon lasts 2–3 weeks.
Key Takeaways
- Caramel latte nails span a café-inspired spectrum — milky beige, caramel, toffee, espresso — and Pinterest searches are up +943% for caramel nude nails and +922% for coffee nail ideas (Latte Lacquer trend).
- The 15 ideas range from beginner-friendly (solid caramel, milky latte, mixed skittle) to artistic (latte art swirls, marbled mocha, tortoiseshell French).
- Thin coats, cuticle cleanup, capped free edges, and base coat are the four habits behind salon-smooth DIY results.
- Finish transforms the look: high-gloss for juicy caramel, matte for modern velvet, chrome for the viral glazed effect.
- Longevity comes from prep plus maintenance — gloves, top-coat refreshes every 2–3 days, daily cuticle oil, and healthy nails underneath.
Frequently Asked Questions
What colors do I need for caramel latte nails?
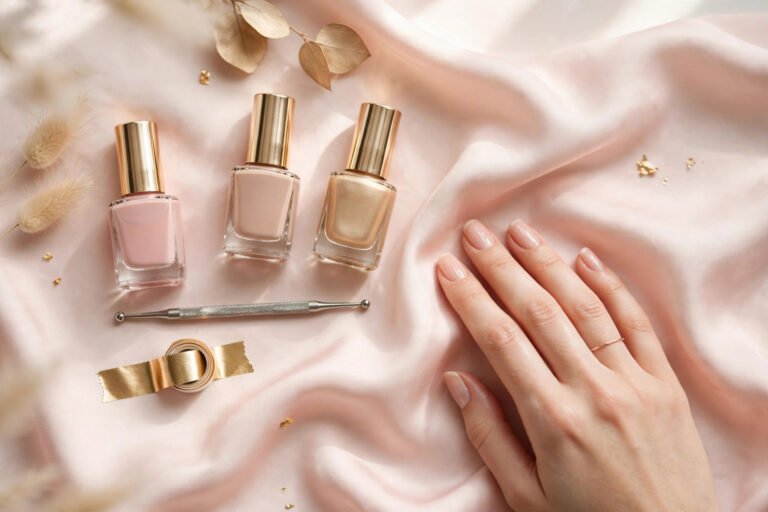
At minimum, one caramel or toffee crème polish, one milky nude, and one deep espresso — those three cover solids, ombré, French twists, and marbling. Add a white or cream for latte-art swirls and a gold shimmer or chrome powder if you want the glazed effect. A matte top coat is optional but transforms the look.
Do latte nails suit short nails?
Absolutely — milky and caramel tones are among the most flattering shades for short nails because the warmth keeps them from looking stark. Milky latte and solid caramel are especially good, and the mixed skittle gradient looks chic at any length. Almond or oval shaping elongates short nails further if you want extra length illusion.
How do I do latte art swirls without them looking messy?
Work while the polish is wet and use restraint: let the nude base dry fully, add small dots of caramel and white, and drag through them once or twice with a toothpick — overworking muddies the colors. Keep the design centered with clean edges, then seal with two coats of top coat, which smooths everything into a professional-looking marble.
Why does my brown polish look streaky?
Streakiness usually comes from coats that are too thick or a formula that is too sheer for one-coat opacity. Fix it with three very thin coats instead of two thick ones, letting each dry fully — thin layers self-level better. Jelly or sheer caramel shades are meant to look translucent; if you want full opacity, choose a crème formula labeled opaque.
Gel or regular polish for latte nails?
Regular polish is ideal for trying the trend — easy to change, and the full 15-idea range is achievable at home. Gel gives 2–3 weeks of chip-free wear and a plumper, glossier finish that suits the juicy caramel aesthetic, but removal requires soaking and it is less forgiving for frequent design changes. If you found a favorite (like solid caramel or espresso), gel makes it effortlessly long-wearing.
Love this? Pin it for later!