French Manicure at Home: Easy Step-by-Step for Beginners
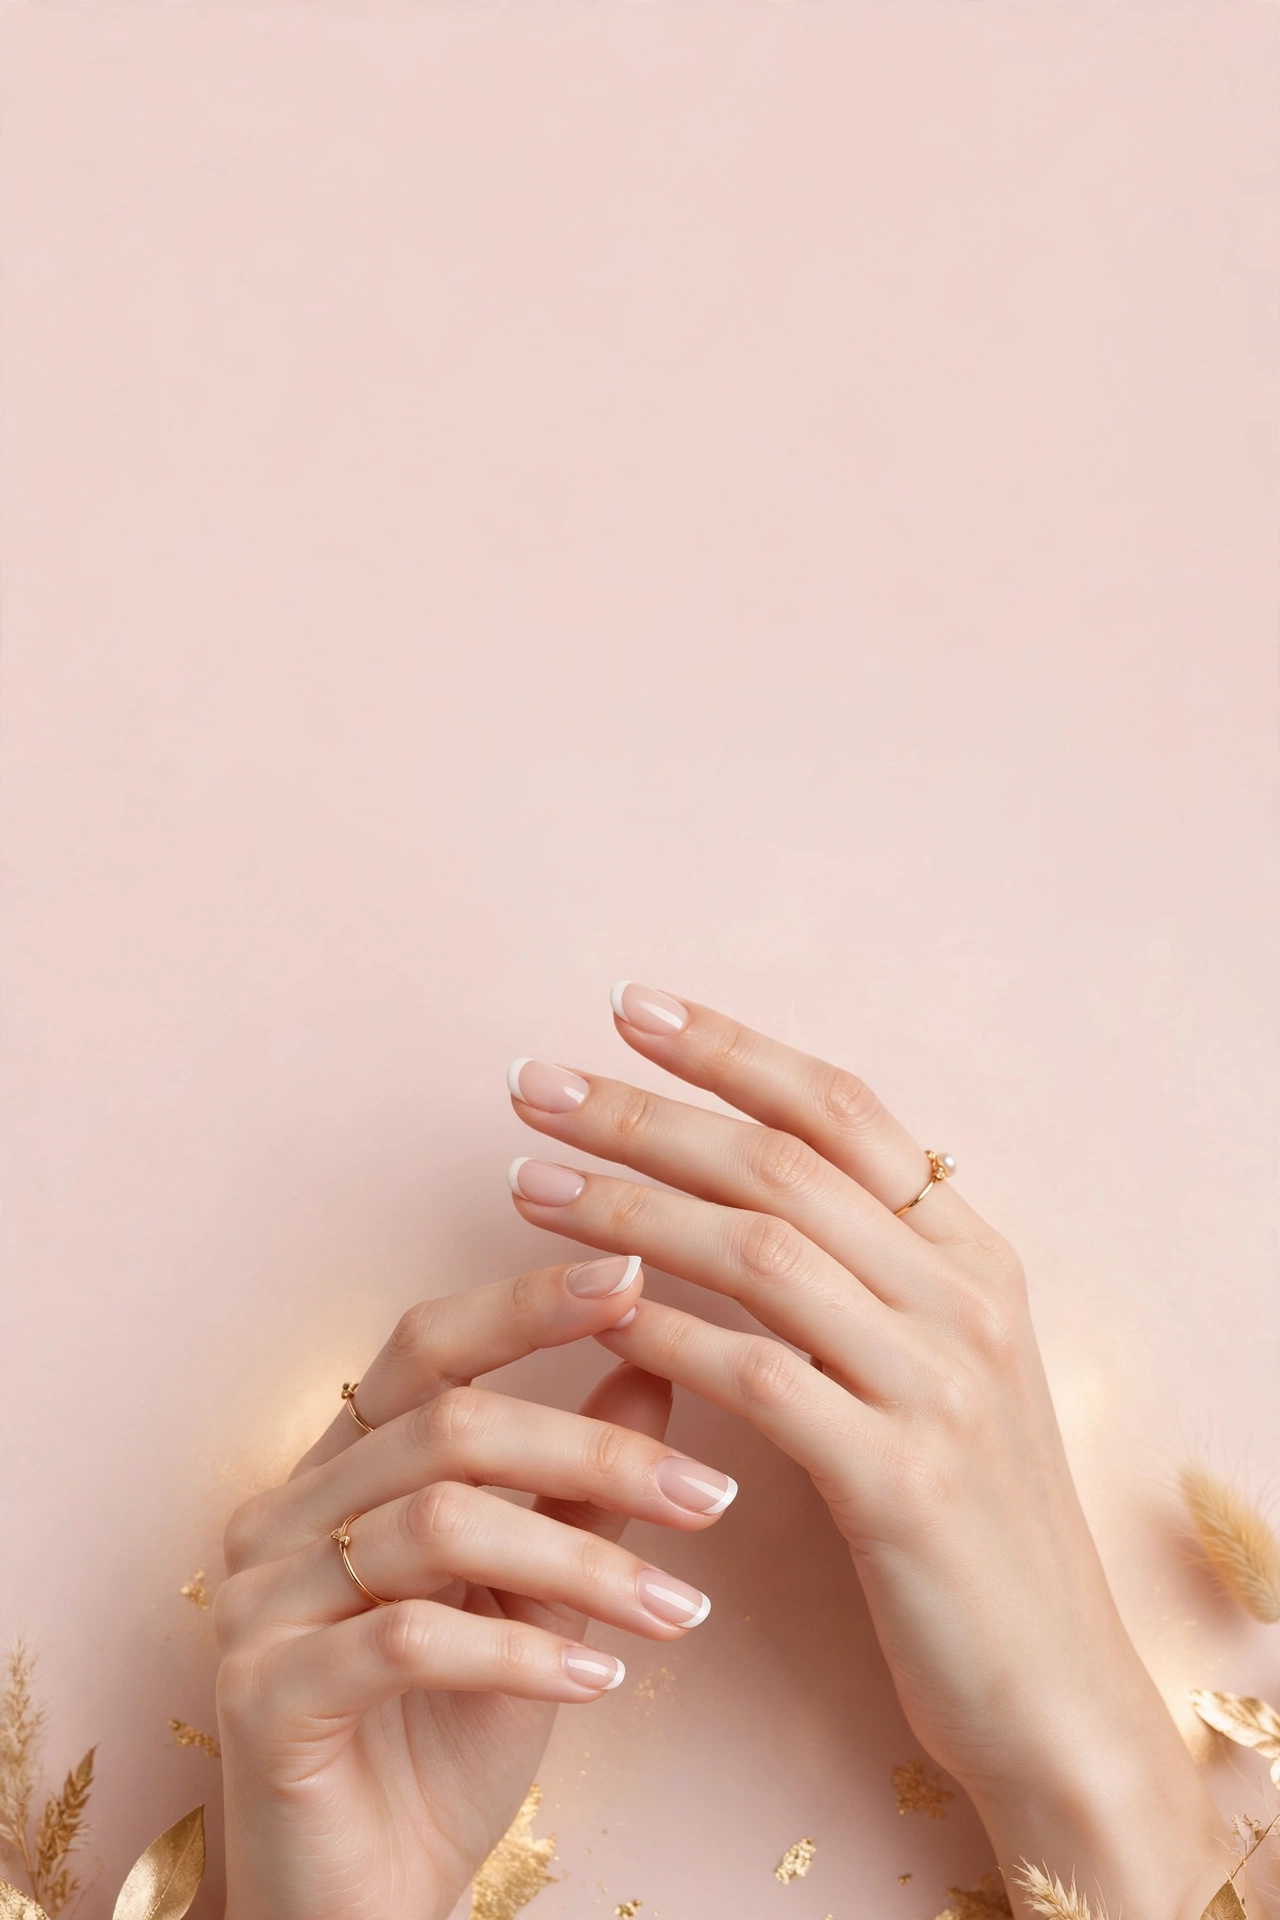
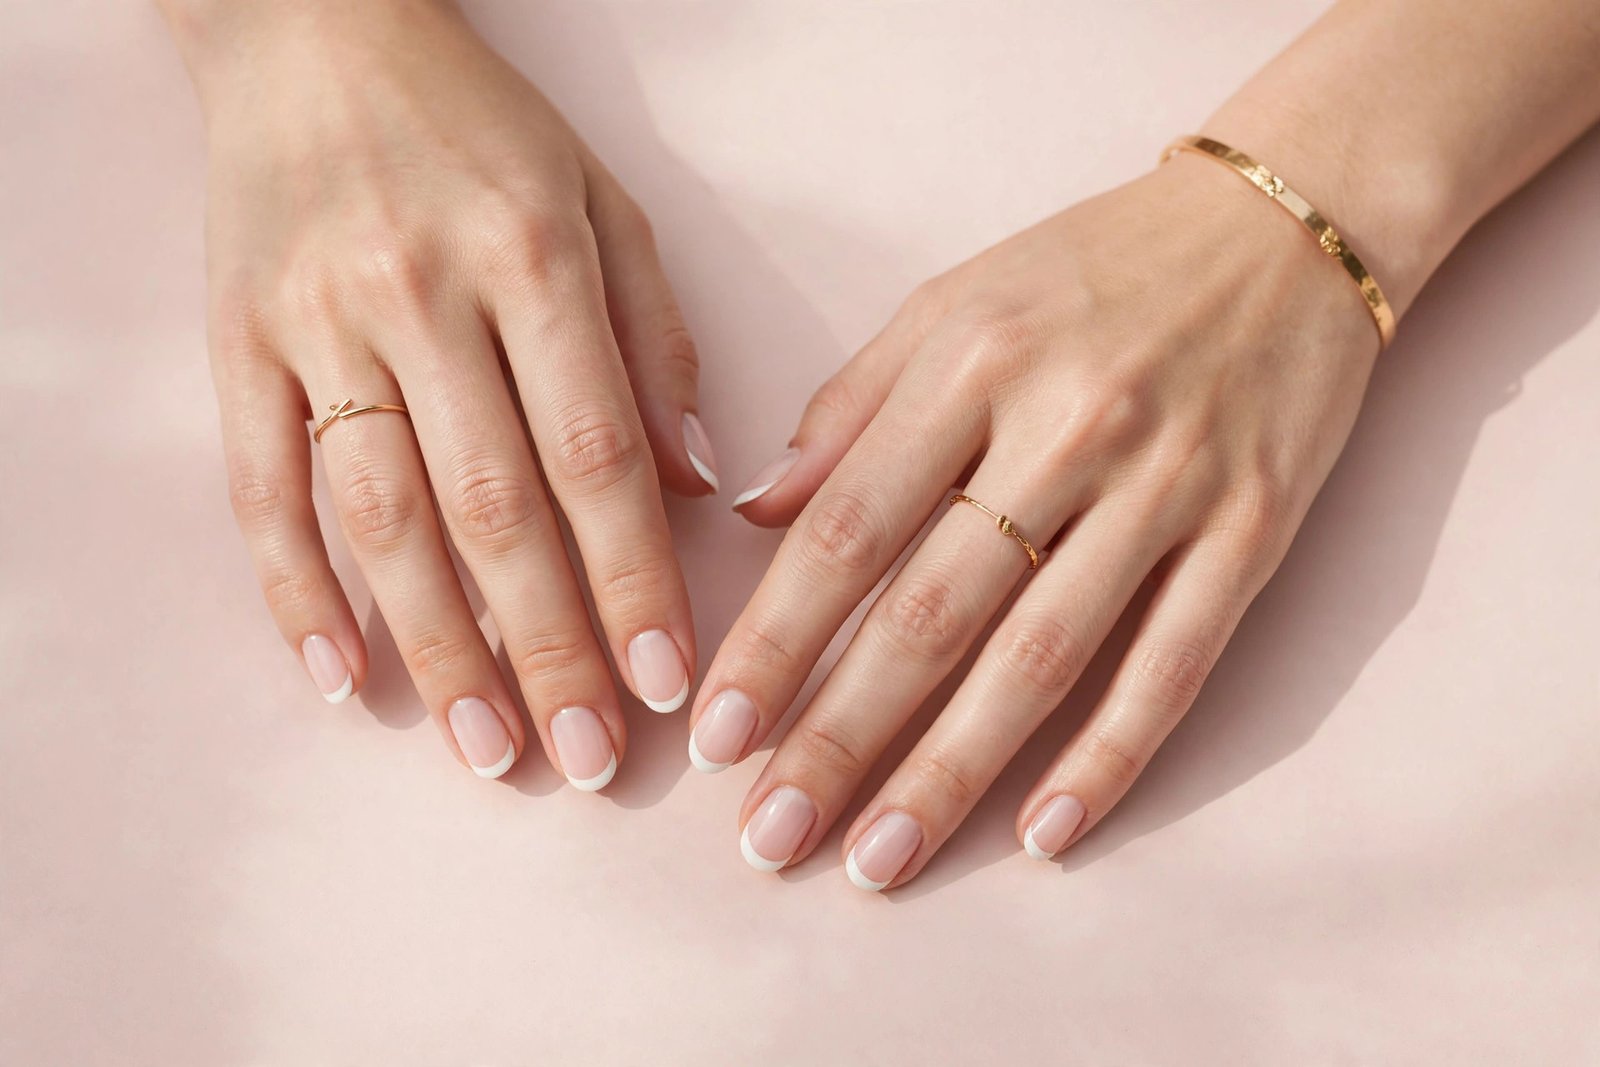
The French manicure — a sheer nude or pink base with crisp white tips — has survived decades of nail trends because it flatters every nail length and every outfit. And despite its salon reputation, it’s one of the most beginner-friendly designs to do at home. All you need is patience, the right tools, and a method that matches your skill level.
This guide covers nail prep, three ways to paint the white tip, a full step-by-step classic method, and modern twists on the look. step-by-step gel nail guide pairs naturally with this tutorial if you’d prefer a version that lasts two to three weeks instead of days.
What Is a French Manicure?
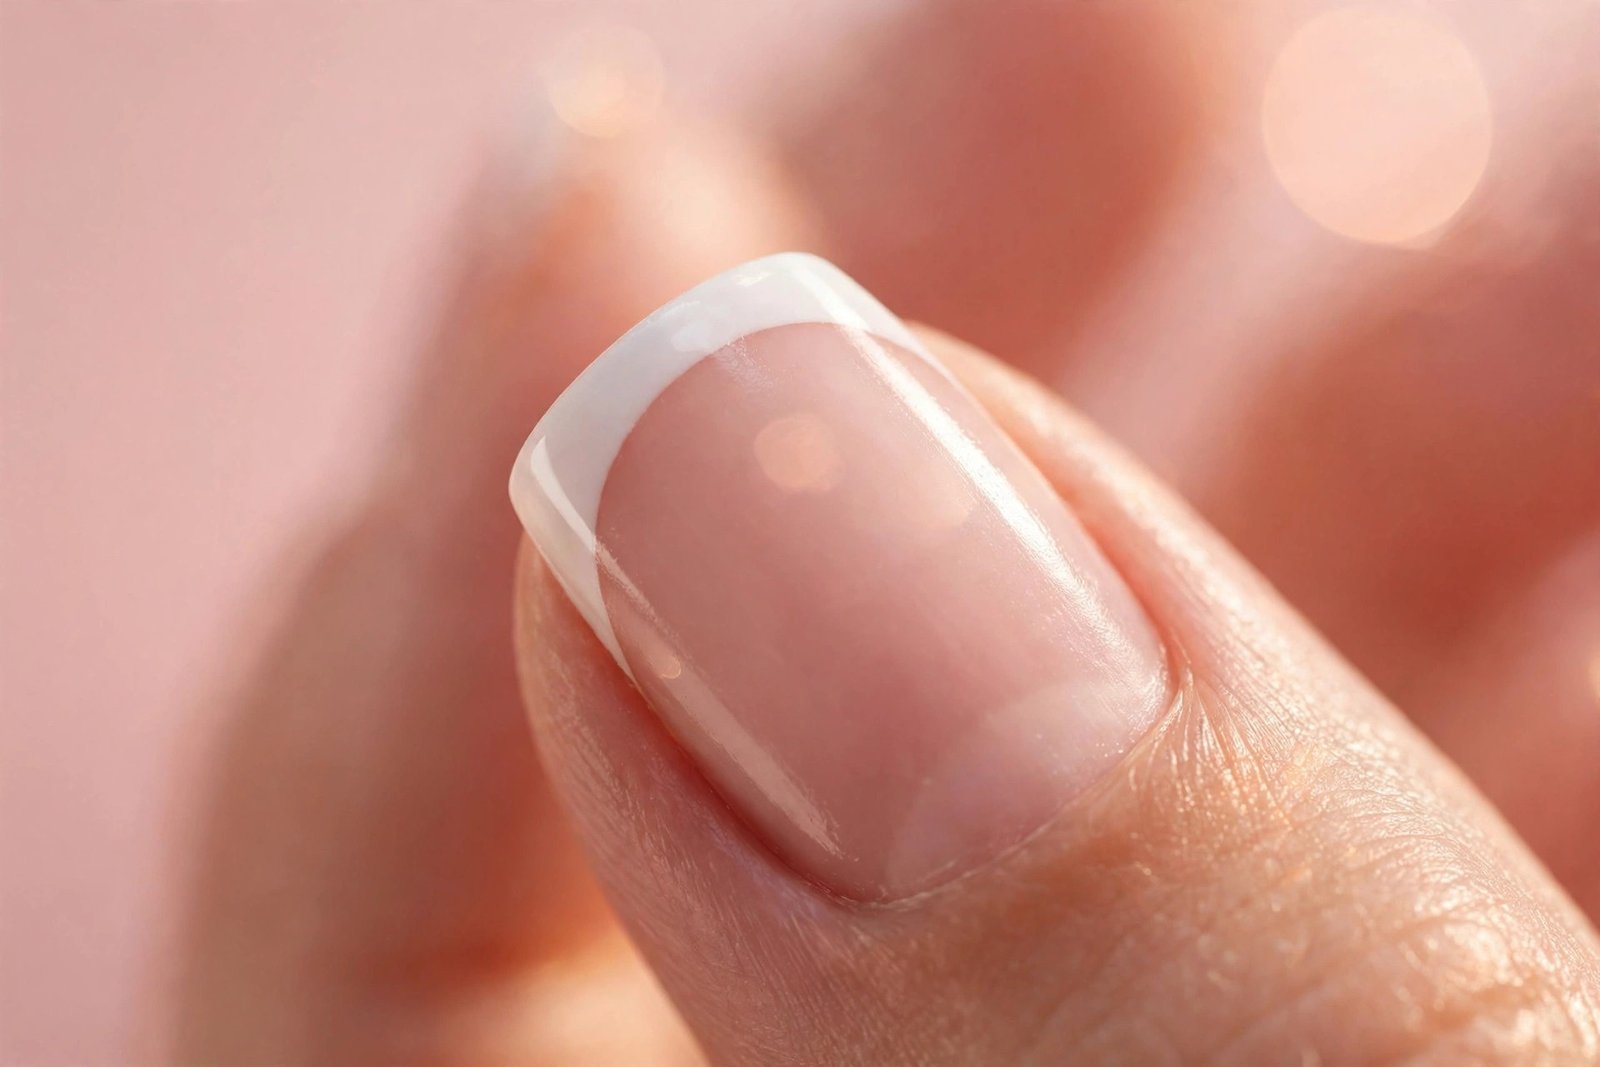
A classic French manicure has two parts:
- A sheer, natural-looking base — typically a pale pink, nude, or milky white shade that lets some of the natural nail show through.
- A white tip — a clean, opaque white band painted across the free edge (the part of the nail that extends past the fingertip).
The smile line is the curved boundary between the base color and the white tip. Getting that curve neat is the entire challenge — and you don’t need a surgeon’s hand: guides, stickers, and even a silicone stamper can do the precision work for you.
What You’ll Need
Gather everything before you start — French tips require wet polish layers in a specific order, so mid-process hunting for a missing tool is how smudges happen.
Nail prep tools:
– Nail file (180 grit works for natural nails)
– Buffer block
– Cuticle pusher (metal or wooden orangewood stick)
– Cuticle oil or a dab of hand lotion
– Rubbing alcohol or nail polish remover for cleaning the nail plate
Polish essentials:
– Base coat
– Sheer nude or pale pink polish (look for shades labeled “sheer” or “jelly”)
– Opaque white polish for the tips — a bright, creamy white gives the cleanest line
– Top coat — a fast-dry top coat helps seal the tips, which take the most abuse
Tip-drawing tools (pick one method):
– A thin detail brush or striping brush (for freehand)
– French tip guides, nail stickers, or regular Scotch tape cut into strips (for the guides method)
– A silicone nail stamper (for the stamper method)
Cleanup kit:
– A small flat or angled brush
– Acetone or nail polish remover in a tiny dish for cleanup
– Cotton pads and Q-tips
One note on white polish: opaque white is famously finicky — streaky or thick in cheap formulas. A white labeled “one-coat” or designed for nail art generally performs better for tips.
Step 0: Nail Prep (Don’t Skip This)
French manicures look best on a smooth, even canvas. Sheer bases show every ridge and uneven edge, so prep matters more here than with opaque colors.
- Remove old polish completely. Soak off any leftover bits — sheer pink over stained nails will look muddy.
- Shape your nails. File in one direction, not sawing back and forth. Almond and squoval shapes suit French tips especially well, but any neat shape works. Shorter nails can absolutely wear French — the white tip just gets thinner. best nail shapes for short fingers
- Push back cuticles gently. After softening with warm water or cuticle oil, use a cuticle pusher to gently push cuticles back. Don’t cut live cuticle skin — pushing is enough for a clean-looking result and avoids irritation.
- Buff lightly, then cleanse. One or two passes with a buffer block to smooth the surface, then wipe each nail with rubbing alcohol to remove oils and dust. Polish adheres far better to a clean, dry nail — this noticeably extends wear time.
3 Methods for Painting the Perfect White Tip
The white tip is the make-or-break step. All three methods below produce a clean smile line; they differ in how much hand control they require.
Method 1: Freehand (Best for Steady Hands)
Freehand gives the most natural, customizable smile line — you control the thickness and curve exactly.
- Hold the brush perpendicular to the nail, not flat like a normal polish stroke.
- Start at one sidewall and draw the curve across to the other sidewall in one smooth motion. Think of it as drawing a half-moon along the free edge.
- Fill in above the line to the tip of the nail.
- Don’t panic if the first pass is wobbly — cleanup (covered below) fixes it.
Pros: No extra tools needed; most control over tip shape and thickness.
Cons: Requires a steady hand; hard to keep all ten nails uniform.
Best for: Anyone who’s painted their nails for a while and wants full control.
Method 2: Guides, Stickers, or Tape (Best for Beginners)
French tip guides are crescent-shaped stickers that mask off the nail bed, leaving only the tip exposed. This is the most foolproof method.
- After your base color is completely dry (at least 20–30 minutes, or it will peel up with the sticker), place a guide on each nail just below where you want the smile line.
- Press the edges down firmly so polish can’t bleed underneath.
- Paint white over the exposed tip. Two thin coats are better than one thick coat.
- Peel the guide off while the white is still wet. This is the critical detail — if you wait until it’s dry, the guide pulls up dried polish and leaves a jagged edge.
- If the line needs sharpening, do it with the cleanup brush in the next section.
No guides on hand? Strips of regular tape or reinforcement rings work too — cut a gentle curve into the tape edge for a more natural smile line.
Pros: Easiest path to uniform tips; every nail looks identical.
Cons: Risk of lifting the base color if it isn’t fully dry; slight ridge where the sticker edge was.
Best for: True beginners, or anyone who wants all ten nails to match perfectly.
Method 3: Silicone Stamper (Best for Speed)
The stamper method borrows a trick from the nail art community: stamp the tip on instead of painting it.
- Paint white polish onto a silicone stamper head.
- Press the tip of your nail into the polish-coated stamper at the angle of your desired smile line.
- Lift straight off. The stamper transfers a clean, curved white tip onto the nail.
Pros: Fast; produces a consistent curve every time.
Cons: Takes a few practice nails to judge the right angle and polish amount; the tip can be thin and may need a second layer.
Best for: Anyone who wants quick, decent-looking tips without fine brush work.
The Classic French Manicure: Full Step-by-Step
Here’s the complete sequence using regular polish, combining the prep above with your chosen tip method:
Step 1 — Base coat. Apply a thin, even layer of base coat to every nail. Cap the free edge (run the brush along the very tip of the nail) — this seals the edge and prevents early chipping. Let it dry 2–3 minutes.
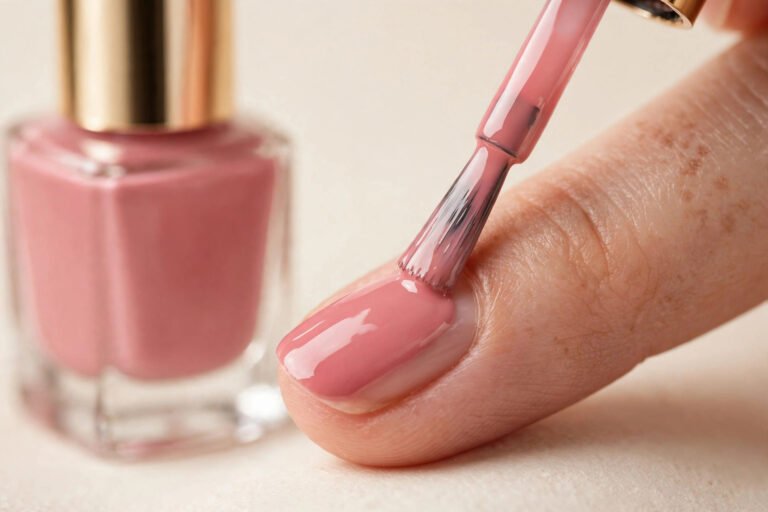
Step 2 — Sheer base color. Apply one thin coat of sheer nude or pale pink. These shades are meant to look translucent, so don’t try to make it opaque. If one coat looks streaky, wait 5 minutes and apply a second thin coat. Let dry fully.
Step 3 — White tips. Using your chosen method, paint the white tips following the natural curve of each nail. Thinner tips suit shorter nails; longer nails can carry a deeper white band.
Step 4 — Cleanup. Dip your small flat brush in acetone, wipe most of it off on the edge of the dish (you want a damp brush, not a dripping one), and trace along the smile line to sharpen any wobbly edges. Also clean any polish on the skin around the nail. A Q-tip works for small spots, but the flat brush gives sharper lines.
Step 5 — Top coat. Apply top coat over the entire nail, including the tip, and cap the free edge again. This melts the layers together visually and gives the whole manicure a smooth, finished look.
Step 6 — Dry completely. Use a fast-dry top coat if you’re impatient (most people are). Still, avoid heavy hand use for at least 30 minutes and give the manicure a few hours before anything that could dent it.
Total active time for a beginner: roughly 45 minutes to an hour. It gets faster with practice.
Modern French Variations to Try
Once you can paint a tip, these modern variations open up:
- Micro-French. An ultra-thin white line instead of a full tip — paint it with a striping brush. Especially elegant on short nails and almond shapes.
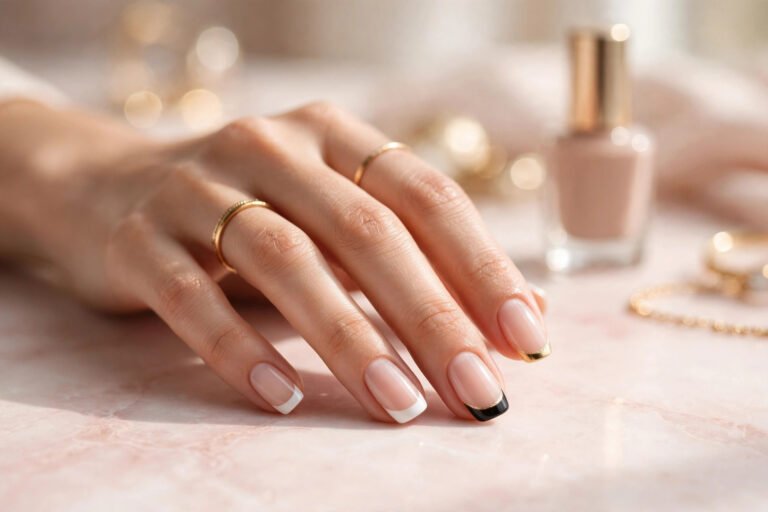
- Colored tips. Swap the white for black (dramatic), red (retro), pastel shades (spring), or metallic gold (party season). Keep the sheer nude base for contrast.
- Double French. The classic tip plus a thin line across the cuticle area in the same color. Delicate and modern.
- Reverse French. White or colored band at the cuticle instead of the tip, with a bare or sheer nail. Uses the same sticker-guide technique in reverse.
- Ombre French (baby boomer). The white tip fades into the pink base instead of a hard line. Easiest with a makeup sponge dabbed with white polish at the tip — or look for a dedicated ombre technique once you’re comfortable with basics.
- Glitter tips. A glitter polish tip over a nude base reads festive without looking overdone, and glitter polish is forgiving — its texture hides uneven edges.
If you love the French look but want it to last weeks rather than days, consider doing the same design in gel. how to do gel nails at home covers the full gel process, and the tip methods above transfer directly — gel white polish is self-leveling and actually easier to get crisp with.
How to Make Your French Manicure Last
White tips show every chip — the contrast makes each nick visible. A few habits dramatically extend wear:
- Always use base coat and top coat. The base gives polish something to grip; the top coat seals the vulnerable tip edge. Skipping either is the number one cause of early chipping.
- Cap the free edge. Running polish and top coat along the very tip of the nail wraps the edge in protection. This single technique adds days to any manicure.
- Reapply top coat every 2–3 days. A fresh thin layer of top coat refreshes shine and reseals the tips before micro-chips spread.
- Wear gloves for wet work. Dishes, cleaning, and long soaks soften polish and lift the edges. Rubber gloves are the cheapest manicure insurance there is.
- Don’t use nails as tools. Opening cans, scraping stickers, prying things — every one of those actions chips a tip.
- Moisturize cuticles daily. Cuticle oil keeps the skin around the nail flexible so it doesn’t lift polish at the edges as it dries out.
Keep reading: make any manicure last longer
Fixing Common French Manicure Mistakes
Wobbly smile lines. The cleanup brush is your eraser. A flat brush barely damp with acetone, traced along the curve, turns a shaky line into a crisp one. This is a normal part of the process, not a sign you failed.
White tips look streaky. White polish needs full opacity to look clean. Two thin coats beat one thick coat every time — thick coats streak and take forever to dry. Let the first coat go tacky before the second.
Base color peeled up with the guide sticker. The base wasn’t dry enough. Sheer polishes feel dry on the surface while still soft underneath; give guides a full 20–30 minutes of drying time, or switch to the freehand method.
Bubbles in the polish. Shaking the bottle creates bubbles. Roll the bottle between your palms instead. Also avoid applying polish in a steamy bathroom or right after a hot shower — heat and humidity cause bubbling.
Tips look too thick and chunky. Use less polish per stroke and consider a thinner smile line. On shorter nails especially, a thick white band can make nails look stubby — a micro-French often suits them better.
Polish flooded the cuticles. You loaded too much polish on the brush. Wipe one side of the brush on the bottle neck before each stroke, and leave a hairline gap between the polish and the cuticle.
Smudged a nail while drying. If it’s just the top coat, another thin layer of top coat can sometimes smooth it. If the color layer smudged, it’s fastest to redo that one nail.
Frequently Asked Questions
How long does a French manicure take at home?
Expect 45 minutes to an hour for all ten nails, including drying time between layers. The white tips are the slowest part — with practice and the guides method, most people get it down to 30–40 minutes.
Can you do a French manicure on short nails?
Absolutely — just keep the white band thin. A micro-French (a fine line along the edge) looks particularly good on short nails, and a rounded or squoval shape keeps proportions flattering.
What kind of white polish is best for French tips?
A bright, opaque, creamy white formulated for one-coat coverage works best. White polish is notoriously streaky, so avoid very thin or sheer whites. Nail-art white polishes and one-coat whites generally outperform basic whites for tip work.
Why do my French tips chip so fast?
Tips take the most impact of any part of the nail, and white shows every chip. The most common causes are skipping base coat, not capping the free edge, and no top-coat refresh between manicures. Gloves for dishwashing and a top-coat reapplication every couple of days make the biggest difference.
Can I do a French manicure with gel polish?
Yes — the same methods apply, and gel white polish is self-leveling, which makes crisp tips slightly easier. You’ll need a UV/LED lamp and gel-specific base and top coats. The full beginner process is covered in this gel nails beginner guide.
Key Takeaways
- A French manicure is just a sheer base plus white tips — the smile line between them is the only tricky part, and guides or a stamper can handle it for you.
- Don’t skip prep: shaping, pushing back cuticles, light buffing, and cleansing the nail plate with alcohol make the biggest difference in how the final result looks.
- Choose your tip method by skill level — guides and stickers are the most beginner-friendly, freehand gives the most control, and a silicone stamper is the fastest.
- Peel tip guides off while the white polish is still wet, and sharpen wobbly lines afterward with a flat brush barely dampened with acetone.
- Make it last by capping the free edge, reapplying top coat every few days, and wearing gloves for wet work.
- Once you’ve mastered the classic, try micro-French, colored tips, or an ombre fade — and consider gel for a version that lasts two to three weeks.
Love this? Pin it for later!