9 Easy Nail Art Designs with a Dotting Tool (Plus Toothpick Tricks)
If you buy exactly one nail art tool, make it a dotting tool. This unassuming double-ended metal stick — usually costing less than a cup of coffee — is behind an enormous share of beginner nail art: polka dots, flowers, hearts, animal print, and geometric patterns all start as dots. And if you do not own one yet, a bobby pin or toothpick produces nearly identical results for the smallest dot sizes.
This guide covers nine dotting-tool nail art designs ordered from easiest to most detailed, with step-by-step instructions for each. It also covers how to use a dotting tool correctly (technique matters more than the tool itself), what to use when you do not have one, and how to fix the blob-and-smudge problems that frustrate most beginners. For the broader beginner roadmap — prep, tools, and more techniques — start with the complete nail art designs for beginners guide.
Key Takeaways
- A dotting tool makes perfect dots in consistent sizes — the foundation of most beginner nail art.
- Bobby pins, toothpicks, and empty ballpoint pens work as substitutes for small and tiny dots.
- Load polish sparingly, press straight down, and lift straight up: no dragging, no pressing hard.
- Reload polish every 2–3 dots and wipe the tool clean when switching colors.
- Let each layer dry before adding the next, and seal everything with top coat floated over the design.
How to Use a Dotting Tool Correctly
Most dotting-tool frustration comes from technique, not talent. These five rules fix nearly every problem:
1. Load, then wipe. Dip the ball end into polish, then wipe one side on the bottle rim or a piece of foil. You want a small, controlled bead of polish — not a dripping blob. Too much polish is the number-one cause of blobby dots.
2. Press straight down, lift straight up. Touch the ball to the nail with light pressure and lift vertically. Do not drag, swirl, or press hard. The dot’s size is determined by the ball size and how much polish is loaded — not by pressure.
3. Reload every 2–3 dots. Dots get progressively smaller as polish runs out. For uniform dots, dip again frequently. For intentionally graduated dots (large to small), let the polish run down naturally.
4. Work on dry polish. Dotting onto tacky or wet base color drags and dents it. Wait until the base is dry to the touch — usually a few minutes for thin coats.
5. Clean between colors. Wipe the tool on a lint-free pad with a drop of remover before switching colors, or colors will muddy each other.
No Dotting Tool? Use These Instead
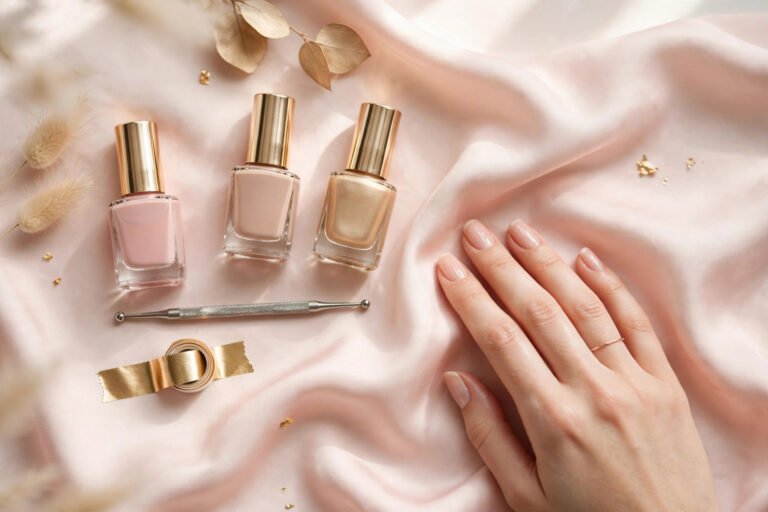
- Bobby pin: The rounded plastic tip makes clean small-to-medium dots. Flatten the tip slightly with pliers for a larger dot surface. This is the closest substitute to a real dotting tool.
- Toothpick: The pointed end makes tiny dots and is ideal for details like flower centers, animal-print spots, and dragging hearts. Break or sand the very tip if it is too sharp.
- Empty ballpoint pen: The ball tip makes precise tiny dots — excellent for intricate patterns.
- Pencil eraser or chopstick end: The flat, larger surface makes big statement dots.
- Pin or needle stuck in a pencil eraser: A DIY micro-dotting tool for the tiniest details.
9 Dotting-Tool Nail Art Designs
Each design assumes nails are prepped with base coat and a dry base color. If you need the full prep routine, see the beginner nail art guide’s prep section.
1. Scattered Polka Dots
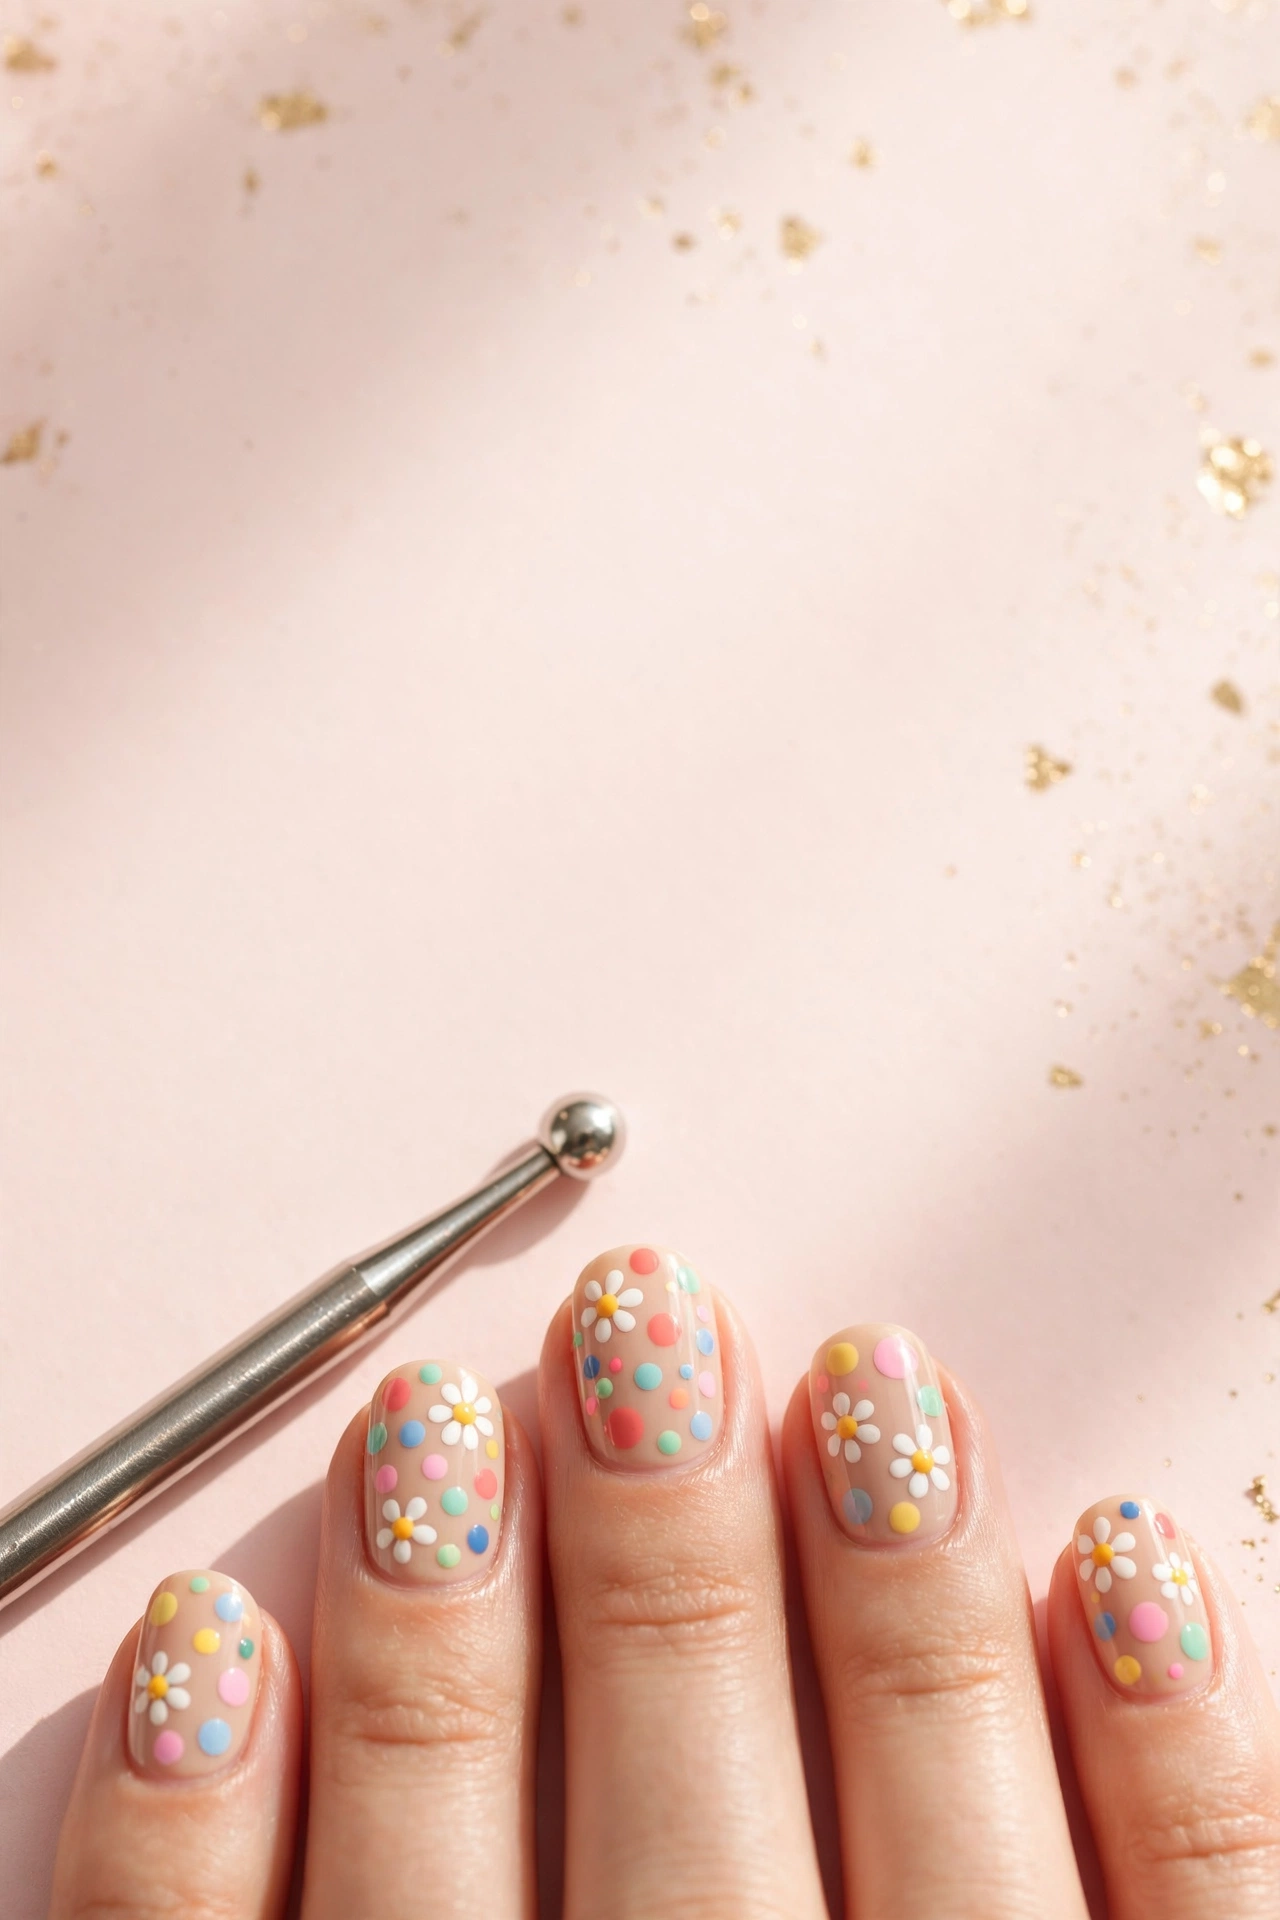
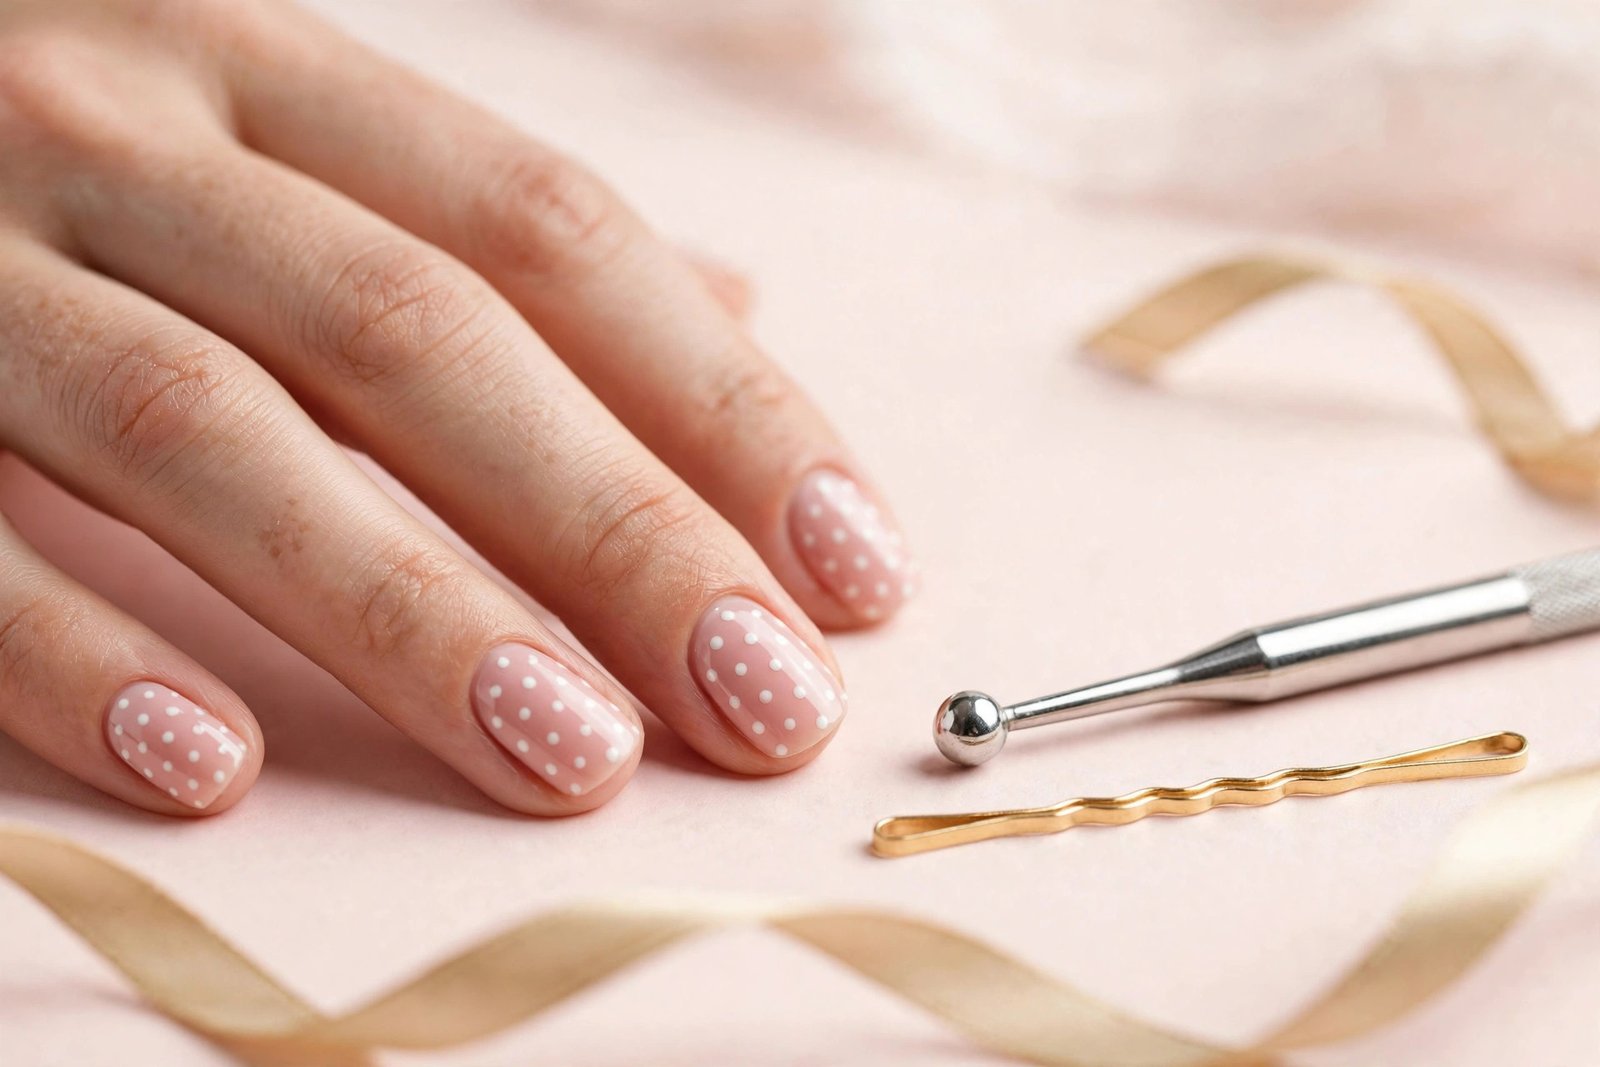
The starter design. Paint your base color and let dry. Load the large end of the dotting tool with a contrasting polish, wipe excess, and press dots randomly across each nail — varying the spacing slightly looks more modern than a rigid grid. Try white dots on navy, gold dots on burgundy, or black dots on nude. Seal with top coat.
2. Daisy Chain
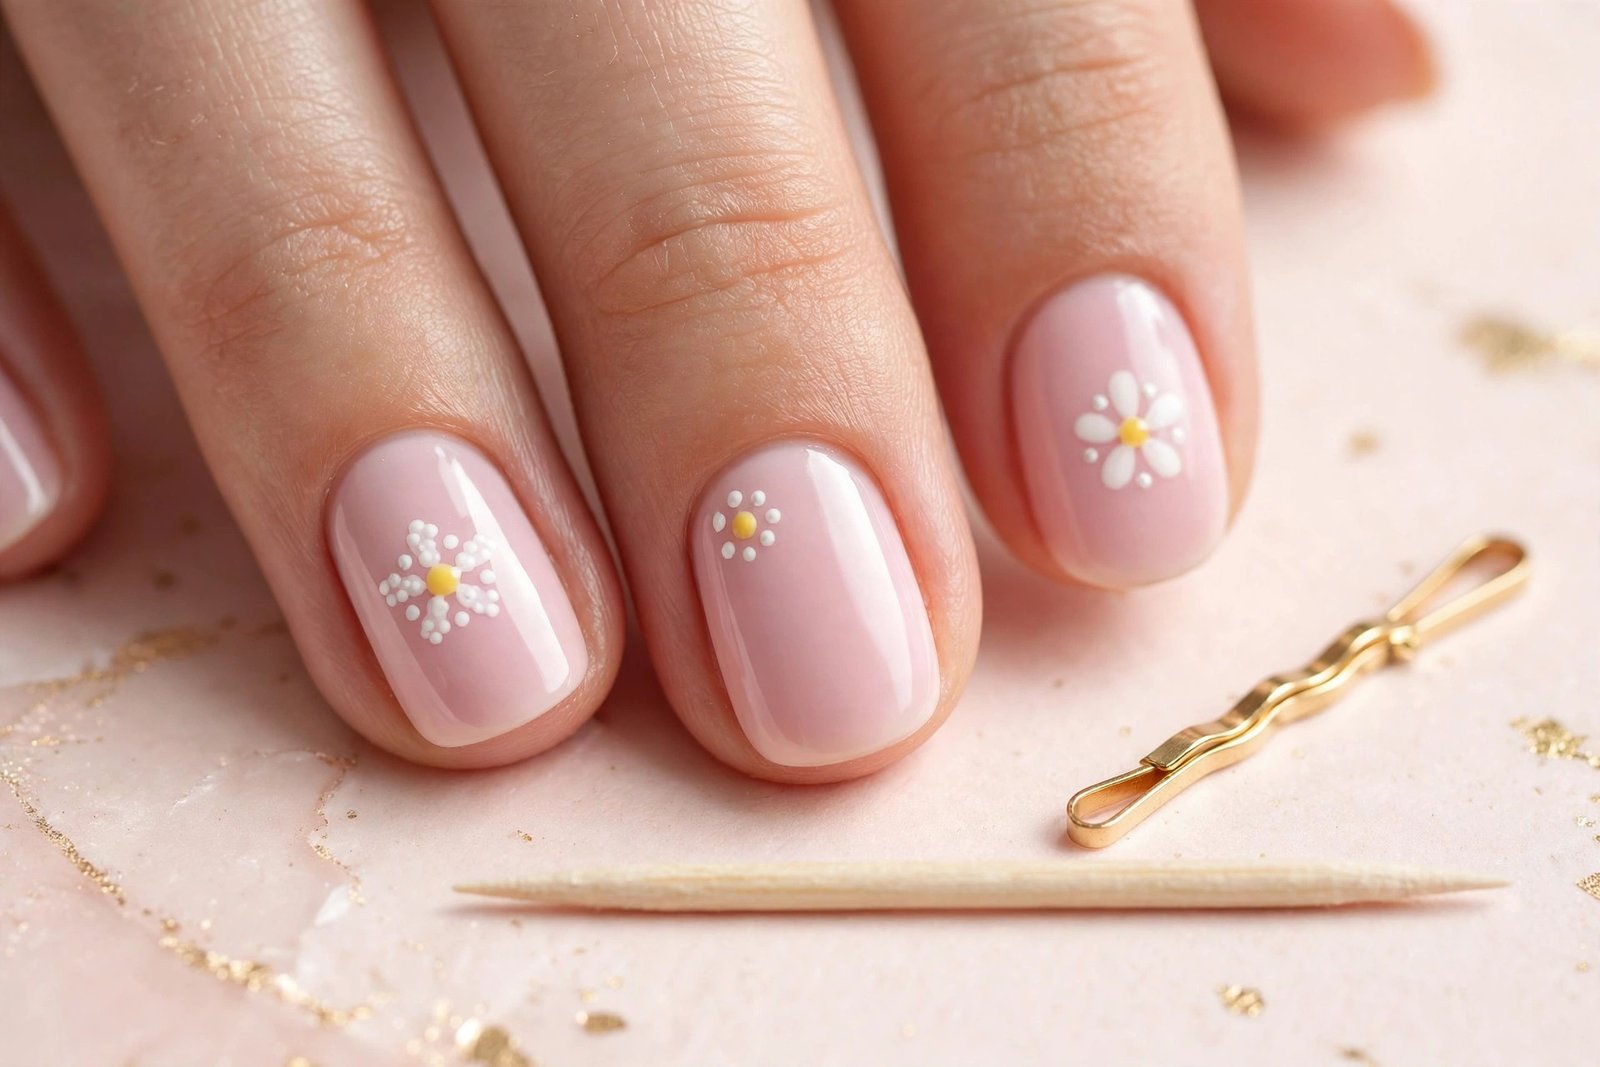
Place five small white dots in a circle with the small end of the tool, then add a yellow center dot. Put one daisy near the cuticle of each nail, or a row of three tiny daisies along one accent nail. Keep the dots small and the base color sheer or pastel for a delicate look. This design teaches dot placement precision and looks far harder than it is.
3. Dragged Hearts
Place two dots side by side, close together. While the polish is still wet, drag a toothpick or the pointed end of an orangewood stick downward through the middle of the pair, pulling the polish into a point. The result is a clean heart shape with zero drawing. One heart per nail in red on nude, or a single accent-nail heart in metallic gold, both look elegant.
4. Leopard Spots
Paint the base (classic nude or tan) and let dry. With a dotting tool, place irregular bronze or brown dots of varying sizes. While still slightly wet, use a toothpick dipped in black or dark brown to draw a broken “C” shape around part of each spot — not a full circle, just two or three short curved strokes. The incomplete outline is what makes it read as leopard rather than polka dots. One or two accent nails are usually enough; a full leopard manicure is bold.
5. Flower Bouquet Accent
On an accent nail, create one large daisy (as in design 2) surrounded by three or four smaller five-dot flowers in a second color, plus tiny green dots as “leaves.” The size variation makes it look like a deliberate bouquet arrangement. Keep the other nails in a coordinating solid color so the accent nail stands out.
6. Gradient Dot Fade
Starting at the cuticle, place a row of large dots; in the next row down, slightly smaller dots; continue decreasing size toward the tip (or reverse the direction). Use one color for a subtle tonal fade, or shift colors row by row for a rainbow effect. This design teaches polish control and looks strikingly neat when dots are evenly spaced.
7. Dotted French Tips
A fresh twist on the classic: instead of painting the white tip freehand, place a row of white dots along the tip edge, close enough that they nearly touch, then connect them by dragging a toothpick lightly through the row while wet. Alternatively, leave the dots separate for a playful dotted-tip look. Either version is far easier than a painted smile line — and pairs well with the French tip nail art variations.
8. Geometric Dot Grids
Place dots in a precise grid — three rows of three, evenly spaced — in a contrasting color on a solid base. The rigidity is the point: geometric dot grids look graphic and modern. Use the large end of the tool for bold dots or the small end for a refined pattern. Metallic dots (gold, silver, rose gold) on dark bases look especially high-end.
9. Dotted Ombre Accents
Combine dotting with the sponge technique: paint the base color, then use a dotting tool to place dots that fade from dense at the tip to sparse toward the cuticle, in a slightly darker or glitter shade. It gives an ombre impression with more control than sponging. For the full sponge method, see how to do ombre nails at home.
Fixing Common Dotting Problems
Blobby, irregular dots: Too much polish on the tool, or pressing too hard. Wipe excess, use light pressure, lift straight up.
Dots with “tails”: Lifting the tool at an angle drags polish into a tail. Lift vertically, and make sure the base coat underneath is fully dry.
Inconsistent dot sizes: Forgetting to reload. Dip every 2–3 dots for uniform size.
Smudged dots: Top coat applied too soon or brushed too heavily. Wait until dots are fully dry, then float the top coat over with minimal strokes. A quick-dry top coat helps.
Dots sinking into the base: Dotting onto wet base color. Patience — let the base dry to the touch first.
Frequently Asked Questions
Can I do dot nail art without a dotting tool?
Yes. A bobby pin’s rounded tip is the best substitute and handles most dot sizes well. Toothpicks work for tiny dots and details, and an empty ballpoint pen makes precise micro-dots. A real dotting tool is inexpensive and worth buying if you do nail art regularly, but it is not required to start.
Why do my dots look like blobs instead of circles?
Almost always too much polish on the tool or too much pressure. Wipe the excess off after dipping, touch the nail lightly, and lift straight up without dragging. The dot size comes from the tool’s ball size and the polish bead — pressing harder only flattens and distorts it.
How do I keep dots evenly spaced?
Work methodically: place the center dot first, then build outward symmetrically. For grids, lightly mark positions by touching the tool to the nail without polish first (the faint dent guides placement). And remember — slight irregularity reads as handmade charm, not failure.
What polish works best for dotting?
Creme-finish polishes in contrasting colors give the crispest dots. Very thin or watery polishes spread and lose shape; very thick polishes blob. If a polish is too thick, add a drop or two of polish thinner. Metallics and glitters also dot well but are harder to clean up.
How long should I wait before adding top coat over dots?
Wait until the dots are fully dry to the touch — typically 5 to 10 minutes depending on dot size and polish thickness. Large dots take longer than small ones. Applying top coat too early is the most common cause of smudged dot art; when in doubt, wait longer. A quick-dry top coat applied with light, floating strokes minimizes risk.
Love this? Pin it for later!