How to Do Ombre Nails at Home: The Sponge Method, Step by Step
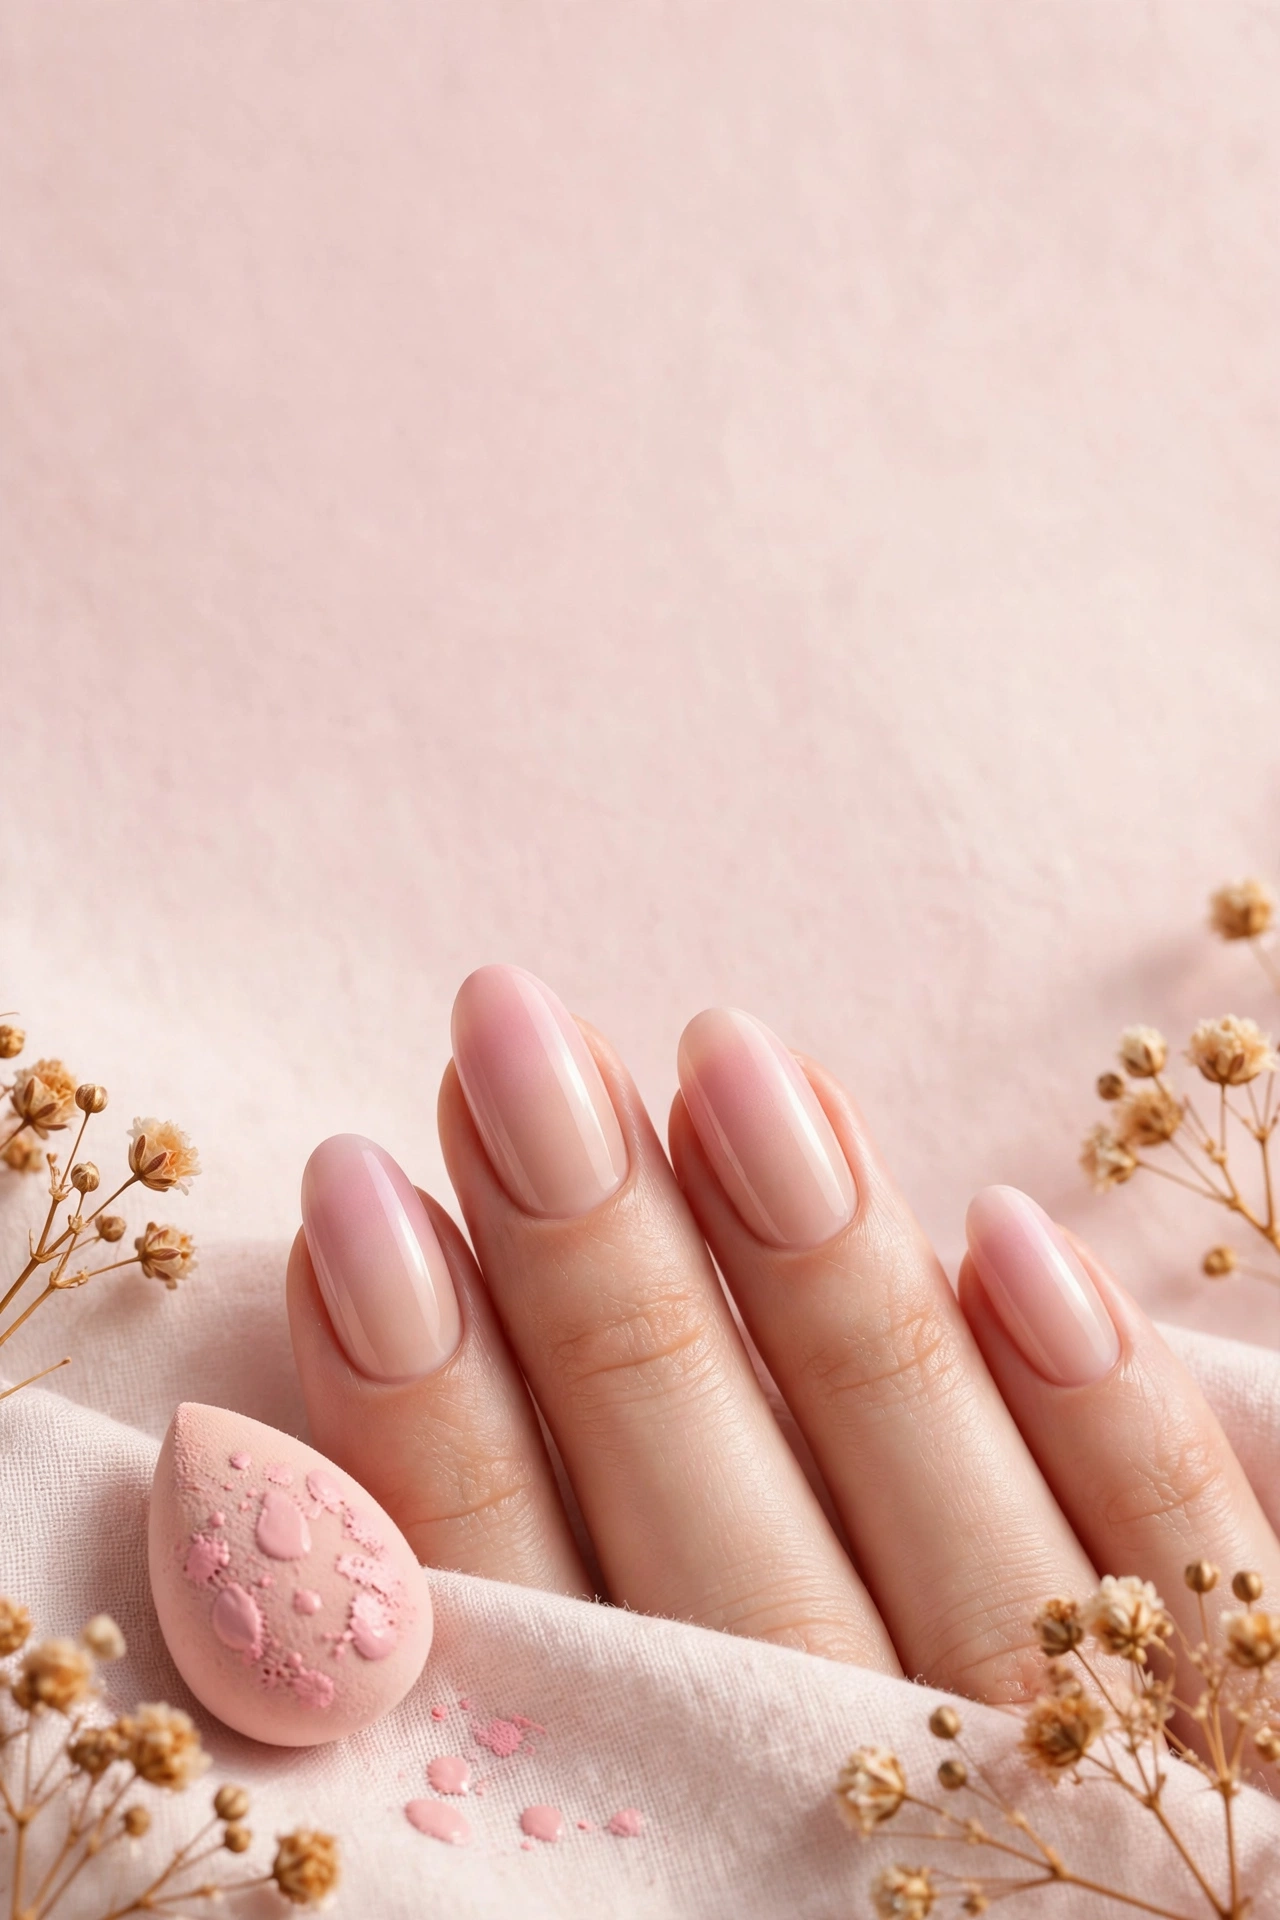
Ombre nails — a smooth gradient fading from one color into another — look like advanced salon work, but the technique behind them is one of the most beginner-friendly in nail art. There is no freehand painting involved at all: a simple makeup sponge does the blending for you. If you can bounce a sponge onto your nail, you can do ombre nails.
This guide walks through the sponge method step by step, covers the tools and polish types that give the smoothest gradients, shares color combinations that work reliably, and troubleshoots the streaks, patchiness, and mess that frustrate first-timers. For more beginner techniques in the same family, see the complete nail art designs for beginners guide.
Key Takeaways
- Ombre nails use a makeup sponge to blend two or more colors — no freehand painting required.
- Apply polish directly to the sponge (not the nail) and bounce it on in thin, repeated layers.
- Creme polishes in similar tones blend most easily; high-contrast pairs need more layers.
- Expect messy cuticles — cleanup afterward with acetone is a normal part of the process.
- Two coats of top coat smooth the sponge texture and seal the gradient.
What You Need
- Base coat and top coat (top coat is especially important for ombre — it melts the layers together visually)
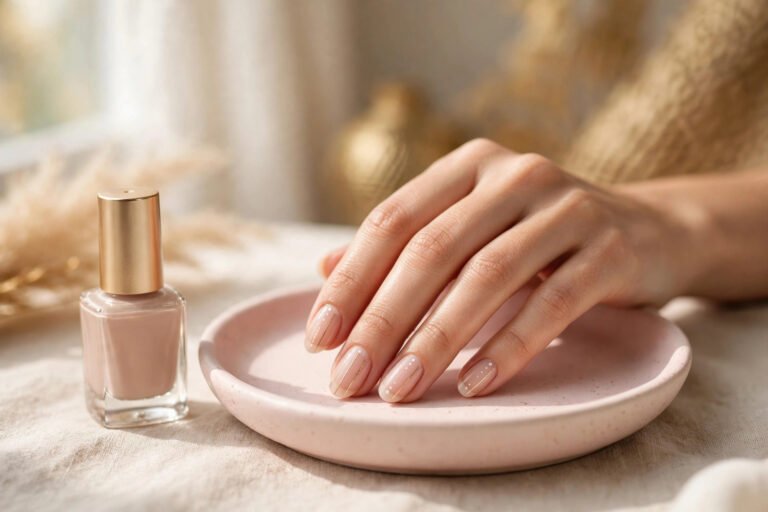
- Two or three polish colors for the gradient. Creme finishes blend most smoothly. Choose colors that sit near each other on the color wheel for easy blending (pink into nude, blue into purple), or embrace contrast (black into red) knowing it needs more layers.
- A makeup sponge — a wedge-shaped latex-free sponge works best. Cut it into smaller pieces; one wedge does many manicures. Slightly dampening the sponge can help polish transfer, but many artists use it dry.
- A base color (usually the lightest of your gradient colors, or white to make colors pop)
- Liquid latex or petroleum jelly (optional but recommended): painted around the nail before sponging, it lets you peel off the inevitable mess instead of scrubbing it.
- Acetone, pointed cotton swabs, and a small cleanup brush for the edges.
- A palette — a piece of foil, a plastic lid, or a silicone mat to paint polish stripes on.
How to Do Ombre Nails at Home: Step by Step
Step 1: Prep and base coat
Shape nails, push back cuticles, and wipe the nail plate with remover to dehydrate it. Apply base coat and let dry. Good prep matters even more for ombre because you will be pressing a sponge onto the nail repeatedly — polish needs maximum grip. The full routine is in the beginner nail art guide.
Step 2: Apply the base color
Paint one to two thin coats of your lightest gradient color (or white) over the whole nail and let dry completely. This base does two jobs: it gives the sponge layers something uniform to sit on, and it intensifies the gradient colors — especially neons and pastels, which look washed out without a white base.
Step 3: Protect the skin (optional but wise)
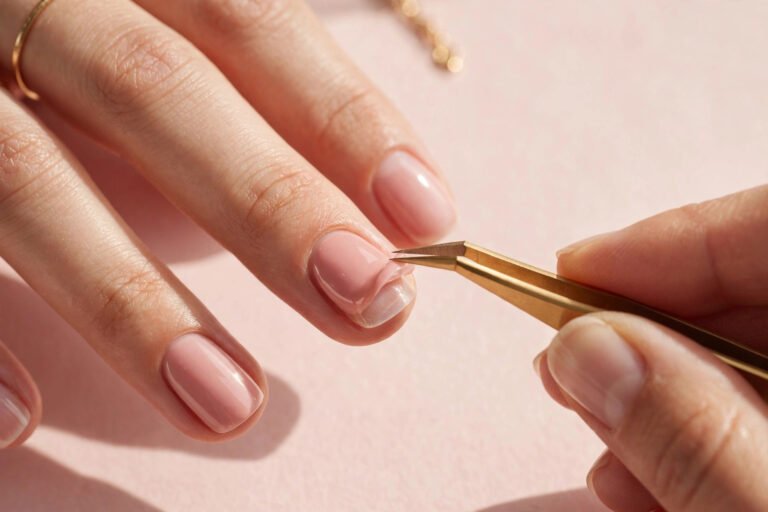
Paint liquid latex around each nail (cuticles and sidewalls), avoiding the nail itself, and let it dry. Alternatively, smear a thin ring of petroleum jelly around the nail. Ombre sponging is inherently messy, and this step turns a ten-minute cleanup into a ten-second peel.
Step 4: Load the sponge
On your palette, paint two or three horizontal stripes of polish side by side so the edges touch — for a vertical gradient (cuticle to tip), the stripes run horizontally across the sponge. The stripes should be generous: the sponge absorbs a lot. Lightly press the sponge onto the stripes once to transfer polish into it.
Step 5: Bounce, don’t drag
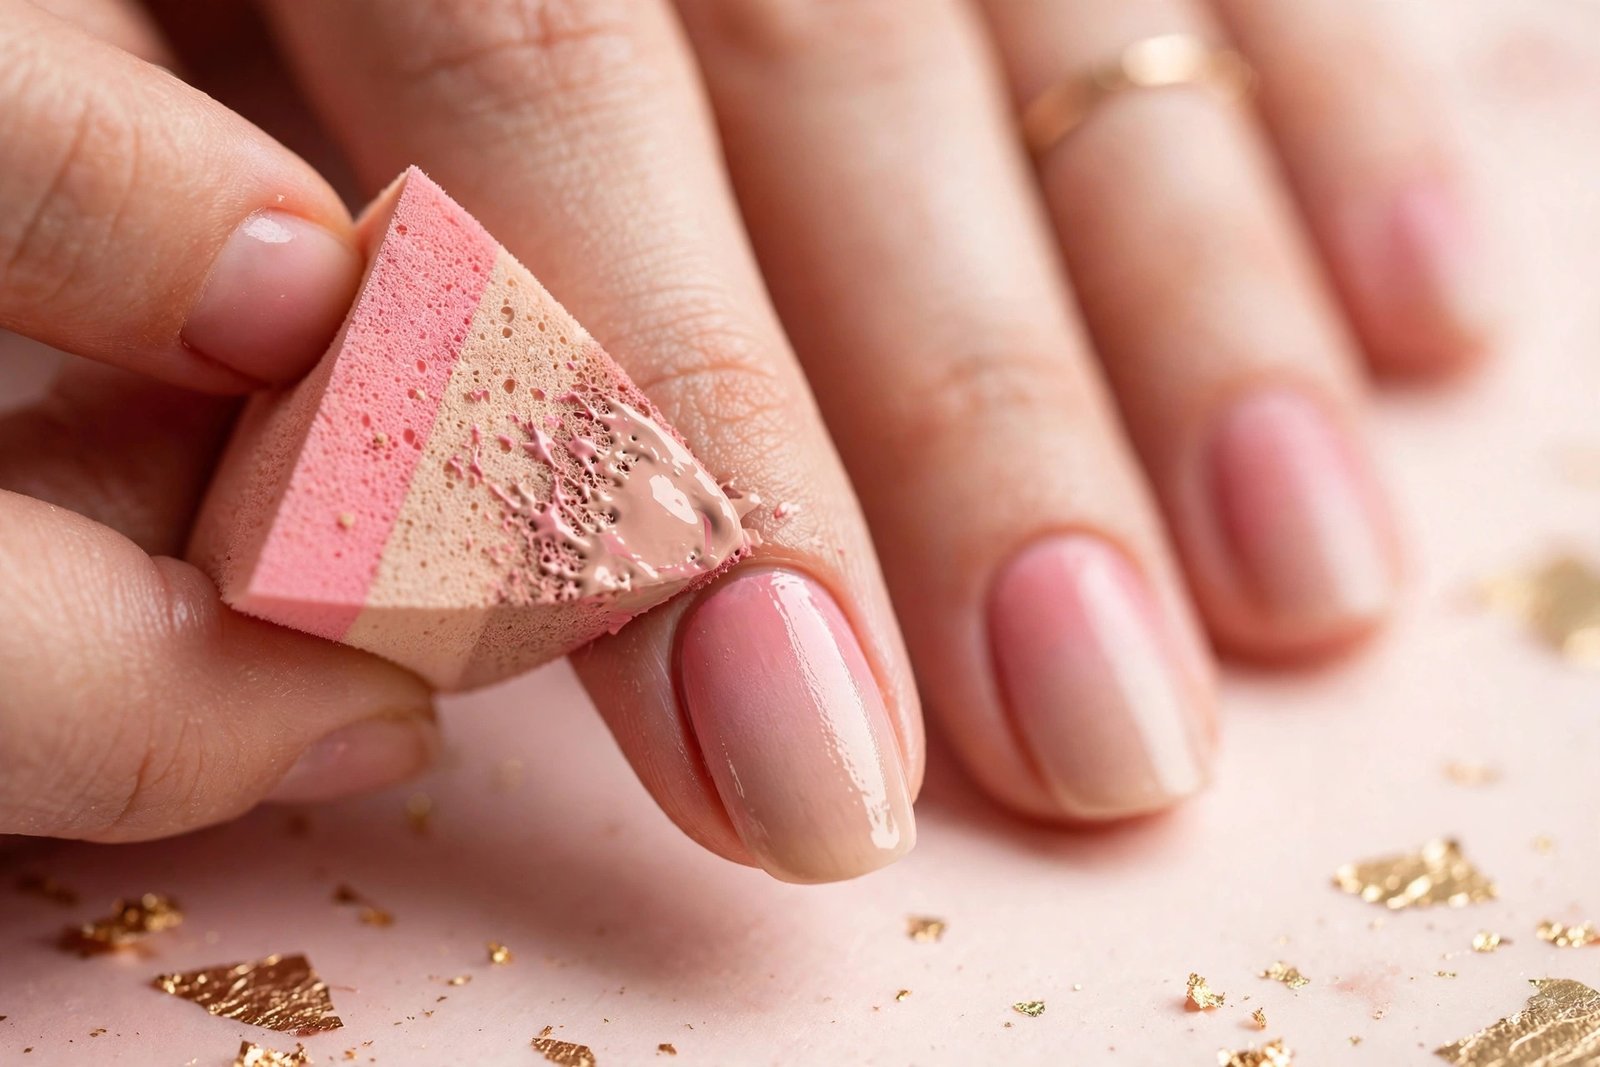
Press the loaded sponge straight onto the nail with a gentle bouncing motion — up and down, not side to side. Dragging smears the gradient; bouncing stamps it. Cover the whole nail with 5–8 bounces. The first pass will look patchy and faint. That is normal.
Step 6: Build in thin layers
Let the first sponged layer dry for a minute or two, reload the sponge with fresh polish stripes, and bounce on a second layer. Repeat for 2–4 layers total. Each pass deepens the color and smooths the blend. Reloading the sponge between nails (or every two nails) keeps the gradient consistent — a drying sponge gives patchy results.
Step 7: Clean up
Peel off the liquid latex (or wipe away the petroleum jelly), then clean the remaining edges with a pointed cotton swab or small brush dipped in acetone. Take your time here — crisp cuticle lines are what make ombre look professional rather than messy.
Step 8: Seal with top coat
Apply top coat with light, floating strokes — pressing hard can drag the gradient. Because sponge application leaves a slightly textured surface, two thin coats of top coat give a smoother, more even finish than one thick coat. Cap the free edge.
Best Ombre Color Combinations
These pairings blend reliably for beginners:
- Nude to white — the “baby boomer” French fade; elegant and universally flattering
- Pale pink to hot pink — a classic tonal gradient that is hard to get wrong
- Lavender to deep purple — rich and dimensional
- Peach to coral — warm, summery, and flattering on most skin tones
- Light blue to navy — cool-toned and striking
- White to pastel (any) — pastels pop over white and blend effortlessly
- Black to deep red — dramatic and vampy; needs extra layers for smooth blending
- Nude to glitter — paint the gradient in nude tones, then sponge glitter over the tips for a sparkling fade
Beginner rule of thumb: colors that are adjacent on the color wheel (pink/red, blue/purple, peach/orange) blend with fewer layers. High-contrast pairs (black/white, navy/yellow) can look stunning but need more passes and more patience to avoid a muddy middle.
Troubleshooting Common Ombre Problems
Patchy or streaky gradient. Usually caused by too few layers, a drying sponge, or dragging instead of bouncing. Fix: add more thin layers, reload the sponge frequently, and keep the motion vertical.
Harsh line where colors meet. The colors are too contrasting or the sponge was overloaded in one spot. Fix: add a transitional layer — bounce a mix of the two colors (paint them overlapping on the sponge) right over the harsh line to bridge it.
Bubbles in the finish. Pressing too hard traps air, or the polish is too thick. Fix: use lighter bounces, roll (don’t shake) polish bottles, and smooth everything with two top coats. For persistent bubble issues, see why nail polish bubbles on nails.
Colors look muddy. Overlapping too many contrasting colors, or sponging while previous layers are still wet so they mix into brown-gray. Fix: let each layer dry before the next, limit the gradient to two or three colors, and choose colors that blend cleanly (test on foil first).
Sponge texture visible. Normal for this technique — top coat is the fix. Two thin coats level the surface. A slightly thicker “plumping” top coat works even better if you have one.
Polish flooding the cuticles. Skipped the latex barrier or pressed the sponge too far past the nail edge. Fix: smaller sponge pieces, aim for the nail center and let the bounce spread outward naturally, and always do cleanup after.
Variations to Try Next
- Horizontal ombre: Rotate the sponge 90 degrees so the gradient runs side to side across the nail instead of cuticle to tip.
- Glitter ombre: Sponge glitter polish over a solid base, concentrating at the tips and fading down — easier than color gradients because glitter is forgiving.
- Multi-color sunset: Three stripes (yellow, orange, pink) sponged together for a sunset effect.
- Ombre French: White sponged onto nude tips for the soft baby boomer look — also covered in the French tip nail art variations.
- Reverse ombre: Dark at the cuticle fading to light at the tip — edgier and less common.
Frequently Asked Questions
How many layers does sponge ombre need?
Typically 2–4 sponged layers over the base color. The first layer always looks patchy — resist the urge to overload the sponge to fix it in one pass. Thin, repeated layers build a smoother gradient than one heavy application, and they dry faster between passes.
Can I do ombre nails without a makeup sponge?
A makeup sponge gives the smoothest result, but alternatives exist: a small piece of kitchen sponge (rougher texture, more rustic gradient), a stamper head, or even an eyeshadow applicator for tiny nails. Dry-brushing polish with a fan brush can suggest a gradient but rarely achieves a true blend. Wedge sponges are inexpensive and worth keeping on hand.
Why does my ombre look streaky instead of blended?
Three common causes: dragging the sponge sideways instead of bouncing vertically, too few layers, or colors with too much contrast for your layer count. Switch to a pure bouncing motion, add another layer or two, and for high-contrast pairs, add a bridging layer where the colors overlap on the sponge.
Do I need gel polish for ombre nails?
No — regular polish works well with the sponge method and is more forgiving for beginners (mistakes wipe off easily). Gel ombre lasts longer (two to three weeks) but requires curing each layer under a lamp, which complicates the multi-layer process. Master the technique in regular polish first; the gel nails at home guide covers the gel upgrade path.
How long do ombre nails last?
With proper prep, base coat, edge capping, and top coat, sponge ombre in regular polish typically lasts 5–7 days — comparable to any regular-polish manicure. Reapplying top coat every two to three days extends wear. For maximum longevity strategies, see how to make nail polish last longer.
Love this? Pin it for later!