Nail Art Designs for Beginners: The Complete Guide to Beautiful DIY Manicures
Scrolling through social media, it is easy to assume nail art is a skill reserved for professionals with steady hands and expensive equipment. The intricate marble effects, hand-painted florals, and mirror-shine chromes look impossibly precise — but most of those designs are built from a handful of simple techniques that any beginner can learn at home. Nail art is not one skill; it is a collection of small, learnable moves like dotting, striping, sponging, and stamping, and many of the most popular looks require just one of them.
This guide is the complete starting point for anyone new to nail art. It covers the tools worth buying (and the ones you can skip), the nail prep routine that makes the difference between art that chips in a day and art that lasts a week, and 12 step-by-step nail art designs for beginners ranked from easiest to slightly more ambitious. It also includes fixes for the mistakes almost every beginner makes, tips for making designs last longer, and a roadmap for what to learn next once the basics feel easy.
For nail prep and ongoing care that keeps your canvas healthy, see the at-home nail care routine for beginners. If you want to go deeper on individual techniques, the cluster guides cover easy dotting-tool nail art, modern French tip variations, ombre nails at home, and nail art for short nails.
Key Takeaways
- Nail art is a set of small, learnable techniques (dotting, striping, sponging, tape lines, stickers) — not a single talent you either have or don’t.
- Proper nail prep (clean, shaped, dehydrated nails plus base coat) matters more for good-looking results than artistic skill.
- Start with dot-based and tape-based designs; they look impressive but require almost no freehand drawing.
- Work one hand at a time, keep layers thin, and let each layer dry before adding the next to avoid smudging.
- A quality top coat and simple aftercare habits can double the wear time of beginner nail art.
Why Nail Art Is Easier Than You Think
The biggest barrier to nail art is not dexterity — it is the belief that every design requires freehand painting skill. In reality, the nail art world runs on tools and tricks that do the hard work for you. A dotting tool creates perfect circles in any size. Striping tape lays down razor-straight lines. A makeup sponge blends a gradient that would take an expert to paint. Nail stickers, decals, and stamping plates transfer detailed images with zero drawing at all. Beginners who use these aids routinely produce manicures that look salon-done, because the techniques are mechanical, not artistic.
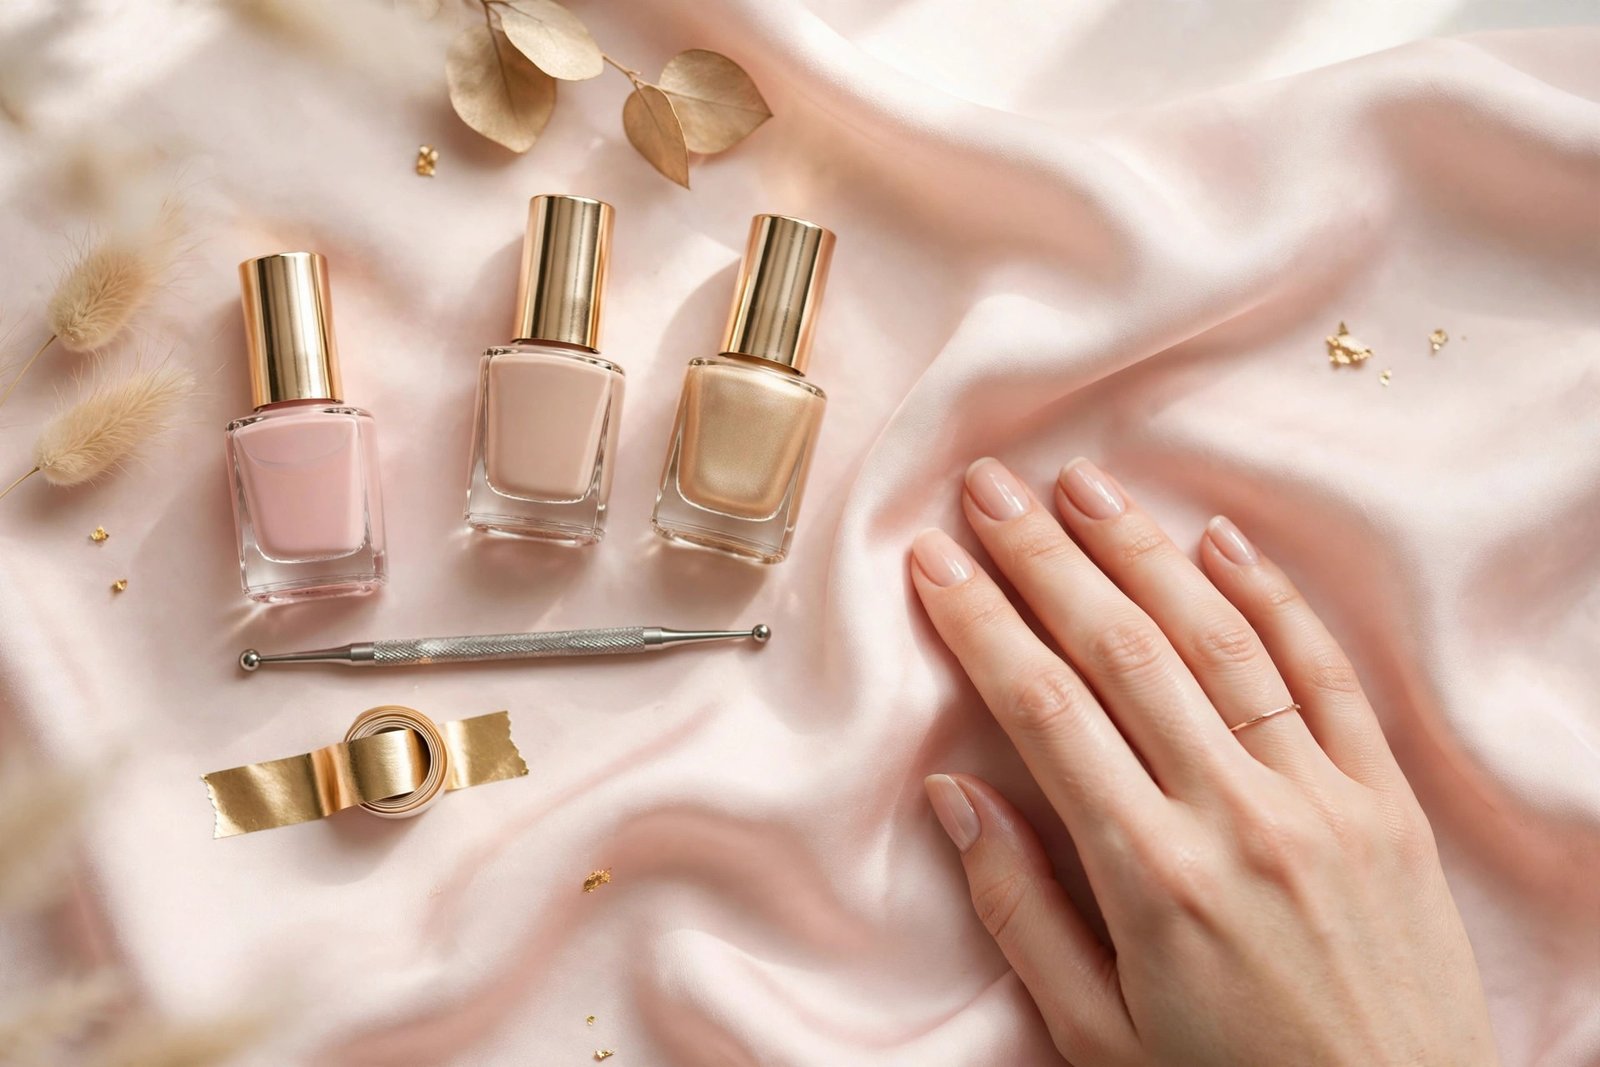
The second misconception is that you need a huge kit. A functional beginner setup fits in a small pouch: a base coat, two or three polish colors, a top coat, a dotting tool (or a bobby pin), some striping tape or regular tape, cotton swabs, and acetone for cleanup. Household items double as tools constantly in the nail art community — toothpicks for tiny dots, makeup sponges for ombre, a business card as a straightedge. Expensive brushes and lamps can come later, if ever.
Finally, nail art is unusually forgiving as a craft. Polish is removable. A design that goes wrong can be wiped off with acetone and restarted in minutes, at a cost of pennies. There is no ruined canvas, no wasted expensive materials — just another attempt. That low-stakes loop is exactly why beginners improve fast: every manicure is practice, and practice compounds quickly when each session only takes 30 to 45 minutes.
Essential Nail Art Tools for Beginners
Before buying anything, take inventory of what you already own. Most beginners are surprised to learn that half a nail art kit already exists in their home. Below are the essentials, the nice-to-haves, and the household substitutes that work just as well.
The non-negotiables
Base coat. A base coat does three jobs: it gives colored polish something to grip (which extends wear), it prevents dark pigments from staining the natural nail, and it smooths ridges so designs sit evenly. Beginners sometimes skip this step to save time; it is the single most common reason nail art peels off within 48 hours. Any basic base coat works — this is not the product to splurge on.
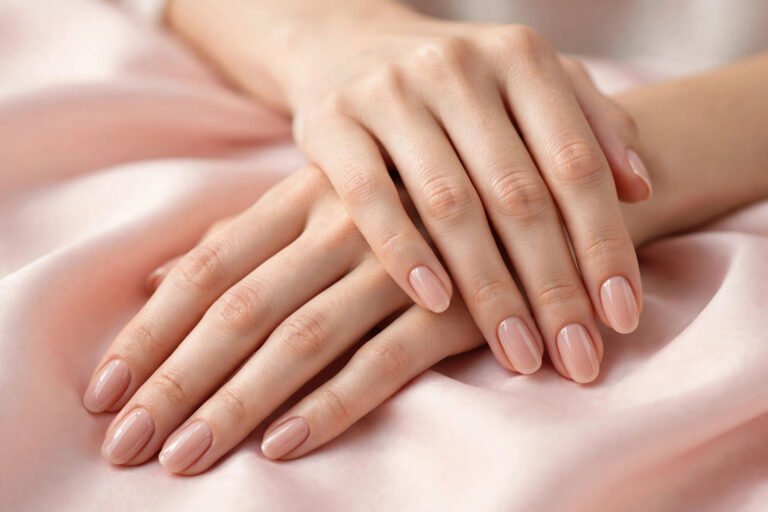
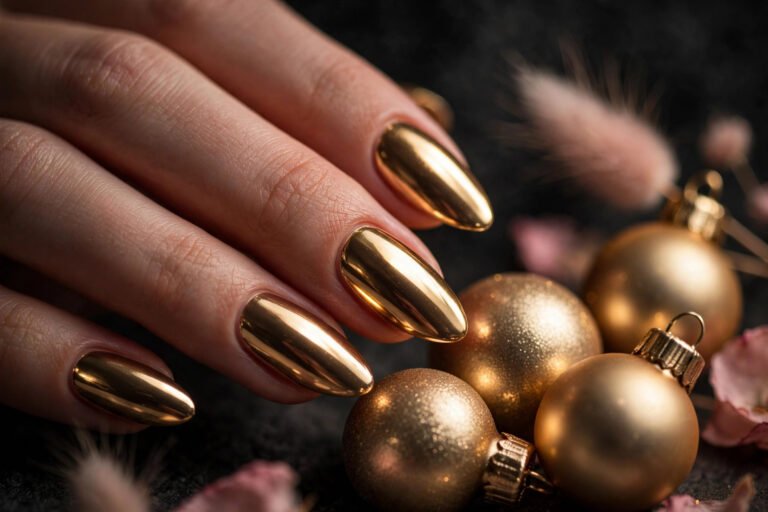
Two to three polish colors. Start with a neutral base shade (nude, sheer pink, or white), one accent color you love, and optionally black or white for details. Creme finishes (flat, opaque, no shimmer) are the easiest to work with for nail art because they are predictable: one or two coats give full coverage, and dots and lines come out crisp. Avoid glitter or metallic polishes for your first designs — they are harder to control and to clean up.
Top coat. A top coat seals the design, adds shine, and protects against chips. It also smooths over any texture from layered dots or tape edges, making beginner work look more polished. Apply it over fully dry art, using light strokes that float over the surface rather than dragging through it.
A dotting tool. This is the highest-value tool in beginner nail art. A double-ended dotting tool (usually under a few dollars) makes perfect dots in two sizes, and dots are the foundation of polka dots, flowers, hearts, animal prints, and geometric patterns. See the dedicated guide to easy nail art designs with a dotting tool for a full set of dot-based looks.
Cleanup supplies. A small angled brush or pointed cotton swabs dipped in acetone or polish remover clean up the skin around the nail after painting. This one step is what separates “homemade-looking” from “salon-looking” results — even slightly messy painting looks professional once the cuticle line is crisp.
Nice-to-haves
- Striping tape or nail vinyls: thin adhesive strips that create clean lines and geometric designs. Regular household tape cut into thin strips works in a pinch.
- A thin detail brush: for simple lines, outlines, and tiny shapes. A cheap nail art brush set is fine for learning.
- A makeup sponge: the key tool for ombre and gradient nails (full tutorial in the ombre nails at home guide).
- Nail stickers and water decals: instant detailed designs — florals, stars, abstract shapes — with no drawing skill required.
- A quick-dry top coat or drying drops: reduces the waiting time between layers, which reduces smudging accidents.
Household substitutes that genuinely work
- Bobby pin or toothpick: the rounded end makes small dots; the pointed end makes tiny dots and can drag polish into lines.
- Ballpoint pen (empty): the ball tip works like a tiny dotting tool.
- Old gift card or business card: use the straight edge as a guide for French tips or geometric blocks.
- Scotch tape: cut into thin strips for crisp lines, or use as a stencil for half-moon and diagonal designs.
Nail Prep: The Step Every Beginner Skips
Ask any nail technician what separates long-lasting nail art from art that chips by day two, and the answer is almost always prep, not painting skill. Polish adheres to clean, dry, slightly textured nail — not to oily, lotion-coated, or ragged nail. A proper prep routine takes about ten minutes and transforms results.
Step 1: Remove old polish completely. Use acetone-based remover and take off every trace of old color, including the invisible residue near the cuticles. Old polish underneath causes lifting and uneven texture.
Step 2: Shape the nails. File in one direction (not sawing back and forth, which causes micro-tears and peeling) to your desired shape. For beginners learning nail art, a short-to-medium squoval or almond shape is ideal: enough surface area to design on, but short enough that the free edge does not get in the way. The guide to the best nail shape for your fingers can help you choose.
Step 3: Push back cuticles — do not cut them. Soak fingertips in warm water for a few minutes (or apply cuticle remover), then gently push cuticles back with an orangewood stick or cuticle pusher. Cutting cuticles risks infection and ragged regrowth; pushing is safer and gives you a clean edge for polish. For more detail, see should you cut your cuticles.
Step 4: Dehydrate the nail plate. Oils — from your skin, lotion, or even the warm-water soak — are the enemy of adhesion. Wipe each nail with polish remover or rubbing alcohol on a lint-free pad, then avoid touching the nail surface with your fingertips. This step alone noticeably improves wear time.
Step 5: Apply base coat. One thin, even layer on every nail, including a light stroke across the free edge (the tip). This “capping” seals the edge where chips usually start. Let it dry for two to three minutes before adding color.
12 Easy Nail Art Designs for Beginners (Step by Step)
These designs are ordered from genuinely-easiest to slightly-more-involved. Each one uses only the essential tools above. General rules for all of them: work on one hand at a time, keep every layer thin (two thin coats beat one thick coat), and wait until each layer is dry to the touch before adding the next.
1. Classic Polka Dots
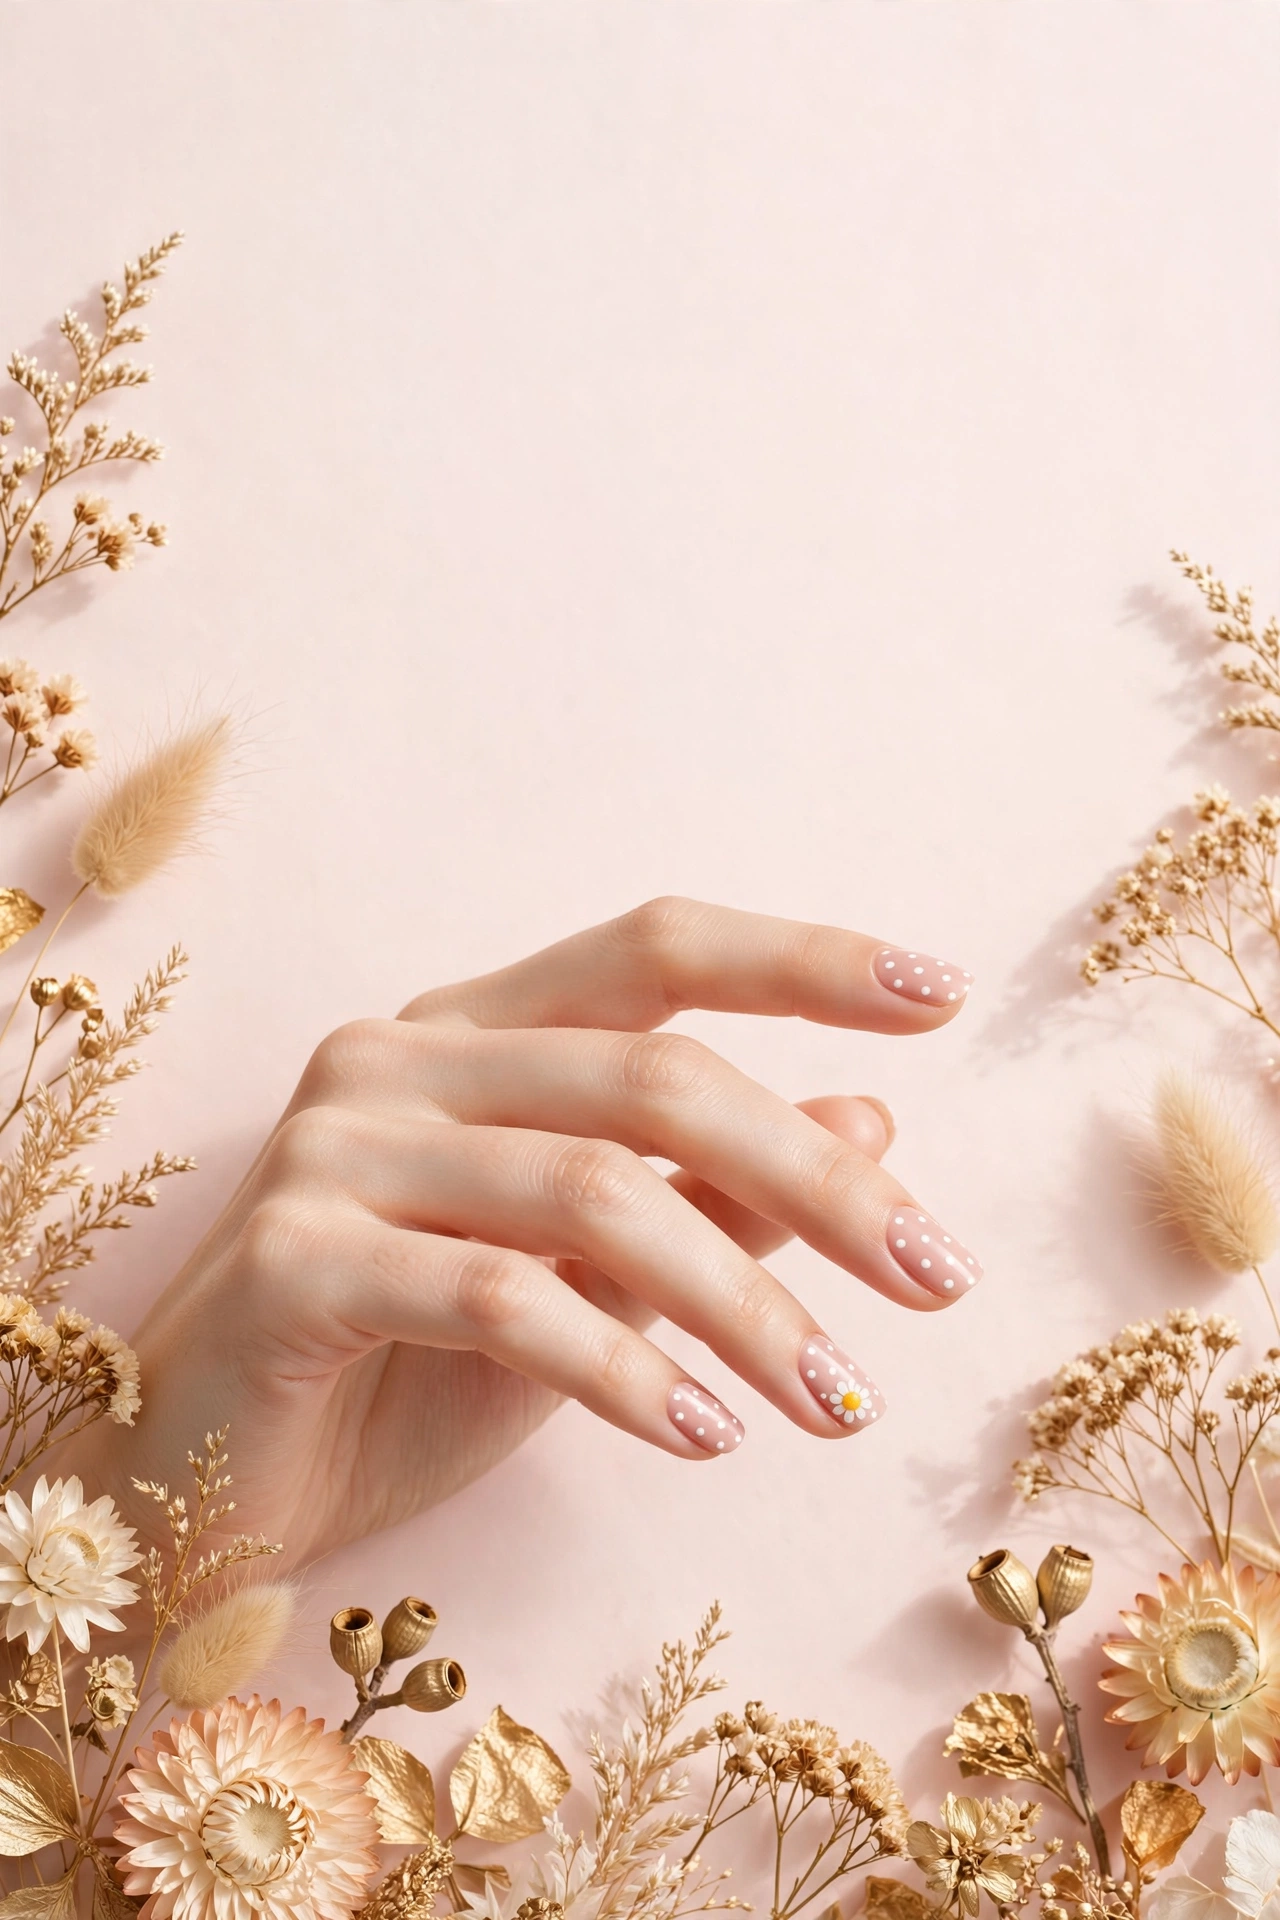
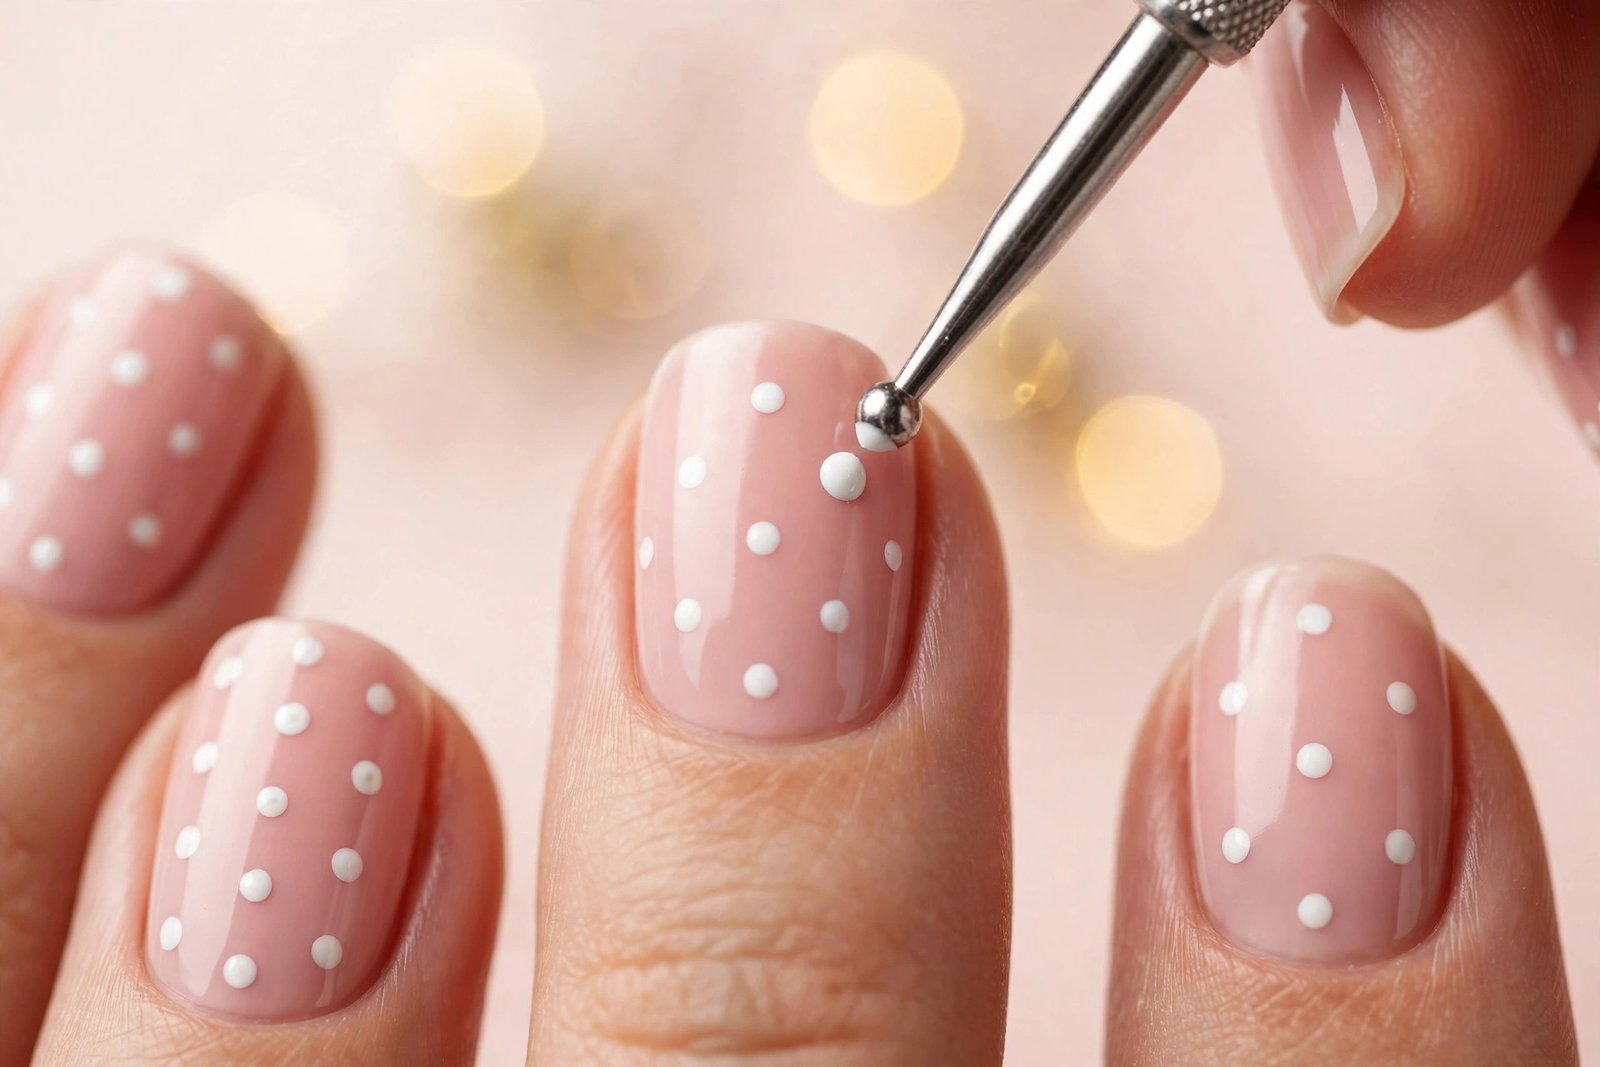
The official first design of every nail artist. Paint nails with your base color and let dry. Dip a dotting tool into your accent color (wipe excess on the bottle rim so the dot is not blobby), and press straight down onto the nail — do not drag. Space dots evenly or scatter them randomly; both look intentional. Finish with top coat.
2. Daisy Flowers
Paint the base color and let dry. With a dotting tool, place five small white dots in a circle to form petals, then a yellow or gold dot in the center. One daisy per nail on an accent nail, or a tiny daisy on every nail near the cuticle, both look fresh and springlike. This is the design that convinces most beginners that nail art is actually doable.
3. Single Accent Nail
The lowest-effort way to make a manicure look designed: paint nine nails in a neutral shade and one nail per hand (usually the ring finger) in a contrasting color or glitter. Add a single dot or stripe to the accent nail if you want a touch more detail. Minimal skill, maximum “I meant to do this” energy.
4. Half-Moon Manicure
A vintage-inspired look that is easier than it appears. Paint nails with your accent color and let dry completely. Place a small round sticker, hole-punch reinforcement, or a curved piece of tape over the base of each nail to mask a half-moon shape, then paint your second color over the whole nail. Peel off the sticker while the second color is still slightly tacky to reveal a clean crescent.
5. Diagonal Color Block
Paint the base color and let dry. Place a strip of tape diagonally across each nail, paint the exposed half with your accent color, and remove the tape while the polish is still wet for the sharpest line. Two-tone diagonal nails look graphic and modern with almost zero freehand work.
6. Simple Stripes
Paint the base color and let dry. Using a thin detail brush or the edge of a striping brush, draw one or two horizontal or vertical lines in a contrasting color. Pro tip: rest your painting hand’s pinky on the table for stability, and rotate the finger being painted rather than moving the brush hand. Slightly wobbly lines still look handmade-chic; top coat smooths everything.
7. Glitter Gradient Tips
Paint the base color and let dry. Dab a glitter polish onto just the tips, then use a clean makeup sponge to bounce the glitter downward, fading it toward the middle of the nail. The sponge diffuses the glitter edge so it melts into the base color instead of stopping in a hard line. Seal with two coats of top coat (glitter is textured and needs the extra smoothing).
8. Heart Accents
Paint the base color and let dry. Place two small dots side by side with a dotting tool or toothpick, then drag a toothpick downward through the center of the pair to pull them into a heart shape. One tiny heart near the cuticle or tip of each nail is sweet without being childish, especially in red, black, or metallic gold.
9. Matte Top Coat Transformation
This is less a design and more a cheat code: any manicure instantly looks more editorial with a matte top coat instead of a glossy one. Paint your color (dark shades like burgundy, navy, and black look especially striking matte), let dry, and finish with matte top coat. For extra interest, do a matte base with glossy dots or a glossy French tip on top — the texture contrast reads as deliberate design.
10. Easy French Tips (Tape Method)
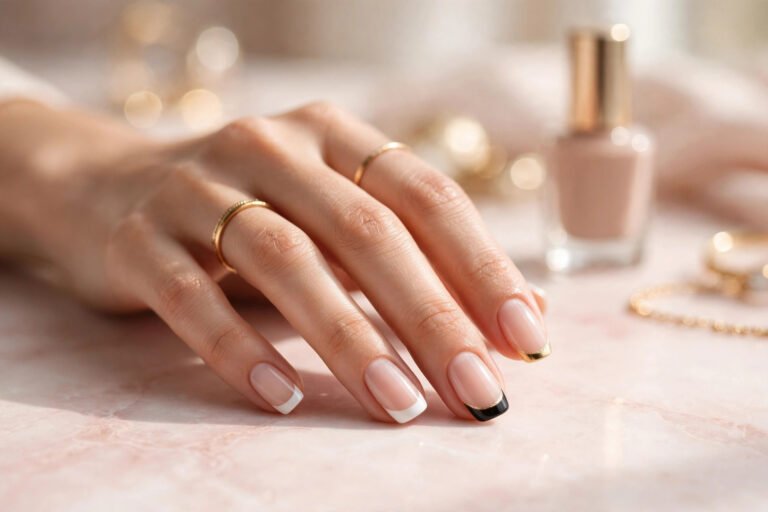
The classic French manicure terrifies beginners because of the freehand smile line — but the tape method removes the freehand entirely. Paint nails with a sheer nude base and let dry completely. Place a strip of tape (or a French tip guide sticker) across each nail, leaving the tip exposed, then paint the tip white. Remove the tape while the white is still slightly tacky. For the full classic method plus troubleshooting, see French manicure at home step by step — and for modern twists like colored and double French tips, the French tip nail art variations guide has ten ideas.
11. Sponge Ombre
Paint nails with the lighter of your two colors and let dry. On a makeup sponge, paint horizontal stripes of both colors side by side so they touch, then bounce the sponge onto the nail repeatedly, reloading polish every nail or two. The colors blend where they meet, creating a gradient. Clean up the skin around the nail afterward (ombre is messy — that is normal). The complete walkthrough with color-pairing ideas is in the how to do ombre nails at home.
12. Minimalist Line Art
Once dots and tape feel comfortable, try single-stroke minimalism: a thin vertical line down the center of the nail, a small outline heart, a tiny moon, or a single dot at the base of a bare nail. These designs suit short nails beautifully and look intentionally modern rather than “beginner simple.” Keep the base sheer or nude so the line work stands out.
How to Fix the 7 Most Common Beginner Mistakes
1. Flooding the cuticles. Painting too close to (or onto) the skin is the number-one beginner issue. Fix: leave a hairline gap of bare nail around the edges when painting, then clean up with an angled brush dipped in acetone after. Prevention beats correction — load less polish on the brush.
2. Thick, gloopy coats. Thick polish takes forever to dry, bubbles, and dents at the slightest touch. Fix: wipe one side of the brush on the bottle neck, then apply in three thin strokes (center, left, right). Two thin coats always beat one thick one. If polish has gone thick in the bottle, a few drops of polish thinner (not remover) restore it.
3. Smudging between layers. Adding the next layer before the previous one is dry drags and streaks the design. Fix: wait until polish is dry to the touch — usually 2 to 5 minutes for thin coats — before adding dots, tape, or top coat. Quick-dry top coat between stages helps. If you smudge, let it dry fully, then gently buff the spot and repaint rather than trying to fix wet polish.
4. Bubbles in the polish. Bubbles come from shaking the bottle (roll it between your palms instead), applying over a not-fully-dry base, or painting in heat. Fix: if bubbles appear, let the layer dry completely, lightly buff smooth, and repaint thinly. For a deeper dive, see why nail polish bubbles on nails.
5. Dots that look like blobs. Pressing the dotting tool too hard or loading too much polish creates irregular blobs instead of crisp circles. Fix: wipe excess polish off the tool, touch it to the nail lightly and lift straight up. Reload polish every two to three dots for consistency.
6. Tape pulling up the base color. Removing tape when the base is not fully dry lifts it right off. Fix: let the base color dry completely (at least 15 to 20 minutes, or speed it with quick-dry top coat) before applying tape, and use low-tack tape or press tape on the back of your hand first to reduce stickiness.
7. Uneven nail art between hands. Your dominant hand always paints better than your non-dominant hand. Fix: paint your dominant hand first (when patience is highest), keep designs on the non-dominant hand simpler (dots and tape rather than freehand), and remember that from a normal viewing distance, minor asymmetry is invisible to everyone but you.
How to Make Your Nail Art Last Longer
Beginner nail art has a reputation for chipping fast, but most early chipping is a prep and aftercare problem, not a skill problem. Beyond the prep routine above, these habits extend wear significantly:
- Cap the free edge with every layer — base, color, and top coat. The tip is where chips start, and sealing it is the highest-impact anti-chip move.
- Reapply top coat every two to three days. This refreshes the seal and adds a sacrificial layer that takes the daily abuse instead of your design. For the full longevity playbook, see how to make nail polish last longer.
- Wear gloves for dishes and cleaning. Hot water and detergents are polish’s worst enemies; they soften polish and lift edges. This single habit can add days of wear.
- Avoid using nails as tools. Opening cans, scraping stickers, and peeling labels stress the free edge and cause exactly the kind of tip chips that ruin nail art first.
- Moisturize cuticles daily. Cuticle oil or hand cream keeps the skin around the nail flexible so it does not pull away from the polish edge and cause lifting. Apply oil around — not on — the nail plate if your manicure is fresh.
When You’re Ready for Advanced Techniques
Once dots, tape lines, and sponge gradients feel comfortable — usually after a few weeks of regular practice — these are the natural next steps, roughly ordered by difficulty:
- Water marbling: dropping polish onto water and swirling it into patterns, then dipping the nail through. Stunning results, famously messy process.
- Stamping: pressing etched designs from a metal plate onto the nail with a stamper. Near-instant detailed art with a small learning curve on pressure and timing.
- Hand-painted details: tiny florals, faces, and landscapes with fine detail brushes. This is where the freehand skill beginners feared at the start actually develops — built on all the brush control learned from simpler designs.
- Gel polish at home: longer-lasting color cured under a lamp, which opens the door to encapsulated designs and chrome effects. The starter walkthrough is in how to do gel nails at home.
There is no rush to advance. Many nail art enthusiasts happily stay in the dots-and-tape zone indefinitely — those techniques cover an enormous range of on-trend looks, and they are fast enough for weekly manicure changes.
Frequently Asked Questions
What is the easiest nail art design for a complete beginner?
Polka dots. They require only a dotting tool (or a bobby pin), look intentional in any color combination, and teach the core skills of loading polish, placing it precisely, and working in thin layers. A simple dotted manicure is achievable on the very first attempt and looks genuinely polished with a good top coat.
Do I need special tools to start doing nail art?
No. The essentials are base coat, two to three polish colors, top coat, and something to make dots with — a dotting tool, bobby pin, or toothpick all work. Tape, makeup sponges, and stickers expand what you can do, but the first several designs in this guide need nothing beyond the basics plus household items.
How long does beginner nail art take?
A simple design (dots, accent nail, tape lines) typically takes 30 to 45 minutes including drying time between layers. More involved designs like sponge ombre or detailed tape work can take up to an hour. Working one hand at a time and using quick-dry top coat between stages keeps the process efficient.
Why does my nail art always smudge?
The most common cause is adding the next layer before the previous one is fully dry. Each layer needs 2 to 5 minutes (for thin coats) before you dot, tape, or top-coat over it. The second most common cause is dragging the top coat brush through the design instead of floating it over the surface — use light, minimal strokes and reload the brush often.
Can I do nail art on short nails?
Absolutely — many beginner designs look better on short nails than long ones. Dots, half-moons, diagonal color blocks, and minimalist line art all suit shorter lengths, and short nails are actually easier to work on because there is less surface to keep even. The dedicated guide to nail art designs for short nails has twelve looks chosen specifically for shorter lengths.
Love this? Pin it for later!