10 French Tip Nail Art Variations: Modern Twists on the Classic Manicure
The French manicure — pale nail bed, white tip, crisp smile line — has been a staple for decades because it is clean, flattering, and goes with everything. But the classic is only the starting point. Modern French tip nail art variations swap the white for color, double the line, tilt it sideways, fade it into ombre, and reshape it entirely — and most of these twists are no harder than the original.
This guide covers ten French tip variations with step-by-step methods, including the beginner-friendly tape technique that removes the freehand smile line from the equation. For the traditional method and troubleshooting, see the French manicure at home step by step. For the full beginner nail art toolkit, start with the nail art designs for beginners guide.
Key Takeaways
- Every French variation starts the same way: sheer nude base, fully dry, then the tip treatment.
- The tape method makes crisp smile lines without freehand painting — beginners should use it.
- Colored, double, and angled French tips are the easiest modern upgrades from the classic.
- Keep tip width proportional: thinner tips for short nails, wider tips for long nails.
- Seal every French manicure with top coat, capping the free edge to prevent tip wear.
The Foundation: A Clean Classic French Base
Before the variations, the base technique. Every design below assumes this starting point:
- Prep nails (shape, push cuticles, dehydrate) and apply base coat.
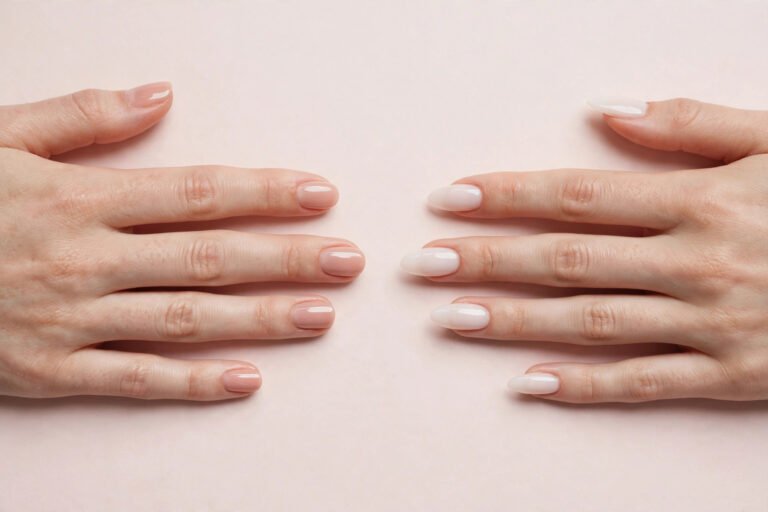
- Apply one to two coats of a sheer nude, pale pink, or milky white base. Let dry completely — at least 15 minutes.
- Apply the tip using one of these methods:
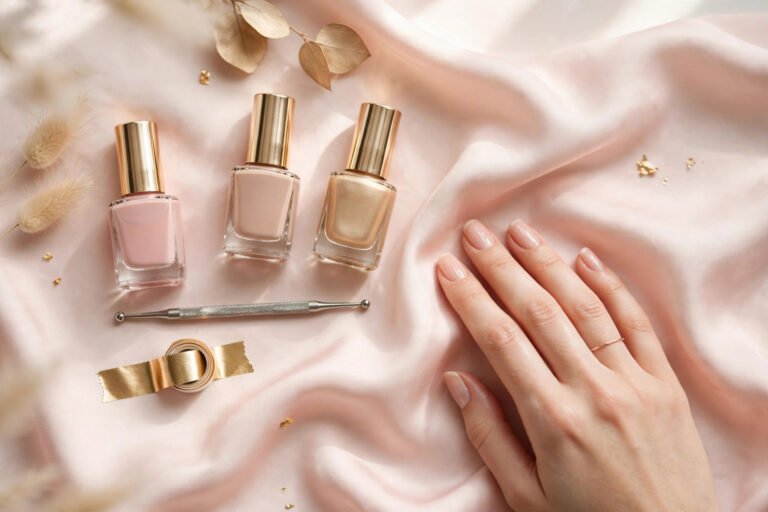
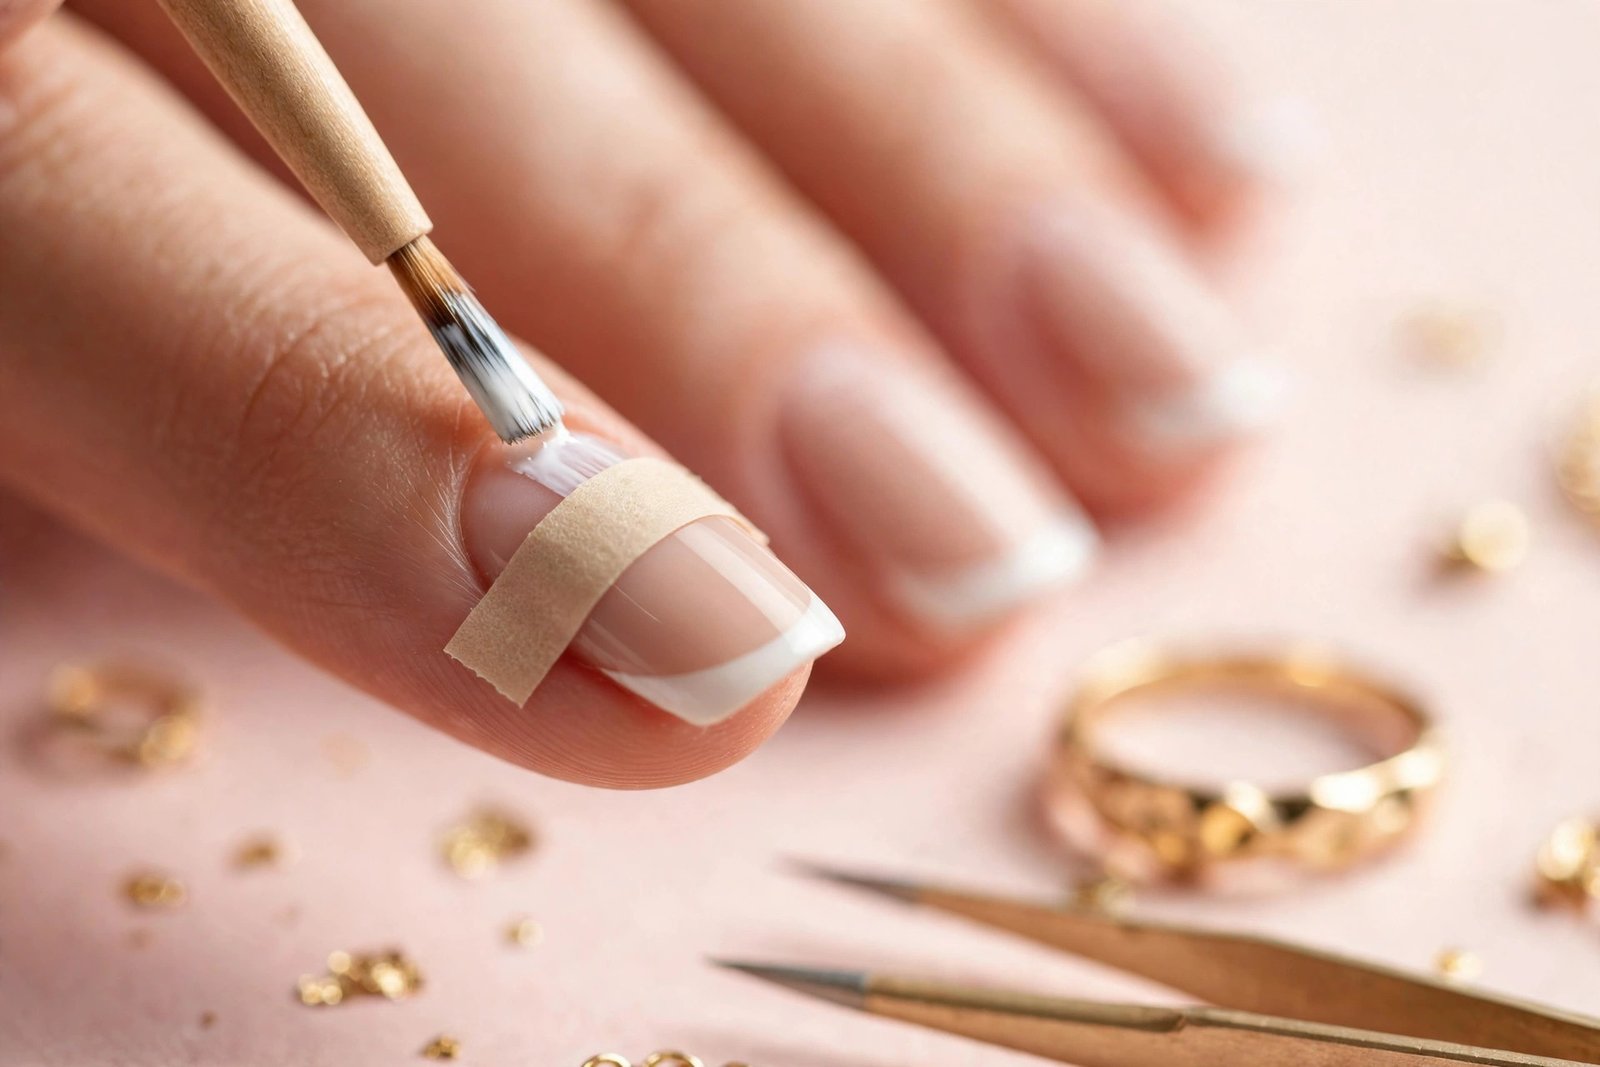
- Tape method (recommended for beginners): Place a strip of tape or a French guide sticker across each nail, leaving the tip exposed. Paint the tip color over the exposed area. Remove the tape while the polish is still slightly tacky, pulling away from the tip for the cleanest line.
- Freehand method: With a steady hand (pinky braced on the table), paint the smile line in one smooth stroke, then fill the tip. Rotate the finger, not the brush hand.
- Silicone stamper method: Paint tip color onto a clear jelly stamper, then press the nail tip into it at an angle. Surprisingly effective for curved smile lines.
- Clean up the smile line with an angled brush dipped in acetone if needed.
- Apply top coat, capping the free edge.
The single biggest mistake is taping over a base that is not fully dry — the tape lifts the base color right off. When in doubt, wait longer.
10 French Tip Nail Art Variations
1. Colored French Tips
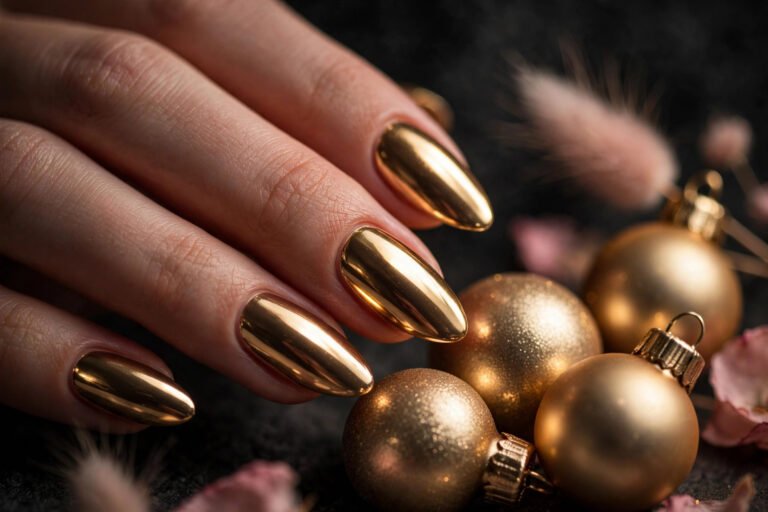
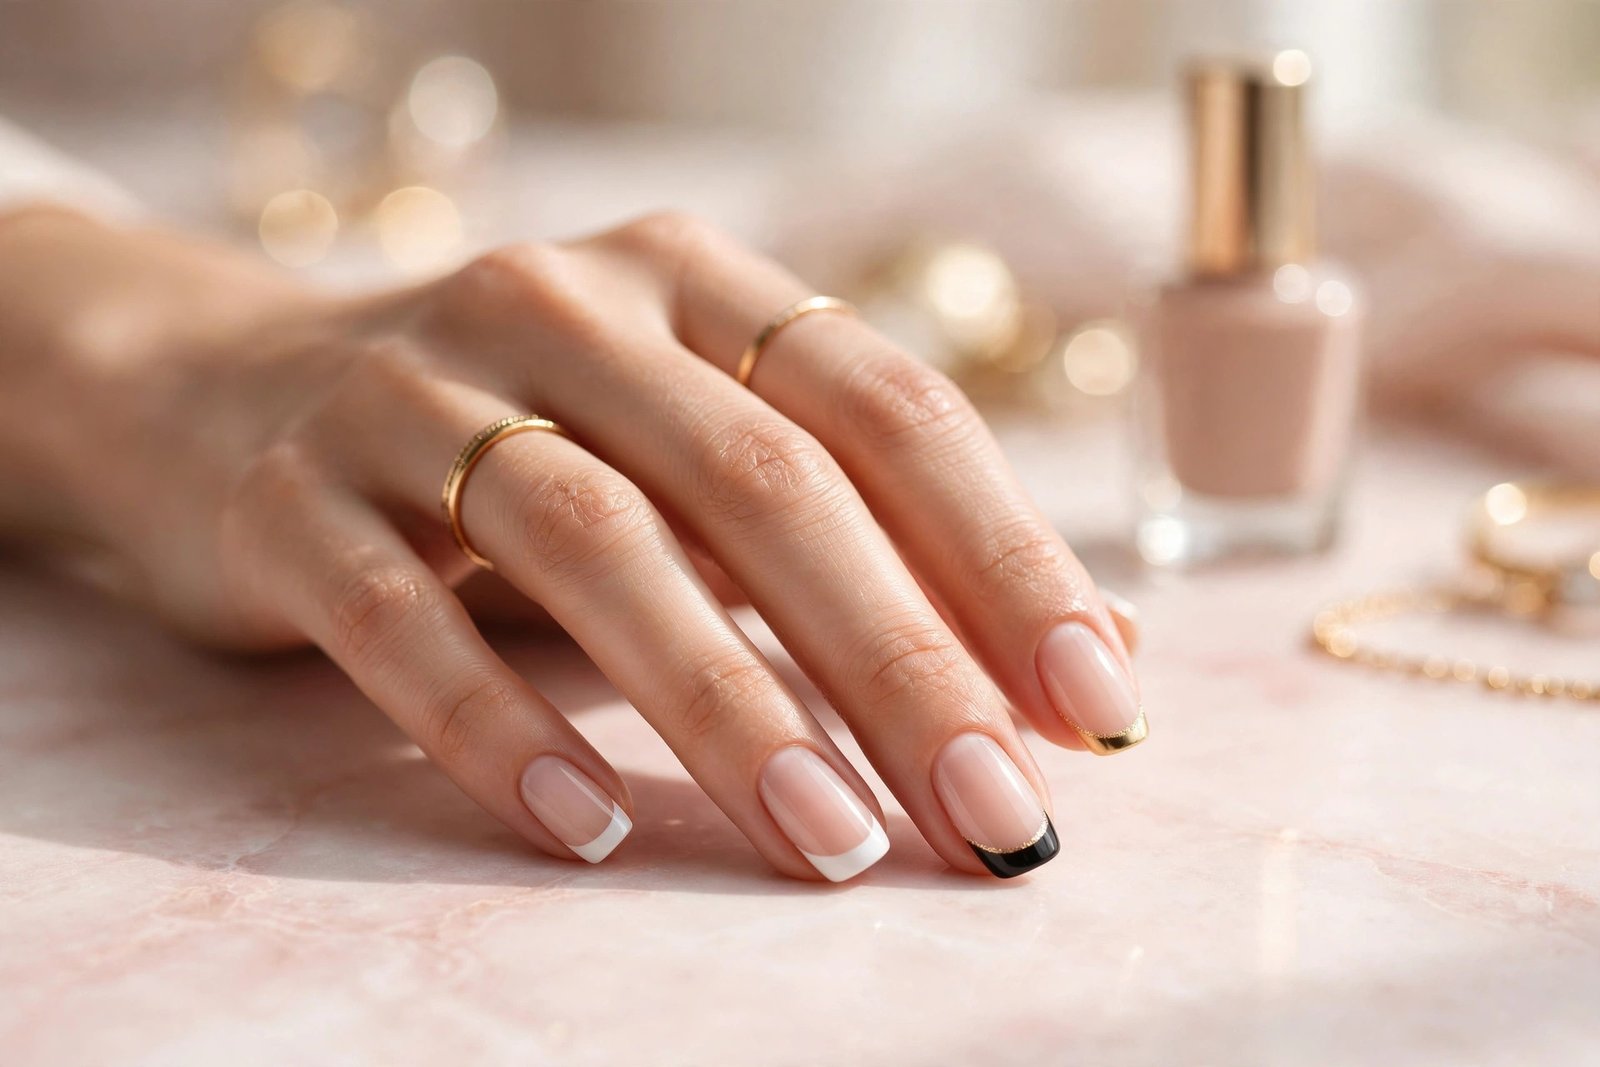
The simplest modern twist: swap white for any color. Black tips on nude are edgy and chic; red tips are bold and retro; pastel tips (lavender, mint, baby blue) are soft and springlike. Use the tape method exactly as above. Colored French is the highest-impact, lowest-effort upgrade from the classic.
2. Double French (Two Lines)
Paint the classic white tip, let it dry, then add a second, thinner line in a contrasting color (gold, black, or a bright) just below the smile line, following the same curve. Use a thin detail brush or striping tape for the second line. The double line adds a jewelry-like detail that looks intricate but takes two minutes.
3. Deep / Wide French Tips
Instead of the traditional thin tip, extend the tip color down to cover the top third or even half of the nail. This “deep French” looks dramatic and modern, especially in bold colors or black. It also suits shorter nails surprisingly well, since the larger color area makes the nail look longer.
4. Micro French (Thin Line Tips)
The opposite of deep French: a whisper-thin tip line, just 1–2mm, painted with a detail brush or the very edge of the polish brush. Micro French is the most elegant and office-friendly variation, and it elongates the nail visually. Nude bases with white, gold, or metallic micro-tips are timeless.
5. Angled / Diagonal French
Place the tape diagonally instead of straight across, and paint the tip. The asymmetric line looks graphic and contemporary — no curved smile line to struggle with, which actually makes this easier than the classic for beginners. Try it in contrasting brights or classic black-and-nude.
6. V-Shaped (Chevron) French Tips
Cut tape into a V or chevron shape (or use two strips angled to meet at a point), place it on the nail, and paint the tip. The pointed tip elongates fingers and looks striking in metallics. This variation photographs beautifully and is a favorite for events.
7. Ombre / Baby Boomer French
Instead of a hard smile line, fade the white tip into the nude base with a sponge — the technique from the ombre nails at home guide. Paint the nude base, then sponge white polish onto the tips, bouncing downward to diffuse the edge. The result is the soft, blended “baby boomer” look: all the elegance of French with none of the harsh line. Seal with two top coats to smooth the sponge texture.
8. Glitter French Tips
Paint the tip with glitter polish instead of creme. Gold glitter tips on nude are festive; silver on pale pink is bridal; holographic glitter on any base is a statement. Apply two coats of glitter for full coverage and finish with two coats of top coat — glitter’s texture needs the extra smoothing. For a subtler version, do a classic white French first, then add a thin glitter line along the smile line.
9. Outline / Negative-Space French
Paint only the outline of the smile line — a thin curved stroke in white, black, or metallic — leaving the tip itself bare (just base coat and nude). This minimalist negative-space French is very on-trend, uses minimal polish, and is forgiving since only a single line needs to look clean. A dotting tool dragged along the curve can help guide the line.
10. Mix-and-Match French
Paint each nail’s tip a different color — a rainbow French, a gradient of pinks, or alternating black and white. This playful variation is huge on social media, requires no extra skill beyond the basic tape method, and turns the classic into a conversation piece. Keep the base uniform across all nails so the multicolor tips look intentional.
Choosing Tips for Your Nail Length and Shape
- Short nails: Micro French, angled French, and deep French all flatter short nails. Avoid very thick classic tips, which can visually shorten the nail. See nail art designs for short nails for more short-nail-friendly ideas.
- Long nails (almond, stiletto, coffin): Deep French, V-tips, and double French show off length beautifully. Micro French can get lost on very long nails.
- Square nails: The classic straight-across French suits square shapes; angled French adds edge.
- Round/oval nails: Follow the natural curve with a classic or ombre smile line.
Making French Tips Last
The tip is the highest-wear zone of any manicure — it takes every tap, type, and scrape. Protect it:
- Cap the free edge with base, tip color, and top coat (a light stroke across the very tip with each layer).
- Reapply top coat every 2–3 days, focusing on the tips.
- Wear gloves for wet household work.
- For the complete longevity routine, see how to make nail polish last longer.
Frequently Asked Questions
What is the easiest way to get a clean French smile line as a beginner?
Use the tape method: place tape or a French guide sticker across the nail, paint the exposed tip, and remove the tape while the polish is slightly tacky. It produces a crisp line with zero freehand skill. Make sure the nude base is completely dry first, or the tape will lift it.
Which French tip variation is best for short nails?
Micro French (a very thin tip line) and angled French both elongate short nails visually. Deep French also works by extending the color area. Avoid thick classic white tips on short nails, which can make nails look stubbier.
Can I do French tips with regular polish, or do I need gel?
Regular polish works perfectly for all ten variations in this guide. Gel gives longer wear (two to three weeks versus about a week) but requires a lamp and more careful application. Beginners should master the designs in regular polish first — see how to do gel nails at home when ready to upgrade.
Why do my French tips look uneven?
Usually one of three causes: the tape was placed at slightly different angles on each nail (sight down the nail from the tip to check alignment before painting), the tip color was applied too thickly (use thin coats), or the base was not fully dry and shifted under the tape. Slow down on placement — measuring twice beats repainting.
How do I fix a wobbly smile line?
Let it dry completely, then clean up the edge with a small angled brush dipped in acetone, gently shaving the line into shape. For white tips, you can also overlay a thin second pass to even things out. Minor wobbles disappear under top coat more than beginners expect.
Love this? Pin it for later!