How to Blend Eyeshadow for Beginners: Techniques That Work
Blending is the skill that separates amateur-looking eyeshadow from polished, professional-looking eyeshadow. Two people can use the exact same palette, and the one who blends well will look like they spent twice as long on their makeup. The good news: blending is a learnable technique, not a talent. This guide breaks it down into the brushes, motions, and habits that make blending click for beginners.
For the full eyeshadow fundamentals — tools, finishes, and step-by-step application — start with the complete eyeshadow guide for beginners.

Key Takeaways
- Blending means softening the edges between shades until they melt into each other with no harsh lines.
- A clean, fluffy blending brush does most of the work — technique matters more than pressure.
- Small circular and windshield-wiper motions are the two core blending movements.
- Always blend with a light hand and build color gradually; heavy pressure creates muddy patches.
- A transition shade between skin and deeper colors makes blending dramatically easier.
- Clean your blending brush between shades to avoid muddying light colors with dark pigment.
Why Blending Matters So Much
Unblended eyeshadow shows visible lines where one shade stops and another starts. These harsh edges draw attention to the makeup itself rather than the eyes, and the look reads as unfinished. Blended eyeshadow, by contrast, creates smooth gradients — dark melting into medium, medium melting into skin — which looks intentional and dimensional.
Blending also forgives placement mistakes. If a shade lands slightly too high or too far out, blending diffuses the edge so the error disappears. In that sense, blending is both the polish and the safety net of eye makeup.
The Brushes You Need for Blending
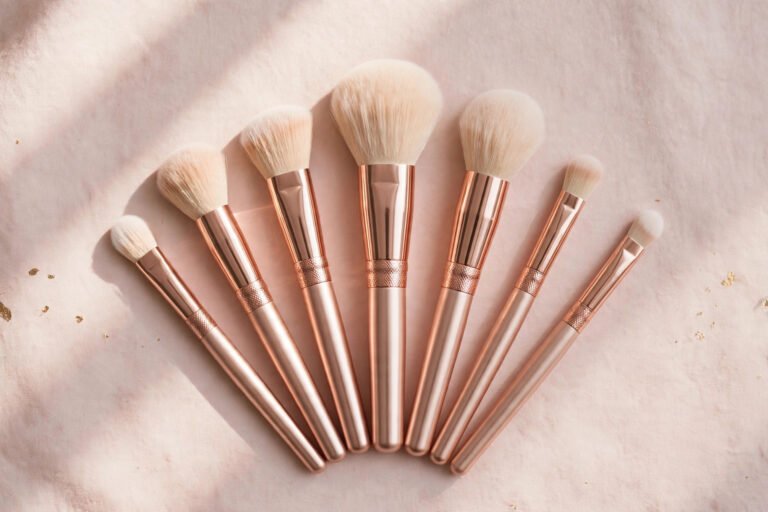
A fluffy blending brush is non-negotiable. Look for soft, loosely packed bristles with a rounded or tapered tip — the looseness is what diffuses color rather than depositing it. A brush that is too dense will pack on color instead of blending it.
A second clean blending brush is the beginner’s secret weapon. Use one brush for applying and blending darker shades, and keep a second one completely clean for softening edges with no additional pigment. Wiping a brush on a clean towel between shades works too, but a dedicated clean brush is faster and more reliable.
A smaller tapered brush helps blend the outer corner and crease with more control when the big fluffy brush feels too imprecise.
Dense, flat brushes are for packing color onto the lid — not for blending. Using the wrong brush type is one of the most common reasons blending feels impossible. A full overview of which brush does what is in the beginner’s guide to makeup brushes.
The Two Core Blending Motions
Every blending technique is built from two movements:
Windshield-wiper motions. Move the brush back and forth horizontally through the crease, like a windshield wiper. This diffuses color along the crease line and is the primary motion for transition shades. Keep the strokes small and controlled — big sweeping motions scatter pigment where you do not want it.
Small circles. Buff the brush in tiny circular motions over the edge where two shades meet. This melts the boundary between them. Small circles are ideal for softening the outer edge of a look and for blending the lid shade up into the crease color.
In practice, you will combine both: windshield-wiper strokes to place and distribute the transition shade, then small circles to melt edges together. Use almost no pressure — let the bristles do the work. Pressing hard pushes pigment into the skin unevenly and creates the patchiness beginners are trying to avoid.
Step-by-Step: Blending a Basic Eye Look
-
Prime and set. Apply eyeshadow primer, then sweep a skin-toned matte shadow over the whole lid. Blending over a dry, even base is dramatically easier than blending over tacky primer. More on bases in the guide to eyeshadow primer.
-
Place the transition shade. With a fluffy brush, sweep a medium matte neutral through the crease using windshield-wiper motions. The goal at this stage is an even, diffused wash — not precision.
-
Soften the upper edge. Switch to your clean blending brush and buff small circles just above the crease line, where the transition shade meets bare skin. This erases the top edge so the color fades gradually.
-
Add depth to the outer corner. Pick up a deeper shade on the fluffy brush, press it into the outer third of the crease, then blend inward with small circles. The darkest point should stay at the outer corner while the color gradually lightens toward the center.
-
Melt the lid shade into the crease. After pressing shimmer or color onto the lid, use the clean brush with light circular motions right at the boundary to fuse the two areas.
-
Check and refine. Step back from the mirror. If you see any distinct lines, buff them with the clean brush until they disappear. When in doubt, blend more — beginners almost always under-blend rather than over-blend.
Fixing Common Blending Problems
Muddy colors. This happens when too many shades are blended together or a dirty brush drags dark pigment into light areas. Fix it by cleaning the brush, then layering a touch of the original light shade back over the muddy area. Prevent it by wiping the brush between shades and blending in thin layers.
Patchy, uneven color. Usually caused by blending over an unprimed or tacky base, or by pressing too hard. Fix patchiness by pressing a bit more product onto the bare spots with a flat brush first, then blending the edges — do not try to blend empty skin into color.
Color that disappears when blended. Some beginners blend so enthusiastically that the pigment vanishes. This means the brush is clean and the motion is right — you just need to reapply. Blend, then layer a little more color on top, then blend lightly again. Color and blending alternate; they are not a single step.
Harsh outer edge. The outer corner often ends in an abrupt line. Buff it outward and upward with a clean brush, following the natural upward angle toward the tail of the brow. A cotton swab with a touch of makeup remover can sharpen the very edge afterward for a lifted effect.
Fallout under the eyes. Dark specks under the eyes come from tapping or blending aggressively with a loaded brush. Tap excess product off the brush before touching the lid, and consider doing eye makeup before foundation so fallout can be wiped away cleanly.
Blending Tips That Speed Up the Learning Curve
- Blend with your eyes open. The crease changes shape when the eye closes, so blending with eyes open and relaxed keeps placement accurate — especially important for hooded or deep-set eyes.
- Use less product than you think. A lightly loaded brush blends smoothly; a heavily loaded one deposits harsh color that fights you. Build in layers.
- Keep a transition shade in every look. Even dramatic looks blend faster with a medium matte bridging skin and deep color.
- Don’t blend shimmer aggressively. Press shimmers onto the lid and blend the mattes around them — over-blending shimmer scatters the reflective particles and dulls the finish.
- Set your work. A light mist of setting spray once the look is finished helps the blended gradient stay put. See setting spray vs setting powder for which to choose.
Oily lids can make even well-blended shadow slide and crease by midday. If longevity is the issue rather than technique, the guide to making eyeshadow last on oily lids covers bases and formulas that hold up.
Frequently Asked Questions
How long should blending take?
For a basic everyday look, two to three minutes of blending is typical. It feels slow at first, but the motions become automatic quickly. Rushing is the main reason beginners under-blend.
Why does my eyeshadow look muddy no matter what I do?
The usual culprits are a dirty brush, blending too many shades together, or working over a tacky base. Clean the brush between shades, limit each look to three or four shades, and always set primer with a skin-toned powder first.
Can I blend eyeshadow with my fingers?
Fingers work for pressing shimmer or cream shadow onto the lid, but they are too imprecise for crease blending and they transfer oils that can break down powder shadow. A fluffy brush is genuinely better for blending.
Do I need expensive brushes to blend well?
No. Brush shape and cleanliness matter far more than price. An affordable fluffy blending brush that is washed regularly will outperform an expensive brush caked with old pigment.
How do I know when I’m done blending?
Step back from the mirror and look for lines. If you can see where one shade ends and another begins, keep going. A finished blend shows smooth gradients with no visible edges — though the transition should still show distinct depths of color, not one flat muddy tone.
Blending feels awkward for the first few attempts and then suddenly clicks. Practice the two motions — windshield-wiper strokes and small circles — with a light hand and a clean brush, and every eye look you attempt from here on will look noticeably more polished.
Love this? Pin it for later!