How to Make Lipstick Last Longer: 12 Pro Tricks for All-Day Wear
If you’ve ever checked the mirror at noon to find your morning lipstick gone — faded in the center, feathered at the edges, or transferred entirely onto your coffee cup — this guide is for you. Learning how to make lipstick last longer isn’t about buying the most expensive long-wear formula. It’s about layering technique: prep, then a liner base, then thin blotted layers, then setting — each step locking in the last.
The honest truth makeup artists will tell you: most lipstick fade is preventable with drugstore products and five extra minutes. The tricks below are ordered the way you’d actually use them, from bare lips to final set: prep, liner base, thin layers, blotting, and setting. This guide is part of the [lip makeup guide for beginners → lip-makeup-guide-for-beginners], and it builds directly on the liner foundation taught in [how to apply lip liner → how-to-apply-lip-liner] — liner as a base is the single highest-impact step here.
Key Takeaways
- Long-wear lipstick is a layering system, not a single product: prep, then liner base, then thin layers, then blot, then set.
- Lip liner filled across the whole lip is the highest-impact wear extender — it roughly doubles lipstick wear time.
- Two thin layers with blotting between them outlast one thick coat every time.
- Translucent powder pressed through a tissue “sets” lipstick much like it sets foundation.
- Matte and liquid formulas inherently outlast creams; choose formula by how long you need wear, not just by finish preference.
- Eating oily foods is the top lipstick killer — blot and reapply the center after meals rather than fighting it.
- Touch-up strategy matters: carry the lipstick, not a full kit, and refresh only the faded center.
Why Lipstick Fades (Know the Enemy)
Lipstick disappears for four reasons, and each has a specific counter-trick:
- Transfer — color rubs off on cups, cheeks (when kissing), masks, and fingers. Counter: blotting and setting reduce the surface layer available to transfer.
- Eating and drinking — oils in food dissolve lipstick’s waxy base; friction wipes it away. Counter: nothing fully survives a burger, but a proper base means only the center fades, which is a 10-second fix.
- Slippery base — lipstick applied over unblotted balm or oily skin slides off instead of gripping. Counter: blot balm off before color, and use liner as a gripping layer.
- Dry, flaky lips — color clings to flakes, then flakes shed, taking the color with them in patches. Counter: exfoliate and hydrate before you start — the [DIY honey sugar lip scrub → diy-honey-sugar-lip-scrub] is a good weekly prep.
The 12 Tricks, In Application Order
Prep Tricks (Before Any Color)
1. Exfoliate the night before or morning of. Smooth lips hold color evenly; flaky lips shed it in patches. A gentle scrub once or twice a week is enough — daily scrubbing irritates. For chronically dry lips, the overnight repair approach in [dry lips winter remedies → dry-lips-winter-remedies] keeps the lip surface consistently smooth.
2. Hydrate, then blot it all off. Apply lip balm 5–10 minutes before makeup so it absorbs, then press a tissue over your lips to remove every trace of surface slipperiness. This is the most-skipped step and one of the most impactful: lipstick grips hydrated-but-dry lips far better than slick ones.
3. Prime the lip line. Pat a tiny amount of foundation, concealer, or dedicated lip primer over the lips and slightly beyond the lip line. This neutralizes your natural lip color (so the lipstick shade looks true) and creates a uniform base. Blend it out — visible concealer edges around the mouth look worse than no primer.
Base Trick (The Big One)
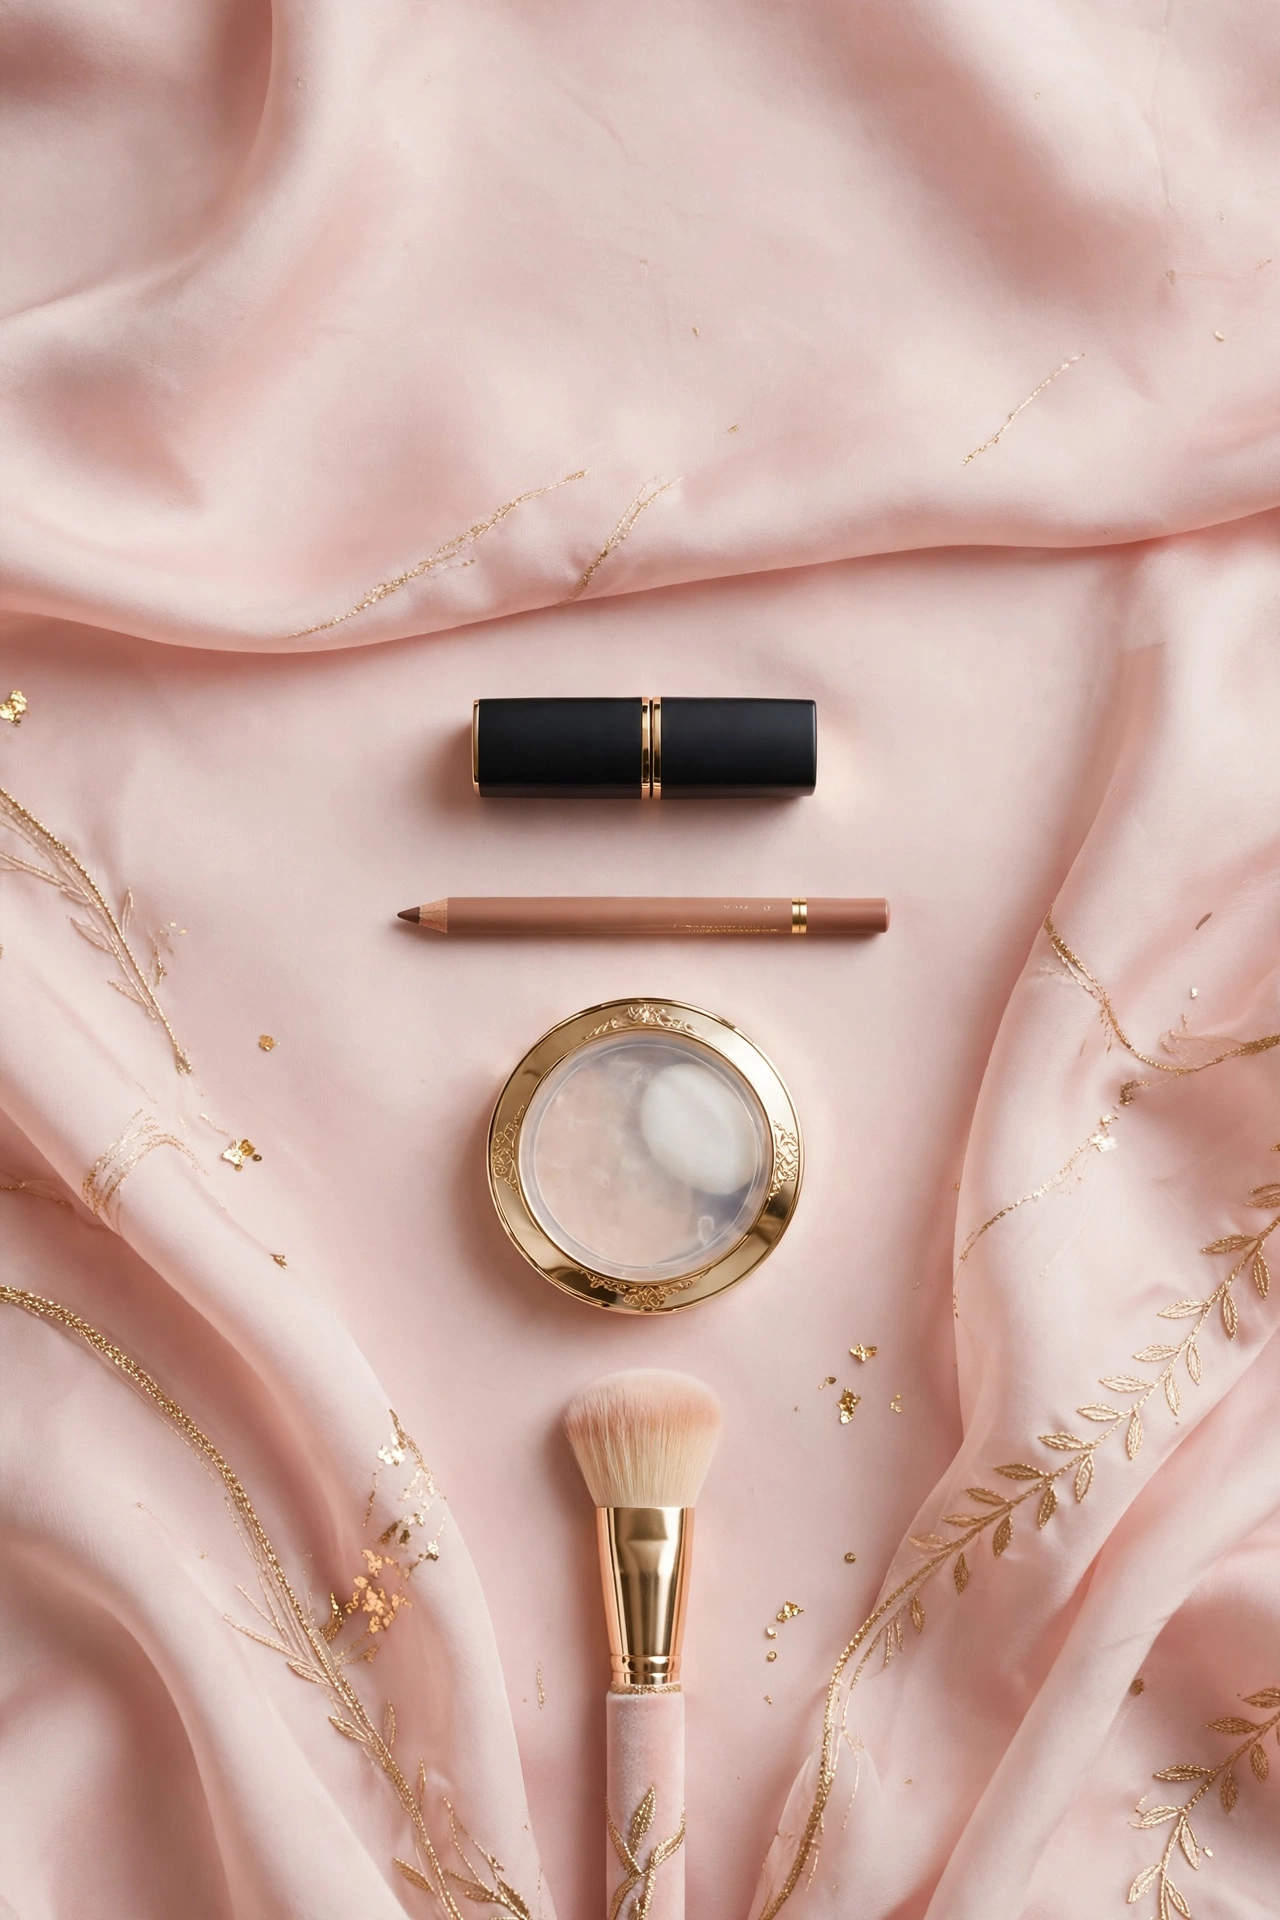
4. Fill the entire lip with lip liner. This is the single highest-impact step in this entire guide. Liner’s waxy formula grips both the lip skin and the lipstick layered over it, roughly doubling wear time. Line the shape, then fill the whole lip with the liner before any lipstick touches it. Use a shade matching your lipstick. The full technique — including which liner formats grip best — is in [how to apply lip liner → how-to-apply-lip-liner].
Application Tricks
5. Apply in thin layers, not one thick coat. Thick lipstick creases, feathers, and wears off in chunks. Apply one thin layer — straight from the bullet is fine, a lip brush gives more control with dark shades — and build from there.
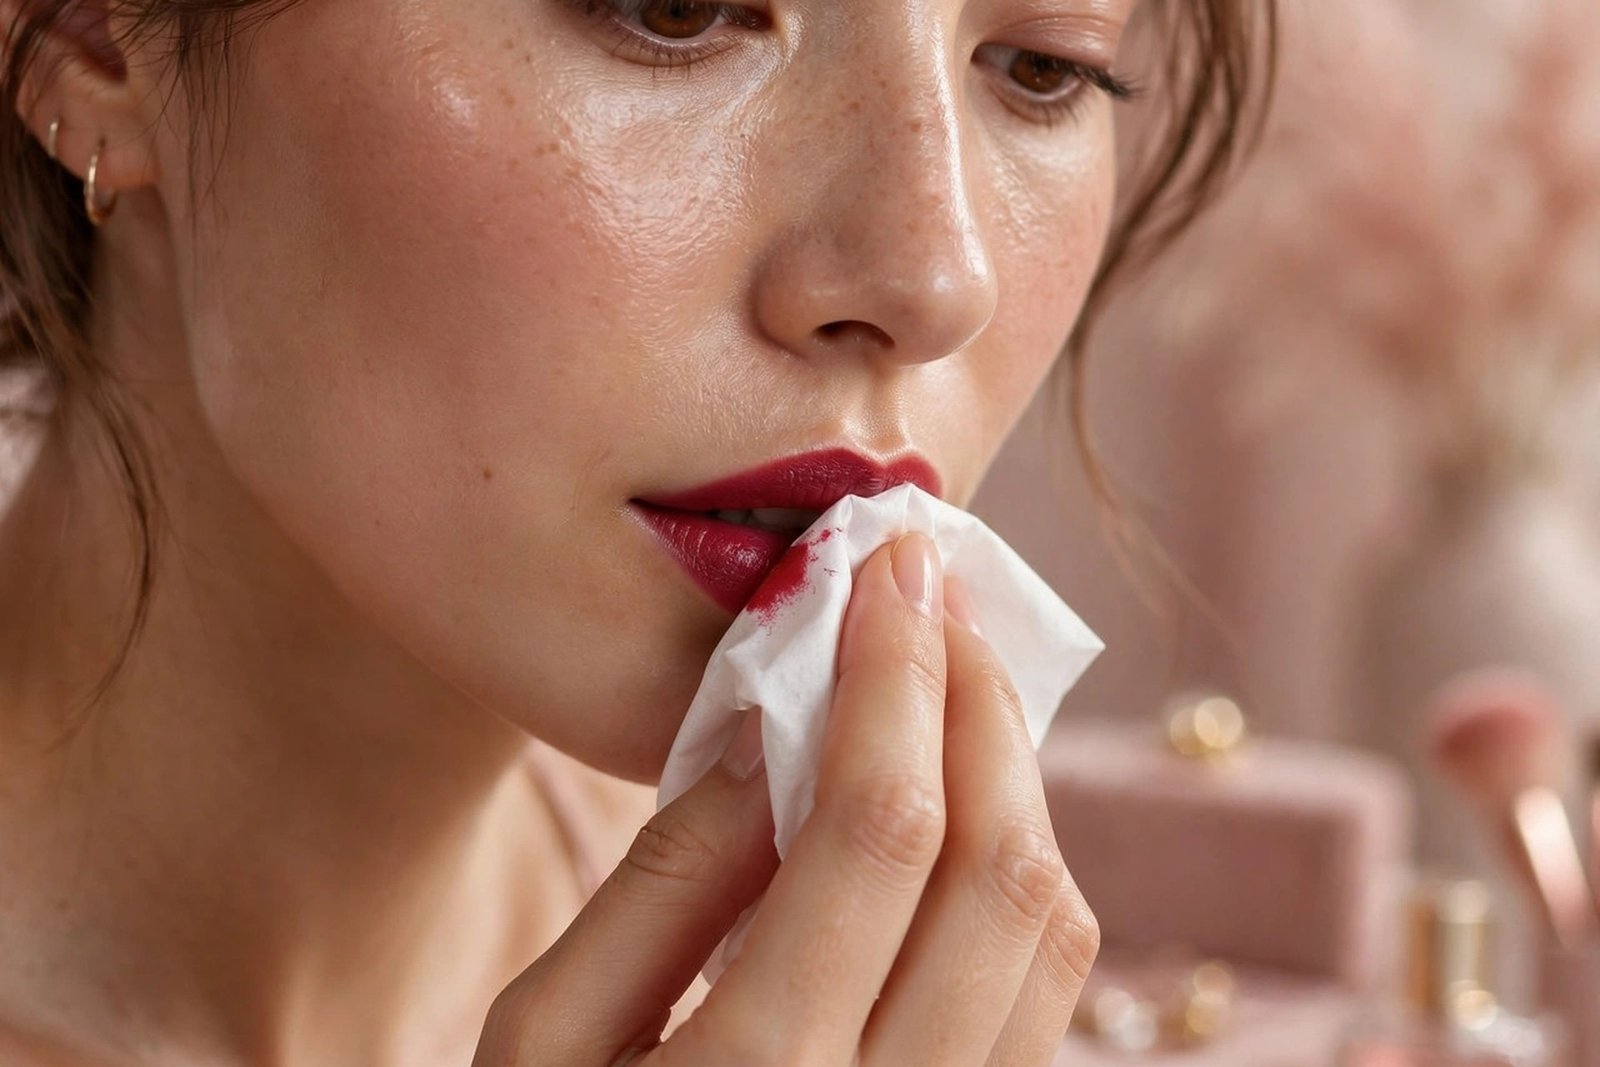
6. Blot between layers. After the first thin layer, fold a tissue, press it between your lips, and press firmly. This removes excess oils and product sitting on the surface while leaving the pigment bonded to the lip. Then apply a second thin layer. Blot-and-layer is the core mechanic of long wear: each blotted layer bonds tighter than the last.
7. Use a lip brush for the edges. The crisp, fully-covered edge a brush gives you means no thin spots at the lip line — and thin spots are where fading starts. This matters most with dark and red shades, where uneven edges are visible from across the room.
Setting Tricks
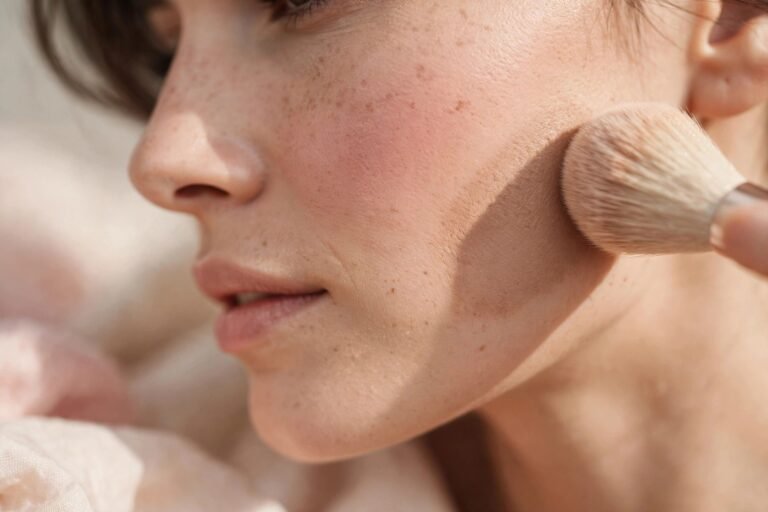
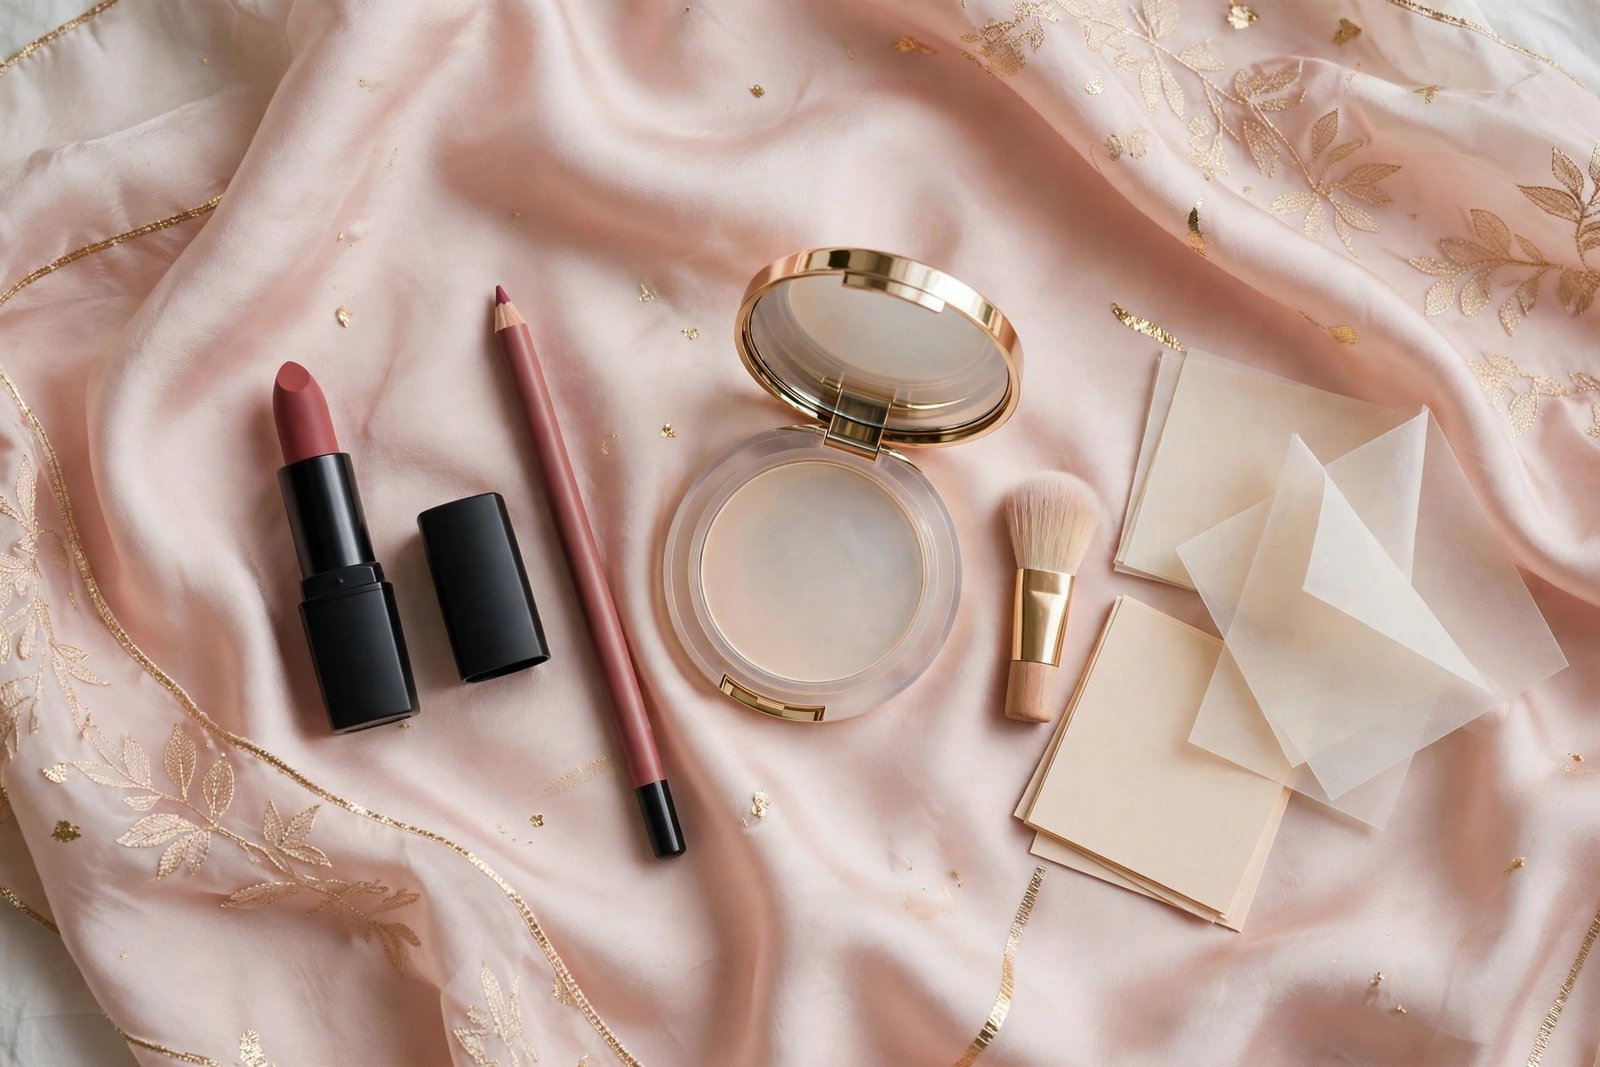
8. The tissue-and-powder press. The classic makeup-artist setting trick: hold a single ply of tissue over your lips and dust translucent powder over it with a fluffy brush. The tissue diffuses the powder into a whisper-fine layer that mattifies and locks the lipstick — the same principle as setting foundation. Don’t skip the tissue; powder applied directly can look cakey and lighten the lipstick shade.
9. Set with a matching powder eyeshadow (for bold shades). For reds and deep shades, pressing a matching matte eyeshadow over the lipstick with a small brush sets the color while deepening it. It’s an old backstage trick that noticeably extends bold-lip wear.
10. Finish with a long-wear topcoat — or don’t. Setting sprays marketed for lips exist, and a light mist of regular setting spray over the finished lip can help. But manage expectations: sprays add modest wear, not miracles. The layering steps above do far more than any finishing product.
Formula and Maintenance Tricks
11. Choose your formula by wear need, not just finish. Inherent wear ranking: liquid lipstick (6–8+ hours) > matte bullet (5–7 hours) > satin/cream (3–5 hours) > sheer/gloss (1–3 hours). For a long day, pick further up this list. But note the trade-off: longer-wear formulas are drier and less forgiving — which is why prep matters more, not less, with mattes. If you’re choosing between a stain and a lipstick for longevity, the [lip stain vs lipstick guide → lip-stain-vs-lipstick-guide] compares wear times directly.
12. Plan the touch-up, don’t fight fading. Even perfect technique fades at the center after eating. The pro move: carry the lipstick, blot the center of the lips with a tissue after meals, and reapply just the center, pressing lips together to blend. A 10-second center refresh looks better than a full reapplication over old product — and it means you only need the lipstick in your bag, not a kit.
What Kills Lipstick Fastest (Avoid These)
- Oily and greasy foods. Oil dissolves the waxes that hold lipstick together. You can’t avoid eating — just expect the center to need a refresh afterward.
- Layering gloss over the whole lip. Gloss reactivates lipstick underneath and makes it mobile. If you want shine with wear, dab gloss only in the center of the lower lip.
- Licking your lips. Saliva breaks down lipstick fast and dries lips out, making the next application worse. Conscious habit worth breaking.
- Applying over old lipstick. Layering fresh color over half-worn, patchy lipstick gives you a thick, uneven mess that fades faster. Remove and restart — it takes 30 seconds with a wipe.
- Skipping liner with dark shades. Dark lipstick without a liner base is the fastest route to feathering and midday disappearance.
Long-Wear by Occasion: Quick Playbooks
Workday (8+ hours, minimal touch-ups): Start with exfoliated lips, apply balm and blot it off, prime with concealer, fill the whole lip with liner, apply two thin layers of satin or matte lipstick with blotting between, then do the tissue-and-powder set. Carry the lipstick for one center refresh after lunch.
Evening event (photos, 4–6 hours): Same base, but choose your boldest shade — the [bold red lip holiday guide → bold-red-lip-holiday-guide] covers red specifically. Add the matching-eyeshadow press for extra insurance. Blot before photos to kill shine that the camera exaggerates.
Wedding or all-day event: Liquid lipstick over a full liner base, set with tissue-and-powder. This is the maximum-wear combination short of a stain. Keep the exact lipstick for touch-ups — the center will still need one refresh after the meal.
Everyday low-maintenance: If all of this sounds like too much for daily life, the honest shortcut is a lip stain or a tinted liner worn alone — both outlast cream lipstick with near-zero technique. The full routine in the [lip makeup guide for beginners → lip-makeup-guide-for-beginners] shows where each option fits.
Frequently Asked Questions
Does lip liner really make lipstick last longer?
Yes — it’s the most effective single step. The waxy liner layer grips both the lip and the lipstick, preventing the sliding and center-fading that kills wear time. Expect roughly double the wear versus lipstick on bare lips.
Does setting spray make lipstick last longer?
Modestly. A light mist over finished lips adds some transfer resistance, but it’s a finishing touch, not a foundation. The layering steps — liner base, thin layers, blotting, powder press — contribute far more to wear time than any spray.
Why does my lipstick disappear in the middle but stay at the edges?
The center of the lips gets the most friction (talking, eating, drinking) and the most moisture. It’s normal — even with perfect technique, the center fades first. The fix is the planned touch-up: blot and reapply just the center rather than starting over.
Are expensive long-wear lipsticks worth it over technique?
Technique beats price. A $6 lipstick applied with a liner base, blotting, and powder-setting will outlast a $30 lipstick applied in one thick coat on unprepped lips. Invest in technique first; upgrade formulas second.
How do I remove long-wear lipstick without scrubbing?
Use an oil-based remover — cleansing oil, balm cleanser, or even plain coconut or olive oil on a cotton pad. Hold it against the lips for 20–30 seconds to dissolve the color, then wipe gently. Scrubbing irritates the lip skin and makes tomorrow’s application worse.
Does the tissue-and-powder trick change the lipstick color?
Slightly — it mattifies and can mute the shade a touch, especially with sheer formulas. With opaque lipsticks the change is minimal. If the muted effect bothers you, apply one final sheer layer of lipstick over the powdered lip to restore the finish while keeping most of the staying power.
All-day lipstick isn’t a product you buy — it’s a sequence you follow. Prep smooths the canvas, liner grips it, thin blotted layers build color that bonds, and powder locks it down. Learn the sequence once and every lipstick you own performs better, from the cheapest drugstore bullet to the luxury matte. Nail the foundation skill with [how to apply lip liner → how-to-apply-lip-liner], see the whole system in context in the [lip makeup guide for beginners → lip-makeup-guide-for-beginners], and when you want wear without any of this effort, compare the ultimate low-maintenance option in [lip stain vs lipstick → lip-stain-vs-lipstick-guide].
lip makeup guide for beginners
how to apply lip liner
lip stain vs lipstick guide
DIY honey sugar lip scrub
dry lips winter remedies
bold red lip holiday guide
Love this? Pin it for later!