Why Does Concealer Crease Under Eyes? How to Stop It
There is almost nothing more frustrating than spending ten minutes perfecting your under-eye area, only to glance in the mirror an hour later and find every fine line mapped out in concealer. If your concealer creases under your eyes, you are not doing something uniquely wrong — this is one of the most common makeup complaints, and it happens for very predictable reasons.
The good news: every cause of concealer creasing has a fix. Once you understand why it is happening, you can build a routine that keeps your under-eyes smooth from morning to night. This guide walks through the science of the crease, the prep work that prevents it, the application technique that locks it in, and the mistakes that sabotage even the best products.
For the full beginner-friendly walkthrough of base makeup (including where concealer fits in the overall order), see our makeup for beginners step-by-step guide.
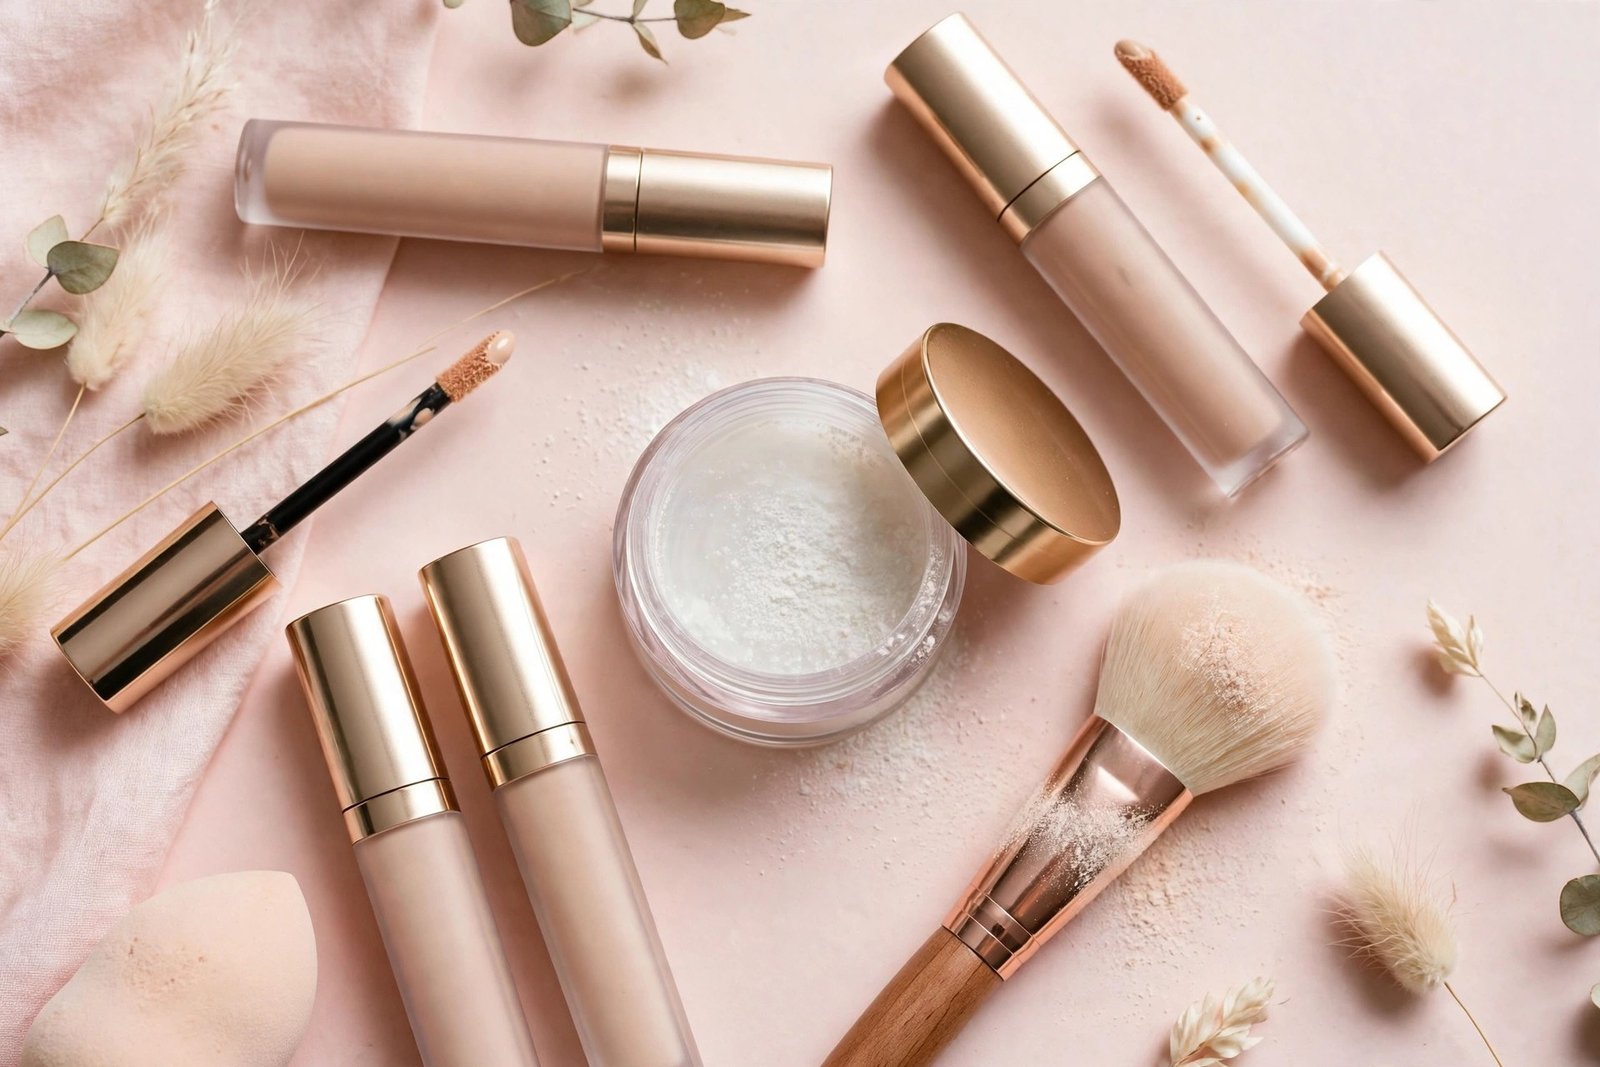
Why Concealer Creases Under Eyes
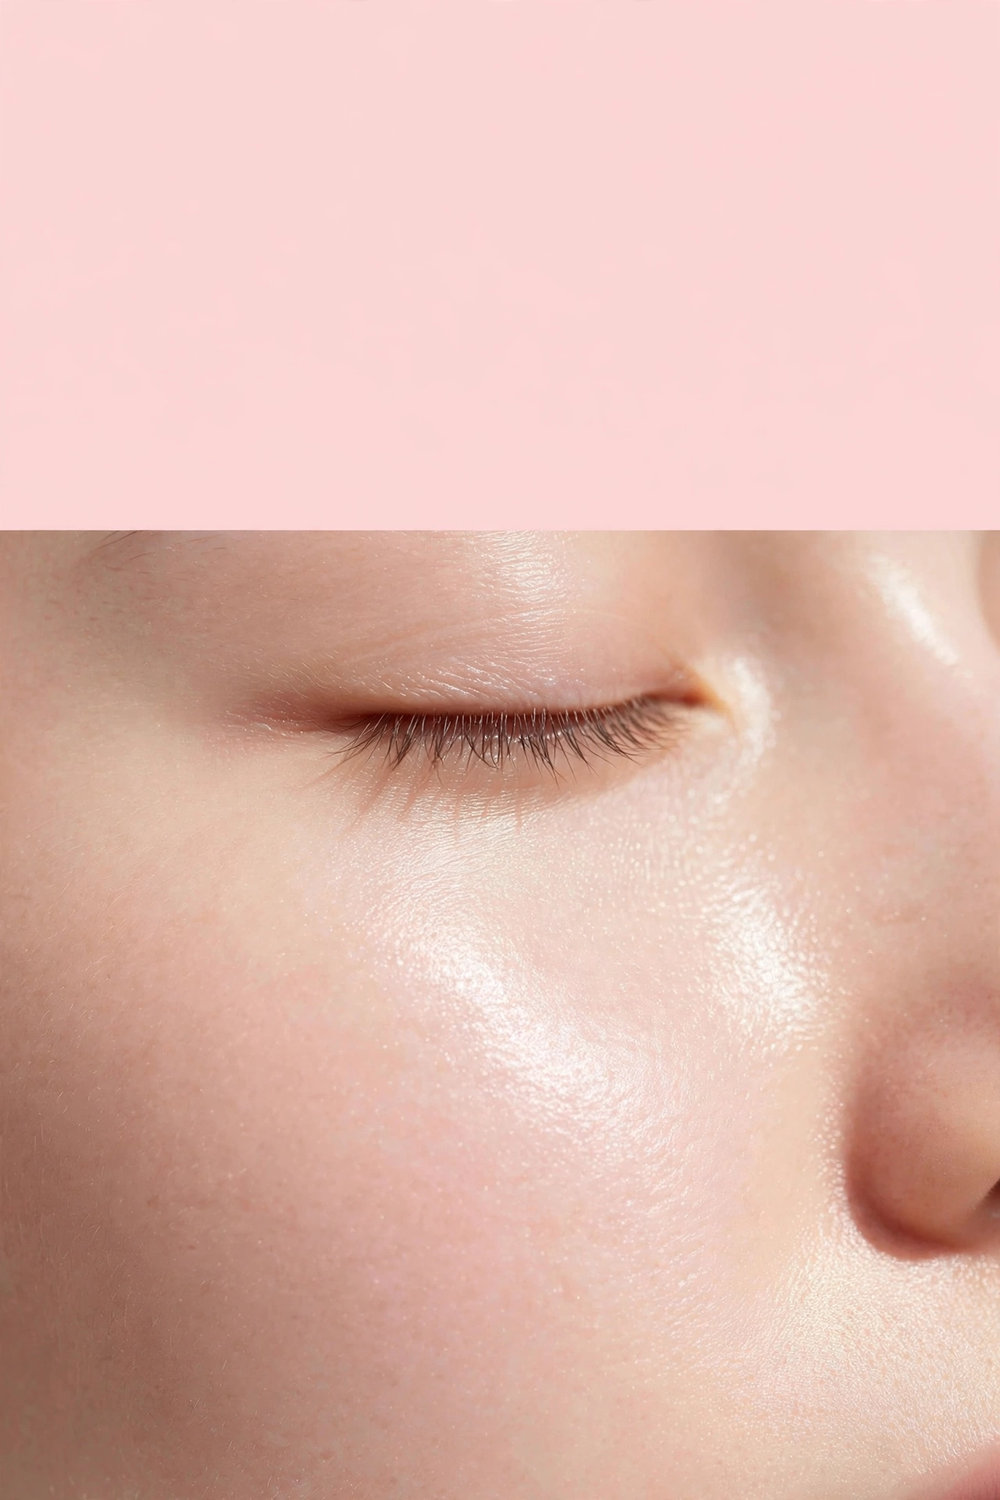
The skin under your eyes is the thinnest on your entire face — roughly 0.5mm compared to about 2mm elsewhere. It moves constantly: you blink around 15,000 to 20,000 times a day, and every blink flexes that delicate skin. Any product sitting on top of it gets worked into the tiny folds created by that movement. That is the crease.
But thin, mobile skin is only the starting point. Here are the specific reasons concealer settles into lines:
Dehydration. Dry under-eye skin has a rougher surface texture. Concealer clings to dry patches and flakes, and as it dries down further throughout the day, it contracts into the lines it was sitting over. Dehydrated skin essentially gives the product more texture to grab onto.
Too much product. This is the number one culprit. A thick layer of concealer cannot flex with your skin, so it cracks and migrates into creases. Most people use two to three times more concealer than they actually need. Under-eye coverage should be built in whisper-thin layers, not applied in one heavy swipe.
Wrong formula for your skin type. A matte, full-coverage concealer on dry under-eyes is a creasing guarantee. Matte formulas contain more powder and less emollient, so they set rigidly and emphasize every line. Conversely, a very dewy, emollient concealer on oily skin can slide and pool into creases as the day wears on.
Skipping (or overdoing) eye cream. Bare, unprepped skin gives concealer nothing to grip evenly. But a heavy, greasy eye cream applied right before makeup creates a slippery base that lets concealer migrate. Timing and amount matter enormously.
No setting, or setting incorrectly. Unset concealer stays mobile and will crease as you blink and talk. But pressing a heavy layer of powder over the area can cake and create the very texture you were trying to avoid. Setting is a Goldilocks step: not too much, not too little.
Applying concealer too close to the lash line and into the deepest creases. The area right under your lower lashes and the deepest part of your tear trough move the most. Loading product directly into those zones concentrates it exactly where creasing is worst.
Skin Prep: The Step Most People Skip
You can own the most expensive concealer on the market and it will still crease if the skin underneath is not prepared. Prep takes two minutes and makes more difference than any product swap.
1. Hydrate, then wait
Apply a lightweight eye cream or a thin layer of your regular moisturizer to the under-eye area. The key word is lightweight — you want hydration, not a grease slick. Look for formulas with hyaluronic acid, glycerin, or ceramides rather than heavy petrolatum-based balms (save those for nighttime).
Then — and this is the part people skip — wait two to three minutes before applying makeup. This gives the moisturizer time to absorb so you are working on a hydrated but not slippery surface. If you are in a rush, gently press a tissue over the area to blot away any excess before moving on.
2. Consider an eye primer (optional but helpful)
If your under-eyes are very oily or your makeup consistently breaks down by midday, a dedicated eye primer or a tiny amount of mattifying primer just through the area where you get oily can help. This is optional — good skin prep plus the right technique is enough for most people — but it is a useful extra for long days.
3. Skip heavy oils right before makeup
Facial oils are wonderful at night, but a layer of oil under concealer in the morning is a recipe for sliding and creasing. If you use oils, keep them in your nighttime routine.
Application Technique for Crease-Free Coverage
Technique matters more than product. Here is the method that consistently gives smooth, long-lasting under-eye coverage:
Step 1: Use less than you think
Start with a pinhead-sized amount — roughly half of what feels “right.” You can always add a second thin layer, but you cannot easily remove excess once it is blended. For most people, one small dot per eye, or three tiny dots in a triangle, is plenty.
Step 2: Place it strategically
Apply concealer to the inner corner and the outer third of the under-eye area, avoiding the deepest crease directly under the lash line on the first pass. The inner corner is where darkness is usually worst, and the outer third lifts the eye. The mobile zone right beneath your lashes needs the least product, not the most.
Step 3: Blend with warmth and pressing motions
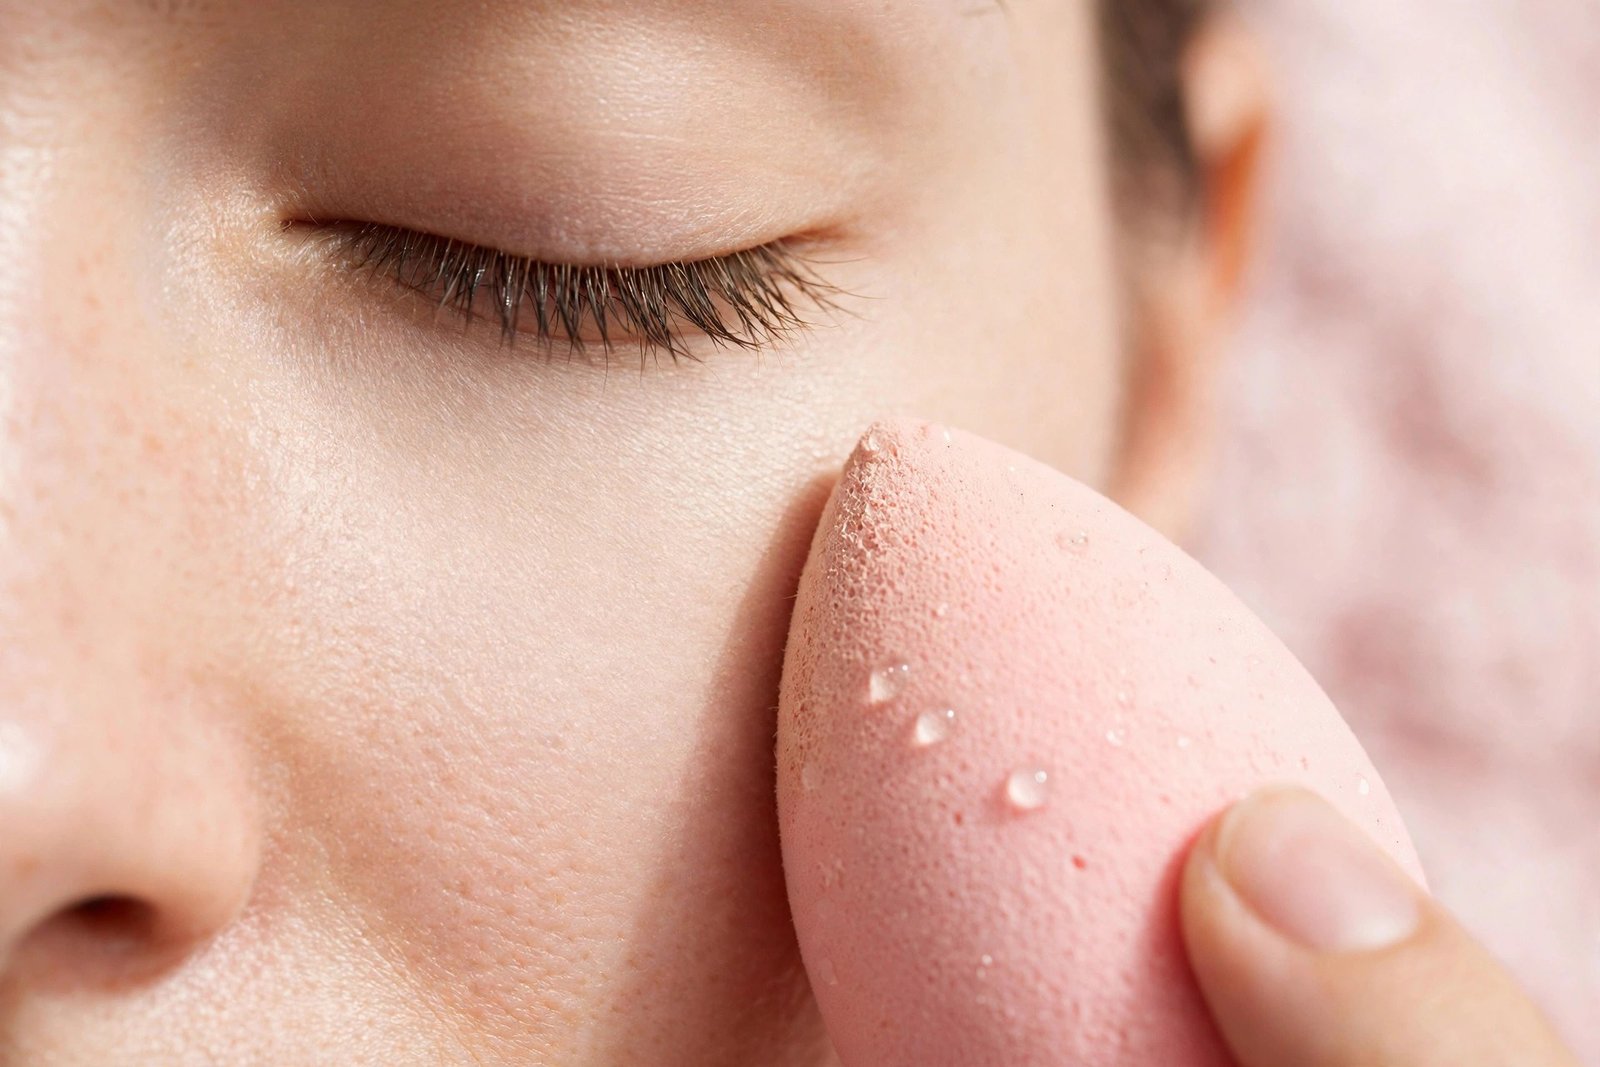
Use your ring finger, a damp makeup sponge, or a small dense brush. The key is pressing and bouncing, not dragging. Dragging pulls the delicate skin and deposits product unevenly. Press the concealer in with gentle tapping motions until it melts into the skin. The warmth of your finger actually helps sheer formulas blend seamlessly.
Step 4: The crucial “melt and check” pause
After blending, look up and smile — deliberately create your natural under-eye creases. Then take a clean finger or sponge and gently press over any product that has settled into the lines, smoothing it back out. This single step, done about 60 seconds after application, prevents the vast majority of creasing because you are redistributing product before you lock it in with powder.
Step 5: Set with a whisper of powder
Using a small fluffy brush, pick up a tiny amount of finely-milled translucent setting powder, tap off the excess (seriously — tap it twice), and press it gently over the concealed area. You want the lightest veil, not a visible layer. The goal is to take down tackiness so the concealer cannot migrate, without adding texture.
For dry under-eyes, consider skipping powder on the most crease-prone zone and only setting the outer areas, or use a hydrating setting spray instead. Our guide to the best drugstore concealers for dry under eyes covers formulas that play well with minimal setting.
Setting Correctly: Powder vs. Spray
How you set your concealer is as important as the concealer itself:
Translucent powder is the classic choice. Use a finely-milled formula (no shimmer, no heavy pigment) and apply with a small brush using pressing motions. Avoid baking — leaving a thick layer of powder to “cook” — under the eyes unless you have very oily skin, because it dehydrates the area and emphasizes lines on most skin types.
Setting spray is the gentler alternative, especially for dry or mature under-eyes. A light mist after makeup helps everything melt together and removes any powdery finish. It will not lock concealer in as firmly as powder, so it is best for shorter days or when creasing is mild.
The hybrid method (best of both): a whisper of powder pressed in, followed by a light mist of setting spray to meld everything. This gives longevity without the dry, cakey look powder alone can create.
Best Concealers for Dry Under Eyes (By Type)
If dryness is your main creasing trigger, formula choice matters enormously. Here is what to look for by concealer type:
Hydrating liquid concealers. Look for words like “hydrating,” “radiant,” “serum,” or “creamy” on the packaging. These contain more emollients and humectants, so they stay flexible instead of setting rigidly. They typically offer light to medium coverage — which is actually ideal, since heavy coverage and dry skin are a bad combination.
Stick and pot concealers. These tend to be creamier and more emollient than liquids, which is good for dry skin, but they can be too rich and slide if you apply too much. Use sparingly and always set lightly.
What to avoid for dry under-eyes: matte-finish concealers, “24-hour wear” or “full coverage” formulas (they contain more powder and film-formers that emphasize texture), and anything that dries down very quickly before you can blend it.
For specific product recommendations across budgets, see our roundup of the best drugstore concealers for dry under eyes that don’t crease.
Common Mistakes That Cause Creasing
- Applying concealer before foundation. Foundation first, then concealer only where you still need it. Doing it the other way around means you pile product on product.
- Using the same concealer for blemishes and under-eyes. Blemish concealers are often drier and higher-coverage — terrible under the eyes. Keep a separate, more hydrating formula for the under-eye area.
- Setting with a powder puff pressed hard into the skin. Pressing grinds powder into lines. Use a brush with a light hand instead.
- Skipping the “smile check.” That 60-second pause to smooth out settled product before setting is the highest-leverage step in this entire guide.
- Touching up by adding more concealer. Midday touch-ups should be: blot gently, press (don’t rub) to smooth, and only then add the tiniest amount of product if needed. Layering fresh concealer over creased concealer just builds a thicker, more crease-prone layer.
- Using expired concealer. Old liquid concealers separate and change texture, which makes them apply unevenly and crease faster. Most last about 6–12 months after opening.
Frequently Asked Questions
Why does my concealer crease even when I set it with powder?
Usually one of three things: too much concealer underneath (powder cannot fix excess product), powder applied too heavily (which creates its own texture), or the concealer formula is wrong for your skin type. Try using half the product, setting with a lighter hand, and doing the “smile check” before powdering.
Should I put concealer or foundation on first?
Foundation first, concealer second. Foundation evens out most of the face, so you will need far less concealer — and less product means less creasing. Concealer is for targeted brightening and coverage, not as an all-over base.
Does eye cream cause concealer to crease?
It can, if it is too heavy or has not absorbed. Use a lightweight formula, apply a thin layer, and wait 2–3 minutes before makeup. If your eye cream is very rich, save it for nighttime and use a lighter moisturizer in the morning.
How do I stop concealer from creasing on mature skin?
The same principles apply, with extra emphasis on hydration and using less product. Choose a hydrating, light-to-medium coverage formula, prep well, apply thinly, and consider setting spray instead of powder on the most lined areas. Heavy matte formulas are the enemy of mature under-eyes.
Can I fix creased concealer during the day without starting over?
Yes. Gently blot the area with a tissue or blotting paper to remove excess oil, then press (do not rub) with a clean fingertip or sponge to smooth the product back out. Only add more concealer if coverage is actually gone — usually redistributing what is there is enough.
Key Takeaways
- Concealer creases because under-eye skin is thin, mobile, and often dehydrated — product migrates into the folds created by blinking and expression.
- The biggest fix is using less product: thin layers flex with skin, thick layers crack into lines.
- Prep matters more than product: lightweight hydration plus a 2–3 minute wait before makeup.
- The “smile check” — smoothing settled product 60 seconds after blending, before setting — prevents most creasing.
- Set with a whisper of finely-milled powder, or use setting spray if your under-eyes are dry.
- Match your formula to your skin: hydrating and flexible for dry under-eyes, longer-wear for oily.
- For product picks, see our best drugstore concealers for dry under eyes, and for the full base routine, our makeup for beginners step-by-step guide.
Love this? Pin it for later!