How to Contour for Beginners: Easy Step-by-Step Guide
If you’ve ever watched a makeup tutorial and wondered how someone’s cheekbones suddenly appeared out of nowhere, you’re not alone. Contouring is one of those techniques that looks intimidating but is actually pretty straightforward once you understand the logic behind it. It’s simply using makeup a few shades darker than your skin tone to create the illusion of shadows, which makes certain features look more defined.
The good news? You don’t need professional skills or a drawer full of products to start. This guide walks you through everything a beginner needs to know, from choosing between cream and powder to contouring for your specific face shape. If you’re brand new to makeup altogether, you may want to start with our complete makeup for beginners guide first, then come back here once you’re comfortable with the basics.
What Contouring Actually Does
At its core, contouring is about light and shadow. Your face naturally has highlights (forehead, cheekbones, nose bridge) and shadows (under cheekbones, sides of nose, jawline). Contour products mimic those shadows, which tricks the eye into seeing more structure.
Here’s what contouring can do:
- Define cheekbones by shading the hollows beneath them
- Slim the appearance of the nose with lines down the sides
- Sharpen the jawline by shading just below it
- Make the forehead look smaller by shading the hairline
- Add dimension so the face doesn’t look flat after foundation
What contouring can’t do is change your actual bone structure. It’s an optical effect, and a subtle one at that. The goal for beginners should be a soft, natural-looking definition — not dramatic Instagram-style sculpting. Heavy contour looks great in photos but can appear harsh in everyday lighting.
One important distinction: contour is not bronzer. Bronzer is warm-toned and goes where the sun naturally hits your face (tops of cheekbones, forehead, nose bridge) to add warmth and color. Contour is cool or neutral-toned and goes where shadows naturally fall, to add depth. Using bronzer as contour is one of the most common beginner mistakes — it tends to look orange and muddy rather than shadow-like.
Cream vs Powder: Which Should a Beginner Choose?
This is the first real decision you’ll make, and it matters more than most beginners realize. Each formula has clear advantages depending on your skin type and comfort level.
Cream Contour
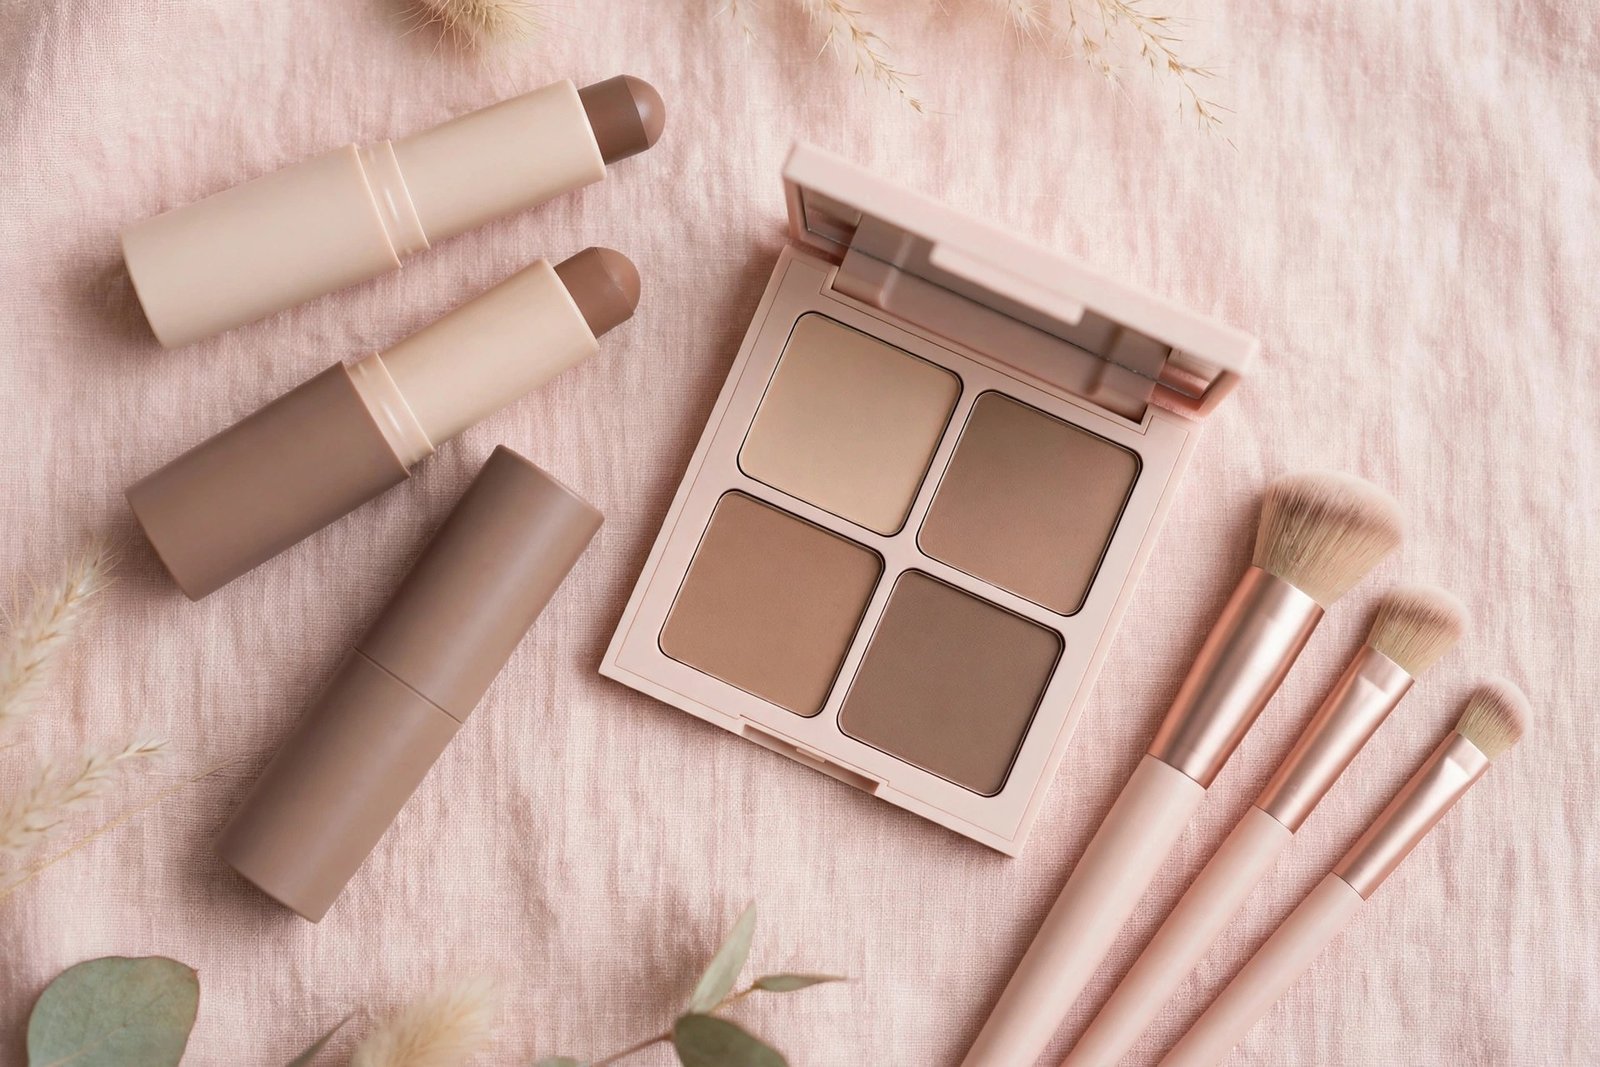
Cream contour comes in sticks, palettes, or pots. It’s blendable, buildable, and melts into the skin for a natural finish.
Best for: Dry, normal, or mature skin. Also great if you like a dewy, skin-like finish.
Pros:
– Blends seamlessly with fingers or a damp sponge
– Looks very natural, like real shadow
– Forgiving — you can sheer it out easily
– Works well over liquid or cream foundation
Cons:
– Can feel heavy on oily skin
– Needs to be set with powder to last
– Easier to over-apply if you’re heavy-handed
Powder Contour
Powder contour comes in pressed palettes or single pans. It’s applied with a brush and sits on top of the skin.
Best for: Oily or combination skin. Also ideal if you prefer matte finishes or wear powder foundation.
Pros:
– Lightweight and easy to control
– Great for oily skin (absorbs excess oil)
– Harder to overdo — builds gradually
– Lasts well without setting
Cons:
– Can look patchy on dry skin
– Less forgiving if you apply too much at once
– Requires a good brush for smooth blending
The Verdict for Beginners
If you have dry or normal skin, start with a cream contour stick. It’s the most forgiving formula and blends beautifully with just your fingers.
If you have oily skin, start with a powder contour. It’s lighter, easier to control, and won’t slide around during the day.
If you’re truly unsure, powder is the safer first purchase. It’s harder to mess up, and you can always add a cream later once you’re comfortable with placement.
Tools You’ll Need
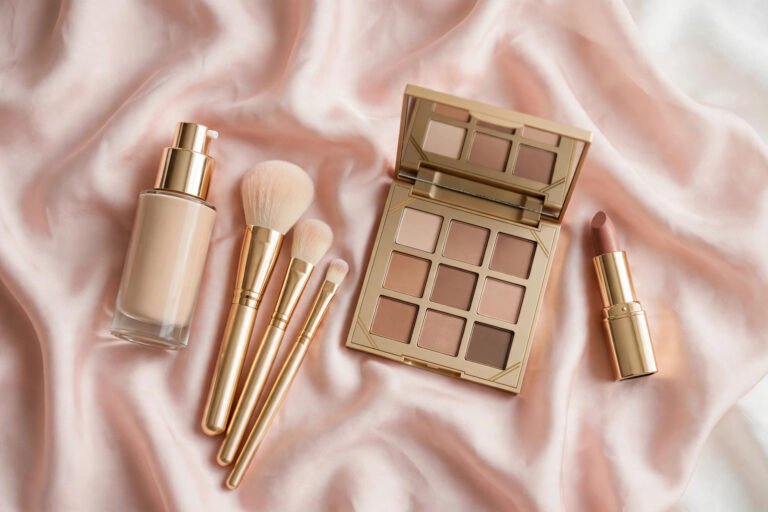
You don’t need a professional kit. Here’s the minimum:
- Contour product (cream stick or powder palette) in a shade 1–2 tones darker than your skin with a cool or neutral undertone
- A blending tool: a damp makeup sponge for cream, or a fluffy angled brush for powder
- A mirror in natural light if possible — bathroom lighting can be misleading
- Your regular foundation already applied — contour goes on top of base makeup, never on bare skin
Optional but helpful:
- A smaller detail brush for nose contouring (precision matters here)
- Translucent setting powder to lock cream contour in place
- A clean fluffy brush for diffusing edges at the end
Shade selection deserves emphasis: the most common beginner error is choosing a contour shade that’s too dark or too warm. Hold the product next to your jawline in natural light. It should look like a soft shadow, not a stripe. When in doubt, go lighter — you can always build up, but it’s much harder to tone down.
Step-by-Step Contouring by Face Shape
Placement is everything in contouring. Where you put the product depends on your face shape, because the goal is to enhance your features, not copy someone else’s routine.
First, figure out your face shape: pull your hair back and look in a mirror. Is your face longer than it is wide (oval/oblong)? About as wide as it is long (round/square)? Wider at the forehead (heart)? These rough categories are enough to guide placement.
General Steps (All Face Shapes)
- Apply your base makeup first. Foundation, concealer, and any cream products go on before contour. Powder contour goes after you’ve set your base with powder; cream contour goes before setting powder.
- Map the shadows. Using your product, draw or stamp the contour shade in the areas listed for your face shape below. Start with less than you think you need.
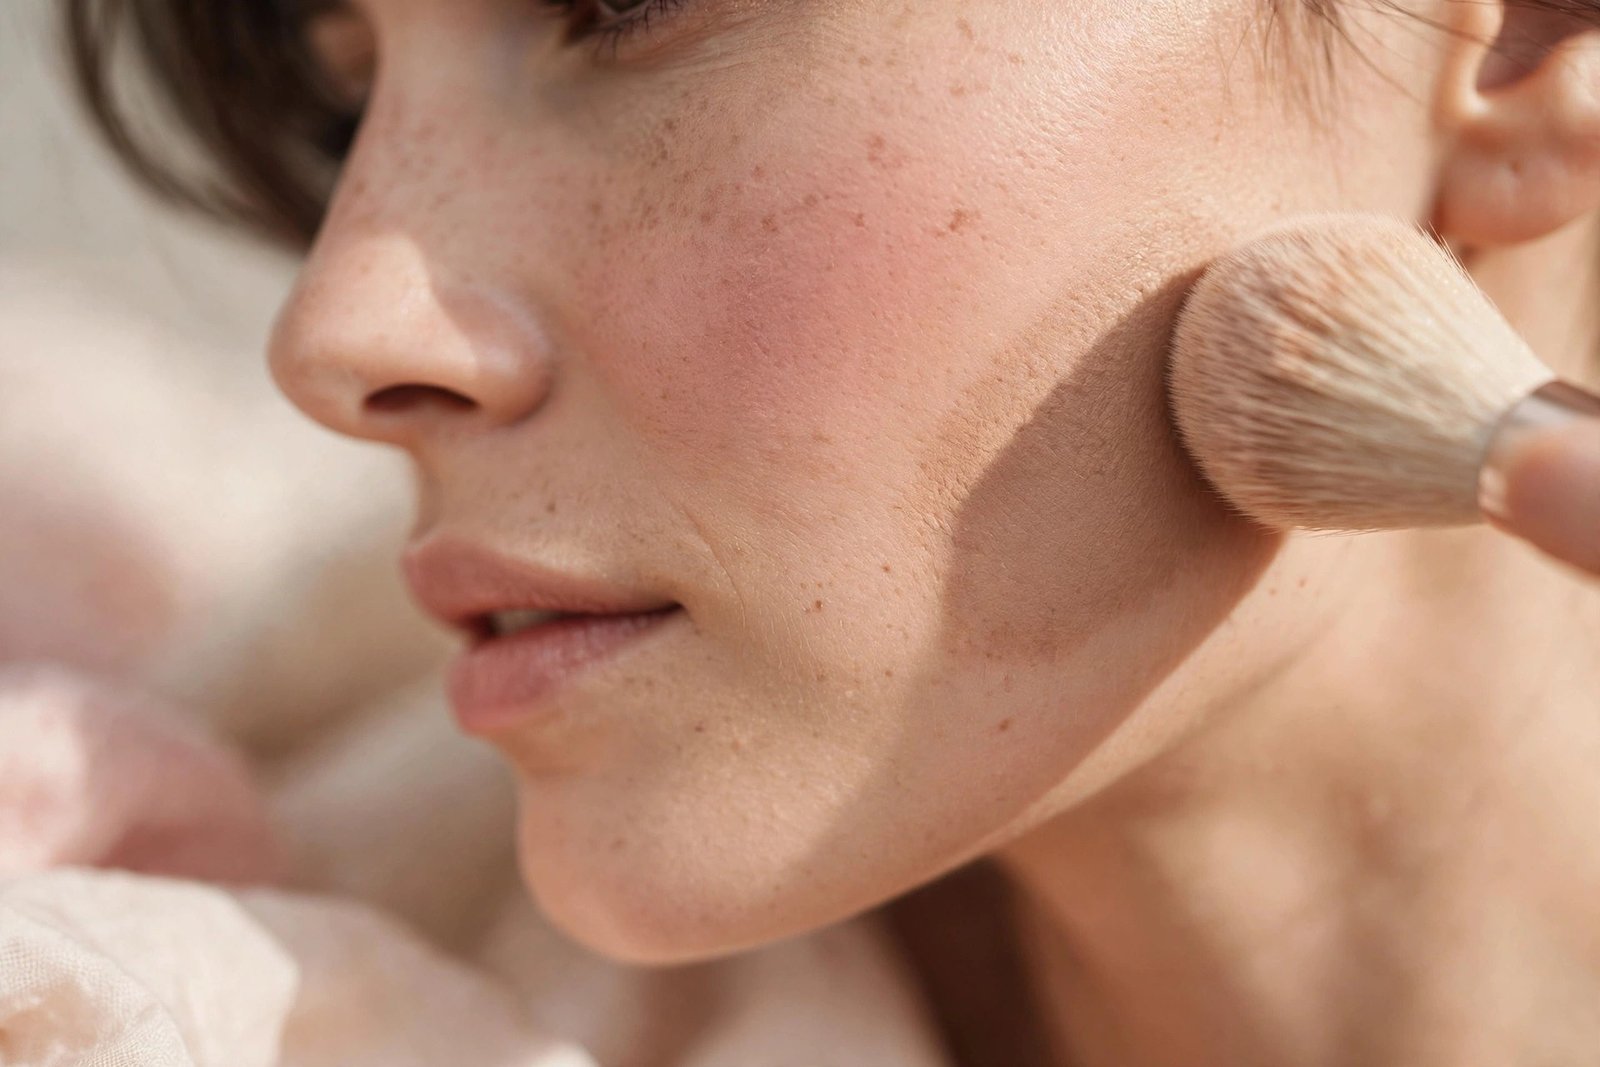
- Blend upward and outward. This is the golden rule. Always blend contour up toward the hairline or temples, never downward. Downward blending drags the face down visually.
- Check in natural light. Step near a window if you can. What looks subtle in a dim bathroom can look dramatic in daylight.
- Soften the edges. Go over everything once more with a clean brush or sponge. There should be no visible lines — just a gradual transition from shadow to skin.
Round Face
Goal: Add angles and elongate.
- Cheeks: Apply contour in the hollows of your cheeks, starting from near the ear and stopping about two finger-widths from the mouth. Angle it slightly upward.
- Forehead: Shade the temples and along the hairline to narrow the forehead visually.
- Jawline: Lightly shade just under the jawline to define it.
- Skip: Heavy contour on the chin — it can shorten the face further.
Oval Face
Goal: Maintain balance, add gentle definition. (Oval faces need the least contouring.)
- Cheeks: A soft shade in the hollows, kept subtle.
- Forehead: Very light shading at the hairline only if you want to minimize forehead height.
- Nose: Optional slimming lines if desired.
Square Face
Goal: Soften strong angles.
- Cheeks: Contour the hollows, blending well into the hairline.
- Forehead: Shade the outer corners of the forehead near the temples to soften the squareness.
- Jawline: This is key — shade the corners of the jaw to visually round them. Blend thoroughly.
Heart-Shaped Face
Goal: Balance a wider forehead with a narrower chin.
- Forehead: Shade the temples and sides of the forehead to narrow it.
- Cheeks: Contour the hollows as usual.
- Chin: A tiny bit of contour on the very tip of the chin can balance a pointed chin. Keep it minimal.
Oblong / Long Face
Goal: Visually shorten the face.
- Forehead: Shade along the entire hairline.
- Chin: Shade under the chin and along the jawline.
- Cheeks: Keep cheek contour horizontal rather than angled upward — this widens rather than lengthens.
Nose Contouring (All Face Shapes)
Nose contouring is optional and fiddly — many beginners skip it entirely, and that’s fine.
- Using a small brush or your fingertip, draw two thin lines down the sides of your nose bridge.
- Connect them with a small “V” or curve at the tip.
- Add a tiny dot of highlighter (or light concealer) down the center of the bridge.
- Blend the sides carefully — harsh nose lines are the fastest way to look overdone.
Less is more here. If you’re unsure, skip nose contouring until you’re comfortable with cheek and jaw placement.
Blending Tips That Make All the Difference
Placement gets the credit, but blending does the real work. Unblended contour looks like dirt smudges; well-blended contour looks like bone structure. Here’s how to get it right:
- Blend in small circles, not back-and-forth strokes. Circular motions diffuse product evenly without moving it out of place.
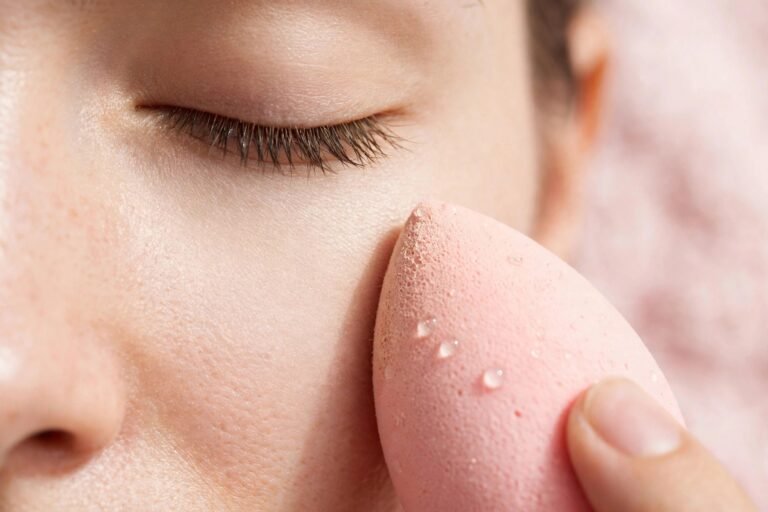
- Use a damp sponge for cream products. Bounce (don’t drag) the sponge over the contour. The dampness sheers out the product naturally.
- Use a clean brush for powder. After applying with your contour brush, switch to a clean fluffy brush and sweep over the edges to soften them.
- Blend up, never down. Contour placed in the cheek hollow should be blended upward toward the temple. This lifts the face visually.
- Layer thin coats. Two sheer layers look infinitely better than one heavy one. If you can’t see it after the first pass, add a little more — don’t glob it on.
- Check the jawline in profile. Turn your head to the side in the mirror. The jaw contour should fade seamlessly into your neck with no visible line.
- When in doubt, blend more. Almost every contour problem is a blending problem. If something looks off, grab a clean brush and keep buffing.
A useful test: take a photo with flash. Flash photography reveals harsh lines that aren’t visible to the naked eye. If your contour looks stripey in the photo, it needs more blending.
Common Beginner Mistakes (and How to Fix Them)
1. Using Bronzer Instead of Contour
As mentioned earlier, bronzer is warm and contour should be cool-neutral. If your “contour” looks orange, you’re probably using bronzer. Switch to a true contour shade with gray or taupe undertones.
2. Contouring Before Foundation
Contour needs a base to blend into. On bare skin, it sits on top and looks patchy. Always apply foundation first.
3. Going Too Dark
A contour shade 1–2 tones darker than your skin is plenty. Going darker doesn’t create more definition — it just looks like makeup. If you’re between shades, choose the lighter one.
4. Harsh, Unblended Lines
If you can see where the contour starts and stops, it needs more blending. There should be a gradient, not a line.
5. Contouring the Entire Cheek
Contour goes in the hollow beneath the cheekbone, not on the cheekbone itself. The cheekbone gets highlighter or blush. A quick way to find the hollow: suck in your cheeks slightly — the indented area is where contour goes.
6. Copying Someone Else’s Routine Exactly
A technique designed for a square face will look wrong on a round face. Adapt placement to your own features. This is also why following along with tutorials can be tricky — the creator’s face shape may differ from yours.
7. Skipping the Neck
If you contour your jawline but your neck is a different shade, there’s a visible disconnect. Lightly blend foundation down the neck, and make sure jaw contour fades naturally.
If your foundation tends to separate or look patchy around the nose area before you even get to contouring, that’s a base makeup issue worth fixing first — see our guide on why makeup separates around the nose for causes and fixes.
Frequently Asked Questions
Do I need to contour every day?
Not at all. Contouring is optional — plenty of people wear a full face of makeup without it. It’s a nice-to-have for days when you want extra definition or for photos and events. For everyday wear, a light hand or skipping it entirely is completely fine.
Can I contour with just my fingers?
For cream contour, yes — fingers work well because the warmth helps melt the product. Use your ring finger for lighter pressure. For powder contour, you’ll need a brush; fingers don’t distribute powder evenly.
What’s the difference between contour and highlight?
They’re opposites. Contour (dark) creates shadows and recedes areas. Highlight (light, often shimmery) brings areas forward — tops of cheekbones, brow bone, nose bridge, cupid’s bow. They work as a pair: contour defines, highlight emphasizes.
Should I contour if I have mature skin?
Yes, but with adjustments. Cream formulas are better than powder on mature skin (powder can settle into fine lines). Keep it very sheer, focus on the cheek hollows and jawline, and blend thoroughly. Heavy contour can age the face rather than define it.
How do I choose the right contour shade?
Look for something 1–2 shades darker than your natural skin tone with a cool or neutral undertone — think taupe, not orange. Test it on your jawline in natural light. Many drugstore brands now label products specifically as “contour” (not bronzer), which takes the guesswork out.
Can I use eyeshadow as contour?
In a pinch, a matte taupe eyeshadow works as powder contour. It’s not ideal for everyday use (eyeshadows aren’t formulated for large areas), but it’s a good way to experiment before buying a dedicated product.
Key Takeaways
- Contour mimics natural shadows to add definition — it’s an optical effect, not a transformation.
- Choose cream for dry skin, powder for oily skin. When unsure, powder is more forgiving for beginners.
- Pick a shade 1–2 tones darker than your skin with cool or neutral undertones — never orange.
- Placement depends on your face shape. Adapt the technique to your features rather than copying tutorials exactly.
- Blend upward and outward in small circles. Almost every contour problem is a blending problem.
- Start sheer and build up. Two light layers always beat one heavy one.
- Contour is optional. It’s a tool for extra definition, not a daily requirement.
Once you’re comfortable with contouring, the rest of your routine will start to click into place too. For the full picture — from skin prep through setting spray — work through our makeup for beginners step-by-step guide, which covers how contouring fits into a complete routine.
Love this? Pin it for later!