Lip Makeup Guide for Beginners: Your Complete Routine Start to Finish
A complete lip makeup guide for beginners starts with one reassuring fact: you don’t need expensive products or professional training to get polished, even, long-lasting lip color. Lip makeup is one of the most forgiving areas of a makeup routine to learn, because the techniques build on each other in a simple order — prep, define, fill, finish — and every step can be practiced in under five minutes with drugstore products.
What makes lip makeup feel intimidating is the sheer number of products on the shelf: pencils, bullets, liquids, glosses, stains, scrubs, balms, primers. This guide cuts through that noise. You’ll learn the full beginner lip routine in the order makeup artists actually do it, what each product does (and which ones you can skip), how to choose shades that flatter you, and the mistakes that make lipstick look amateur — plus how to avoid them. Each core skill also has a dedicated deep-dive guide linked throughout: [lip liner technique → how-to-apply-lip-liner], [liner vs lipstick → lip-liner-vs-lipstick], [long-wear tricks → how-to-make-lipstick-last-longer], and [stain vs lipstick → lip-stain-vs-lipstick-guide].
Key Takeaways
- The beginner lip routine follows five steps in order: prep, lip liner, lipstick, gloss (optional), and stain as an alternative finish.
- Prepping your lips — exfoliating and hydrating — matters more than any product choice for a smooth, even result.
- Lip liner is the single biggest upgrade for beginners: it defines shape, prevents feathering, and makes lipstick last longer.
- Blotting and layering beats expensive “long-wear” formulas for keeping lipstick on through the day.
- Lip stains are the most beginner-forgiving color product because they fade evenly instead of wearing off in patches.
- Choosing shades by undertone (warm, cool, neutral) is more reliable than chasing trends.
- Most lip makeup mistakes come down to skipping prep, choosing the wrong liner shade, or applying too much product at once.
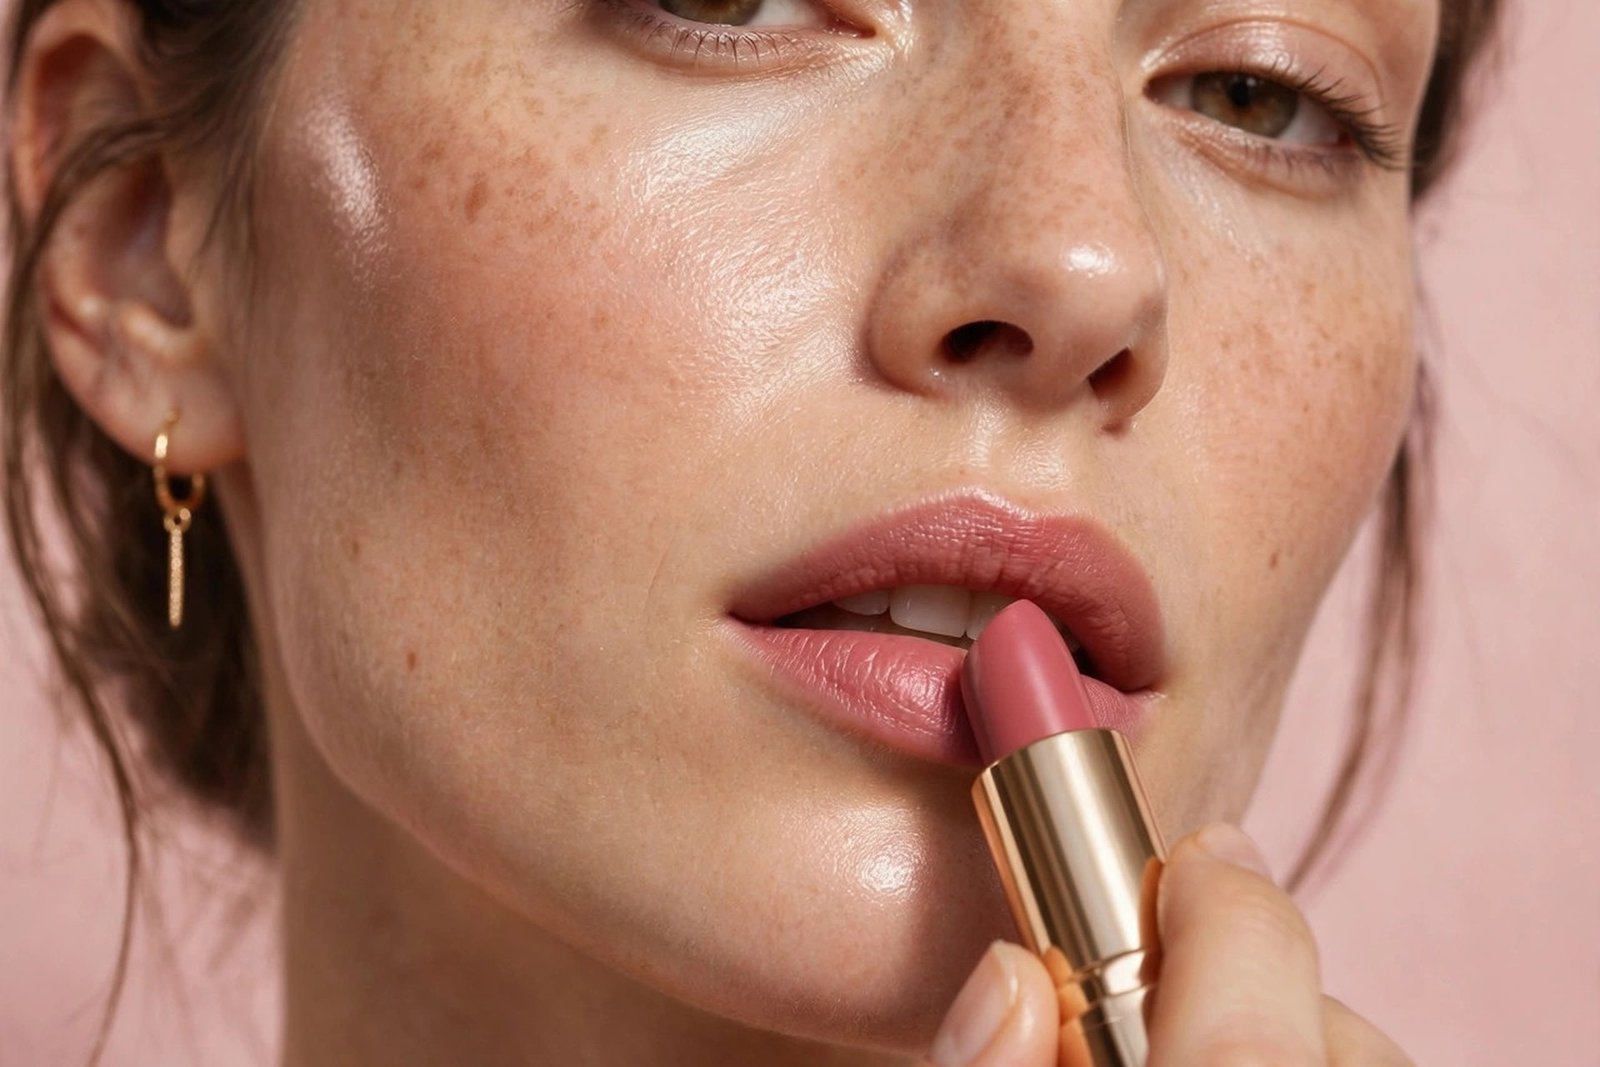
What Lip Makeup Actually Includes (The 5-Step Routine)
Before diving into technique, it helps to see the whole map. A full lip routine has five components, and you’ll rarely use all five at once — think of them as a menu, not a mandatory checklist.
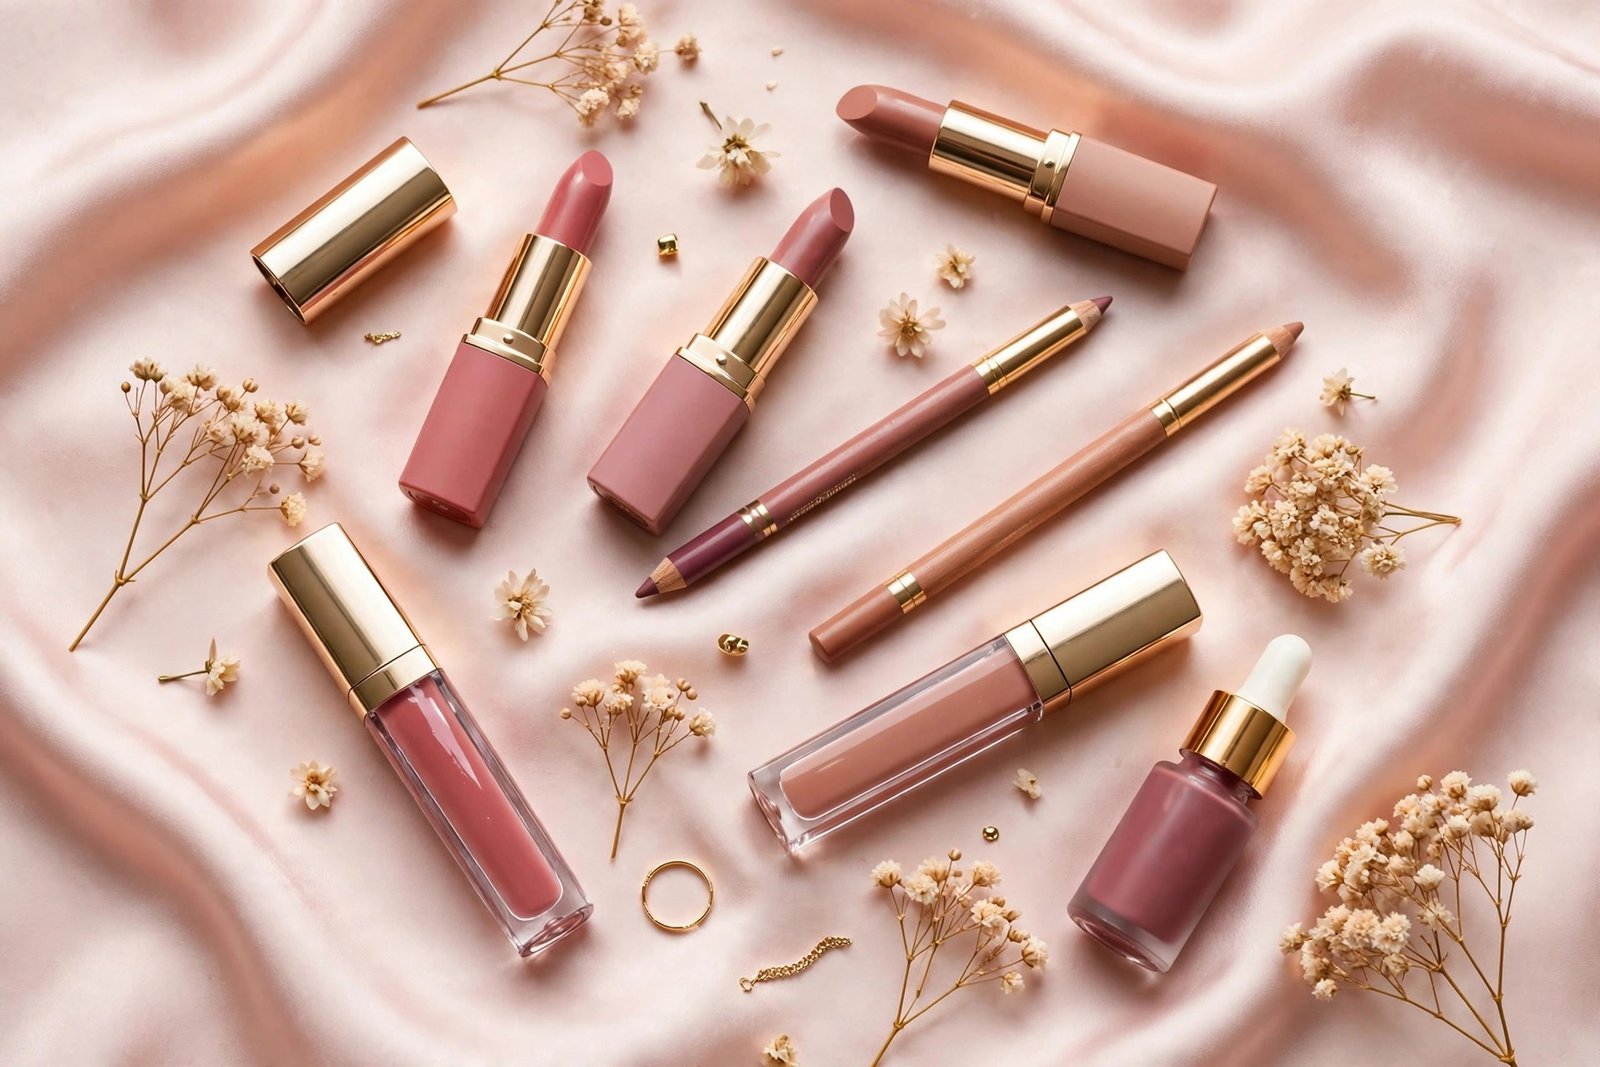
- Prep — exfoliating and moisturizing the lips so color applies smoothly.
- Lip liner — defining the lip line, correcting asymmetry, and creating a base that grips color.
- Lipstick — the main color payoff, in cream, satin, or matte finishes.
- Gloss — optional shine and dimension layered over or worn alone.
- Lip stain — an alternative to lipstick: sheer-to-buildable color that soaks into the lips and wears for hours.
The everyday beginner routine is usually just three steps: prep, liner, lipstick. Gloss and stain are variations you’ll add once you’re comfortable. The sections below walk through each step in application order, with links to the dedicated guides where each topic deserves more detail.
Step 1: Prep Your Lips (The Step Everyone Skips)
Here’s the uncomfortable truth makeup artists will tell you: flaky, dry lips make even expensive lipstick look cheap, while well-prepped lips make a $6 lipstick look luxe. Prep takes two minutes and changes everything about how color applies and wears.
Exfoliate first. Dead skin on the lips creates a bumpy surface that lipstick clings to unevenly — that’s the patchy, “pilling” look. Gently buff your lips with a soft toothbrush, a damp washcloth, or a homemade scrub once or twice a week. A simple DIY option is the [honey sugar lip scrub → diy-honey-sugar-lip-scrub], which uses kitchen ingredients to smooth lips without harsh abrasion. Don’t overdo it: scrubbing daily or pressing hard can irritate the delicate lip skin and make things worse.
Hydrate, then wait. Apply lip balm after exfoliating and let it absorb for a few minutes before any color goes on. If you apply lipstick directly over a thick layer of balm, the color slides around and wears off fast — the balm acts as a barrier. The correct sequence is: balm on, do the rest of your makeup or get dressed, then blot off the excess balm with a tissue right before liner. In cold or dry climates where lips chap constantly, the seasonal [dry lips winter remedies → dry-lips-winter-remedies] guide covers overnight treatments and the ingredients that actually repair the lip barrier.
Prime for problem lips. If your lipstick always feathers into the fine lines around your mouth, a lip primer (or a dab of foundation/concealer around the lip line) creates a smoother canvas. This is optional for most beginners but transformative if you have textured lips or deeper lip lines.
Step 2: Lip Liner (Your Secret Weapon)
If you learn only one lip skill, make it this one. Lip liner does three jobs at once: it defines the shape of your lips, it stops color from bleeding past the lip line (feathering), and it acts as a sticky base that makes lipstick last noticeably longer. Most of the “my lipstick never stays put” complaints beginners have are actually “I skipped the liner” complaints.
The basics: choose a liner that matches your natural lip color or your lipstick shade (never dramatically darker), sharpen or twist it to a fine point, and draw in short, light strokes following your natural lip line — starting at the cupid’s bow on top and the center of the bottom lip, then connecting outward to the corners. Fill in the entire lip lightly with the liner before lipstick goes on; that filled-in base is what extends wear time.
The technique deserves its own lesson, because details like overlining, shaping the cupid’s bow, and fixing feathered edges are where beginners get stuck. The full step-by-step tutorial — [how to apply lip liner → how-to-apply-lip-liner] — covers overlining without the clown look, the cupid’s bow trick, how to choose between pencil, retractable, and gel liners, and how to fix mistakes.
Quick rule for beginners: your liner should disappear into your lipstick. If you can see a distinct dark ring around your lips, the liner is too dark or too far outside your natural line. Blend the edges inward with your fingertip before applying lipstick.
Step 3: Lipstick (Choosing and Applying)
Lipstick is the color workhorse of the routine, and understanding the two decisions that matter — formula and shade — removes most of the guesswork.
Formulas, simplified. Cream/satin lipsticks are the most beginner-friendly: they glide on, forgive uneven application, and feel comfortable. Mattes give the most intense, longest-wearing color but show every flake and line, so they’re best saved until your prep routine is solid. Liquid lipsticks (the kind with a doe-foot applicator) offer serious staying power but can feel drying and are harder to fix if you go outside the lines.
Applying it well. You can apply straight from the bullet for speed, but a lip brush gives beginners more control — especially with dark or bold shades. Apply one layer, blot with a tissue, then apply a second thin layer. That blot-and-layer method builds color that lasts far longer than one thick coat, which is the core of the long-wear system explained in [how to make lipstick last longer → how-to-make-lipstick-last-longer].
Liner and lipstick, together. These two products have a specific relationship and a specific order — liner first, always — and there’s real strategy in when to use one, the other, or both. The comparison [lip liner vs lipstick → lip-liner-vs-lipstick] breaks down when each earns its place, the correct layering order, and whether liner can ever replace lipstick entirely.
Going bold. Once the basics feel easy, a classic red lip is the natural next challenge — and the holiday season is the perfect excuse. The [bold red lip holiday guide → bold-red-lip-holiday-guide] covers choosing a red for your undertone and the crisp application technique that makes it look expensive.
Step 4: Lip Gloss (Optional Shine)
Gloss is the easiest lip product to wear and the hardest to mess up — which makes it perfect for beginners who want color without commitment. Dab it in the center of the lips over lipstick for dimension, or wear a tinted gloss alone for a sheer wash of color that needs no liner and no precision.
Two honest caveats: gloss wears off faster than any other lip product (expect to reapply every couple of hours), and it can travel — in wind or heat, gloss migrates more than lipstick does. Liner underneath helps anchor it. If you love shine but hate the sticky, high-maintenance feel, the next step — stains — may be your real match.
Step 5: Lip Stain (The Beginner-Forgiving Alternative)
Lip stains are the underrated heroes for beginners. Instead of sitting on top of the lips like lipstick, a stain tints the skin itself — which means it fades gradually and evenly over hours instead of wearing off in embarrassing patches around the edges. You get long wear without the blotting, powdering, and setting routine that lipstick demands.
Stains come in watery tints, gel formulas, and peel-off versions, and they range from barely-there to quite bold. The trade-off is dryness: because stains contain little to no moisturizing ingredients, they can feel drying, so balm before (blotted off) and gloss or balm after is the standard pairing. For the full breakdown of when a stain beats lipstick and which formula type suits a beginner, see [lip stain vs lipstick → lip-stain-vs-lipstick-guide].
Finding Your Shades: The Undertone Shortcut
The fastest way to stop buying lipsticks that look wrong is learning your undertone — the subtle warm, cool, or neutral cast beneath your skin’s surface. It’s a five-second check: look at the veins on the inside of your wrist in natural light. Greenish veins suggest warm undertones, bluish-purple suggests cool, and a mix (or hard to tell) suggests neutral.
- Warm undertones tend to glow in coral, warm reds, peachy nudes, and orange-browns.
- Cool undertones tend to glow in blue-based reds, berry shades, mauves, and pinky nudes.
- Neutral undertones can wear most shades — use the occasion and outfit as your guide.
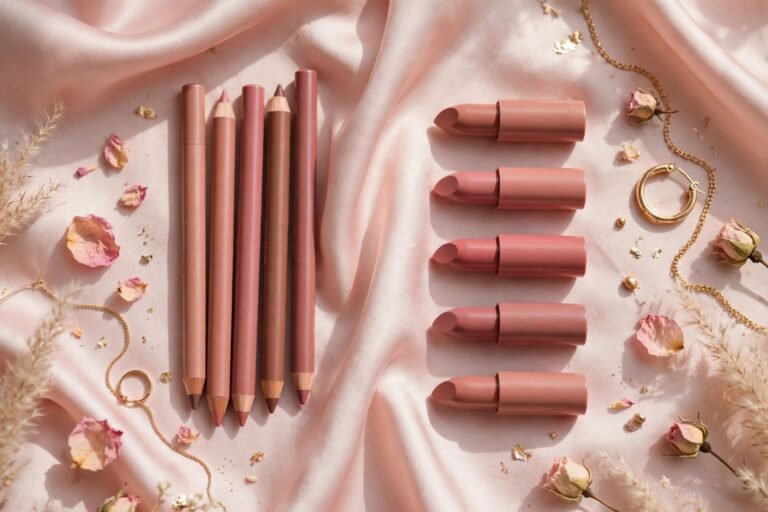
For everyday beginner shades, makeup artists consistently recommend starting with “my lips but better” colors: a nude one shade deeper than your natural lip color, or a sheer rose. These are forgiving of imperfect application and appropriate everywhere, which makes them ideal practice shades while your technique develops.
The 7 Beginner Mistakes That Cheapen Lip Makeup
- Skipping prep. Applying lipstick to dry, flaky lips. Exfoliate and hydrate first — always.
- Liner dramatically darker than lipstick. The visible dark ring is the most common beginner tell. Match liner to lips or lipstick, not two shades darker.
- Overlining too aggressively. Slightly enhancing the natural line is fine; drawing a full new lip line above your real one reads as costume. Stay within 1mm of your natural border.
- One thick coat of lipstick. Thick application creases, feathers, and wears off in chunks. Two thin layers with blotting in between lasts twice as long.
- Ignoring the corners. Color that stops short of the mouth corners looks unfinished. Use the tip of the liner or a brush to carry color fully into the corners.
- Applying gloss or balm right under lipstick. Slippery bases make color slide. Balm first, blot it off, then color.
- Not checking in natural light. Bathroom lighting hides uneven edges. A quick check by a window before you leave catches most mistakes.
Your Starter Kit: What to Actually Buy
You need less than you think. A complete beginner lip kit is five items: a lip scrub (or DIY), a plain lip balm, one lip liner in a “your lips but better” shade, one cream or satin lipstick in a wearable nude-rose, and tissues for blotting. That’s enough to practice the full routine for weeks.
Add next, in order: a second liner in a deeper shade for bolder looks, a lip brush for precision, and a stain or gloss depending on which finish you prefer. Resist the urge to buy ten lipsticks before your technique is solid — one shade you wear constantly teaches you more than a drawer of untouched bullets.
Frequently Asked Questions
What order do you apply lip products in?
Balm (blotted off) first, then lip liner to define and fill, then lipstick, then gloss on top if you want shine. If you’re using a stain instead of lipstick, the order is balm (blotted), stain, then balm or gloss over the stain once it’s set. Primer, if you use one, goes on before liner.
Do beginners really need lip liner?
It’s the highest-impact step a beginner can add. Liner defines shape, prevents feathering, and extends lipstick wear more than any setting trick. You can skip it with sheer glosses and stains, but for any real lipstick look, liner is what separates a polished result from a messy one.
How do I stop lipstick from getting on my teeth?
After applying, put your index finger in your mouth, close your lips around it, and pull it out — this removes the color from the inner lip area that transfers to teeth. It’s the oldest makeup-artist trick in the book and it works every time.
Why does my lipstick look patchy?
Almost always a prep problem: dry, flaky lips cause uneven application. Exfoliate, hydrate, and blot off excess balm before color. Patchiness can also come from applying over old, half-worn lipstick — start from clean lips each time.
Matte or cream lipstick for a beginner?
Cream or satin, without question. They’re easier to apply evenly, more forgiving of imperfect lip lines, and more comfortable to wear. Move to mattes once your prep and liner technique are reliable — matte formulas show every shortcut.
How long should lipstick last with proper technique?
With liner as a base, blotting between layers, and a cream or satin formula, expect 4–6 hours including light eating and drinking. Matte and liquid formulas can push 6–8 hours. Full-day, eat-a-burger wear requires the setting tricks in the long-wear guide — [how to make lipstick last longer → how-to-make-lipstick-last-longer].
Lip makeup rewards a simple truth: technique beats products. A beginner with a $6 lipstick, a matching liner, and a solid prep routine will out-perform someone with a drawer of luxury bullets and no technique every single time. Start with the three-step core — prep, liner, lipstick — practice it until it feels automatic, then branch into gloss and stains. And when you’re ready to go deeper on any single skill, the dedicated guides are waiting: [master lip liner application → how-to-apply-lip-liner], [understand liner vs lipstick → lip-liner-vs-lipstick], [make color last all day → how-to-make-lipstick-last-longer], and [choose between stain and lipstick → lip-stain-vs-lipstick-guide].
step-by-step lip liner tutorial
lip liner vs lipstick comparison
make lipstick last longer
lip stain vs lipstick guide
bold red lip holiday guide
dry lips winter remedies
DIY honey sugar lip scrub
Love this? Pin it for later!