Gua Sha Guide for Beginners: What It Is and How to Use It Right
A gua sha guide for beginners is the best place to start if you have seen those smooth, flat stones all over your feed and wondered whether they actually do anything. Gua sha is a facial massage technique that uses a smooth-edged tool — traditionally stone, now also stainless steel — swept across the skin in slow, directional strokes. Done correctly, it is a genuinely pleasant ritual that can help your face look less puffy, feel more relaxed, and glow a little brighter.
This guide covers everything a beginner needs: what gua sha is and where it comes from, how it is thought to work (with honest notes on what the science actually says), how to choose your first tool, what to use with it, and a complete full-face routine you can follow tonight. There is no hype here and no miracle claims — just practical, step-by-step instruction.
By the end, you will know exactly how to hold the tool, which direction to stroke, how much pressure to use, and how often to practice. Ready? Let us start with the basics.
Key Takeaways
- Gua sha is a facial massage technique using a smooth, flat tool swept across the skin in slow strokes.
- The most plausible benefits are reduced puffiness (lymphatic drainage), improved circulation, and muscle relaxation — clinical evidence is limited, so expect subtle results.
- Always use a facial oil or serum for slip; never drag the tool across dry skin.
- Keep pressure light to medium, stroke outward and upward, and start with the neck to open lymphatic pathways.
- A full routine takes 5–10 minutes; most beginners do well with 3–4 sessions per week.
- Choose a smooth, well-made tool — a stone gua sha or stainless steel tool both work; edge quality matters more than stone type.
- Go gentle if you have sensitive skin, and skip gua sha over active breakouts, sunburn, or broken skin.
What Exactly Is Gua Sha?
Gua sha (pronounced “gwah-shah”) comes from traditional Chinese medicine, where it was originally a body therapy. The name roughly translates to “scrape sand” — referring to the practice of scraping the skin to encourage circulation. The traditional body version is quite vigorous and can leave temporary red marks. The facial version you see today is a much gentler, modern adaptation focused on the face and neck.
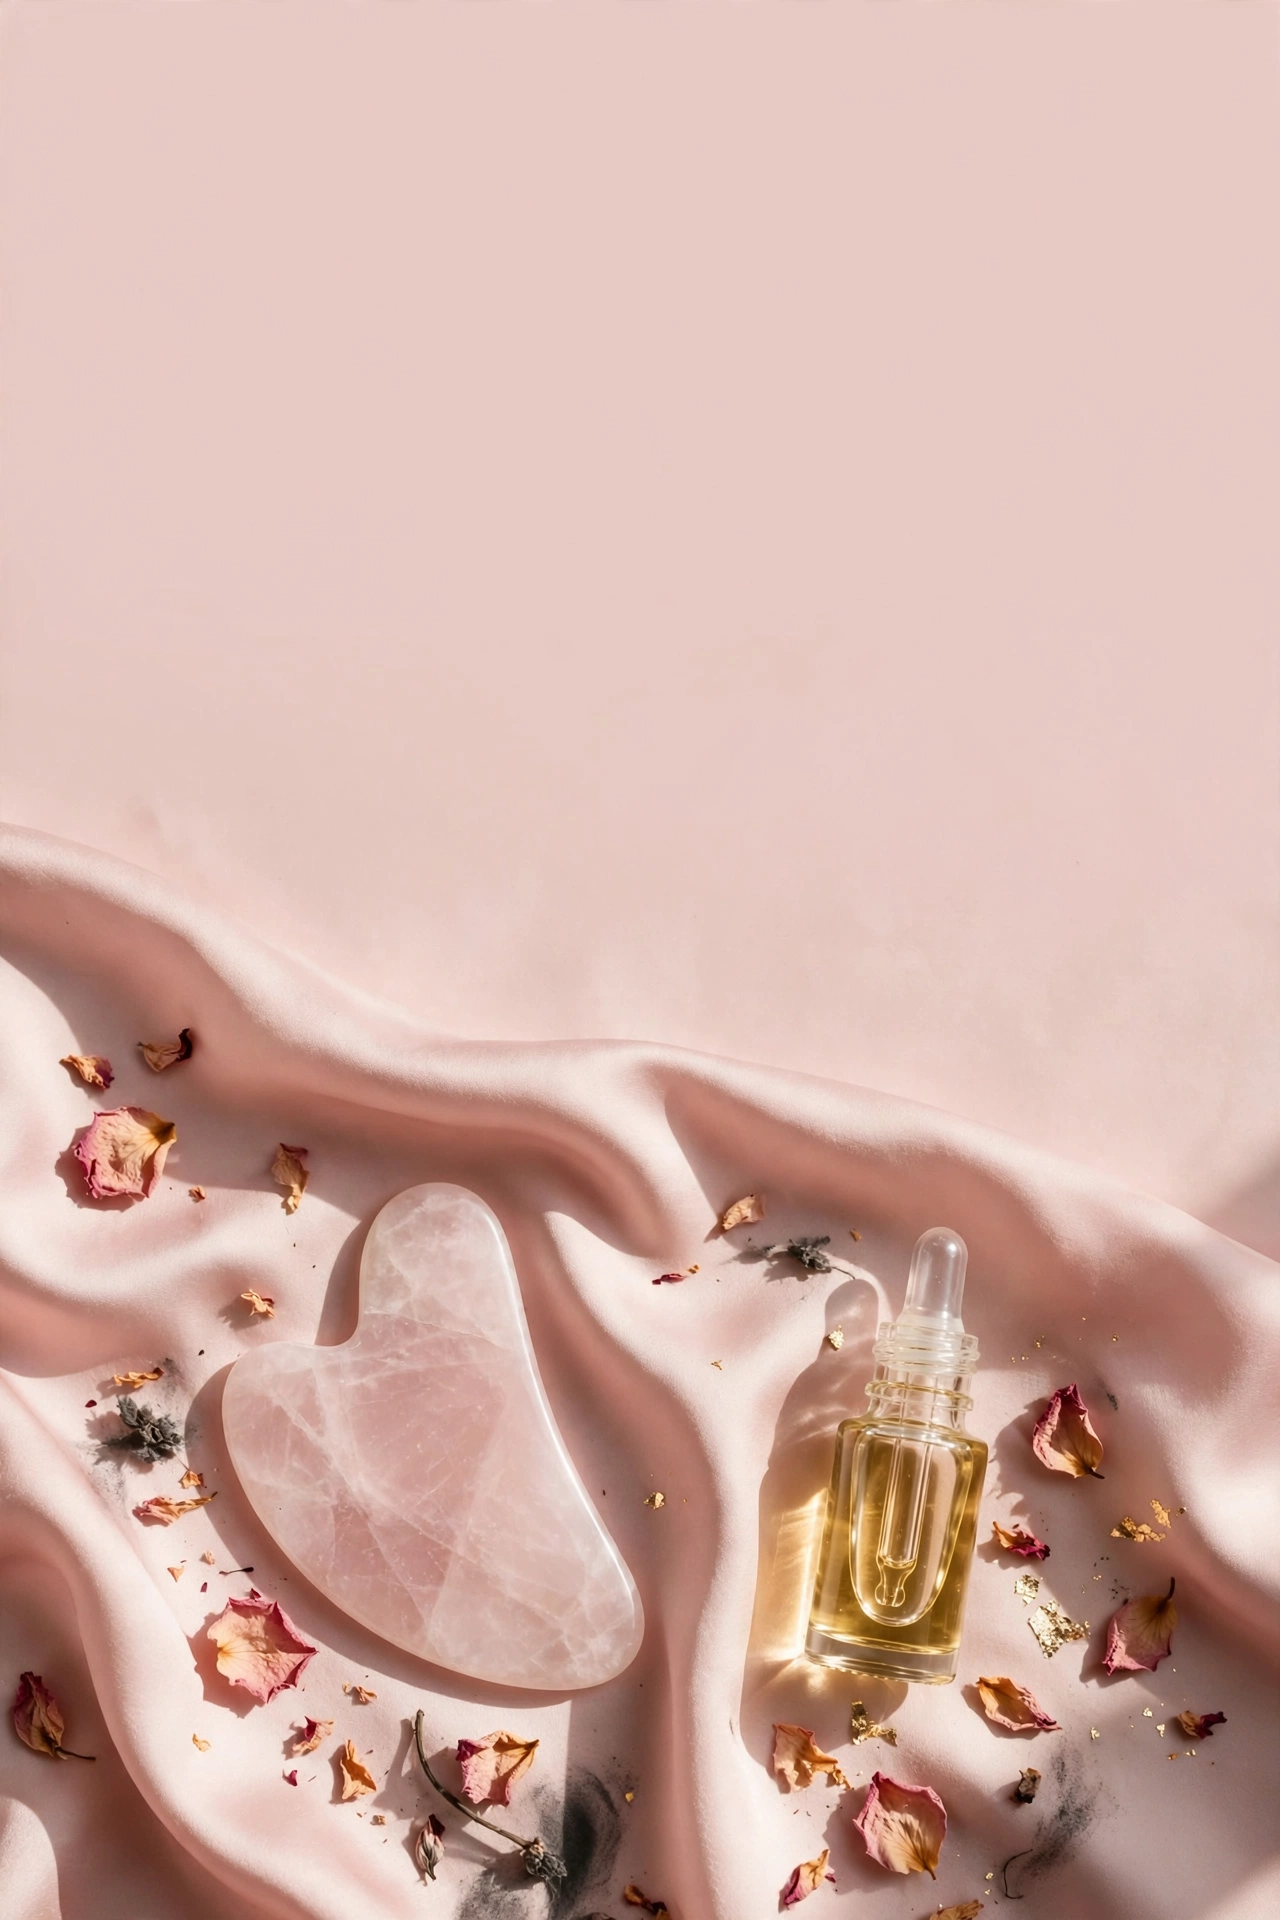
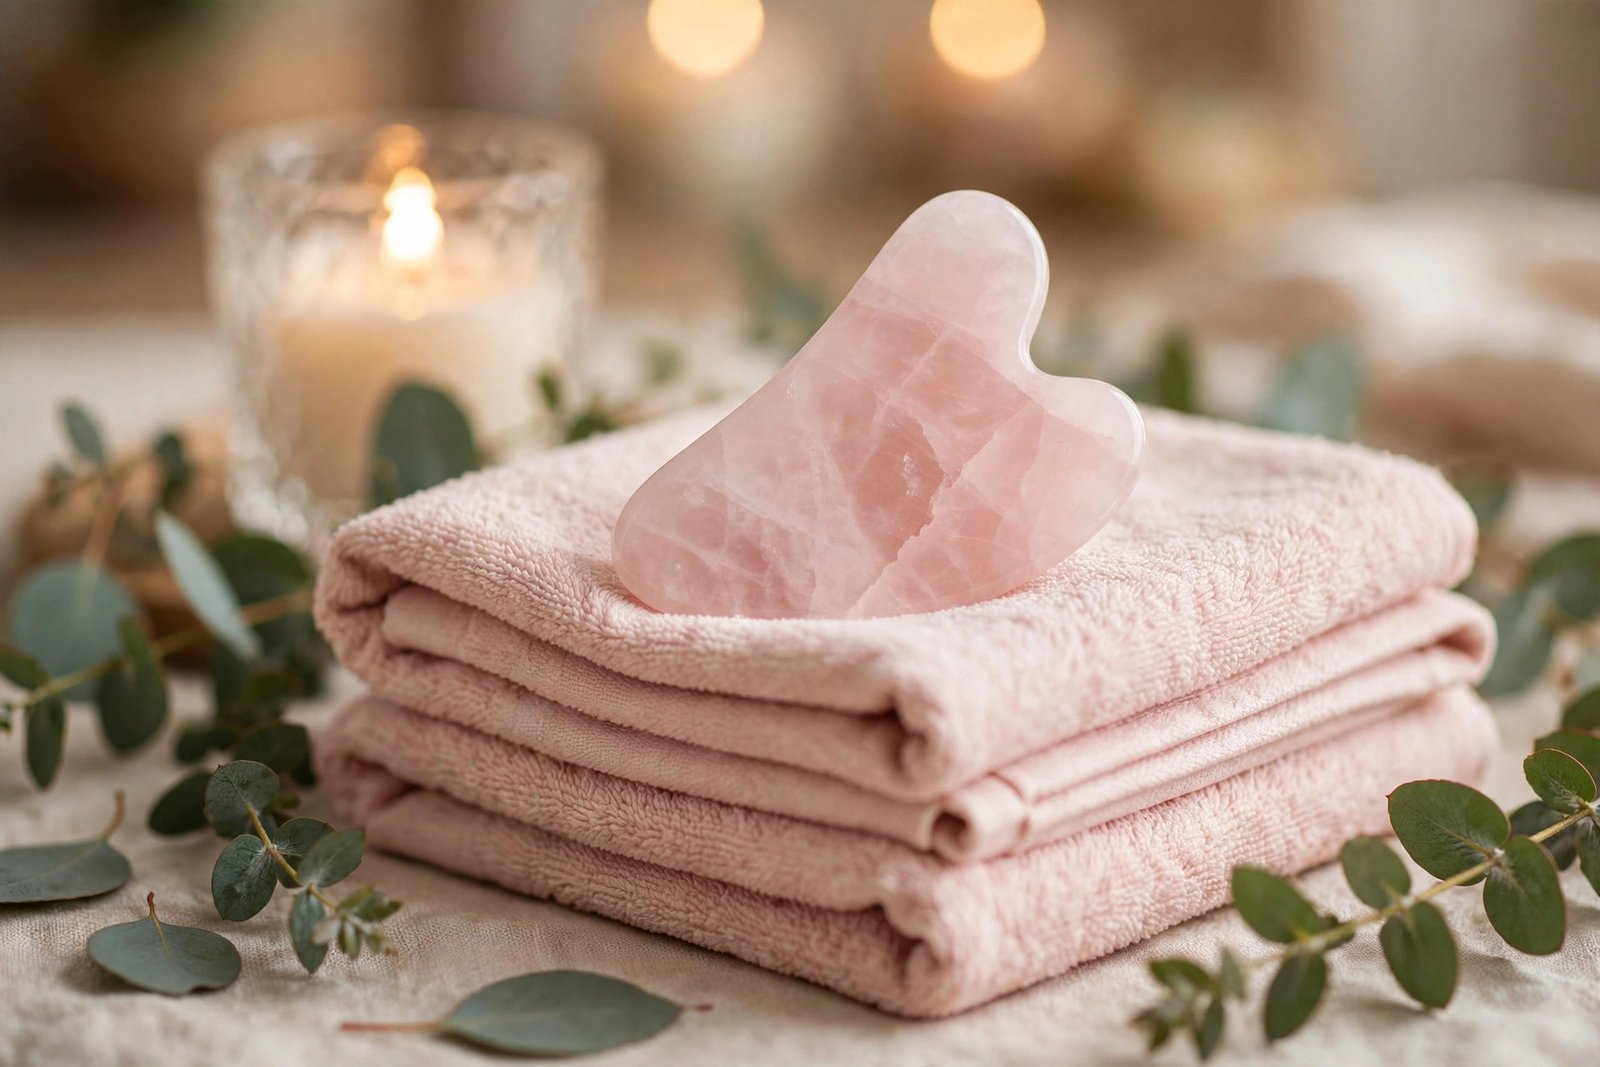
A gua sha tool is a smooth, flat piece of stone, metal, or occasionally resin with curved edges shaped to fit facial contours. The most common shape is the “wing” or heart shape: a wide curved edge for cheeks and forehead, a notched edge that cradles the jawline, and a smaller curved edge for the delicate under-eye area. You will also see spoon shapes, comb-edged tools, and mushroom-shaped tools designed for the eye area.
Facial gua sha works by combining light pressure with repeated, directional strokes. Each stroke moves fluid and tension along a path — down the neck, out along the jawline, up over the cheeks. Practitioners believe this encourages lymphatic drainage, boosts local blood flow, and releases the muscle tension that builds up in the jaw, temples, and brow from clenching, frowning, and screen time.
It is worth being honest here: while gua sha has centuries of traditional use and a large modern following, high-quality clinical trials on facial gua sha are limited. The [benefits most people report → gua-sha-benefits-for-skin] — de-puffing, a fresher look, relaxation — are plausible and widely experienced, but they are not proven medical outcomes. Think of gua sha as a supportive skincare ritual, not a treatment.
How Does Gua Sha Work? Three Plausible Mechanisms
You do not need a biology degree to use gua sha well, but understanding what might be happening under the skin helps you use the tool correctly — especially the emphasis on direction.
1. Lymphatic drainage. Your face has a network of lymphatic vessels that carry away waste fluid, and unlike blood, lymph has no pump — it moves through muscle contraction and external pressure. Morning puffiness is often pooled lymphatic fluid. Slow strokes directed toward the lymph nodes (down the neck, toward the ears) are thought to help move that fluid along. This is the most credible explanation for why gua sha visibly de-puffs.
2. Increased circulation. Any massage brings blood to the surface. After a gua sha session, skin often looks flushed and rosy — that is blood flow, and it is one reason people describe a post-gua-sha “glow.” Better circulation also means the skin looks more alive and awake.
3. Muscle tension release. Many people carry surprising tension in their masseters (jaw muscles), temples, and forehead. Slow, firm strokes over these areas feel like a mini massage because that is essentially what they are. Releasing jaw tension can even soften the look of a tense, square jawline over time.
None of this is magic, and none of it permanently reshapes bone structure — despite what some viral videos claim. What gua sha can do is move fluid, ease tension, and bring a temporary lifted, sculpted look that lasts hours, not weeks.
Choosing Your First Gua Sha Tool
You do not need an expensive tool. What matters is smoothness, comfortable edges, and a shape that fits your face. Here are the main types:
Stone gua sha tools are the classic choice. Rose quartz and jade are the most common; you will also see amethyst, aventurine, and bian stone. Stone feels cool and pleasant on the skin, and many people enjoy the ritual aspect. Be aware that dyed or low-quality stone tools exist — a genuine-feeling, smoothly polished tool with no rough seams is what you want, regardless of which stone it claims to be.
Stainless steel gua sha tools are the modern alternative. They stay cool longer than stone, are nearly unbreakable (stone tools can chip or shatter if dropped), and are easy to sanitize. If you are clumsy or travel with your tool, stainless steel is the practical pick.
Shape matters more than material. For a first tool, choose the classic wing/heart shape: it gives you a long edge for cheeks and neck, a notch for the jawline, and a small curve for under the eyes. Avoid tools with sharp or rough edges — run your finger along every edge before buying if you can.
A note on claims: no stone type has proven skincare powers. Claims that rose quartz “emits loving energy” or jade “detoxifies” are marketing, not science. Choose based on feel, quality, and price. If you are torn between tools, our comparison of [jade roller vs gua sha → jade-roller-vs-gua-sha-which-is-better] can help you decide which facial tool to buy first.
What to Use With It: Picking a Facial Oil
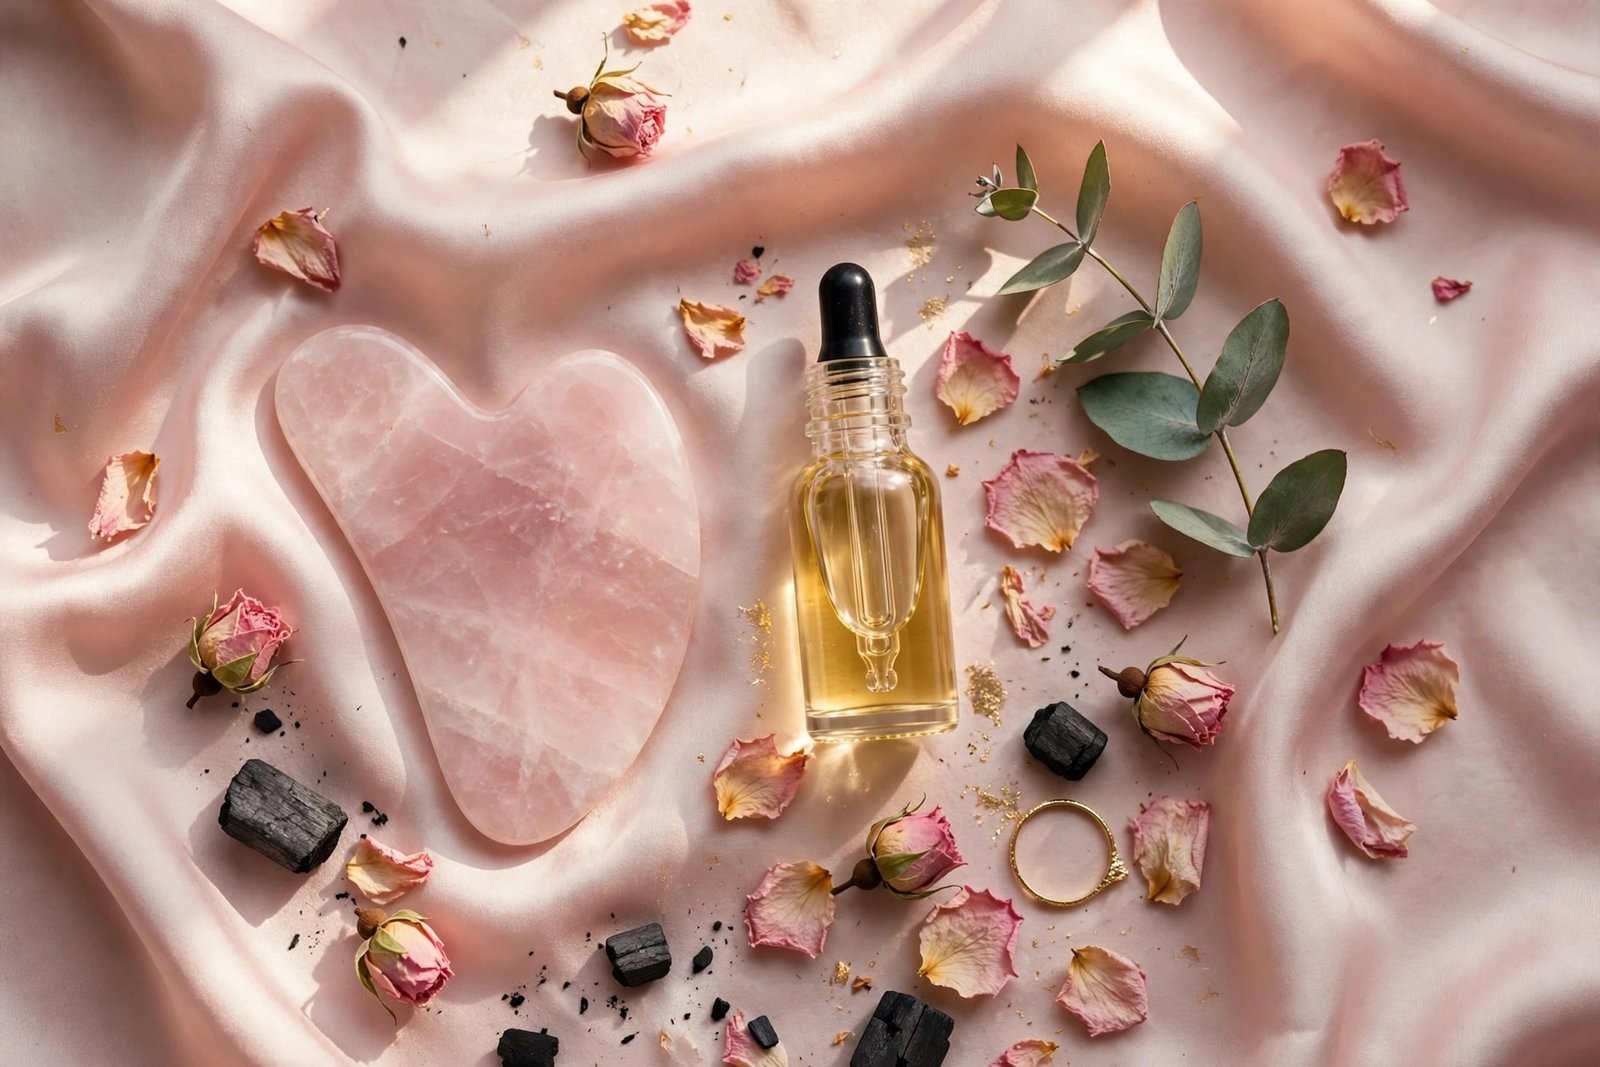
Never use gua sha on dry skin. The tool needs slip to glide, and dragging it across bare skin causes friction, redness, and even broken capillaries. Always apply a facial oil, oil-based serum, or rich moisturizer first — enough that the tool slides easily.
Good options for beginners include jojoba oil, squalane oil, or rosehip oil — all affordable, widely available, and suitable for most skin types. If your skin is oily, a lightweight squalane works well; if dry, a richer oil like rosehip is comfortable. Avoid anything with strong fragrance or active exfoliants (like glycolic acid) right before gua sha, since the massage increases absorption and can intensify irritation.
Apply a few drops, warm it between your palms, and press it into the skin. You want a visible sheen, not a puddle. If the tool starts dragging mid-routine, add another drop or two.
The Full-Face Gua Sha Routine, Step by Step
Here is a complete routine that takes about 5–10 minutes. The golden rules: light to medium pressure (you should never bruise or feel pain), slow strokes, and direction matters — generally outward and upward on the face, downward on the neck.
Step 0 — Prep. Wash your hands and cleanse your face. Apply your facial oil. Take a breath and relax your jaw — unclench your teeth.
Step 1 — Neck (open the drainage pathways). Always start here. Hold the tool flat against the side of your neck and sweep downward from behind the ear to the collarbone, 3–5 strokes per side. This “opens” the lymphatic pathways so fluid from the face has somewhere to go. Skipping the neck is the most common beginner mistake.
Step 2 — Jawline. Place the notched edge of the tool under your chin, straddling the jawbone. Sweep outward along the jawline toward the ear, 5 strokes per side. This area holds a lot of tension — go slow.
Step 3 — Chin and lower cheek. From the center of the chin, sweep the wide edge of the tool outward and slightly upward toward the earlobe, 5 strokes per side.
Step 4 — Cheeks. Starting beside the nose, sweep outward across the cheek toward the temple, 5 strokes per side. Use the wide curved edge. Keep pressure light over the mid-cheek.
Step 5 — Under eyes. Switch to the small curved edge. With very light pressure — barely more than the weight of the tool — sweep from the inner corner outward toward the temple, 3–5 strokes per side. Never press hard here; the skin is thin.
Step 6 — Temples. Make small, slow circles on the temples with the tool. This feels wonderful if you carry tension here.
Step 7 — Forehead. Sweep upward from the eyebrows to the hairline, 5 strokes, working from the center outward. Then sweep horizontally from the center of the forehead out to the temples.
Step 8 — Finish at the neck. End where you started: sweep down the sides of the neck to the collarbone, 3–5 strokes per side. Then press the tool gently into the hollows above the collarbone for a few seconds.
Wipe your tool clean, follow with the rest of your skincare (serum, moisturizer), and you are done. For a morning version focused specifically on puffiness, pair this with the tips in our [morning de-puffing routine → how-to-depuff-your-face-morning].
How Often Should You Do Gua Sha?
For most beginners, 3–4 times per week is the sweet spot — enough to build the habit and see what it does for your skin, without overdoing it. Some people enjoy a short daily session, and that is generally fine as long as pressure stays light and the skin shows no irritation.
Session length matters less than consistency: 5 minutes done regularly beats a 20-minute marathon once a month. And rest days are genuinely useful — they let you notice whether the puffiness returns, which tells you how much of the effect is the massage itself.
For the full breakdown — session length, rest days, and the signs you are overdoing it — read our detailed guide on [how often to use gua sha → how-often-should-you-use-gua-sha].
Common Mistakes Beginners Make
Using no oil (or too little). Dry dragging is the fastest way to irritate your skin. When in doubt, add more oil.
Pressing too hard. Gua sha should never hurt, bruise, or leave red marks that last. If your skin is angry afterward, you pressed too hard. Light pressure with more repetitions beats heavy pressure.
Stroking in random directions. Direction is the whole point. Face: outward and upward. Neck: downward. Random back-and-forth scrubbing just moves fluid around without draining it.
Skipping the neck. The neck is the drain. No neck work, no drainage.
Gua sha over active breakouts. Do not stroke over inflamed pimples, cystic acne, rashes, sunburn, or broken skin — you will spread bacteria and worsen irritation. Work around those areas or skip the session.
Going too hard on sensitive skin. If your skin is sensitive or reactive, use the lightest possible pressure, keep sessions short, and stop if you see lingering redness. Our [sensitive skin routine guide → sensitive-skin-routine-guide] has more on keeping reactive skin calm — the same gentle philosophy applies here.
Using a dirty tool. Oils and skin cells build up on the tool. Wash it with gentle soap and warm water after each use and let it air dry.
How to Clean and Store Your Gua Sha Tool
After each session, wash the tool with a mild soap and lukewarm water, rinse well, and pat dry with a clean towel. Once a week, you can wipe it with a little rubbing alcohol for a deeper clean — just rinse afterward so no residue transfers to your skin.
Store it somewhere it will not get knocked around. Stone tools chip and break if dropped on tile, so a soft pouch or a dedicated spot in your skincare drawer is ideal. Stainless steel tools are tougher but still deserve a clean home.
What to Expect in Your First Month
Set honest expectations and the first month goes well. In week one, focus purely on learning the motions — direction, pressure, and the neck-first sequence — without judging results. Most beginners press too hard at first; if your skin is pink for more than an hour afterward, lighten up.
By weeks two and three, the routine becomes muscle memory and you will start noticing patterns: which mornings you wake up puffiest, how your jaw feels after a tense day, whether your skin looks fresher on gua sha days. This is also when consistency matters most — three to four sessions a week is enough to evaluate fairly.
By week four, you will know whether gua sha earns a permanent place in your routine. Some people become devoted daily practitioners; others keep it as an occasional de-puffing treatment before events. Both are valid. Gua sha works best as a long-term, low-effort habit — not a 30-day transformation challenge.
Frequently Asked Questions
Does gua sha actually slim your face?
No — gua sha cannot change your bone structure or permanently remove fat. What it can do is reduce fluid retention and relax tense jaw muscles, which can make the face look temporarily slimmer and more sculpted. The effect lasts hours, not permanently.
Will gua sha give me wrinkles from pulling the skin?
Not if you use enough oil and light pressure. The concern comes from dragging skin without slip. With proper lubrication and gentle strokes, gua sha should not stretch or damage the skin.
Can I use gua sha if I have acne?
Work around active breakouts — never stroke directly over inflamed pimples or cystic acne. If your acne is widespread or severe, skip facial gua sha until it calms down, and check with a dermatologist.
Does the type of stone matter?
For skincare results, no. A smooth rose quartz tool and a smooth stainless steel tool perform the same function. Choose based on feel, durability, and budget — and be skeptical of healing claims attached to specific stones.
How long until I see results?
De-puffing can be visible after a single session, especially in the morning. More subtle changes — like reduced jaw tension or a general glow — tend to build over a few weeks of consistent practice.
Can I do gua sha every day?
Many people do, with light pressure and short sessions. But daily is not required — 3–4 times per week gives most of the benefit. If your skin ever looks irritated or you notice broken capillaries, take a break.
Gua sha is one of those rare beauty rituals that is both relaxing and visibly useful — a few quiet minutes that leave your face looking fresher and feeling looser. Start with the routine above, keep the pressure light, and give it a few weeks. To go deeper, explore [how often to use gua sha → how-often-should-you-use-gua-sha], the honest breakdown of [gua sha benefits for skin → gua-sha-benefits-for-skin], and — if you are curious about other facial tools — our guides to [jade roller vs gua sha → jade-roller-vs-gua-sha-which-is-better] and [dermaplaning at home → dermaplaning-at-home-guide-for-beginners].
gua sha benefits for skin
how often to use gua sha
jade roller vs gua sha
dermaplaning at home
morning de-puffing routine
sensitive skin routine guide
Love this? Pin it for later!