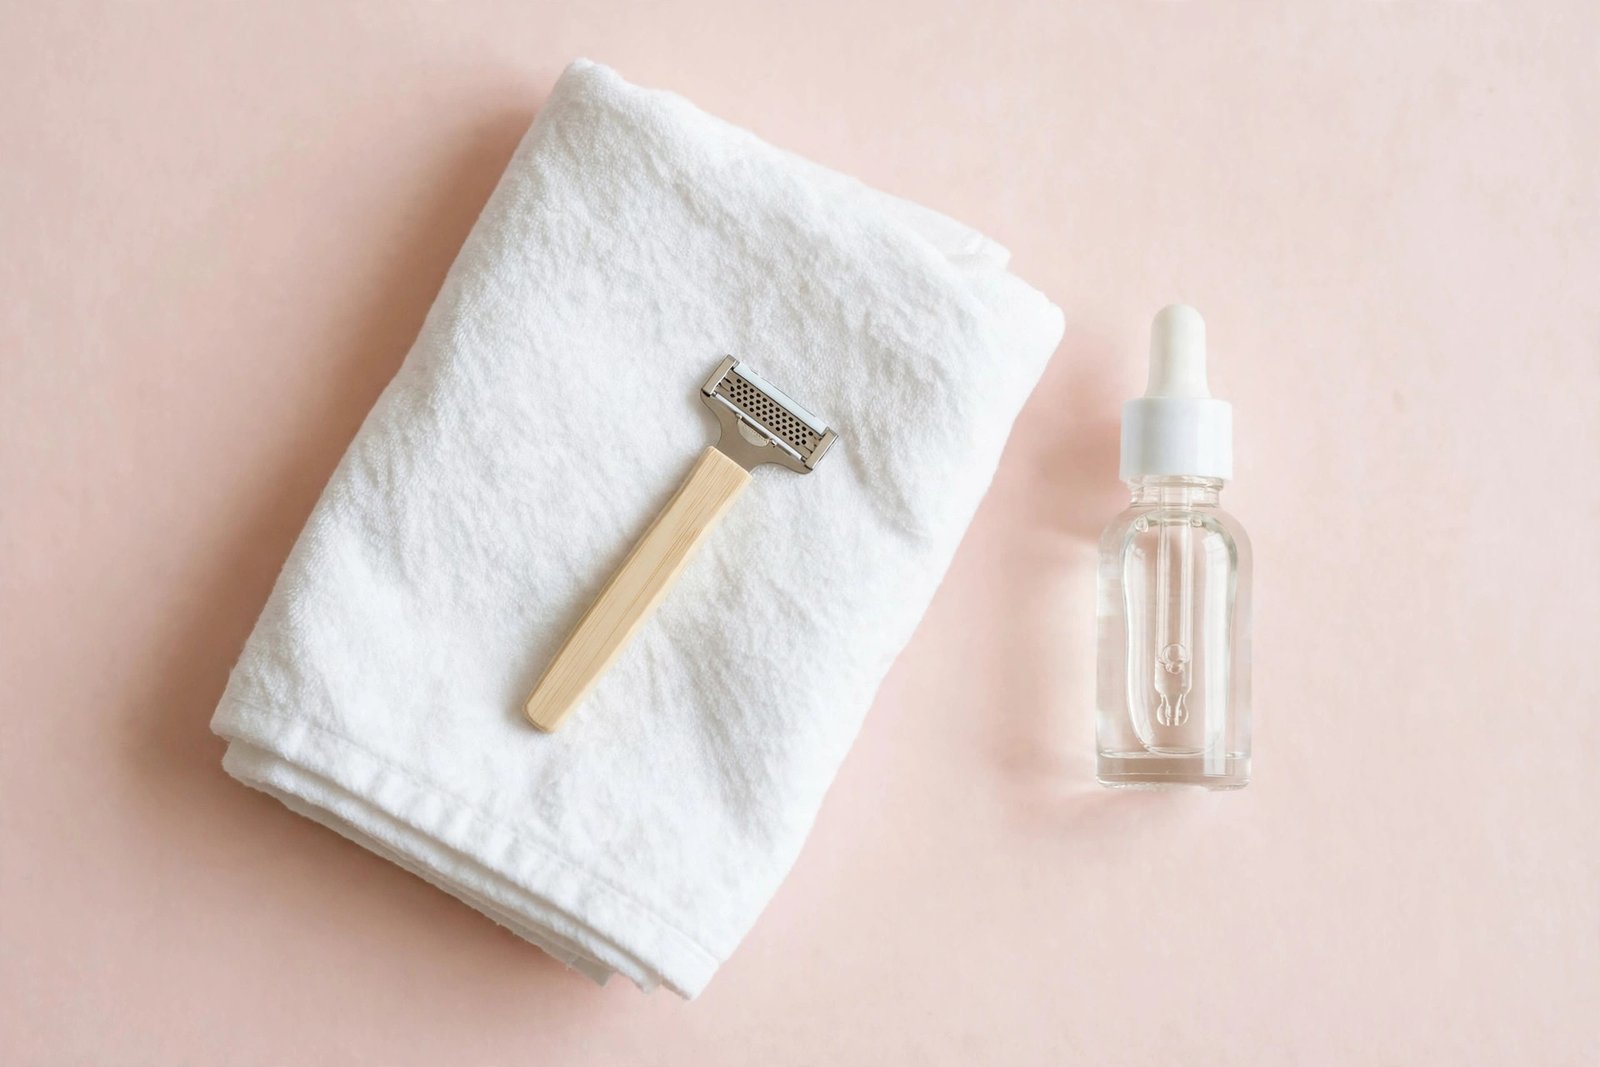
Dermaplaning at Home: A Beginner’s Guide to Safe, Smooth Skin
Dermaplaning at home is one of those beauty techniques that sounds intimidating until you try it — then you wonder why you waited. Using a small, sterile facial razor held at an angle, you gently scrape away peach fuzz (vellus hair) and the top layer of dead skin cells. The result: noticeably smoother skin, easier makeup application, and better absorption of your skincare.
Done correctly, at-home dermaplaning is safe, cheap, and oddly satisfying. Done carelessly, it can cause nicks, irritation, and breakouts. This beginner guide covers everything: how to choose the right tool, the exact technique step by step, aftercare that protects your fresh skin, and — just as important — who should skip dermaplaning entirely.
Key Takeaways
- Dermaplaning removes peach fuzz and dead skin with a sterile facial razor, leaving skin smoother and makeup easier to apply.
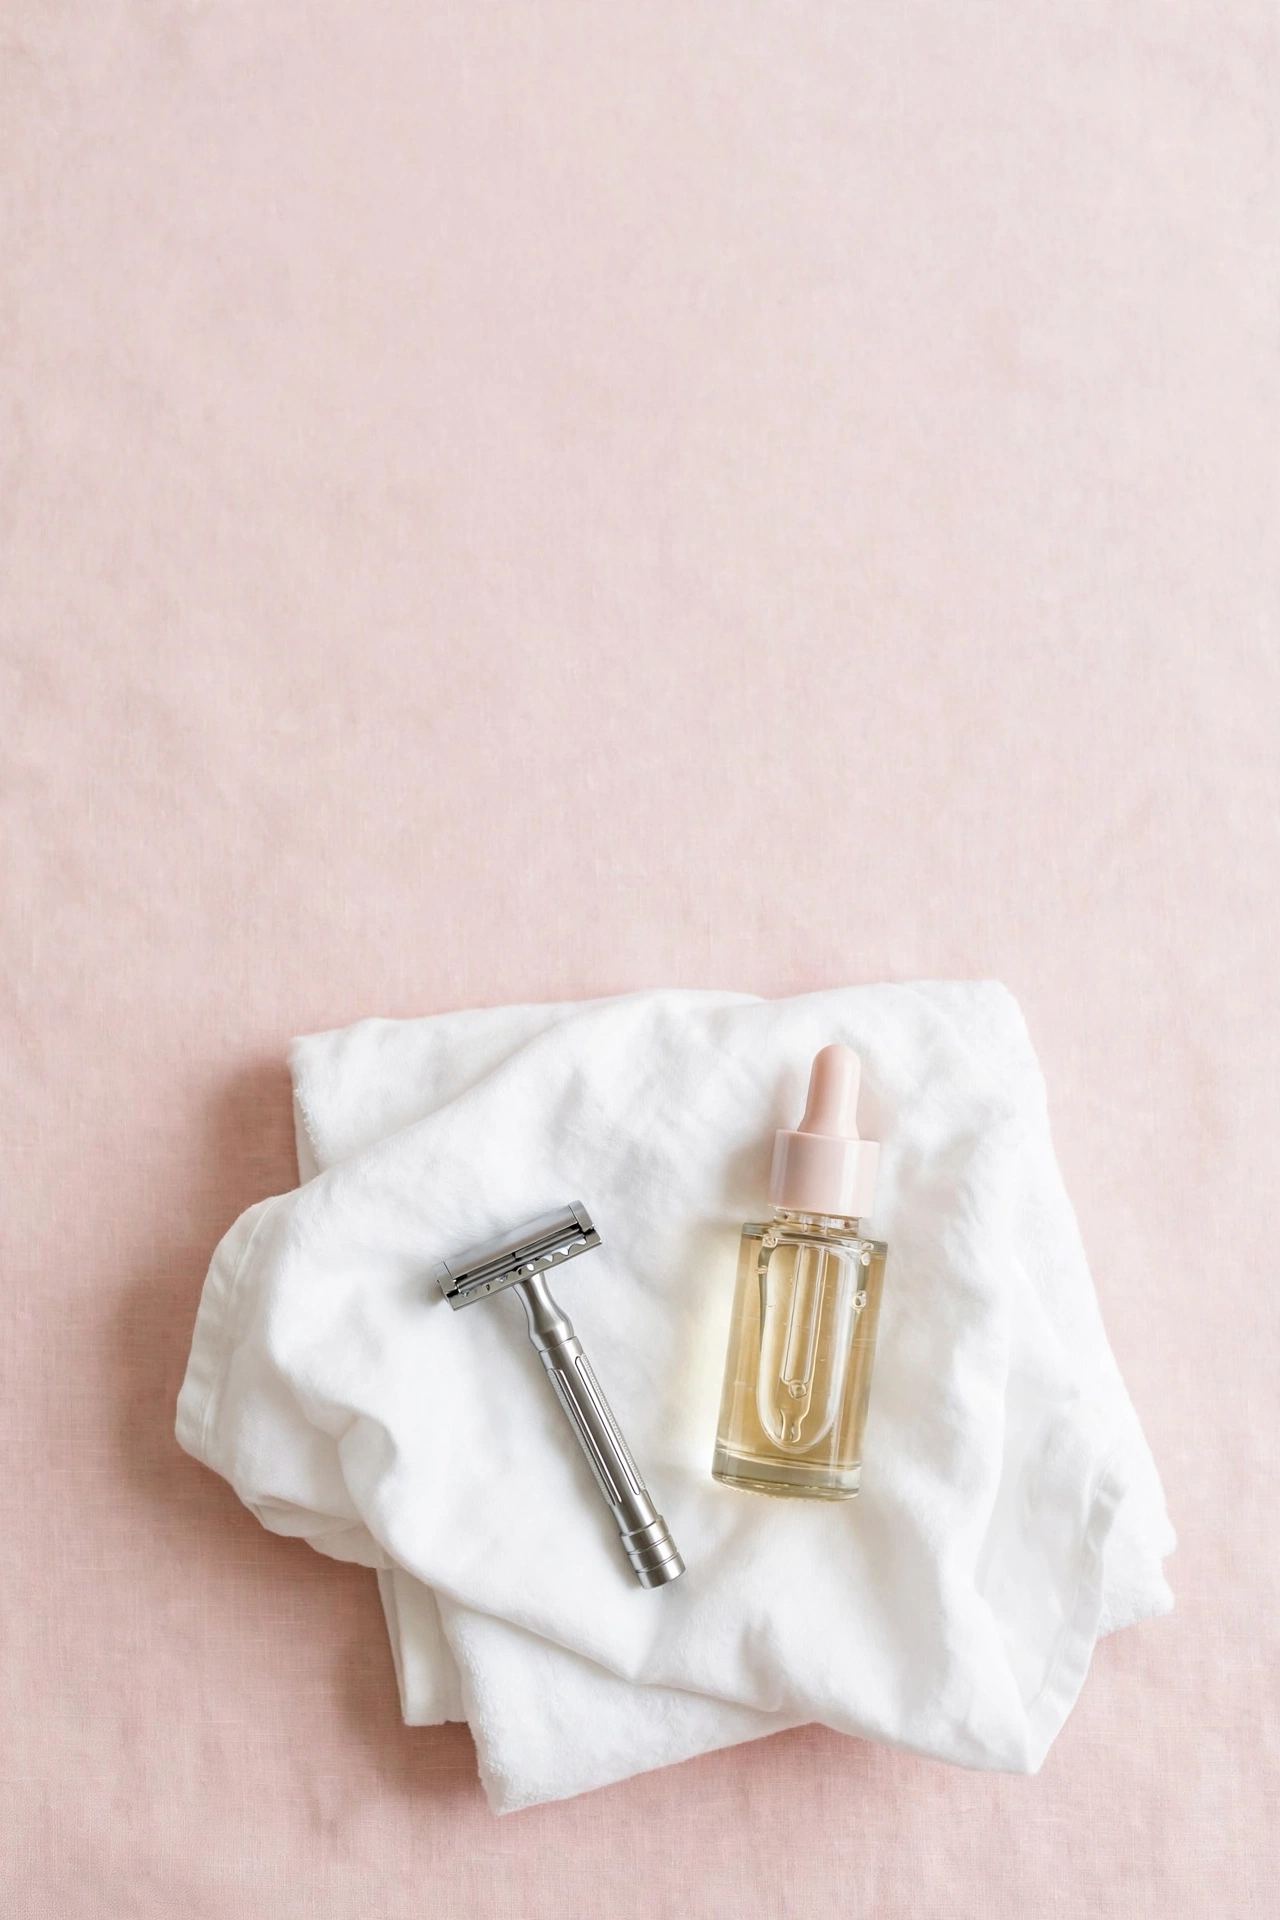
- Use a proper facial razor (single-blade, guarded), never a regular body razor or eyebrow shaver with exposed blades.
- Work on clean, dry, taut skin in short downward strokes at a 45-degree angle — no pressure, no sawing.
- Dermaplane every 3–4 weeks; more often risks over-exfoliation.
- Aftercare is gentle: hydrating serum, moisturizer, and sunscreen — no acids, retinoids, or scrubs for 48 hours.
- Skip dermaplaning if you have active acne, rosacea flares, eczema, very sensitive skin, or excessive facial hair (hirsutism — see a dermatologist).
What Is Dermaplaning, Exactly?
Dermaplaning is a physical exfoliation method. A sterile blade is held against the skin at roughly a 45-degree angle and moved in short, gentle strokes. Each pass lifts away two things: the fine vellus hairs (peach fuzz) covering the face, and the accumulated layer of dead skin cells on the surface.
Dermatologists and estheticians have offered professional dermaplaning for years using a surgical scalpel. At-home dermaplaning uses a smaller, guarded facial razor designed for consumer use — less sharp than a scalpel, more forgiving, and perfectly effective for maintenance between professional treatments (or as a standalone routine).
The appeal is straightforward: hair-free, dead-cell-free skin is smoother to the touch, reflects light more evenly, lets foundation sit flawlessly instead of catching on fuzz, and absorbs serums and moisturizers more readily. It is exfoliation and hair removal in a single 10-minute session.
Dermaplaning Myths, Debunked First
Let us clear the biggest fear immediately: dermaplaning does not make hair grow back thicker or darker. This is one of the most persistent beauty myths. Shaving cuts hair at the surface; it cannot change the follicle beneath, which is what determines thickness, color, and growth rate. Regrowth may feel slightly blunt at first because the tip is cut straight across rather than tapered — but it grows back exactly the same.
Other myths worth retiring:
- “It will give you stubble like a man’s beard.” Vellus facial hair is fine and light; it does not become terminal (coarse) hair from shaving.
- “It thins your skin.” Dermaplaning removes dead surface cells, not living skin. It does not thin the dermis.
- “You will look shiny or waxy.” Only if you overdo it or skip moisturizer. Normal technique leaves normal-looking, just smoother, skin.
Choosing the Right Tool
Tool choice is where safety lives or dies. Here is what to look for:
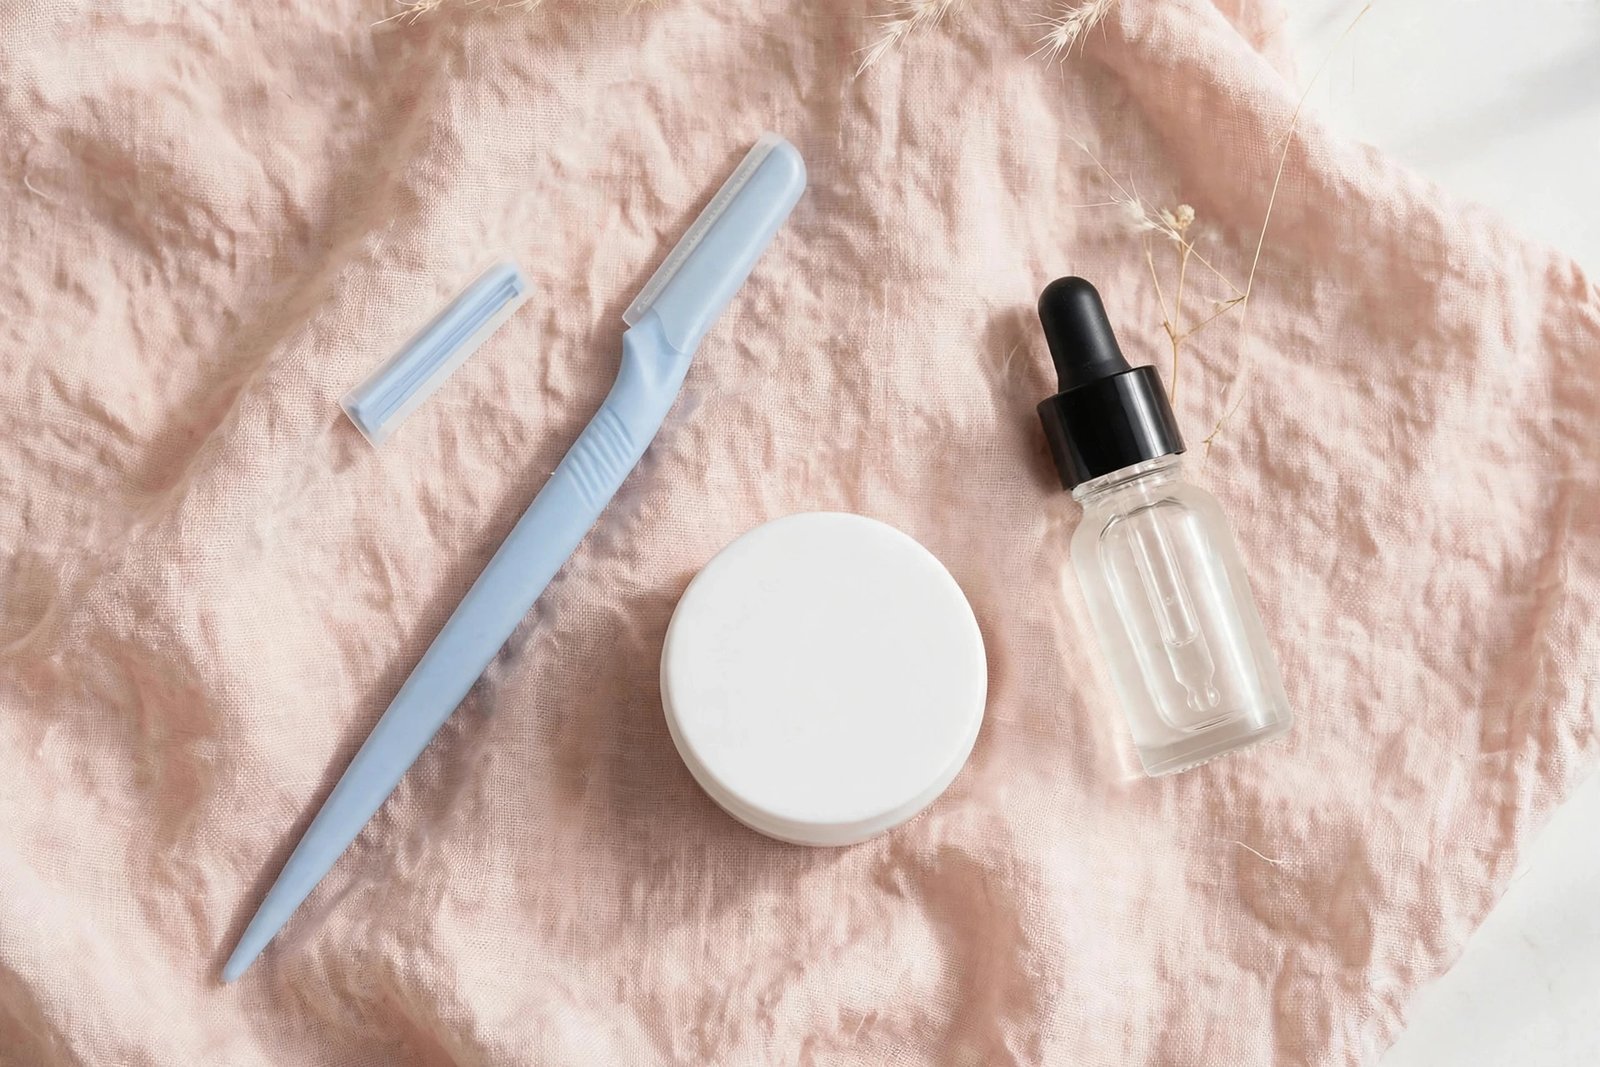
The right tool: a single-blade facial razor with a guard. These are small (a few inches long), inexpensive, and sold specifically as facial razors or dermaplaning tools. The blade is sharp enough to work but guarded enough to resist nicking. Replace the blade or tool after 3–4 uses — a dull blade drags and irritates.
What to avoid:
– Regular body razors or multi-blade cartridge razors — too aggressive for the face, designed for different skin.
– Un guarded craft blades or scalpels — professional tools in untrained hands.
– Eyebrow shapers with fully exposed edges used carelessly — some people use these, but a proper guarded facial razor is safer for beginners.
– Dull, rusty, or shared blades — always use a fresh, clean, personal blade.
You do not need an expensive device. A pack of disposable guarded facial razors is affordable and ideal for learning. Electric dermaplaning devices exist but are unnecessary for beginners — master the manual technique first.
Step-by-Step: How to Dermaplane at Home
Set aside 10–15 unhurried minutes. Good lighting (a magnifying mirror helps enormously) and a calm hand matter more than speed.
Step 1 — Cleanse thoroughly. Wash your face with a gentle cleanser and pat completely dry. Dermaplaning is done on dry skin — unlike gua sha, which needs oil for slip (see our [gua sha guide for beginners → gua-sha-guide-for-beginners] for that technique). Any oil or moisture makes the blade skip.
Step 2 — Work in sections. Start with one cheek. Use your free hand to pull the skin taut — this is essential. Taut skin lets the blade glide; loose skin catches and nicks.
Step 3 — Hold at 45 degrees. Place the blade against the skin at roughly a 45-degree angle, with the sharp edge facing downward in the direction of hair growth.
Step 4 — Short, gentle downward strokes. Using zero pressure — let the blade’s own weight do the work — make short (1–2 inch) downward strokes. You will see fine hair and a faint grayish residue collecting on the blade; that is normal. Wipe the blade on a clean tissue every few strokes.
Step 5 — Cover the face methodically. Work across the cheeks, then the chin, upper lip, and forehead. Use extra care around the nose creases and jawline where skin folds. Avoid the eyelids, eyebrows, lips themselves, and the delicate under-eye area entirely.
Step 6 — Skip problem areas. Do not dermaplane over active pimples, moles (work around them), cold sores, rashes, or any broken skin. If an area is irritated, leave it alone.
Step 7 — Rinse and soothe. Rinse with lukewarm water, pat dry, and move immediately to aftercare.
The whole face typically takes 10 minutes once you have done it a couple of times. Your first session will be slower — that is fine. Slow is safe.
Aftercare: The 48 Hours After Dermaplaning
Freshly dermaplaned skin is smooth — and temporarily more vulnerable. Treat it gently:
Do:
– Apply a hydrating serum (hyaluronic acid on damp skin is ideal) followed by a simple moisturizer.
– Wear sunscreen diligently — exfoliated skin is more sun-sensitive. This is non-negotiable.
– Keep the routine minimal for 24–48 hours: cleanser, hydrating serum, moisturizer, sunscreen.
Don’t:
– Use acids (glycolic, salicylic), retinoids, benzoyl peroxide, or vitamin C serums for 48 hours — freshly exfoliated skin absorbs more, and these will sting or irritate.
– Scrub, use cleansing brushes, or do any other exfoliation for at least a week.
– Apply heavy fragrance or essential oils.
– Touch your face excessively or apply makeup immediately if your skin feels sensitive — give it a few hours at minimum.
Mild pinkness for an hour or two is normal. Prolonged redness, stinging, or tiny whiteheads signal irritation — scale back frequency next time and check your pressure (there should be none).
How Often Should You Dermaplane?
Every 3–4 weeks is the standard recommendation, and it aligns with the skin’s natural cell turnover cycle. Dermaplaning more often — weekly, say — risks over-exfoliation: a compromised barrier, sensitivity, and paradoxically rougher skin.
Mark it on your calendar like a standing appointment. If your skin still feels smooth at week three, wait another week. There is no prize for doing it early.
Who Should Skip Dermaplaning
Dermaplaning is wonderful for many people and wrong for some. Skip it entirely if you:
- Have active acne — especially inflamed or cystic breakouts. The blade spreads bacteria and tears pustules, worsening acne and risking scarring.
- Have rosacea in an active flare, eczema, psoriasis, or dermatitis on the face.
- Have very sensitive or reactive skin that reddens easily. If your skin protests most exfoliation, dermaplaning will likely protest too — our [sensitive skin routine guide → sensitive-skin-routine-guide] focuses on gentler approaches that suit reactive skin better.
- Have excessive facial hair (hirsutism) — see a dermatologist first to address the underlying cause rather than managing it with a blade.
- Are sunburned or have any open wounds, cold sores, or skin infections.
- Use prescription retinoids or isotretinoin (Accutane) — these thin and sensitize the skin significantly. Ask your dermatologist before combining with any physical exfoliation.
When in doubt, patch test: dermaplane a small area along the jawline, wait 48 hours, and see how your skin responds before doing the full face.
Dermaplaning vs. Other Exfoliation
How does it compare to your other options?
- Vs. chemical exfoliants (AHAs/BHAs): Dermaplaning also removes hair, which acids cannot. Acids penetrate deeper and are better for congestion and texture over time. Many people alternate: dermaplaning monthly, gentle acids weekly (never in the same 48-hour window).
- Vs. scrubs: Dermaplaning is more even and less abrasive than most physical scrubs, with no micro-tearing from jagged particles.
- Vs. facial shaving with a regular razor: A proper dermaplaning tool’s guarded single blade is designed for facial contours; body razors are not.
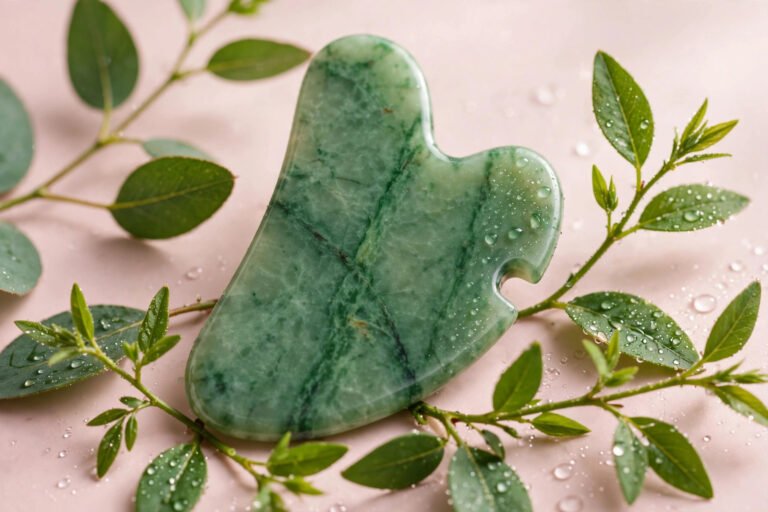
It also pairs well with facial massage tools used on other days — for example, gua sha for de-puffing between dermaplaning sessions. Just never dermaplane and do aggressive facial massage in the same session; freshly exfoliated skin wants calm.
Frequently Asked Questions
Will dermaplaning make my facial hair grow back thicker?
No. Shaving cannot change the hair follicle, which determines thickness and color. Hair grows back exactly the same; it may feel blunt for a few days because the tip is cut straight across.
Does dermaplaning hurt?
It should not hurt at all. Done correctly — dry skin, taut, 45-degree angle, zero pressure — it feels like a light scraping. Pain means wrong angle or too much pressure.
Can I dermaplane if I have peach fuzz but also occasional pimples?
Work around individual healed or isolated spots, but skip the session if you have an active breakout. Dermaplaning over inflamed acne spreads bacteria and worsens it.
How long do results last?
Smoothness typically lasts 3–4 weeks, which is why that is the recommended interval. Makeup applies beautifully for the first week or two especially.
Can I wear makeup right after dermaplaning?
Wait at least a few hours, ideally until the next day, especially if your skin feels at all sensitive. When you do apply makeup, you will notice it goes on remarkably smoothly.
Is at-home dermaplaning as good as professional?
Professional dermaplaning with a surgical scalpel is more precise, but at-home tools deliver most of the benefit for maintenance. For a first-timer, at-home is the sensible, affordable starting point.
Dermaplaning at home is one of the highest-impact, lowest-cost treatments in DIY skincare — ten minutes a month for visibly smoother skin and flawless makeup application. Respect the cautions, keep the blade fresh and the pressure at zero, and give your skin gentle aftercare. And if facial tools intrigue you beyond the razor, explore our [gua sha guide for beginners → gua-sha-guide-for-beginners] and the honest comparison of [jade roller vs gua sha → jade-roller-vs-gua-sha-which-is-better] to round out your toolkit.
gua sha guide for beginners
jade roller vs gua sha
sensitive skin routine guide
Love this? Pin it for later!