How to Apply Lip Liner Like a Pro: The Beginner’s Step-by-Step Guide
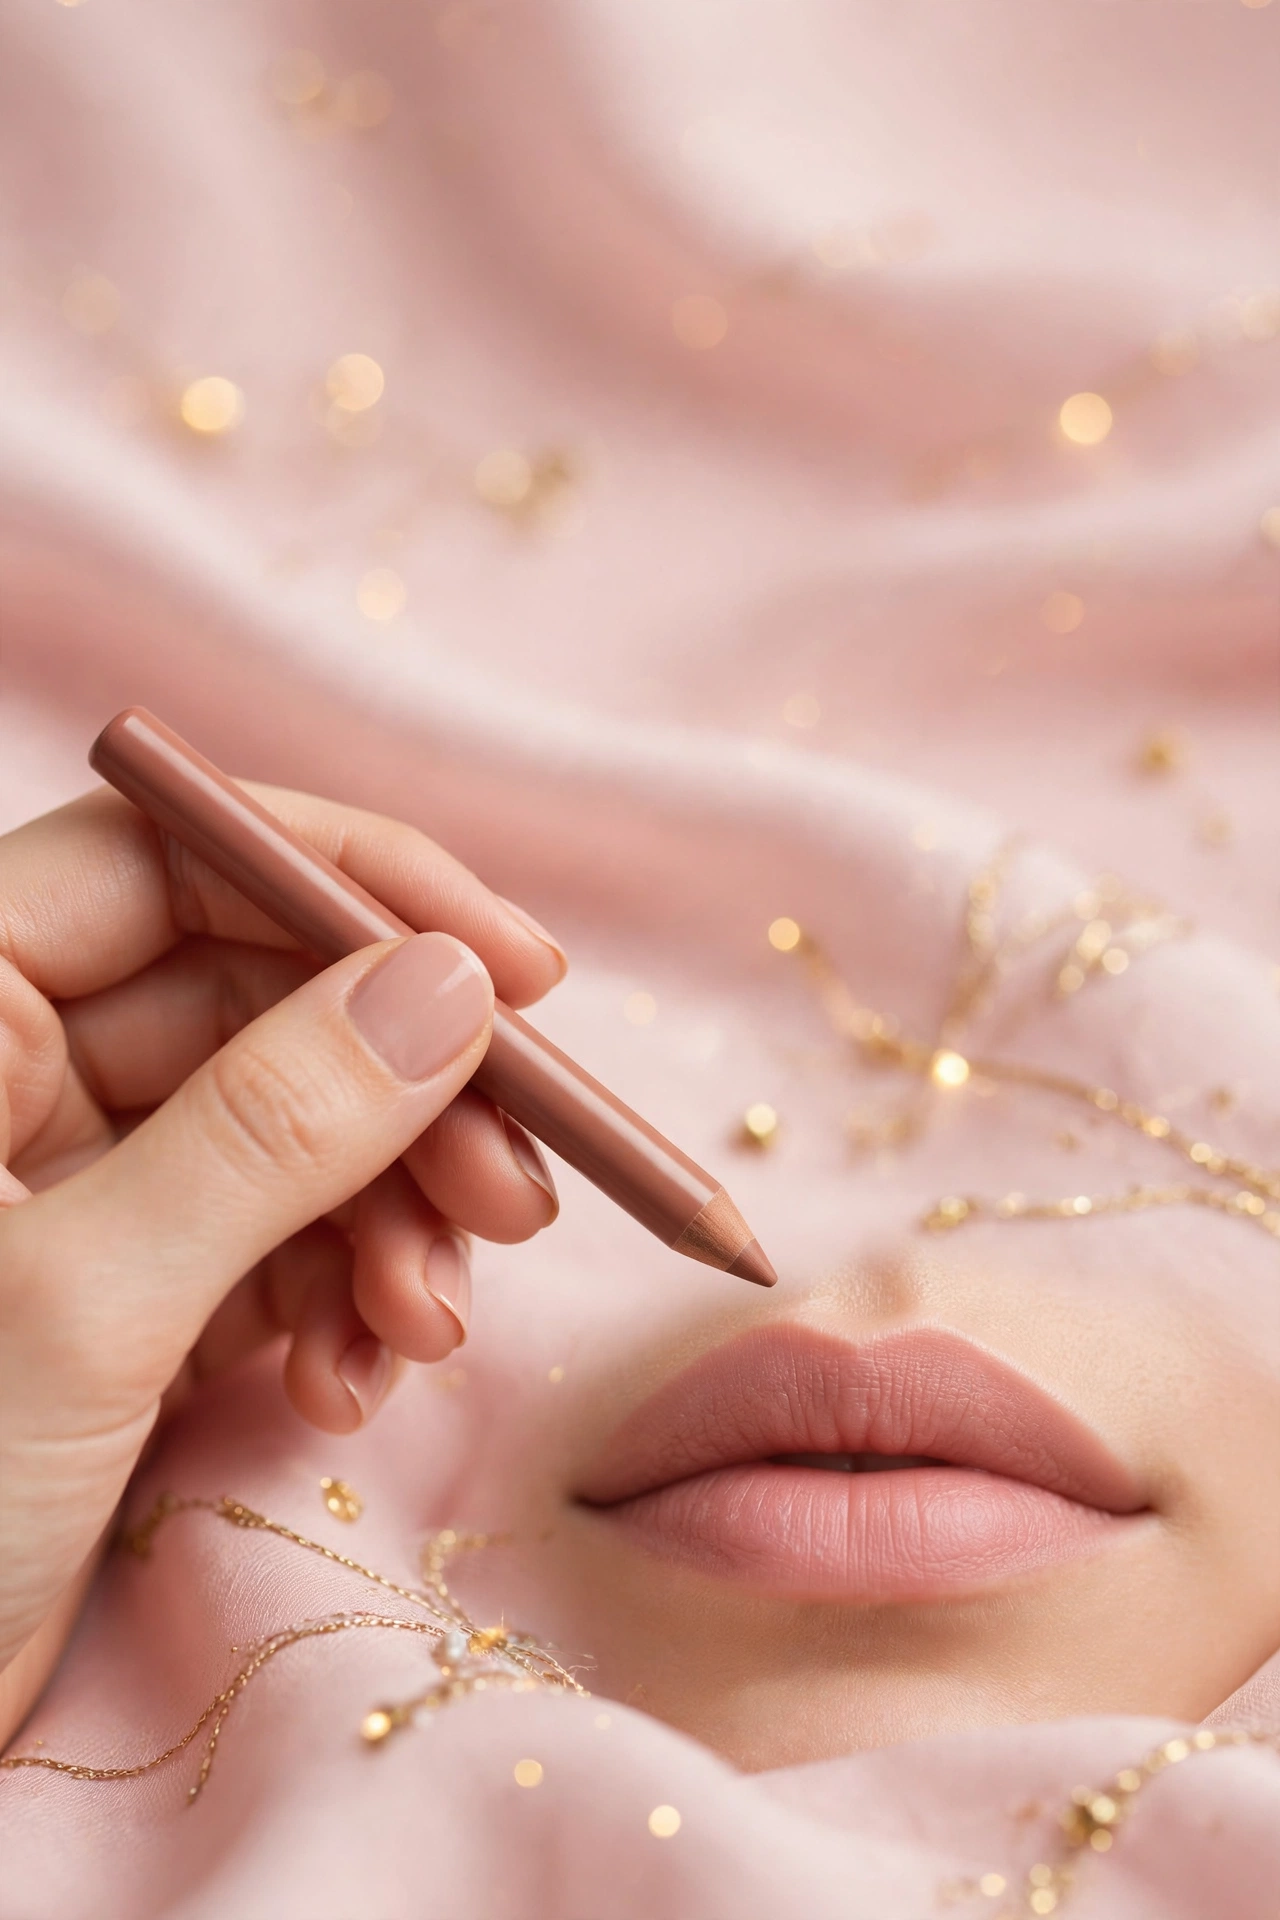
Learning how to apply lip liner is the single fastest way to make your lipstick look professionally done. Liner defines your lip shape, stops color from bleeding into the fine lines around your mouth, and acts as a gripping base that keeps lipstick on for hours longer. Yet it’s also the step beginners fear most — one shaky hand and you’re worried about looking like a 90s throwback meme.
The good news: lip liner is far more forgiving than it looks. With the right shade, a sharp point, and the short-stroke technique below, most beginners get clean, natural-looking results within a week of practice. This tutorial is part of the complete [lip makeup guide for beginners → lip-makeup-guide-for-beginners], and it pairs directly with the long-wear system in [how to make lipstick last longer → how-to-make-lipstick-last-longer] — liner is the foundation that makes every setting trick work better.
Key Takeaways
- Lip liner has three jobs: define shape, prevent feathering/bleeding, and extend lipstick wear as a base layer.
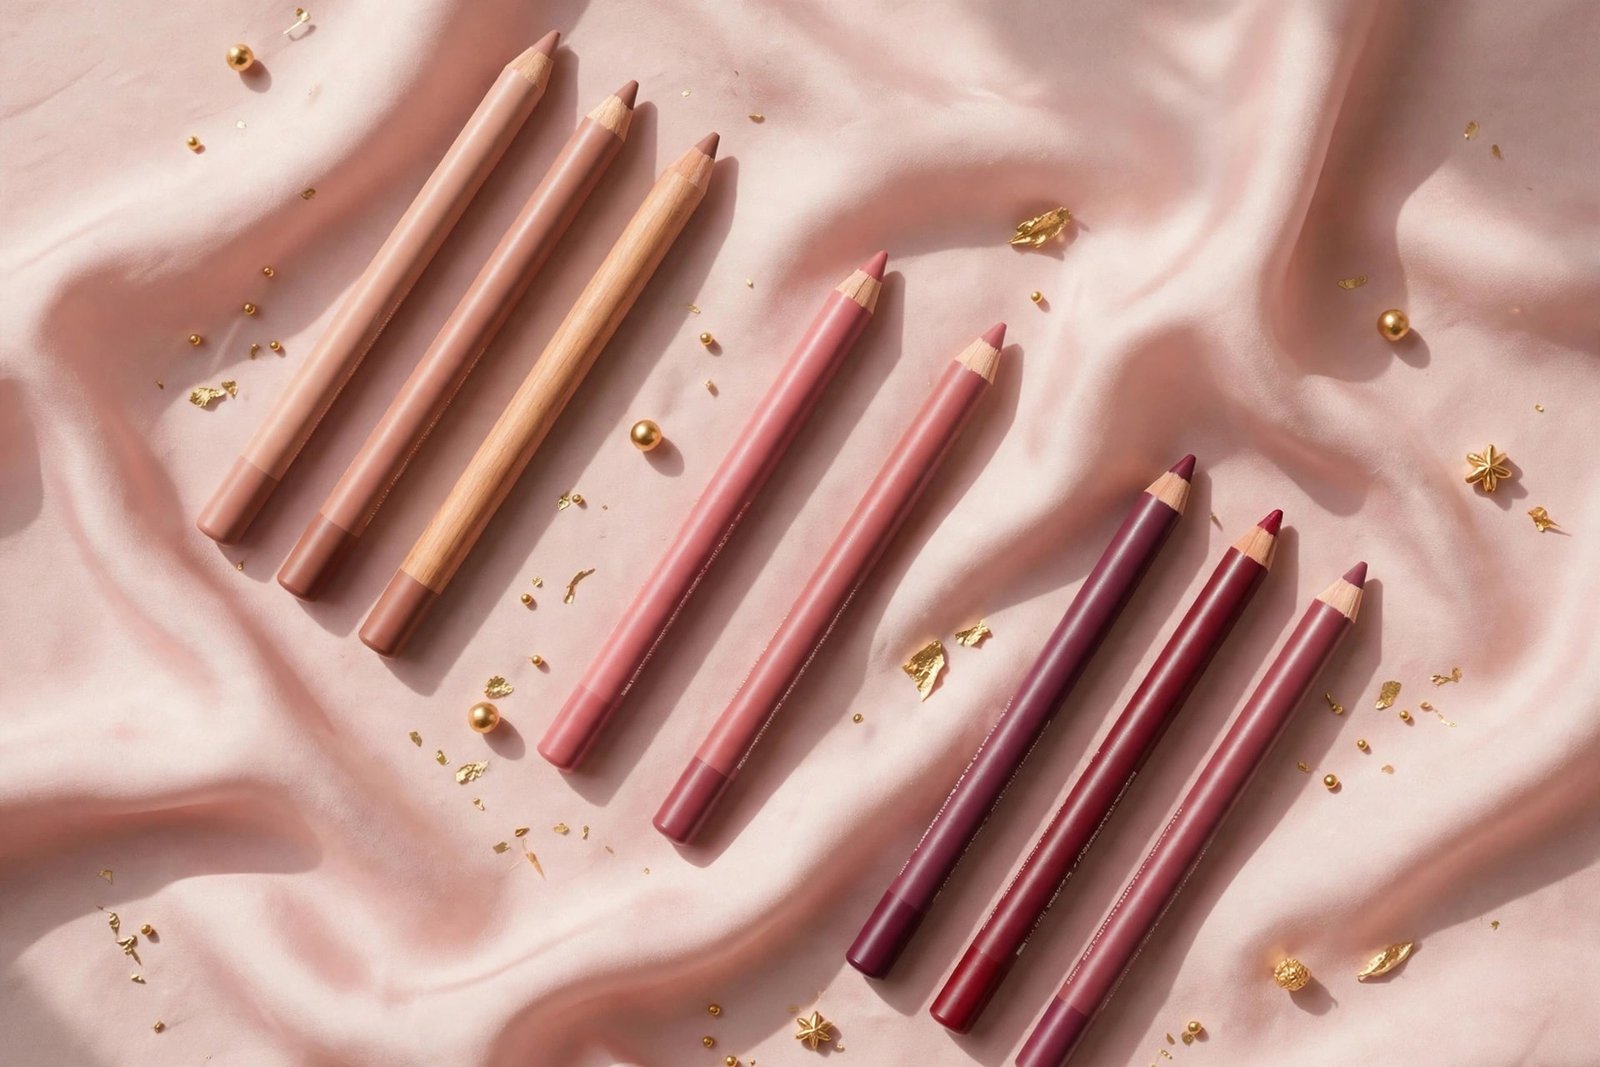
- Choose a liner that matches your natural lip color or your lipstick — never dramatically darker.
- Apply in short, light strokes starting at the cupid’s bow and the center of the lower lip, then connect outward to the corners.
- Fill in the entire lip with liner before lipstick for maximum staying power.
- Overline subtly (1mm max beyond the natural line) and only on the cupid’s bow and center of the lower lip — never the corners.
- Pencil, retractable, and gel liners each suit different skill levels; beginners should start with retractable.
- Feathering and mistakes are fixable with concealer, a cotton swab, and blending — never start over from scratch.
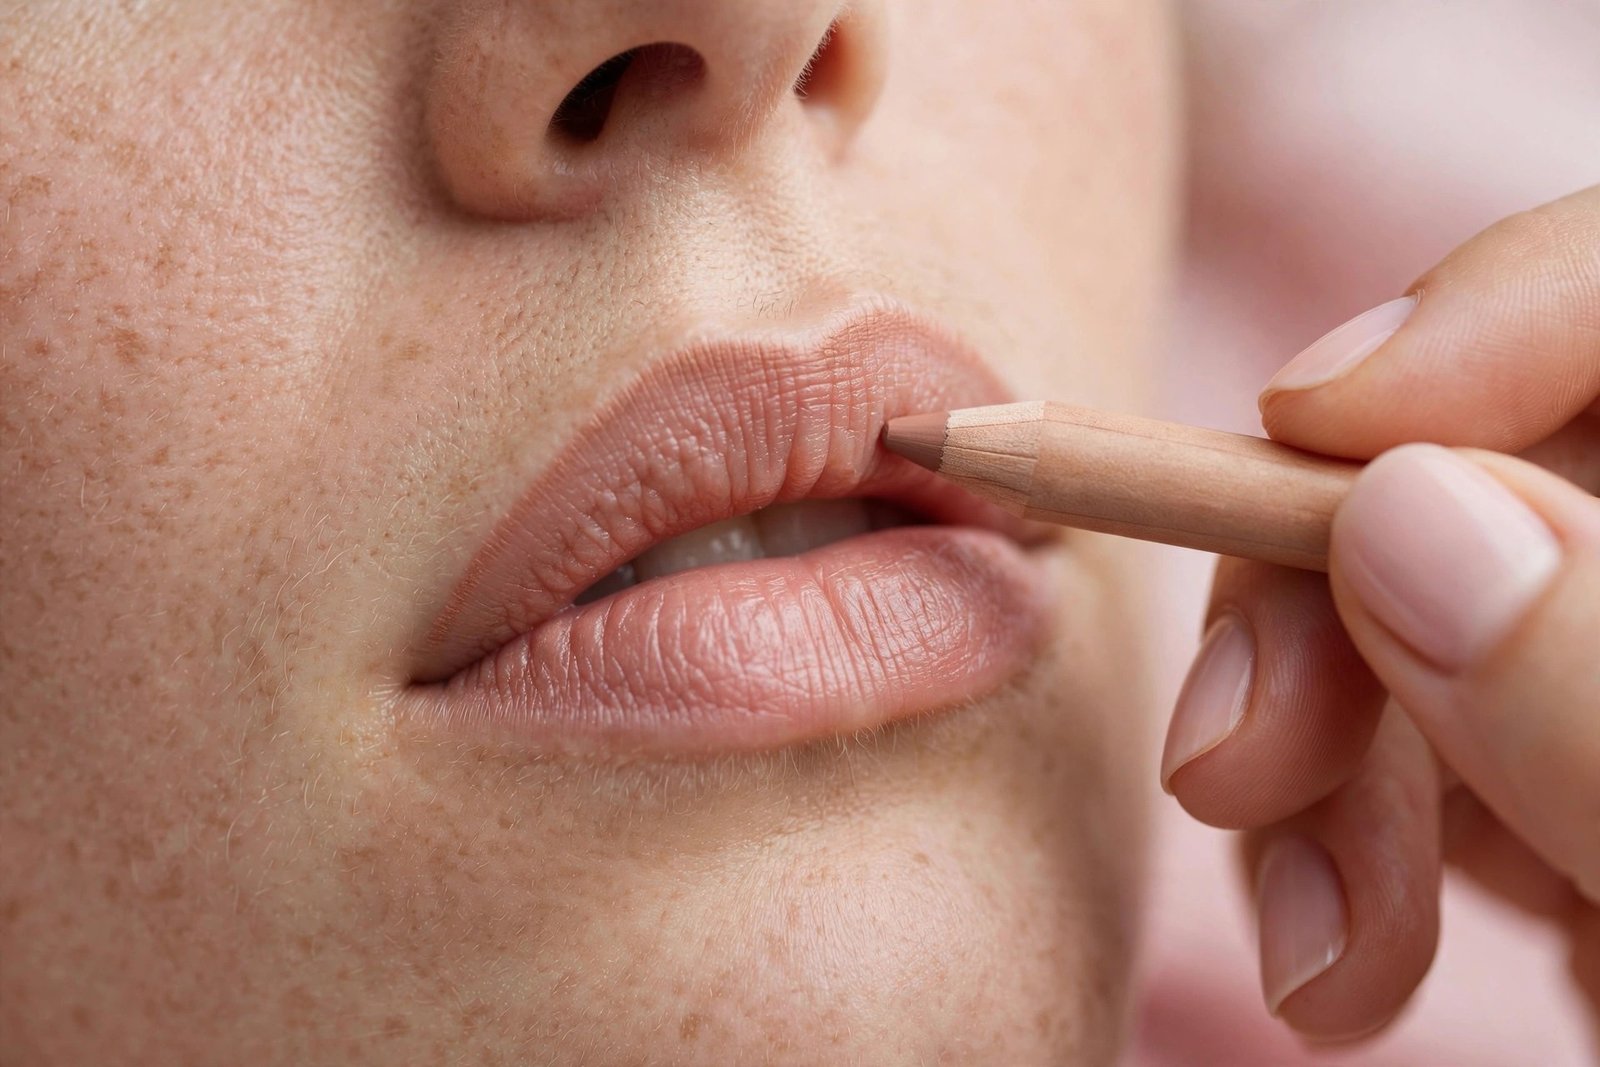
Why Lip Liner Matters More Than You Think
Makeup artists treat lip liner as non-negotiable for any real lipstick look, and the reasons are practical, not fussy. First, the skin around the lips is thin and mobile — we talk, eat, and smile all day — so lipstick migrates. Liner creates a waxy barrier at the lip’s edge that physically blocks that migration (the dreaded “feathering” into lip lines). Second, almost no one has a perfectly symmetrical lip line; liner lets you subtly even out the cupid’s bow and corners so lipstick sits on a clean shape. Third, and most importantly for wear time, a layer of liner across the whole lip gives lipstick something to grip — pigment adheres to the waxy liner base far better than to bare, slick lip skin.
If you’ve ever wondered why your lipstick fades in the center within an hour while looking fine at the edges, the missing liner base is usually why.
Choosing Your Lip Liner: Types Explained
Before technique comes the tool. There are three main liner formats, and the differences genuinely matter for beginners.
Traditional Wooden Pencils
The classic. Wooden pencils need sharpening but reward you with the finest, most precise point — ideal for crisp cupid’s bows and detailed work. The trade-off is maintenance: a dull pencil gives thick, imprecise lines, so you’ll sharpen often (and lose product each time). Look for a creamy formula; dry, scratchy pencils tug at the delicate lip skin and skip over texture.
Retractable (Twist-Up) Pencils — Best for Beginners
Retractable liners twist up like a mechanical pencil — no sharpener needed, no product wasted. The tip stays consistently usable, the application is smooth, and they’re the most forgiving format for shaky hands. The only real downside is that you can’t get the tip as fine as a freshly sharpened wooden pencil. For learning the core technique, this is the format to start with.
Gel and Pot Liners (Applied with a Brush)
Gel liners come in pots or tubes and are applied with a lip brush. They offer the most control and the most intense, opaque color — the choice for sharp, editorial lip looks and very dark shades. But they demand a steady hand and a brush, which adds a learning curve. Save these for after the pencil technique feels automatic.
Picking the Right Shade
This is where most beginners go wrong. The rule makeup artists repeat: your liner should match your lips or your lipstick, never stand apart from them. A liner two shades darker than your lipstick creates the harsh, dated ring that gives lip liner a bad name. For everyday wear, one liner in a neutral shade close to your natural lip color works under almost any lipstick — it’s the most versatile first purchase. When wearing a bold or dark lipstick, match the liner to the lipstick itself. For the classic red lip specifically, a matching red liner is what creates that crisp, expensive edge — the [bold red lip holiday guide → bold-red-lip-holiday-guide] walks through the full red-lip application.
Prep: The 2 Minutes Before You Line
Liner applied to dry, flaky lips skips, drags, and looks uneven no matter how good your technique is. Quick prep routine:
- Exfoliate if lips feel rough — a gentle scrub or damp washcloth, once or twice a week. The [DIY honey sugar lip scrub → diy-honey-sugar-lip-scrub] is a simple homemade option.
- Apply lip balm and let it absorb for a few minutes while you do other makeup.
- Blot off the excess balm with a tissue right before lining. Liner glides and grips best on lips that are hydrated but not slippery.
How to Apply Lip Liner: Step by Step
Work in good light with a mirror at face level. Keep your mouth relaxed — stretching your lips taut distorts the natural line and guarantees an uneven result.
Step 1: Define the Cupid’s Bow
Start at the top lip’s center. Draw a small “X” right at the cupid’s bow — the two peaks of your upper lip. This X is your anchor; it defines the most visible part of the lip shape and gives you a reference point for symmetry. Use short, light strokes, not one continuous drag. Light pressure is key: you can always build up, but a heavy first line is hard to soften.
Step 2: Line from the Bow to the Corners
From each peak of the X, draw short strokes outward toward the corners of your mouth, following your natural lip line. Stop just short of the very corners. Then do the same on the lower lip: start at the center of the bottom lip and work outward to each corner in short strokes.
Step 3: Fill In the Entire Lip
Lightly fill the whole lip area with the liner, using the side of the pencil tip. This filled-in base is what extends lipstick wear — it gives the lipstick pigment a waxy layer to bond with. Keep the layer thin and even; you’re tinting, not coloring-book filling.
Step 4: Blend the Edges
Run your fingertip or a lip brush lightly over the liner, especially at the inner edge where liner meets the center of the lip. This softens any harsh line so the liner melts invisibly into the lipstick you’ll apply over it. The goal: when lipstick goes on, no one should be able to tell where liner ends and lipstick begins.
Step 5: Apply Lipstick Over the Top
Apply your lipstick over the lined, filled lip — straight from the bullet or with a brush for precision. The liner underneath will keep the edges crisp and the color will wear noticeably longer. For the full long-wear layering system (blotting, powder, setting), see [how to make lipstick last longer → how-to-make-lipstick-last-longer].
Overlining: How to Do It Without Looking Overdone
Overlining — drawing slightly outside your natural lip line for a fuller look — is the technique behind the 2026 blurred-lip and lip-combo trends. Done right, it’s subtle. Done wrong, it’s obvious. The rules:
- Stay within 1 millimeter of your natural lip line. More than that reads as drawn-on from conversation distance.
- Overline only the cupid’s bow and the center of the lower lip. These are the areas where extra fullness looks natural. Never overline the corners — extended corners look clownish and are the biggest overlining giveaway.
- Fade, don’t outline. After overlining, blend the outer edge inward with your finger so there’s no visible line sitting on skin.
- Keep the color close to your natural lip tone. Nude and rose shades forgive overlining; dark shades expose it.
For a trendy diffused effect, try the “blurred lip” variation: line slightly outside the natural border, fill in, then press and blur the edges with your fingertip and finish with a dab of tint or balm in the center. The result is soft and modern rather than sharp.
Fixing Common Lip Liner Problems
Feathering (color bleeding into lip lines): This happens when lips are dry, the liner is too creamy, or there’s no barrier at the edge. Fix it in the moment by cleaning the bleed with a pointed cotton swab dipped in makeup remover, then patting a tiny amount of concealer or foundation around the lip line to rebuild the barrier. Prevent it next time with proper prep and a waxy (not overly creamy) liner.
Uneven or wobbly lines: Almost always caused by pressing too hard or drawing in long strokes. Switch to short, feather-light strokes and build gradually. Resting your elbow on a table steadies your hand significantly.
Liner looks darker than lipstick: Blend the liner inward more aggressively, or switch to a liner closer to your lipstick shade. As a rescue, apply lipstick first over the harsh line, then re-line lightly — the lipstick underneath softens the contrast.
Liner won’t stay sharp / keeps breaking: Wooden pencils break when the formula is too soft (warm storage) or the sharpener is dull. Store pencils at room temperature and use a sharp, clean sharpener. If breakage is constant, switch to a retractable format.
Asymmetric cupid’s bow: Step back from the mirror and check with your face relaxed and eyes looking straight ahead — most asymmetry is only visible up close. Adjust the lower peak up to match the higher one with tiny strokes rather than redrawing the whole bow.
Liner for Different Lip Shapes
- Thin lips: Slight overlining at the cupid’s bow and lower-lip center adds visible fullness. Lighter, glossy finishes also make lips look larger; dark mattes make them look smaller.
- Full lips: You don’t need overlining — focus on crisp definition. A sharp liner edge keeps full lips looking polished rather than messy, and blotted-down color prevents the “too much” effect.
- Uneven lips (one side fuller): Use liner to visually balance — line the thinner side a hair outside its natural border and the fuller side right on it. Check symmetry with your mouth relaxed.
- Downturned corners: Avoid lining all the way into the corners with dark color, which emphasizes the downturn. Instead, stop liner just before the corners and lift the line very slightly upward at the ends.
Frequently Asked Questions
Should lip liner go on before or after lipstick?
Before — always. Liner first defines the shape and creates the gripping base; lipstick goes over it. The only exception is a tiny touch-up: if the liner edge looks harsh after lipstick, you can lightly re-line over the lipstick to sharpen it.
Can I wear lip liner without lipstick?
Absolutely. Fill in the whole lip with liner and top with clear balm or gloss — you get defined, long-wearing color with minimal product. A nude liner worn this way is one of the most natural-looking “no-makeup makeup” lip options.
How do I choose a lip liner color for everyday wear?
Match it to your natural lip color as closely as possible. Test by drawing a small swatch on the back of your hand next to your lower lip in natural light — if the liner disappears against your lip tone, it’s right. One good nude-rose liner covers 90% of daily looks.
Why does my lip liner feather no matter what I do?
Three likely culprits: skipping prep (dry lips + creamy liner = migration), applying over slippery balm that wasn’t blotted off, or using a liner formula that’s too soft for your lip texture. Fix the prep first — it solves most feathering — then try a slightly firmer pencil formula.
How often should I sharpen a wooden lip liner?
Every one to two uses for precision work. A dull tip is the top cause of thick, uneven lines with wooden pencils. If constant sharpening annoys you, that’s a sign to switch to a retractable format.
Is overlining bad for your lips?
No — it’s just makeup placement, with no effect on the lips themselves. The only “risk” is aesthetic: overlining too far outside the natural line looks obvious. Keep it within a millimeter and blend the edges, and it reads as natural fullness.
Lip liner is a skill, not a talent — and like any skill, it responds to practice, not perfectionism. Spend one week lining your lips every time you wear lipstick, using short strokes and light pressure, and the shaky beginner phase will be behind you. From there, the rest of the lip routine gets easier too: every technique in the [lip makeup guide for beginners → lip-makeup-guide-for-beginners] builds on the defined, grippy base that liner provides, and your long-wear results will jump the moment you pair it with the [blotting and setting system → how-to-make-lipstick-last-longer].
complete lip makeup guide for beginners
make lipstick last longer
bold red lip holiday guide
DIY honey sugar lip scrub
Love this? Pin it for later!