What Is Baking in Makeup? How to Do It Without Caking
If you’ve ever watched a makeup tutorial and wondered why someone applies a thick layer of white powder under their eyes and then just… leaves it there, you’ve seen baking in action. It looks strange in progress, but when done correctly, baking locks your makeup in place for hours, brightens the under-eye area, and stops concealer from settling into fine lines.
The catch? Baking is one of the most misunderstood techniques in makeup. Do it wrong and you get exactly what you’re trying to avoid: cakey, dry, heavy-looking skin that photographs badly and wears worse. This guide breaks down what baking actually is, the right way to do it step by step, and the mistakes that cause the dreaded cake effect — plus which powder to use and which tool applies it best (a fluffy powder brush like the ones covered in our makeup brushes guide for beginners is essential here).
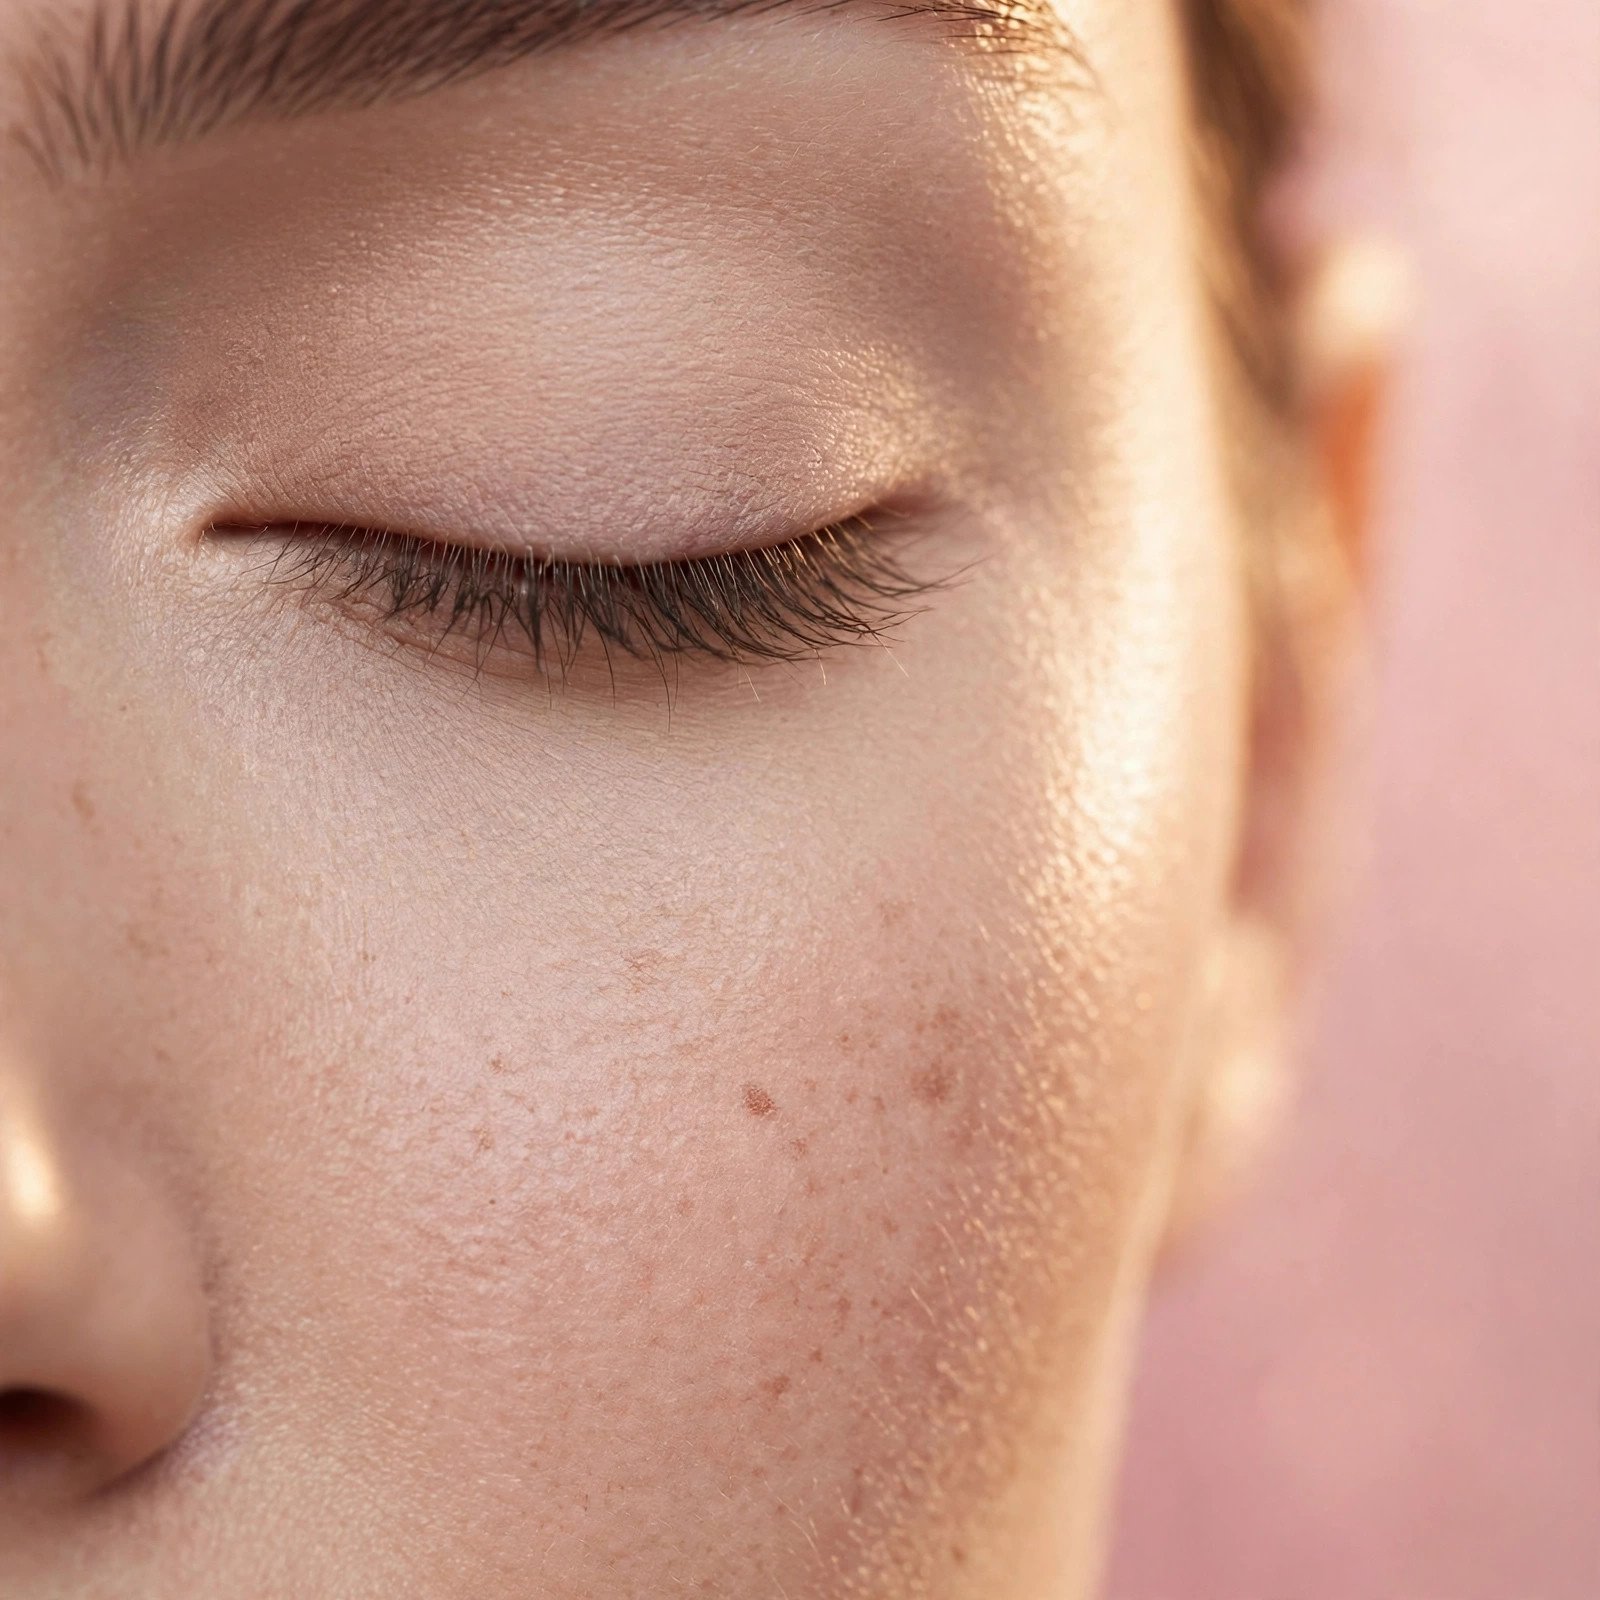
What Does “Baking” Mean in Makeup?
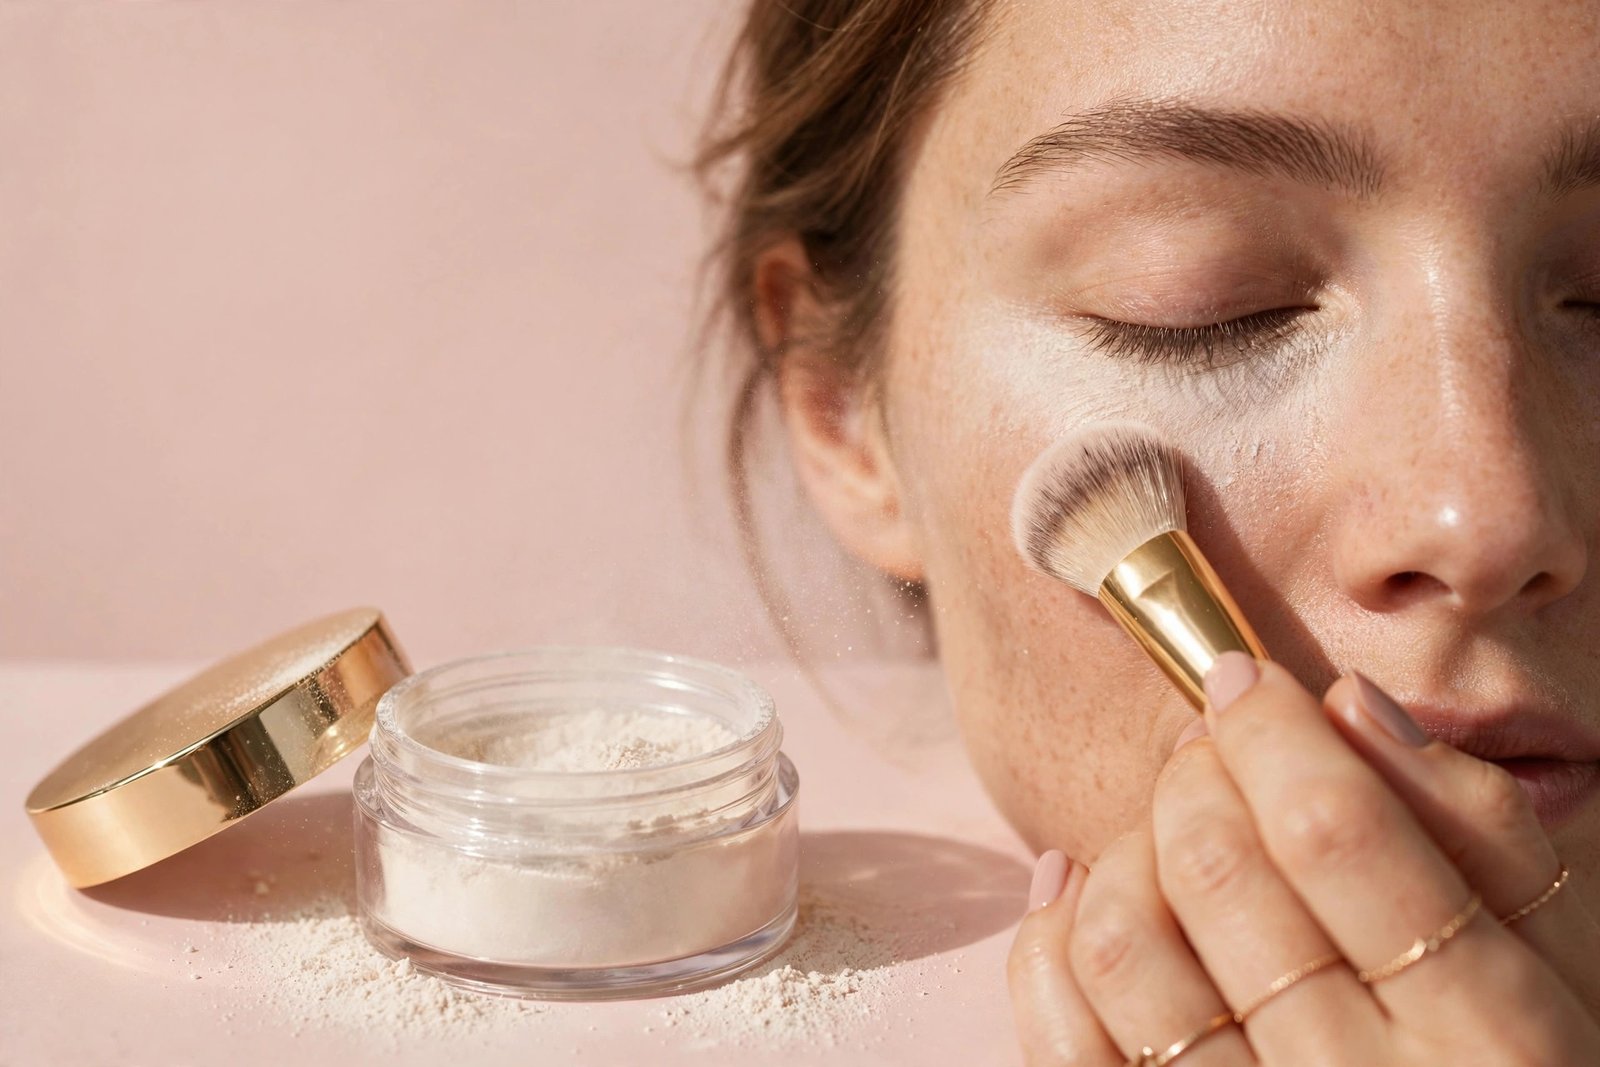
Baking is a setting technique where you apply a generous layer of translucent (or tinted) loose powder over liquid or cream products — usually concealer — and let it sit on the skin for 5 to 10 minutes before dusting off the excess.
The idea is simple: your body heat “bakes” the powder into the concealer and foundation beneath it. During those few minutes, the powder absorbs excess oil and moisture from the liquid products, which does three things:
- Locks the makeup in place. Once the powder melts into the liquid layer, the concealer and foundation are far less likely to shift, fade, or transfer.
- Brightens the area. A light-colored translucent powder reflects light, so the under-eye area looks brighter and more awake.
- Prevents creasing. By absorbing the moisture in concealer that would otherwise settle into fine lines as it dries down, baking keeps the under-eye area smooth.
The technique dates back to old Hollywood and drag makeup, where performers needed makeup that survived hours under hot stage lights. It exploded in popularity with the rise of full-coverage Instagram and YouTube makeup culture in the 2010s — and it’s stuck around because it genuinely works for long-wear looks.
Baking vs Setting With Powder: What’s the Difference?
These terms get mixed up constantly, so here’s the clear distinction:
- Setting means applying a light, sheer dusting of powder immediately after your liquid or cream products to reduce shine and lock everything in. You press or sweep it on and move on — no waiting.
- Baking means applying a heavy layer of powder and leaving it on for several minutes before removing the excess. It’s a more intense version of setting, concentrated on specific areas.
Think of setting as a light dusting over your whole face and baking as a targeted treatment for the zones that crease, shine, or fade fastest. If you want to explore both approaches, our comparison of setting spray vs setting powder covers when each method makes sense.
Where to Bake Your Makeup
You don’t bake your whole face — you bake the areas where makeup tends to break down first. Here’s where it actually pays off:
Under the Eyes
This is the most common baking zone, and for good reason. Concealer is the product most prone to creasing, because the under-eye skin is thin and moves constantly when you blink and smile. A layer of powder over your concealer absorbs its moisture before it can settle into fine lines. If your concealer keeps creasing even with powder, the problem may be your application or formula — see our guide on why concealer creases under the eyes for a deeper fix.
The T-Zone (Forehead, Nose, Chin)
The T-zone produces the most oil, which is why foundation breaks down there first. Baking the forehead, nose, and chin helps control shine and extends wear time, especially in hot or humid weather.
Smile Lines and Around the Mouth
Cream and liquid products love to pool in the nasolabial folds (the lines from your nose to your mouth). A light bake here keeps the area smooth through a full day of talking and smiling.
The Jawline and Chin
If you contour or bronze along the jawline, baking just above the jaw can sharpen the effect and stop the product from transferring onto your neck or collar.
Where not to bake: Skip the outer cheeks, the apples of the cheeks where blush sits, and anywhere with dryness or texture. Baking large, dry areas is one of the fastest ways to get a cakey finish.
How to Bake Your Makeup: Step-by-Step
Timing matters with baking — it goes on after your liquid and cream products, before your powder blush, bronzer, or highlight. Here’s the full process:
Step 1: Apply Your Base Normally
Do your full liquid and cream routine first: primer, foundation, concealer, cream contour, cream blush — everything. Make sure your concealer is blended smoothly, because powder will lock in whatever’s underneath, including any unevenness.
Step 2: Let Creams Set for a Minute
Give your liquid products about 60 seconds to settle into the skin. If you apply powder over wet concealer, it can grab and look patchy. If you wait too long and everything is fully dry, the powder won’t melt in as well. A minute is the sweet spot.
Step 3: Load Up a Damp Sponge or Powder Puff
Take a damp beauty sponge (squeezed out so it’s just barely damp, not wet) or a velour powder puff and press it into your loose powder. Tap off the excess — you want a generous but even coating on the sponge, not clumps.
Step 4: Press (Don’t Swipe) the Powder On
Press the powder firmly onto the areas you’re baking. Use a pressing or rolling motion, not sweeping. Swiping drags the concealer underneath and creates streaks. Be generous — this is the one step in makeup where “too much powder” is the point, because you’ll remove the excess later.
Step 5: Let It Sit for 5 to 10 Minutes
Now wait. Your body heat does the work, warming the powder so it melds with the liquid products beneath. This is a good time to do your eyeshadow, brows, or lips — most makeup artists use the bake time productively rather than just standing around.
Step 6: Dust Off the Excess
Take a large, fluffy powder brush and sweep away all the excess powder with light, airy strokes. This is where the powder brushes in our beginner brushes guide come in — a soft, fluffy brush removes the leftover powder without disturbing the baked layer underneath. Be thorough: any visible powder left behind will photograph as white patches, especially in flash photography.
Step 7: Finish With the Rest of Your Routine
Once the excess is gone, continue with powder blush, bronzer, highlighter, and setting spray if you use one. Your base is now locked in.
The Best Powders for Baking
The right powder makes or breaks your bake. Here’s what to look for and the types that work best:
What Makes a Good Baking Powder
- Finely milled. The finer the powder particles, the smoother the finish. Coarse powders look chalky and sit on top of the skin instead of melting in.
- Loose, not pressed. Loose powder gives you the generous, even application baking requires. Pressed powder is harder to build up and can look patchy when layered heavily.
- Translucent or skin-toned. Translucent powder works on all skin tones and brightens the under-eye area. Skin-toned powders (often labeled “banana,” “honey,” or “deep”) add warmth and are popular on medium to deep skin tones, where pure white translucent powder can look ashy.
Popular Powders Makeup Artists Use for Baking
You don’t need an expensive powder, but certain formulas have earned their reputation for a reason:
- Finely milled translucent loose powders (like the cult-favorite formulas from Laura Mercier or Huda Beauty’s Easy Bake) are the classic choice — very fine, blendable, and widely available in multiple shades for different skin tones.
- Budget drugstore options like Maybelline Fit Me Loose Finishing Powder or Coty Airspun are frequently recommended by beauty creators for baking because they’re finely milled and affordable enough to use generously.
- Colorless or “no-color” powders like RCMA No-Color Powder work across skin tones without adding any tint or brightness — a good pick if you just want the staying power without the brightening effect.
What to avoid: shimmer or illuminating powders (they emphasize texture under the eyes), tinted powders that are darker than your skin (they’ll darken your concealer), and powders with heavy fragrance, which can irritate the delicate eye area.
7 Baking Mistakes That Cause Caking
Baking has a bad reputation because most people learn it from a 30-second video that skips the details. Here are the mistakes responsible for nearly every cakey bake:
1. Baking Over Dry or Unprepped Skin
Powder clings to dry patches and emphasizes every flake. If your skin is dry, hydrate well first — moisturizer, then a hydrating primer — and consider skipping the bake entirely in favor of a light set.
2. Using Too Much Concealer Underneath
Baking amplifies what’s underneath. A thick layer of concealer plus a thick layer of powder is a recipe for caking. Use the thinnest layer of concealer that still covers, then bake over that.
3. Applying Powder to Wet Concealer
If your concealer is still fully wet when the powder hits it, the two grab each other and create a thick, uneven paste. Wait that 60 seconds after blending.
4. Swiping Instead of Pressing
Dragging a sponge across the skin moves your concealer around and creates streaks that get locked in. Always press or roll the powder on.
5. Using the Wrong Powder Shade
A translucent powder that’s too white on deep skin looks ashy; a tinted powder that’s too dark dulls the brightening effect. Match the powder undertone to your skin — many brands now offer translucent powders in multiple shade ranges.
6. Leaving the Bake On Too Long
More than 10 to 15 minutes and the powder starts drawing moisture out of your skin, leaving the area looking dry and textured. Set a mental timer — 5 to 10 minutes is plenty.
7. Not Dusting Off Thoroughly
This is the most visible mistake. Leftover powder residue looks fine in your bathroom mirror but shows up as white cast in photos, especially with flash. Dust off with a clean, fluffy brush and check your face in different lighting before you leave.
Who Should Skip Baking?
Baking isn’t for everyone, and knowing when to skip it is just as important as knowing how to do it. Consider a lighter setting approach instead if:
- You have dry skin. Baking absorbs moisture — that’s literally how it works. On already-dry skin, it pulls out what little hydration is there and leaves the area looking parched and textured. A light dusting of a hydrating setting powder is a better choice.
- You have mature skin. The under-eye area thins with age, and heavy powder settles into fine lines more readily on mature skin — the opposite of the smooth effect you’re after. If you bake, use the thinnest layer possible and a finely milled powder.
- You have textured skin or active breakouts. Powder clings to texture, bumps, and flaky areas, making them more visible rather than less.
- You prefer a natural, everyday finish. Baking is a full-glam technique designed for long wear and photography. For daily makeup, regular setting is faster, lighter, and looks more skin-like.
There’s no rule that says you must bake to have good makeup. Many professional makeup artists only bake for events, photoshoots, or clients with very oily skin — and use light setting for everything else.
Frequently Asked Questions
Is baking the same as setting your makeup?
No, though they’re related. Setting is a light dusting of powder applied all over to reduce shine and lock makeup in. Baking is a heavier, targeted application left on for several minutes before the excess is removed. You can think of baking as an intensive version of setting for the areas that need the most help.
How long should you leave baking powder on?
Five to 10 minutes is the ideal window. That’s enough time for your body heat to melt the powder into the products beneath. Leaving it on longer than 15 minutes can dry out the skin and make the finish look chalky rather than smooth.
Can you bake with pressed powder instead of loose powder?
Technically yes, but loose powder works much better. Loose powder applies more evenly in the thick layer baking requires, while pressed powder tends to go on patchy when built up. If loose powder is all you have in pressed form, apply it with a damp sponge in thin pressed layers rather than one heavy one.
Does baking work for oily skin?
Baking is arguably best suited for oily skin — absorbing excess oil is one of its main jobs. If your T-zone gets shiny within a few hours, baking the forehead, nose, and chin can meaningfully extend your makeup’s wear time. Just make sure you’re still moisturizing first; dehydrated oily skin produces even more oil.
Why does my baked makeup look white in photos?
That’s flashback — light-colored translucent powder reflecting camera flash. It usually means one of two things: you didn’t dust off all the excess powder, or your powder contains ingredients like silica or titanium dioxide that reflect flash strongly. Dusting off thoroughly and choosing a powder formulated to be flash-friendly usually solves it.
Key Takeaways
- Baking means applying a thick layer of loose powder over liquid products, letting it sit for 5 to 10 minutes, then dusting off the excess — your body heat melts the powder in, locking makeup down and preventing creasing.
- Bake only where makeup breaks down fastest: under the eyes, the T-zone, smile lines, and jawline. Skip dry areas and the outer cheeks.
- Always press powder on with a damp sponge or puff (never swipe), wait about 60 seconds after concealer before applying, and dust off thoroughly with a fluffy brush.
- Use a finely milled loose powder in a shade that suits your skin tone — translucent for brightening, skin-toned options for medium to deep skin.
- The most common caking mistakes are baking over dry skin, using too much concealer underneath, leaving the bake on too long, and not removing all the excess.
- Skip baking if you have dry or mature skin, textured skin, or want a natural everyday finish — light setting is the better choice for those situations.
Love this? Pin it for later!