How to Shape Eyebrows for Beginners: A Complete Step-by-Step Guide
Well-shaped eyebrows can transform your entire face. They frame your eyes, balance your features, and can make you look more polished — even on days when you’re wearing no other makeup. But if you’ve never shaped your own brows before, the process can feel intimidating. One wrong move with the tweezers and you’re waiting weeks for hairs to grow back.
This guide walks you through everything a beginner needs to know: the tools to gather, how to map out the ideal shape for your face, the safest tweezing technique, how to trim long hairs, and how to fill in any gaps afterward. Take it slow, and you’ll wonder why you ever found brows scary.
Why Eyebrow Shape Matters So Much
Eyebrows sit front and center on your face, and their shape affects how the rest of your features are perceived. Brows that are too thin can make your face look harsh or dated. Brows that are overly thick or unkempt can make your eyes look smaller. The goal isn’t to follow whatever brow trend is popular right now — it’s to clean up and enhance the natural shape you already have.
Here’s what good brow shaping does:
- Opens up the eyes by removing stray hairs below the brow line that crowd the lid
- Creates symmetry between your two brows (they’ll never be perfectly identical — sisters, not twins — but shaping brings them closer)
- Balances facial proportions by giving the face a clear frame
- Reduces your daily makeup routine — well-shaped brows need far less filling
The most important rule for beginners: work with your natural brow, not against it. Trying to reshape your brows into a completely different arch is how over-plucking disasters happen.
The Tools You Need for Brow Shaping
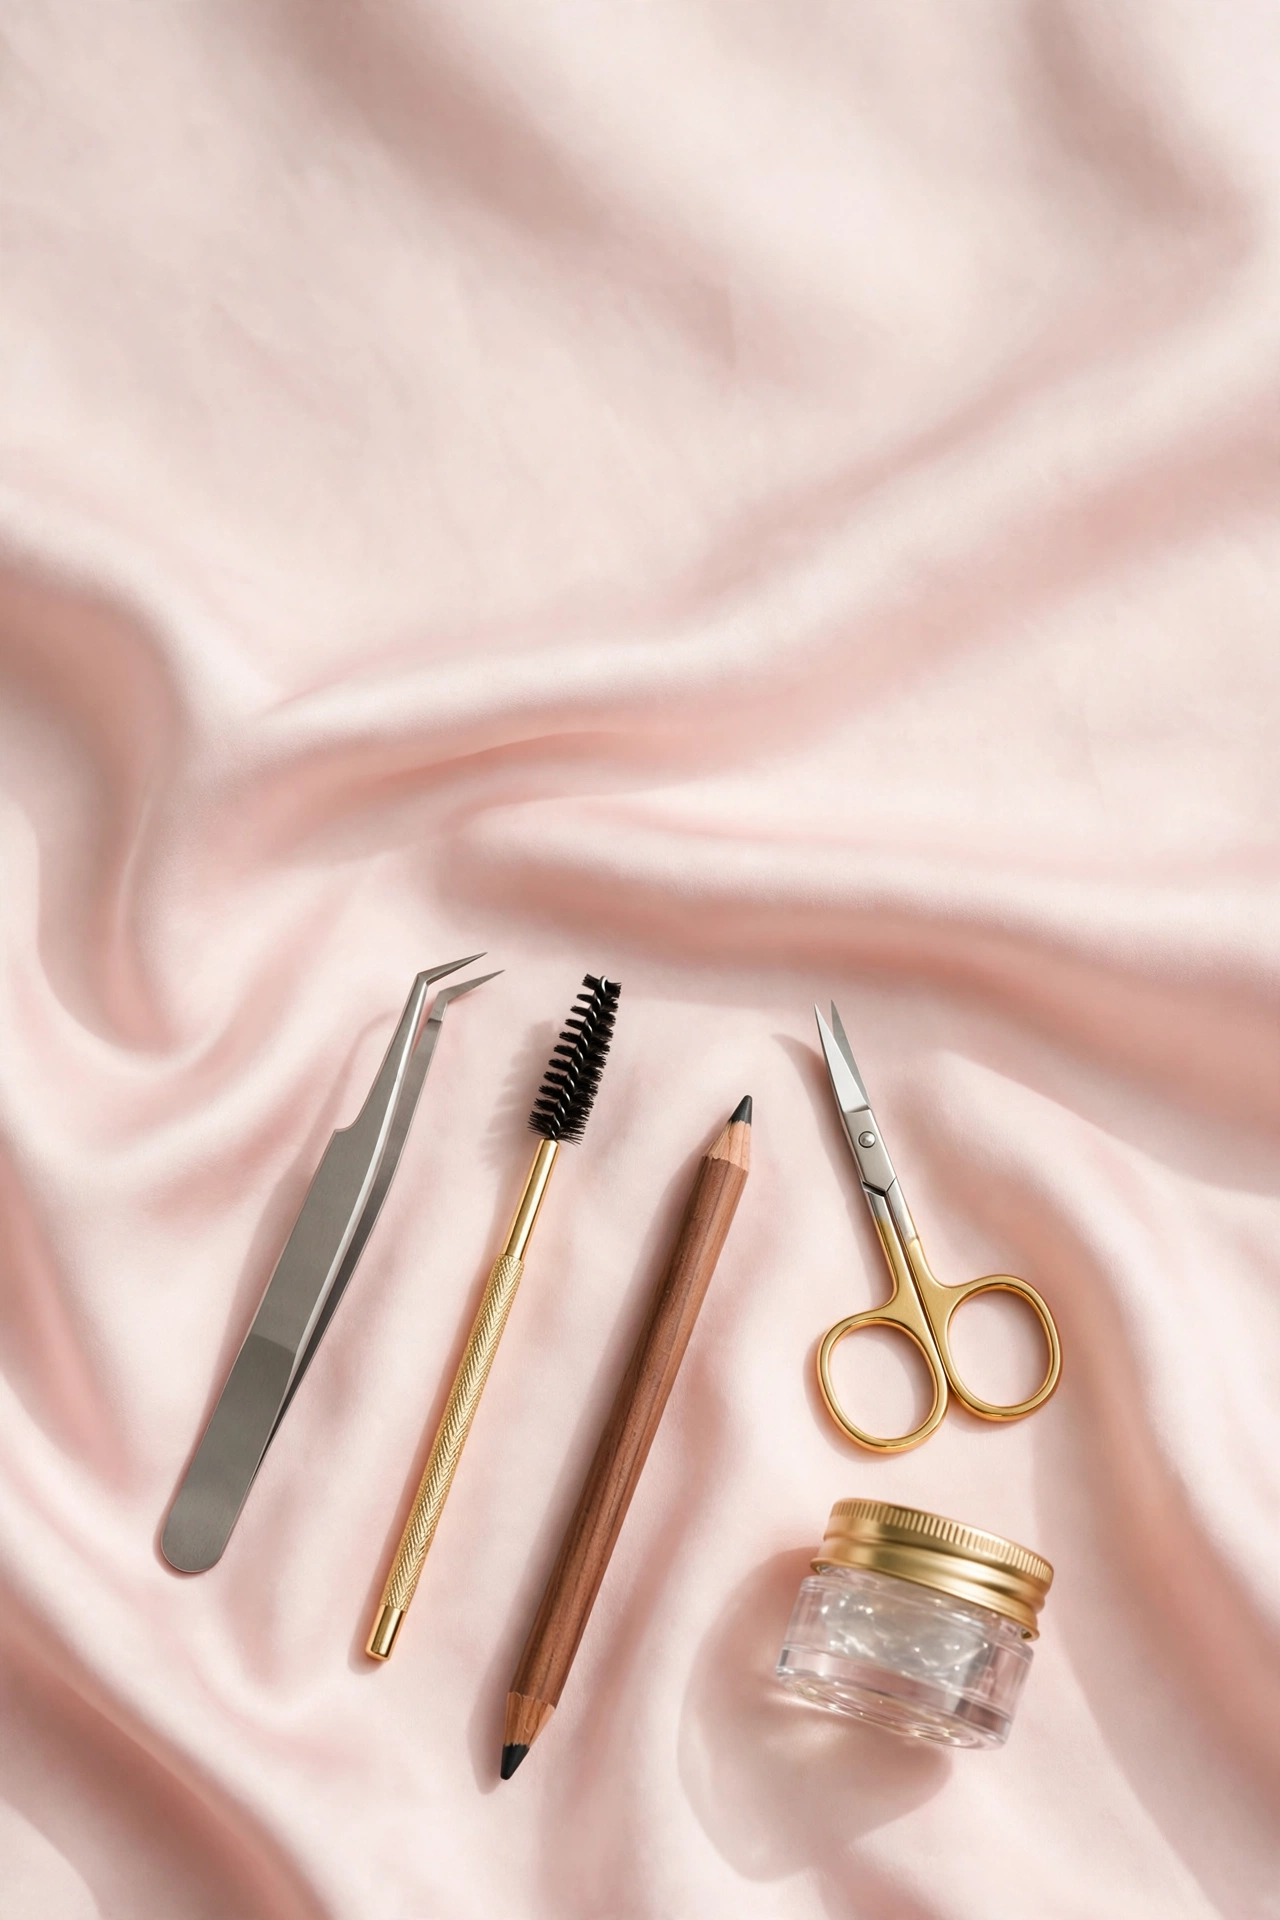
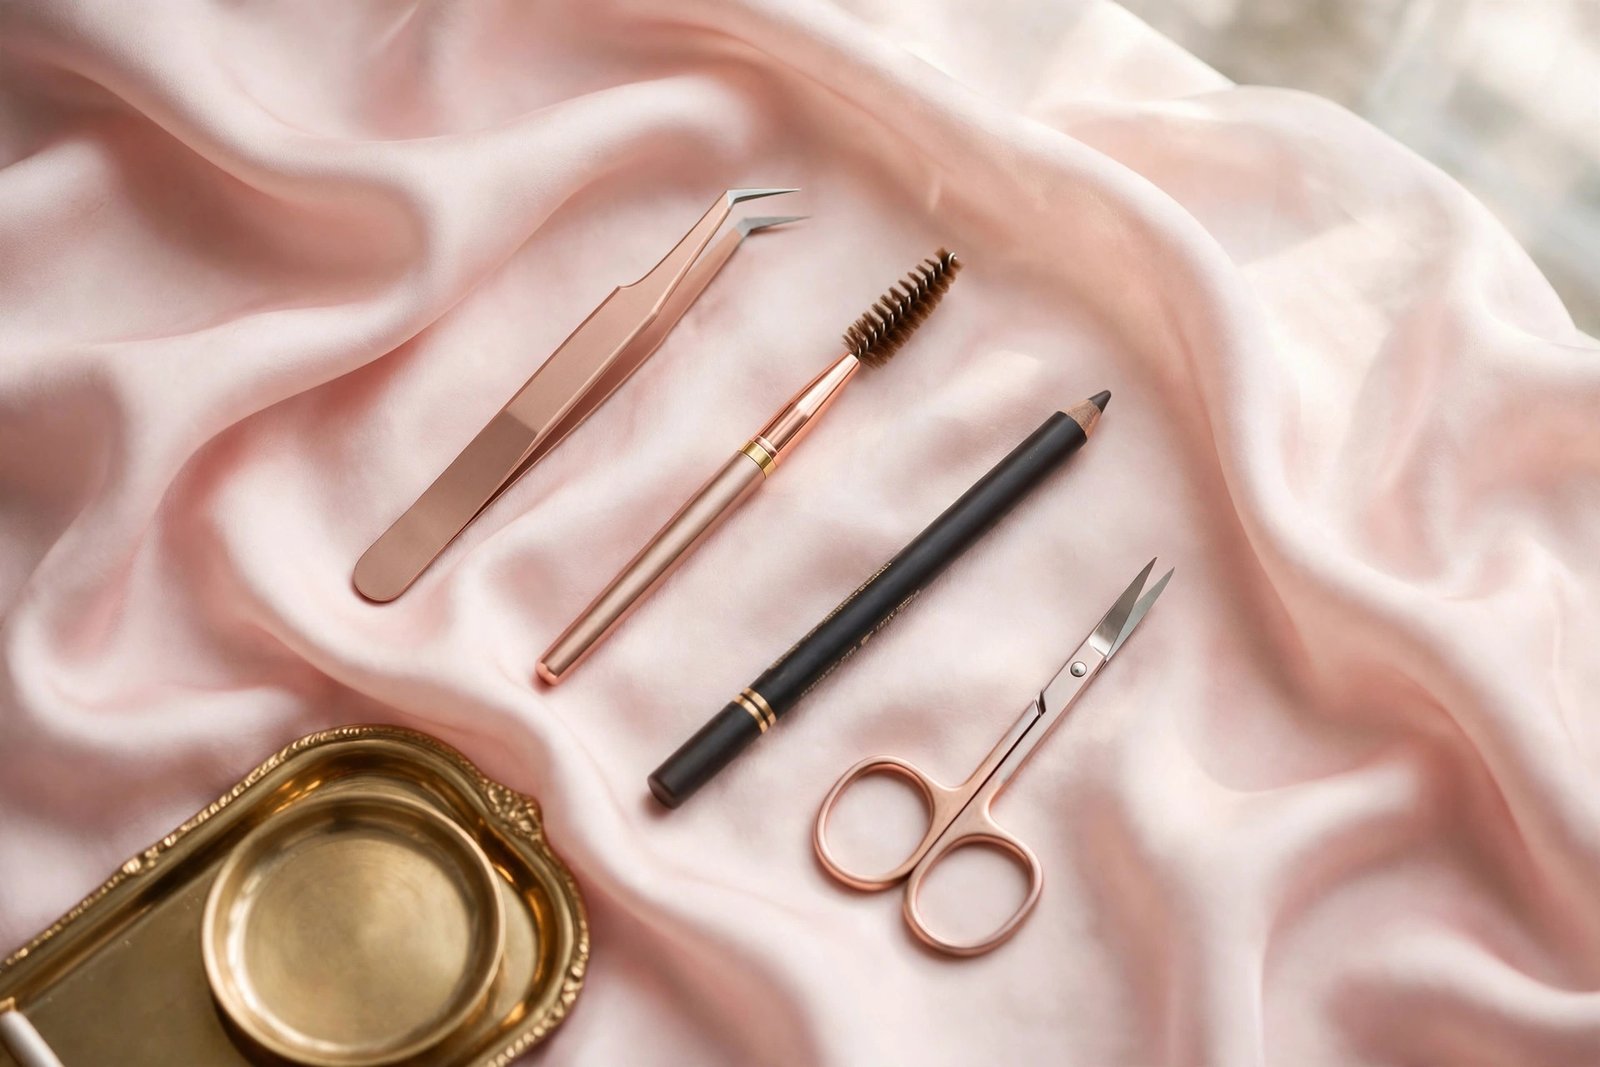
You don’t need a professional kit. A few basic tools will do the job well:
Slant-tip tweezers. These are the most important tool. Slant tips grip fine hairs easily and give you more control than pointed tweezers, which are meant for splinters and ingrown hairs. Look for tweezers with a good grip and precisely aligned tips.
A spoolie brush. The little mascara-wand-style brush used to comb brow hairs into place. Many brow pencils come with one attached, but a standalone spoolie costs almost nothing and lasts forever.
Small brow scissors. Regular scissors are too big and too blunt for brow work. Brow scissors have short, sharp blades that let you trim individual long hairs safely.
A brow pencil or light-colored pencil. Used to mark your mapping points before you start plucking (more on mapping below). A white or nude pencil works especially well because it doesn’t look like makeup.
Magnifying mirror + good lighting. Pluck in bright, natural daylight or under a bright white light. A magnifying mirror helps you see fine hairs, but step back to a regular mirror frequently — magnifying mirrors make every tiny hair look like a crisis.
Aloe vera gel or a cold compress (optional). Helpful for soothing redness after tweezing, especially if your skin is sensitive.
Step 1: Understand Your Natural Brow Shape
Before you remove a single hair, study your brows. Everyone’s natural brow falls into one of a few general patterns:
- Straight brows — little to no arch, running fairly flat across
- Soft arch — a gentle, rounded rise near the outer two-thirds
- High arch — a pronounced peak that lifts the face
- Rounded brows — curved with no defined angle
- S-shaped brows — a slight dip at the inner corner before rising
Your job is to tidy the shape you were born with, not to convert a straight brow into a high arch. Look at old photos of yourself to see where your brow naturally wants to go — that’s your blueprint.
Also note your brow thickness. Sparse brows need a light touch (you may only clean up obvious strays), while thick brows give you more room to define a clean shape. If your brows are very sparse, you might want to focus on growing them fuller first before doing any major shaping.
Step 2: The 3-Point Brow Mapping Method
Professional brow artists don’t guess — they map. The classic three-point method finds where your brow should start, where the arch should peak, and where the tail should end. All you need is your brow pencil or a thin makeup brush handle.
Point 1 — The start (inner edge). Hold the pencil vertically alongside the outer edge of your nose, running straight up past the inner corner of your eye. Where it crosses your brow line is where your brow should begin. Mark this spot with a small dot.
Point 2 — The arch (highest point). Keeping the bottom of the pencil at the outer edge of your nostril, angle it so it passes over the outer edge of your iris (the colored part of your eye) while looking straight ahead. Where it crosses your brow is where your arch should peak. Mark it.
Point 3 — The end (tail). Angle the pencil from the outer edge of your nostril past the outer corner of your eye. Where it crosses your brow line is where your tail should end. Mark it.
Now connect the dots: brush your brow hairs upward with the spoolie, and you’ll see the shape emerge. The area below the line connecting your three points — that’s the zone where stray hairs can be removed. Everything above the top line of your brow should generally be left alone.
Beginner tip: Be conservative with the tail. A tail that ends too early makes brows look stubby; a tail that extends too far down drags the eye down. The mapping method gives you a safe, natural endpoint.
Step 3: Choose Your Shaping Method
There are several ways to remove brow hair. For beginners doing it themselves at home, tweezing is the safest starting point, but it’s worth understanding the options:
- Tweezing/plucking. Precise, free, and completely under your control. The downside is it’s slow — fine for maintenance, tedious for heavy reshaping.
- Threading. A technician twists a cotton thread to pull out rows of hair at once. Extremely precise and great for defining clean lines, but it’s not a DIY method — you go to a professional. For a full breakdown of how it stacks up against the other salon option, see our threading vs waxing comparison.
- Waxing. Fast and efficient, done at a salon or with at-home strips. Less precise than threading and harder on sensitive skin.
- Trimming. Not a hair-removal method per se, but cutting overlong hairs makes brows look instantly neater without changing the shape. Completely safe for beginners.
If you’re just starting out, tweeze for precision and trim for neatness. You can always visit a professional for threading or waxing later once you know what shape suits you.
Step 4: How to Tweeze Your Eyebrows (Beginner Technique)
Now the main event. Set aside 15–20 unhurried minutes, work in good light, and follow these steps:
1. Prep the area. Wash your face and make sure the brow area is clean and dry. Brush all brow hairs upward with your spoolie so you can see the natural bottom edge clearly.
2. Mark your boundaries. Using your mapping dots, lightly draw the shape you want to keep with your brow pencil. This gives you a visual border — you only pluck hairs that fall clearly outside it.
3. Start underneath. Almost all shaping happens below the brow, not above it. The hairs above your brow line are what give your brow its natural fullness — leave them alone unless there’s an obvious, lone stray.
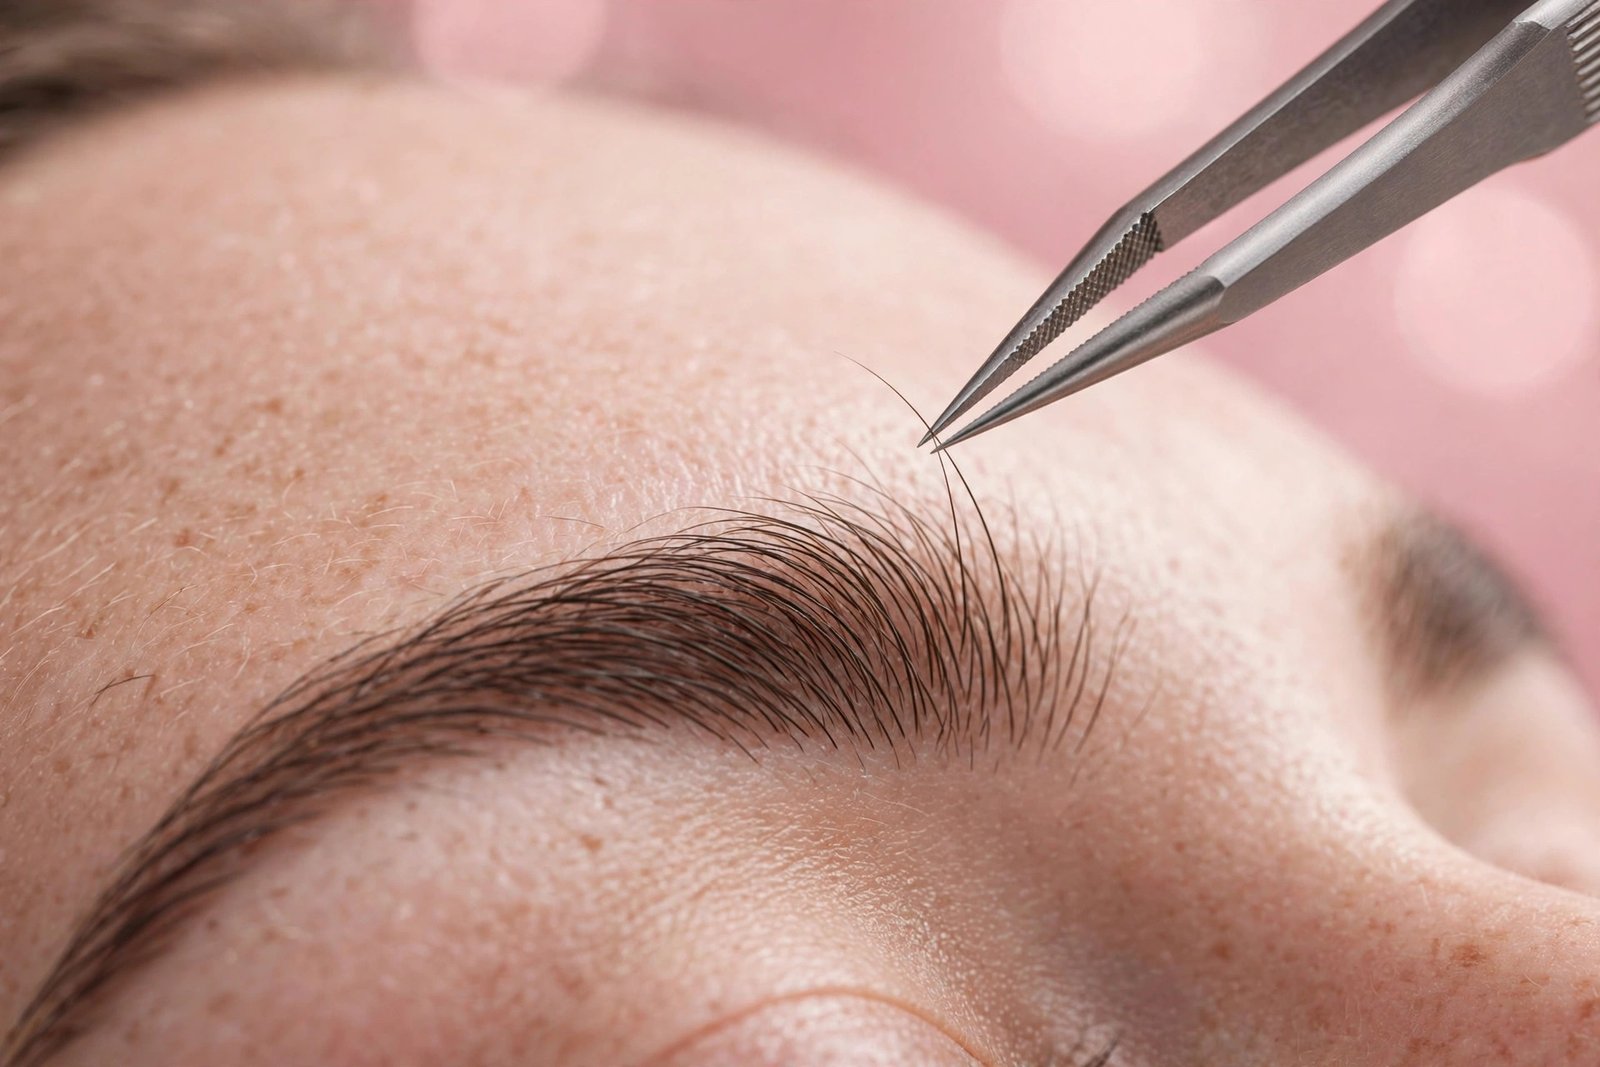
4. Pluck one hair at a time. Hold the skin taut with one hand (this reduces pain significantly). Grip the hair as close to the root as possible with your tweezers and pull in the direction of hair growth with a quick, firm motion. Pulling against the growth direction increases the risk of breakage and ingrown hairs.
5. Work from the middle outward. Clean up the area between your brows first (hairs between the two inner-edge dots can go). Then move along the bottom edge of each brow, alternating between brows every few hairs to keep them even.
6. Step back constantly. This is the golden rule. After every 3–4 hairs, step back from the magnifying mirror and look at your whole face in a regular mirror. What looks like a forest up close is often barely noticeable at normal distance.
7. Stop early. When in doubt, stop. You can always remove one more hair tomorrow. You cannot put one back today.
Pain management: Tweezing stings less if you do it after a warm shower (the heat softens the follicles), pull quickly rather than slowly, and press the spot with your finger immediately after each pull. If your skin gets red, a cold compress or a dab of aloe vera gel calms it down within minutes.
For a more detailed walkthrough of doing the whole routine on your own, check out our dedicated guide on how to shape eyebrows at home.
Step 5: Trimming Long Brow Hairs
Many beginners skip trimming, but it’s one of the easiest wins in brow shaping. Long, unruly hairs stick up or cross over each other, making brows look messy even when the shape underneath is fine.
Here’s the safe way to trim:
- Brush all brow hairs straight up with your spoolie.
- You’ll see some hairs extending well above the top line of your brow — those are the candidates.
- Using your small brow scissors, trim only the very tips, cutting a tiny amount at a time. Never cut straight across in one line; snip individual long hairs.
- Brush the hairs back down into their natural position and check the result.
- Brush the hairs downward and trim any that extend far below the bottom edge the same way.
The key word is conservative. Trimmed too short, brow hairs look blunt and obvious. Take off less than you think you need — you can always trim more.
Step 6: Filling In Gaps After Shaping
Even perfectly shaped brows usually have small sparse spots — near the tail, at the inner corner, or along the bottom edge. Filling these in is what gives brows that polished, finished look. It also lets you be more conservative with plucking, since you can fill rather than over-shape.
The beginner-friendly approach:
- Use a brow pencil one shade lighter than your natural brow hair (or matching your hair color if your brows are very dark) and draw short, hair-like strokes in the direction of growth.
- Focus on sparse areas rather than coloring the entire brow — the goal is to look like hair, not like makeup.
- Set with a clear or tinted brow gel brushed through with the spoolie to keep hairs in place all day.
We have a full tutorial on how to fill in eyebrows naturally with detailed pencil and powder techniques, plus a guide to choosing the best eyebrow pencil for beginners if you’re shopping for your first one.
Common Beginner Mistakes to Avoid
Learn from everyone else’s mistakes so you don’t have to make them yourself:
Over-plucking the top edge. The hairs above your brow create fullness and a natural shape. Removing them thins the brow out and can leave it looking flat or uneven. Stick to the area below the brow.
Chasing perfect symmetry. Your brows are sisters, not twins. Trying to make them identical usually means over-plucking the fuller one to match the sparser one. Get them close, then stop.
Plucking in a magnifying mirror only. Magnification distorts your perception. Always check your work in a regular mirror at arm’s length.
Shaping both brows in one aggressive session. Alternate between brows, a few hairs at a time. This keeps them even and prevents you from going too far on one side.
Tweezing right before an event. Brows can stay red or slightly swollen for an hour or two after shaping. Do your shaping the night before, not an hour before you need to look your best.
Following trends over your face. The ultra-thin brow, the bleached brow, the laminated soap-brow look — trends come and go, but regrowing over-plucked brows takes months. Enhance your natural shape and you’ll never regret it.
Ignoring the tail. A faded, stubby tail makes the whole brow look unfinished. If your tails are sparse, fill them in with a pencil rather than plucking the area shorter.
Growing Out and Maintaining Your Brows
Brow shaping isn’t a one-time project — it’s light maintenance. Once you’ve established your shape, a quick 5-minute tidy-up every 1–2 weeks keeps everything clean. Only the obvious new strays need to go; resist the urge to re-sculpt every time.
If you’ve over-plucked in the past (most of us have), the fix is patience. Brow hairs grow in cycles, and full regrowth can take 6–8 weeks or longer. During the grow-out phase, fill in sparse areas with makeup and leave the tweezers alone. For a full regrowth strategy including what actually helps and what’s just marketing, read our guide on how to get thicker eyebrows naturally.
Key Takeaways
- Work with your natural brow shape — tidy it up rather than trying to create a completely new one.
- Use the 3-point mapping method (nose edge, iris edge, eye corner) to find your ideal start, arch, and tail.
- For beginners, tweezing below the brow plus careful trimming is the safest DIY combination.
- Pluck one hair at a time in the direction of growth, hold skin taut, and step back to a regular mirror every few hairs.
- When in doubt, stop early — you can always remove more tomorrow.
- Fill sparse spots with a brow pencil using short, hair-like strokes for a polished finish.
- Maintain with a quick tidy-up every 1–2 weeks; never re-sculpt from scratch each time.
Frequently Asked Questions
How often should beginners shape their eyebrows?
Once you’ve established your shape, a light maintenance session every 1–2 weeks is enough. Daily plucking leads to over-plucking because you start targeting hairs that aren’t actually a problem. Mark a quick brow check into your routine alongside something like a face mask day.
Should I pluck above or below my eyebrows?
Almost entirely below. The area beneath the brow is where stray hairs disrupt the clean line of your shape. Hairs above the brow contribute to fullness and should be left alone except for the occasional obvious stray far from the brow line.
How do I know when to stop plucking?
Stop when the obvious strays outside your mapped shape are gone and both brows look balanced in a regular mirror at arm’s length. A good test: if you’re squinting into the magnifying mirror trying to decide whether a hair “counts,” it doesn’t — leave it.
Can I shape my eyebrows if they’re very sparse?
Yes, but be extra conservative. With sparse brows, your goal is just to remove the few hairs that are clearly outside the brow area (like between the brows or far below the line). Most of the “shaping” for sparse brows actually comes from filling them in with makeup rather than removing hair.
How long does it take for over-plucked eyebrows to grow back?
Typically 6–8 weeks for noticeable regrowth, and sometimes several months for full density to return. Brow hair grows in cycles, and repeatedly plucked follicles can become slower or stop producing hair over many years — another reason to pluck conservatively.
Conclusion
Shaping your eyebrows for the first time doesn’t have to be stressful. Map your three points, gather simple tools, work only below the brow, and remove less than you think you need. The combination of light tweezing, careful trimming, and a little pencil work afterward gives most beginners a clean, natural result on the very first try.
Remember that brows are one of the few beauty features where less work looks better. Establish your shape once, maintain it lightly, and let your natural brows do the talking. And if you ever go too far, put the tweezers down and give it time — brows are remarkably forgiving when you let them recover.
Ready to go deeper? Explore our cluster guides on filling in brows naturally, threading vs waxing, shaping brows at home, and choosing your first brow pencil.
Love this? Pin it for later!