Eyeliner Guide for Beginners: Types, Techniques & Eye Shapes
Few makeup steps feel as high-stakes as eyeliner. One shaky line and a five-minute routine turns into a twenty-minute correction session, complete with one eye dramatically thicker than the other. If that sounds familiar, you are not bad at makeup — you are simply missing the foundation that makes eyeliner easy.
The truth is that eyeliner becomes dramatically simpler once you understand three things: which formula matches your skill level, which technique suits your eye shape, and how to prep your lids so the liner actually stays put. Get those right and the “steady hand” everyone talks about matters far less than you’d think.
This guide walks you through all of it — pencil vs gel vs liquid liner, four beginner-friendly techniques, and how to adapt everything to your eye shape. And if your end goal is the perfect cat eye, [this step-by-step winged eyeliner tutorial → how-to-apply-winged-eyeliner-for-beginners] picks up exactly where this guide leaves off.
Key Takeaways
- Pencil eyeliner is the most forgiving formula for beginners — soft, blendable, and easy to correct.
- Gel liner with an angled brush offers the most control for wings and graphic looks once you have basic confidence.
- Liquid liner gives the sharpest, most dramatic lines but has the steepest learning curve; save it for later.
- Match your technique to your eye shape — hooded, deep-set, and monolid eyes each need slightly different placement.
- Prepping your lids (clean, dry, primed) prevents most smudging before it starts.
- Waterproof formulas and setting with powder or shadow are your best defense on oily lids.
- Most beginner mistakes come from technique and tools, not talent — they are all fixable.
The 3 Main Types of Eyeliner
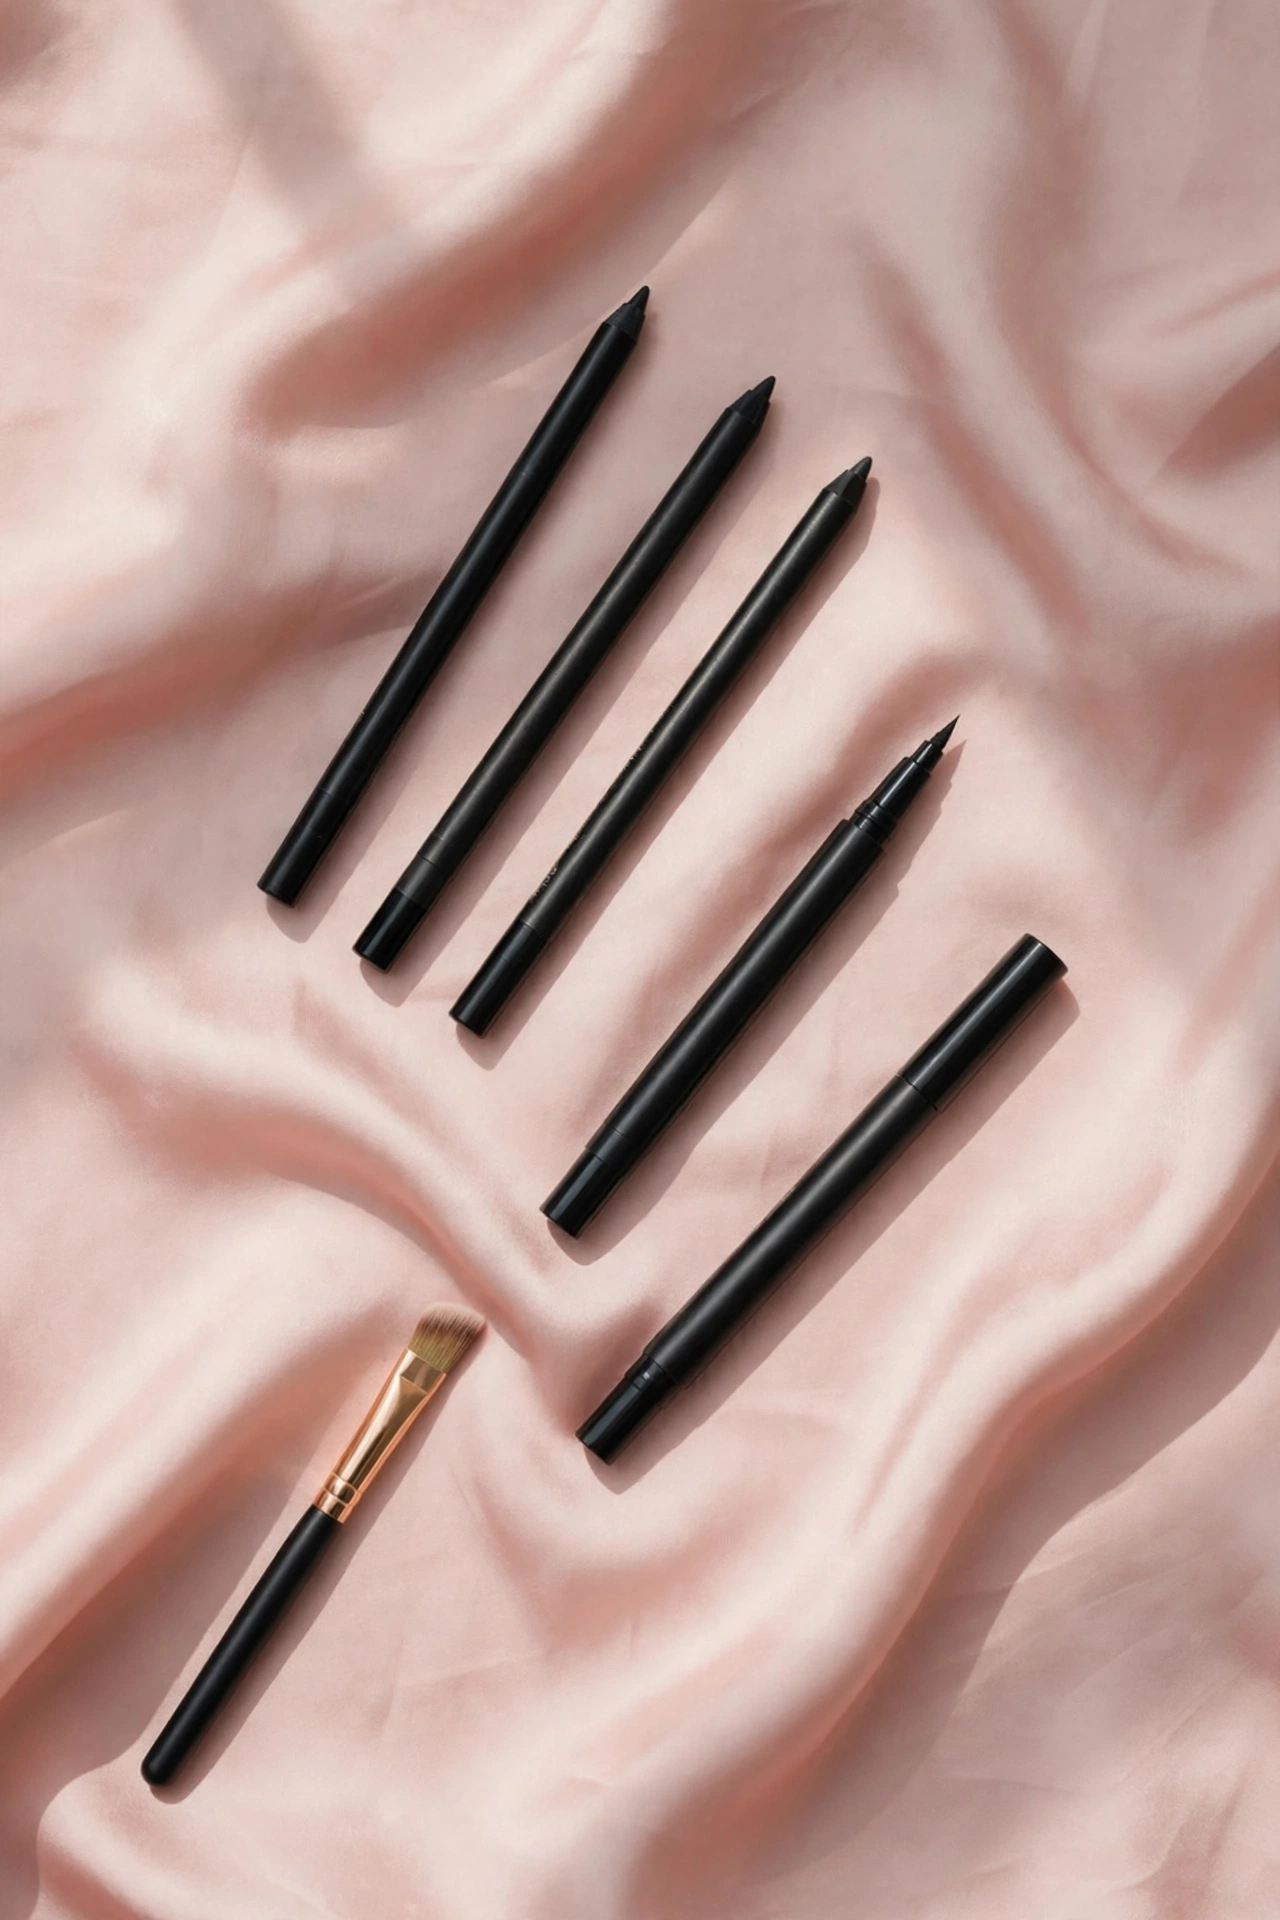
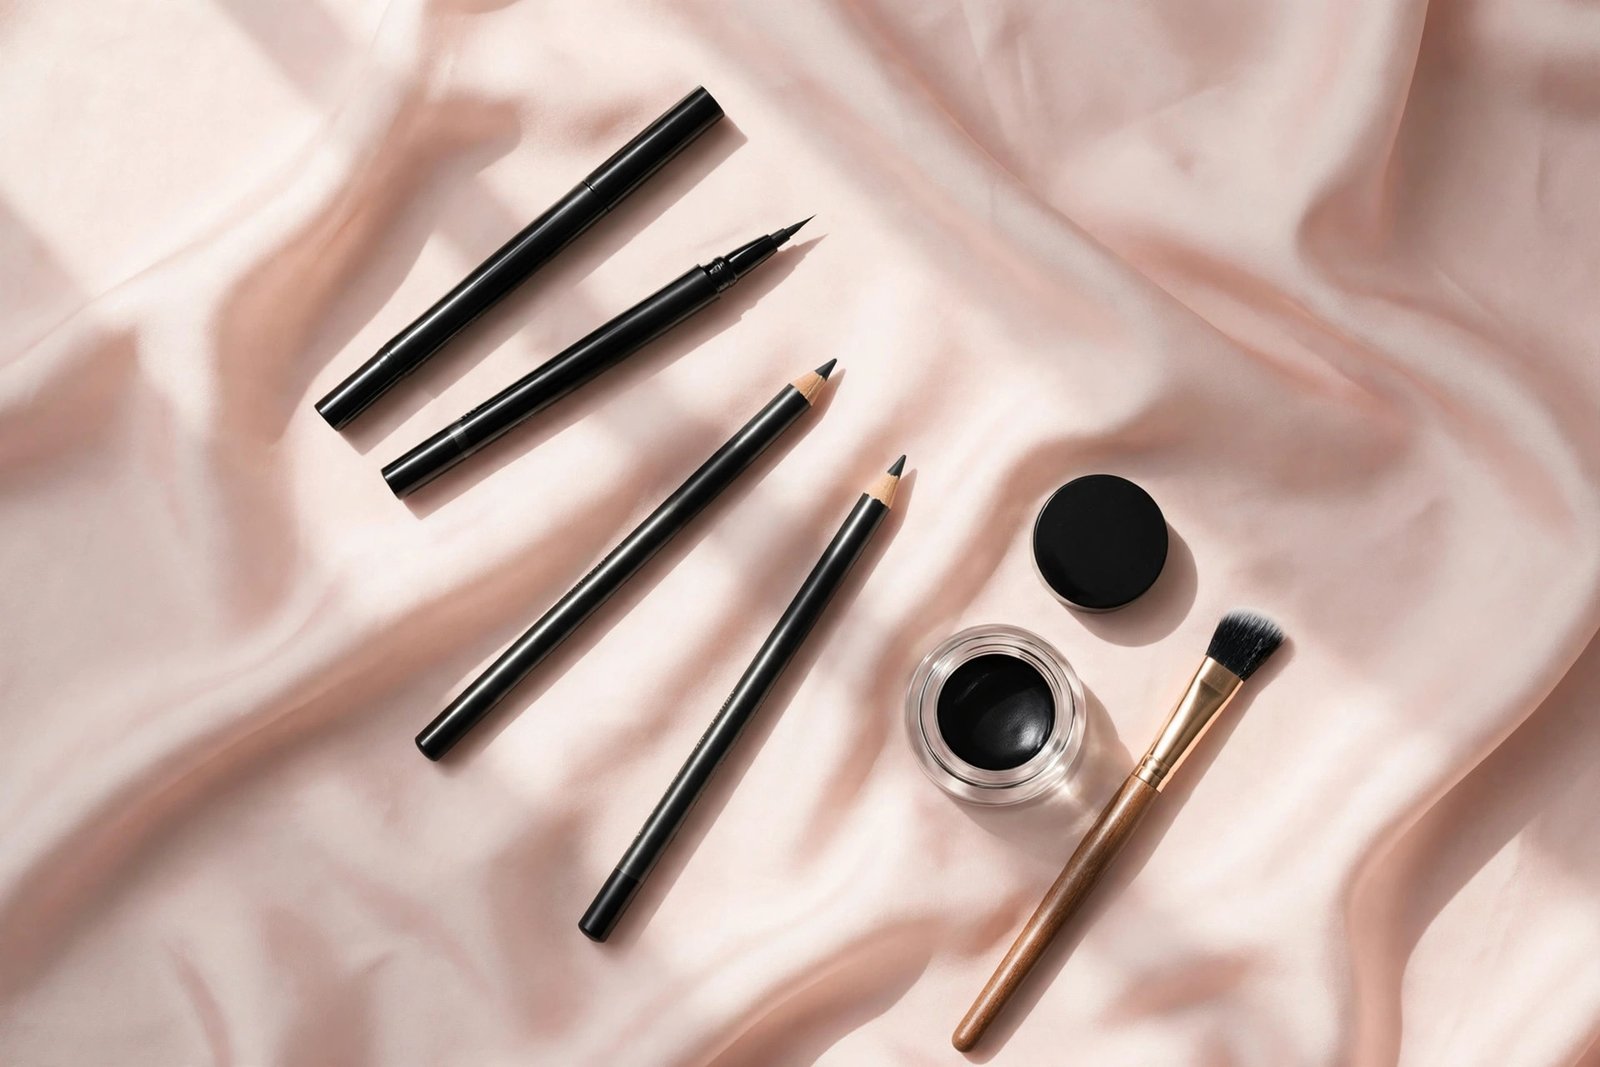
Every eyeliner formula falls into one of three families: pencil, gel, or liquid. Each behaves differently on the lid, suits different looks, and forgives mistakes to different degrees. Understanding the differences is the single fastest way to stop fighting your liner.
Pencil Eyeliner
Pencil liners are the training wheels of eyeliner — and there is no shame in that. They come in two forms: traditional wood pencils you sharpen, and twist-up (retractable) pencils that never need sharpening. Both apply with a soft, waxy texture that glides without tugging and smudges easily before it sets.
Best for: Soft everyday definition, smoky looks, tightlining, lower lash lines, and anyone brand new to liner.
Pros: Very forgiving and easy to control; mistakes blend away with a cotton swab; no brush skills needed; twist-up versions are travel-friendly.
Cons: Lines are rarely razor-sharp; many formulas smudge or fade within a few hours on oily lids; traditional pencils need regular sharpening (a dull tip gives thick, uneven lines).
Beginner tip: Makeup artists recommend starting with a dark brown pencil rather than black. Brown reads softer, and any wobble in your line is far less obvious while you are learning.
Gel Eyeliner
Gel liner comes in a small pot and is applied with a separate brush — usually a thin angled brush. It has a creamy, almost paint-like texture when fresh that sets to a long-wearing, often waterproof finish. Because you control the brush, you control the line: thin, thick, winged, or graphic.
Best for: Crisp wings, long-wear looks, and anyone ready to graduate from pencil.
Pros: Excellent staying power once set; the brush gives precise control over line thickness; works beautifully for wings and tightlining; a little product goes a long way.
Cons: Requires a steady brush hand and practice; the pot can dry out if left open (store it upside down and close it tightly); you need a decent angled brush, which is an extra purchase.
Beginner tip: Warm the brush with a quick stroke on the back of your hand before touching your eye. This softens the gel slightly and gives you a smoother first stroke.
Liquid Eyeliner
Liquid liner — in pen, felt-tip, or brush-bottle form — deposits the most pigment in a single stroke. Felt-tip pens are the easiest of the three formats; traditional brush bottles are the hardest. The result is the sharpest, most graphic line of any formula, with intense color payoff.
Best for: Sharp wings, graphic liner looks, and dramatic evening makeup.
Pros: Intense, opaque color in one pass; the most precise, crisp lines possible; excellent for wings and detail work.
Cons: The least forgiving formula — mistakes show immediately and are harder to fix; requires a confident, steady hand; many formulas crack or flake if applied too thickly.
Beginner tip: If you are drawn to liquid, start with a felt-tip pen rather than a brush bottle. The pen grip feels familiar, like writing, and gives you much more control.
Pencil vs Gel vs Liquid: Quick Comparison
| Pencil | Gel | Liquid | |
|---|---|---|---|
| Difficulty | Easiest | Medium | Hardest |
| Line quality | Soft, blendable | Crisp, controlled | Sharpest, most intense |
| Best for | Everyday, smoky looks | Wings, long wear | Graphic, dramatic wings |
| Staying power | Low–medium | High | Medium–high |
| Mistake forgiveness | High | Medium | Low |
| Tools needed | None (or sharpener) | Angled brush | None |
If you take one thing from this section: start with pencil, move to gel, and try liquid last. That progression matches how the difficulty ramps up, and each step builds the hand control the next one needs.
Which Eyeliner Should Beginners Start With?
The honest answer: start with a twist-up pencil in dark brown. It gives you the most forgiving learning curve, requires no extra tools, and works for nearly every basic technique in this guide. Many makeup artists suggest beginners practice the motions with pencil for a few weeks before investing in gel or liquid.
Once you can draw a reasonably smooth line along your upper lash line with a pencil, add a gel liner pot and an angled brush. Gel is the best formula for learning wings because it stays workable for a few seconds — you can nudge and correct the shape before it sets. For a full breakdown of the wing technique with gel and liquid, [this winged eyeliner tutorial → how-to-apply-winged-eyeliner-for-beginners] covers it step by step.
Liquid liner comes last. It rewards confidence and punishes hesitation, so it genuinely gets easier after you have built hand control with the other two formulas. There is no prize for starting with the hardest option.
One more practical note: whatever formula you choose, buy waterproof if your lids tend to get oily or your eyes water easily. A waterproof pencil outperforms a non-waterproof liquid on longevity every time. If smudging is your main frustration, [these tips to stop eyeliner smudging → how-to-stop-eyeliner-smudging] go deep on primers, setting techniques, and formula choices.
Before You Start: Prep and Tools
Good eyeliner starts before the liner touches your lid. Skipping prep is the most common reason beginners think a product “doesn’t work” when the real problem is an oily, unprimed lid.
Prep in 3 steps:
- Start with clean, dry lids. Remove any residual moisturizer, sunscreen, or foundation from your eyelids with a gentle cleanser or micellar water. Product residue is the number one cause of liner sliding around.
- Prime your lids. An eyeshadow primer grips liner the way primer grips paint on a wall. Even a thin layer of concealer set with translucent powder works in a pinch. If you already use one for shadow, [this guide on whether you need eyeshadow primer → eyeshadow-primer-do-you-need-it] explains how the same product doubles as a liner base.
- Set the area. A light dusting of translucent powder or a skin-toned eyeshadow over the primer creates a dry, even canvas that liner glides across instead of skipping over.
Tools worth having: a sharpener for wood pencils (a dull tip is the hidden cause of most thick, uneven beginner lines), an angled eyeliner brush if you use gel, cotton swabs and micellar water for cleanup, and a small handheld mirror. Pro tip: rest your elbow on a table and your pinky finger against your cheek while lining — the added stability does more for a smooth line than any expensive product.
4 Basic Eyeliner Techniques Every Beginner Should Know
You don’t need a dozen techniques. These four cover almost every everyday look, and each one teaches a skill the next one builds on.
1. The Classic Upper Lash Line
This is the foundation of everything. The goal is a line that sits as close to your lashes as possible, filling the gaps between them so your lash line looks fuller.
Work in short, overlapping strokes rather than one continuous line — connect small dashes from the inner corner outward, then go back and smooth them together. Keep your eye open and look down into a mirror so you can see where the liner lands. This technique alone, done well, makes lashes look thicker without any mascara.
2. Tightlining
Tightlining means lining the upper waterline — the skin right between your lashes, underneath the lash line rather than above it. The effect is subtle but powerful: lashes look dramatically fuller and eyes look more defined with no visible “line” at all. It is also the most natural-looking option in this guide, which makes it a favorite for no-makeup makeup looks.
Use a waterproof pencil or gel for tightlining, and gently lift your lid with a clean finger to expose the area. There is a full breakdown of how this differs from lining the lower waterline in [this tightlining vs waterline comparison → tightlining-vs-waterline-eyeliner], including which eye shapes suit each best.
3. The Soft Smudged Liner
If crisp lines intimidate you, start here. Draw a soft pencil line along the upper lashes, then immediately smudge it with a small brush, a cotton swab, or even your fingertip before it sets. The result is a lived-in, smoky definition that looks intentional even when the original line was wobbly — because the smudging hides every imperfection.
This technique pairs beautifully with eyeshadow. A smudged brown pencil under a wash of neutral shadow is one of the easiest complete eye looks there is; the [beginner’s eyeshadow guide → eyeshadow-guide-for-beginners] shows how to build the rest of the look around it.
4. The Simple Wing
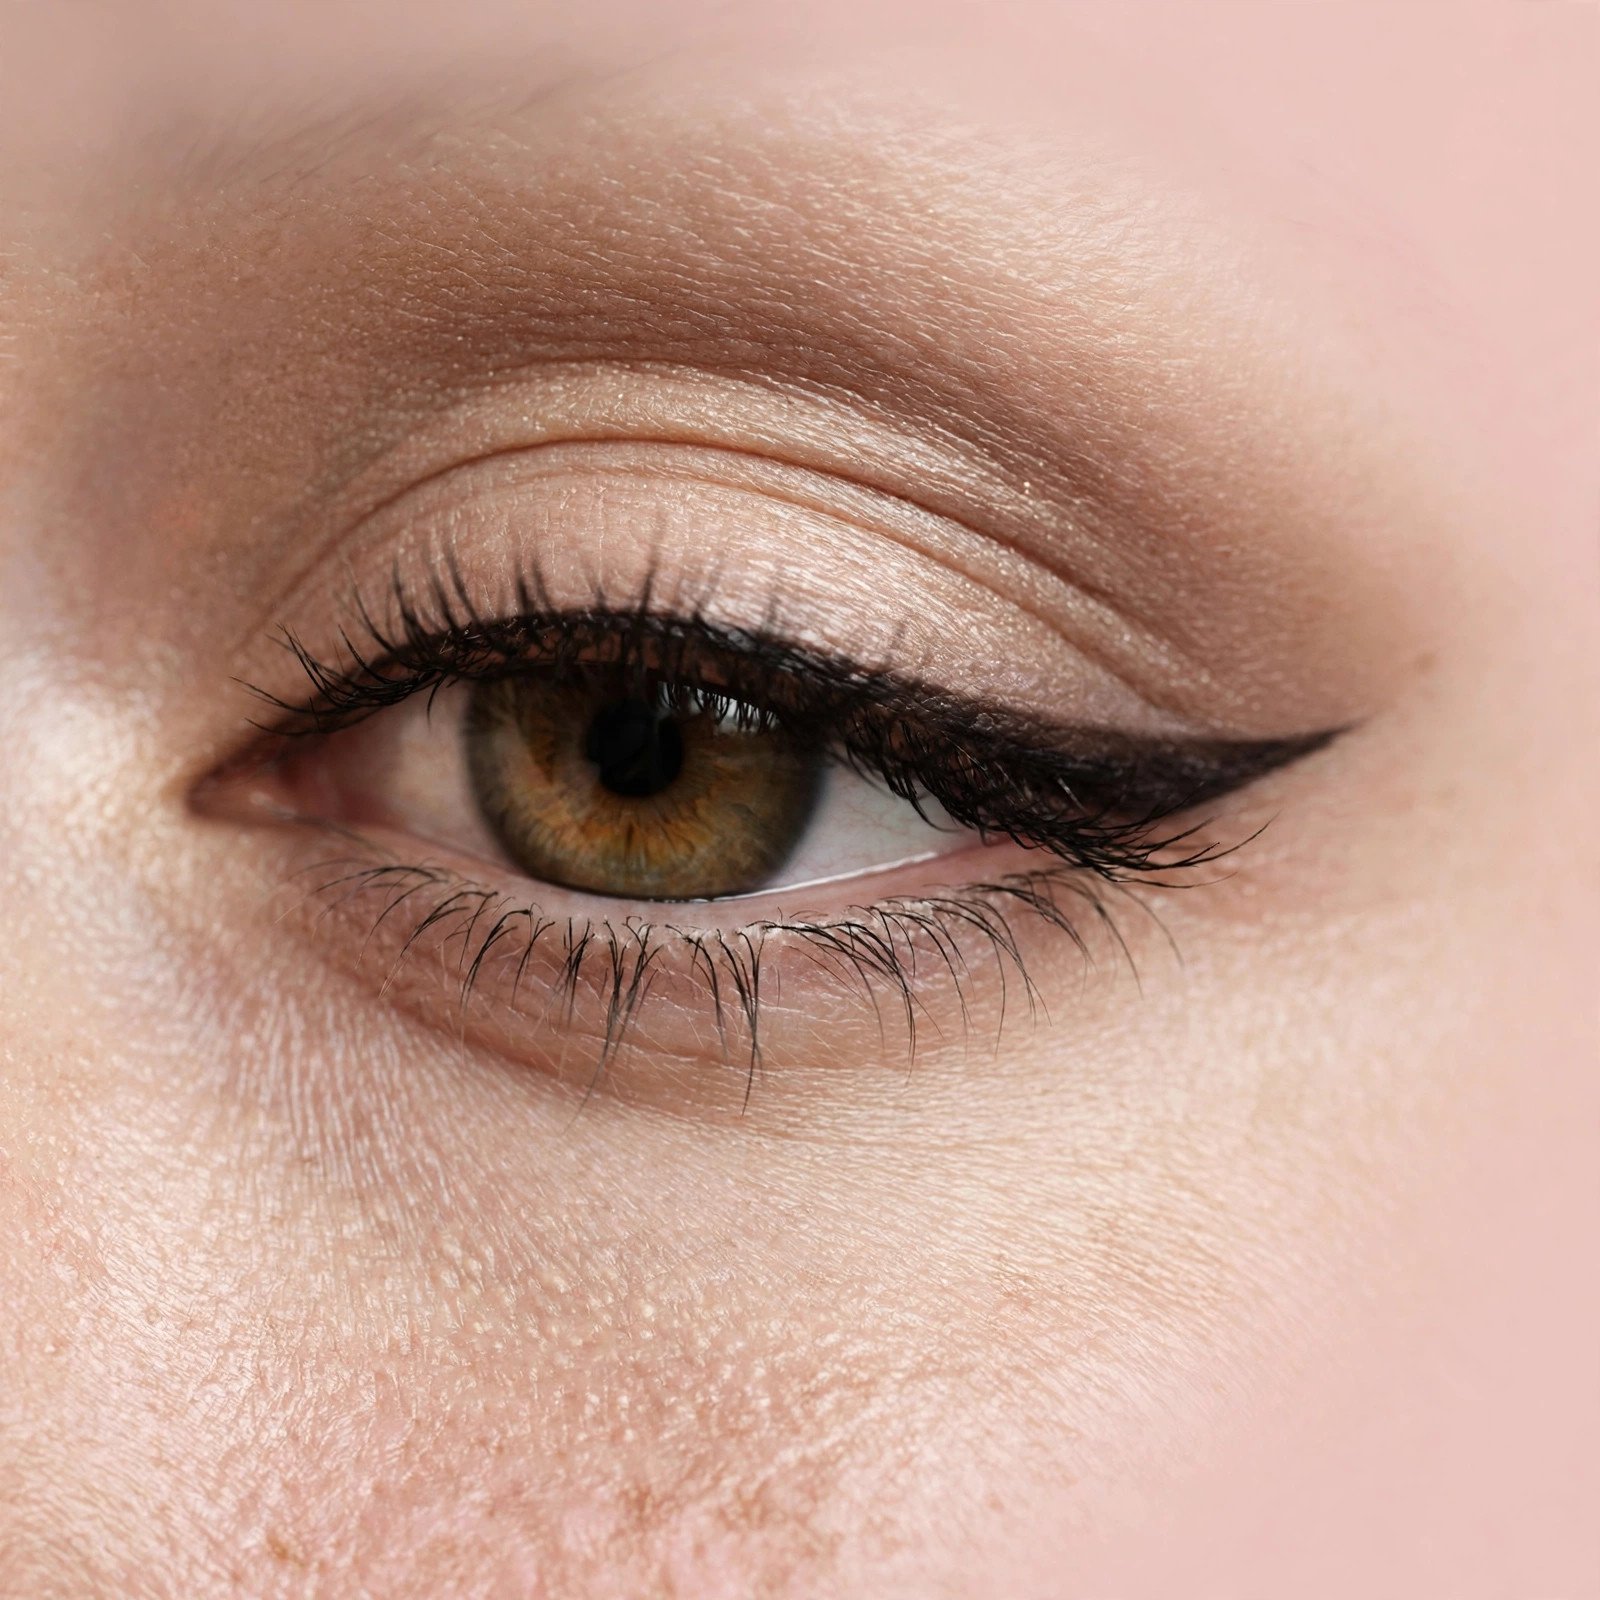
The wing is just an extension of the upper lash line, flicked outward and slightly upward past the outer corner. Beginners do best starting with gel and an angled brush, or a felt-tip liquid pen, and drawing the wing first — a short flick from the outer corner toward the end of the brow — then connecting it back to the lash line to form a small triangle, and filling it in.
The wing deserves its own tutorial because the details matter: wing angle, length, and thickness all change with eye shape. [The step-by-step winged liner guide → how-to-apply-winged-eyeliner-for-beginners] covers the tape trick, the dot-and-connect method, and how to fix uneven wings.
Eyeliner for Your Eye Shape
The same liner technique looks completely different on different eye shapes, because the visible lid space and the angle of the outer corner change where a line can sit. Identifying your eye shape takes thirty seconds and saves hours of frustration.
- Almond eyes: The most versatile shape — the lid space is visible and the outer corners turn slightly upward. Nearly every technique works; a classic wing following the natural upward angle is the signature look.
- Round eyes: Liner can elongate. Extend the line slightly past the outer corner and keep the wing more horizontal than upward to add length. Avoid thick liner all the way around, which can make round eyes look smaller.
- Hooded eyes: The lid fold covers much of the mobile lid, so liner drawn with eyes closed often disappears when you open them. Draw with eyes open, keep lines thin along the lash line, and place wings higher and more outward. There is an entire guide to [the best eyeliners for hooded eyes → best-eyeliner-for-hooded-eyes] with smudge-proof formulas and placement tips built for this shape.
- Deep-set eyes: Eyes sit further back, so liner can get lost. A slightly thicker line along the upper lashes brings the eyes forward; tightlining adds definition without taking up lid space.
- Downturned eyes: The outer corners angle downward. Angle your wing upward more steeply than feels natural to lift the eye; avoid dragging liner down along the lower lash line past the outer corner.
- Upturned eyes: The outer corners lift naturally — a wing follows that line beautifully with minimal effort. Keep the wing short so it enhances rather than exaggerates.
- Monolids: There is no visible crease, so you have a smooth canvas but less lid real estate. A slightly thicker line (so it stays visible when eyes are open) and a straighter, more horizontal wing tend to work best.
If you are unsure of your shape, look straight into a mirror with a neutral expression: if you can see most of your mobile lid, you likely have almond, round, or deep-set eyes; if a fold of skin covers it, you have hooded eyes; if there is no crease at all, you have monolids. When in doubt, the thin-line-plus-tightlining combination flatters nearly every shape.
7 Beginner Mistakes That Ruin Eyeliner (and How to Fix Them)
- Pulling your eyelid taut. Stretching the skin feels like it helps, but the line distorts when you let go and lands somewhere unexpected. Instead, tilt your head back slightly and look down into a mirror — the lid flattens naturally without stretching.
- Starting at the inner corner. The inner corner is the hardest part to get right. Start from the middle of the lash line and work outward, then connect back toward the inner corner with a thinner line.
- Trying to draw it in one stroke. Professionals use short strokes and go back over them. One continuous line is harder, not more skilled.
- Lining the lower lash line too heavily. Thick lower liner can drag the eyes down and make them look smaller. If you want lower definition, use a soft smudged pencil or shadow instead of a harsh line — and know that [tightlining and waterline liner → tightlining-vs-waterline-eyeliner] behave very differently down there.
- Skipping primer on oily lids. If your liner migrates by noon, the formula is rarely the whole story. Primer plus a waterproof formula solves most smudging; the full playbook is in [how to stop eyeliner smudging → how-to-stop-eyeliner-smudging].
- Using a dull pencil. A blunt tip deposits uneven, thick lines no matter how steady your hand is. Sharpen before every use — it takes five seconds and changes everything.
- Giving up after one bad attempt. Eyeliner is a motor skill. Makeup artists consistently say it takes a few weeks of regular practice for the hand control to click. Practice on the back of your hand or on bare skin on makeup-free days to build the motion without pressure.
Keep Learning: Eyeliner Guides for Every Goal
This guide covered the foundations. Each of these goes deep on one specific skill:
- [How to Apply Winged Eyeliner for Beginners → how-to-apply-winged-eyeliner-for-beginners] — the full step-by-step wing tutorial with the tape trick and stamp method.
- [Best Eyeliner for Hooded Eyes → best-eyeliner-for-hooded-eyes] — smudge-proof formulas and placement tips designed for hooded lids.
- [Tightlining vs Waterline Eyeliner → tightlining-vs-waterline-eyeliner] — which technique suits your eye shape, plus safety and product guidance.
- [How to Stop Eyeliner Smudging → how-to-stop-eyeliner-smudging] — primers, setting methods, and waterproof formulas for liner that lasts all day.
Frequently Asked Questions
What is the easiest eyeliner for a complete beginner?
A twist-up pencil in dark brown. It is the most forgiving formula, needs no extra tools, blends easily so mistakes disappear, and brown is softer and more forgiving of wobbly lines than black. Practice the basic upper lash line with it for a couple of weeks before moving to gel or liquid.
Should I do eyeliner before or after eyeshadow?
Eyeshadow first, then eyeliner. Applying liner over shadow gives you a smoother base and prevents shadow fallout from dulling a crisp line. The exception is a smoky eye, where you often layer: shadow, then liner, then blend the liner into the shadow.
How do I make eyeliner last all day without smudging?
The three-part formula is: prime the lids, use a waterproof formula, and set the liner with a matching eyeshadow or translucent powder pressed over it. On very oily lids, a gel liner set with shadow typically outlasts pencil. The dedicated [smudge-proof guide → how-to-stop-eyeliner-smudging] walks through all twelve techniques in detail.
Why does my eyeliner look different on each eye?
Almost everyone’s eyes are slightly asymmetrical — different lid folds, different outer-corner angles. The fix is to draw with both eyes open, checking the mirror straight-on as you go, and to build the wing on each eye to match how it looks open rather than mirroring the closed-eye shape exactly.
Can I wear eyeliner if I have hooded eyes?
Absolutely — you just adjust the technique. Draw with your eyes open, keep the line thin along the lash line, and place the wing higher and more outward so it stays visible. Waterproof, smudge-proof formulas are especially important since the lid fold transfers liner easily. The [hooded-eyes eyeliner guide → best-eyeliner-for-hooded-eyes] covers product picks and placement in full.
Is it safe to put eyeliner on the waterline?
The upper waterline (tightlining) is generally fine with clean, waterproof products. The lower waterline carries more considerations — product can migrate into the eye, and shared or old liners raise infection risk. Always use clean, sharpened or twist-up products, never share eye products, and replace liners every few months. The [tightlining vs waterline guide → tightlining-vs-waterline-eyeliner] covers the safety details.
Eyeliner rewards patience more than talent. Start with a brown pencil, learn the basic lash line, add tightlining for easy definition, and only then chase the perfect wing. Every makeup artist you admire went through the same wobbly-line phase — the difference is simply that they kept going. Pick one technique from this guide, practice it for a week, and come back for the next one.
step-by-step winged liner tutorial
smudge-proof liners for hooded eyes
tightlining vs waterline comparison
stop eyeliner from smudging
beginner eyeshadow guide
make eyeshadow last on oily lids
Love this? Pin it for later!