Tightlining vs Waterline Eyeliner: What’s the Difference?
“Tightlining” and “waterline eyeliner” get used interchangeably in tutorials and product descriptions, but they are two different techniques, applied to two different places, with two different effects. Mixing them up leads to buying the wrong products and wondering why the result looks nothing like the tutorial.
The short version: tightlining fills the upper waterline (between the upper lashes) for invisible lash definition, while waterline eyeliner usually means lining the lower waterline (the inner rim of the lower lid) for a more dramatic, eye-defining effect. This guide breaks down exactly where each goes, what each one does to your eyes, which suits your eye shape, and the safety notes that matter when liner goes this close to the eye.
If you’re still choosing your liner formula, [the beginner’s eyeliner guide → eyeliner-guide-for-beginners] compares pencil, gel, and liquid so you can pick the right tool for either technique.
Key Takeaways
- Tightlining = upper waterline (between upper lashes); waterline liner = usually the lower waterline (inner lower rim).
- Tightlining makes lashes look fuller with no visible line — the most natural-looking eyeliner technique.
- Lower waterline liner creates drama and definition but can make eyes look smaller and smudges more easily.
- Hooded and deep-set eyes benefit most from tightlining; round and large eyes carry lower waterline liner best.
- Both techniques need waterproof formulas — the waterline is wet by nature.
- Never share eye liners, and keep waterline products clean and freshly sharpened.
What Is Tightlining?
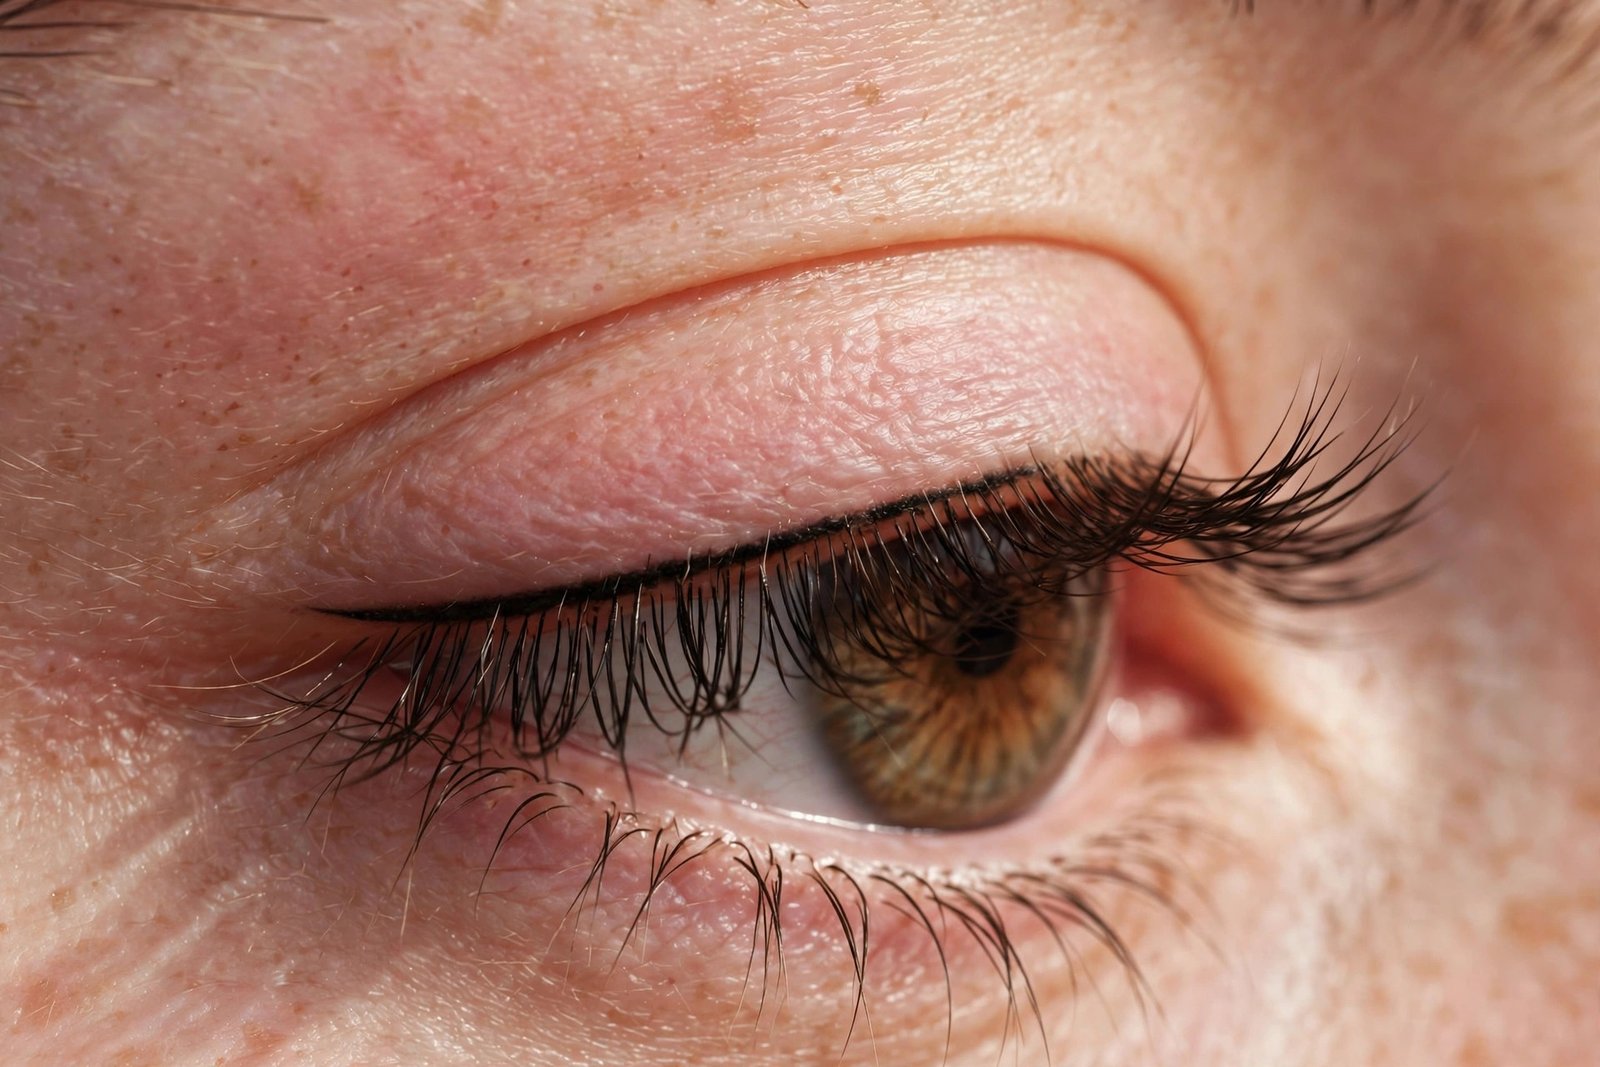
Tightlining means applying eyeliner to the upper waterline — the strip of skin between your upper lashes, right at the base where the lashes meet the lid. You gently lift the upper lid with a clean finger to expose it, then work the liner into the gaps between the lash roots.
The effect is subtle and a little magical: your lashes look significantly thicker and darker, and your eyes gain definition, but there is no visible “line” of makeup. It reads as naturally full lashes rather than eyeliner, which is why tightlining is the backbone of no-makeup makeup looks and a favorite among makeup artists for photography.
How to tightline:
- Use a waterproof pencil or a gel liner with a fine brush — the area is moist, so the formula must grip and set.
- With clean hands, gently lift your upper lid upward to expose the waterline.
- Wiggle the liner into the base of the lashes using small back-and-forth motions, filling the gaps between lash roots.
- Blink a few times and check — you should see fuller-looking lashes, not an obvious line.
- For extra intensity, tightline first and then add a thin line just above the lashes.
Tightlining works on every eye shape, but it is especially valuable for [hooded eyes → best-eyeliner-for-hooded-eyes], where the lid fold hides conventional liner — tightlined definition sits below the fold and can’t be swallowed by it.
What Is Waterline Eyeliner?
When people say “waterline eyeliner,” they usually mean lining the lower waterline — the moist inner rim of the lower eyelid, just inside the lower lashes. (The upper waterline is technically also a waterline, which is where the confusion comes from — but in practice, “waterline liner” means the lower one.)
Lower waterline liner creates a distinctly different effect from tightlining: it adds drama, intensity, and a sultry, defined look. Black on the lower waterline is the classic smoky-eye move; nude or white on the lower waterline is a well-known trick for making eyes look bigger and more awake, because it visually extends the whites of the eyes.
The trade-offs are real, though. The lower waterline is the wettest part of the eye area, so liner fades and smudges there faster than anywhere else — even waterproof formulas wear down. Heavy black lower waterline liner can also make eyes look smaller and more closed-off, which is why makeup artists often recommend it selectively rather than daily.
How to apply lower waterline liner:
- Use a waterproof pencil (twist-up, so the tip stays precise) or a waterproof gel — nothing creamy or non-setting.
- Gently pull the lower lid down slightly with a clean finger.
- Draw along the inner rim in one or two light passes. Less is more — you can build, but over-application migrates fast.
- For a softer effect, smudge a matching eyeshadow just under the lower lashes instead of (or as well as) lining the waterline itself.
Tightlining vs Waterline: Side-by-Side Comparison
| Tightlining (upper waterline) | Waterline liner (lower waterline) | |
|---|---|---|
| Location | Between the upper lash roots | Inner rim of the lower lid |
| Effect | Fuller-looking lashes, invisible definition | Drama, intensity, or (in nude) a wide-awake look |
| Look | Natural, undetectable | Noticeable, sultry or bold |
| Eye-size effect | Neutral to slightly enlarging | Black can make eyes look smaller; nude enlarges |
| Wear time | Long — protected by the lashes | Shorter — the wettest area, fades fastest |
| Difficulty | Medium (awkward angle at first) | Easy to apply, hard to keep put |
| Best formula | Waterproof pencil or gel | Waterproof pencil (twist-up) |
Which Technique Suits Your Eye Shape?
- Hooded eyes: Tightlining wins clearly. It defines the lash line from underneath the fold, so the effect survives where surface liner disappears. Lower waterline liner can work for evening looks but keep it minimal. See [the hooded-eyes liner guide → best-eyeliner-for-hooded-eyes] for the full routine.
- Deep-set eyes: Tightlining adds definition without using up precious visible lid space. Heavy lower waterline liner can make deep-set eyes recede further — use it sparingly.
- Round or large eyes: This shape carries lower waterline liner best — the drama suits the eye size, and the slight minimizing effect balances roundness. Tightlining works too, for daytime subtlety.
- Downturned eyes: Tightlining is the safer daily choice; it defines without dragging the eye down. If you line the lower waterline, keep it to the outer two-thirds and smudge it upward slightly.
- Almond eyes: Both techniques work. Tightlining for day, lower waterline liner for evening drama.
- Monolids: Tightlining adds lash definition that stays visible regardless of lid space; lower waterline liner in dark shades can define the lower lash area nicely for balanced looks.
Best Products for Each Technique
Both techniques demand waterproof formulas — the waterline is wet, and anything less migrates within the hour.
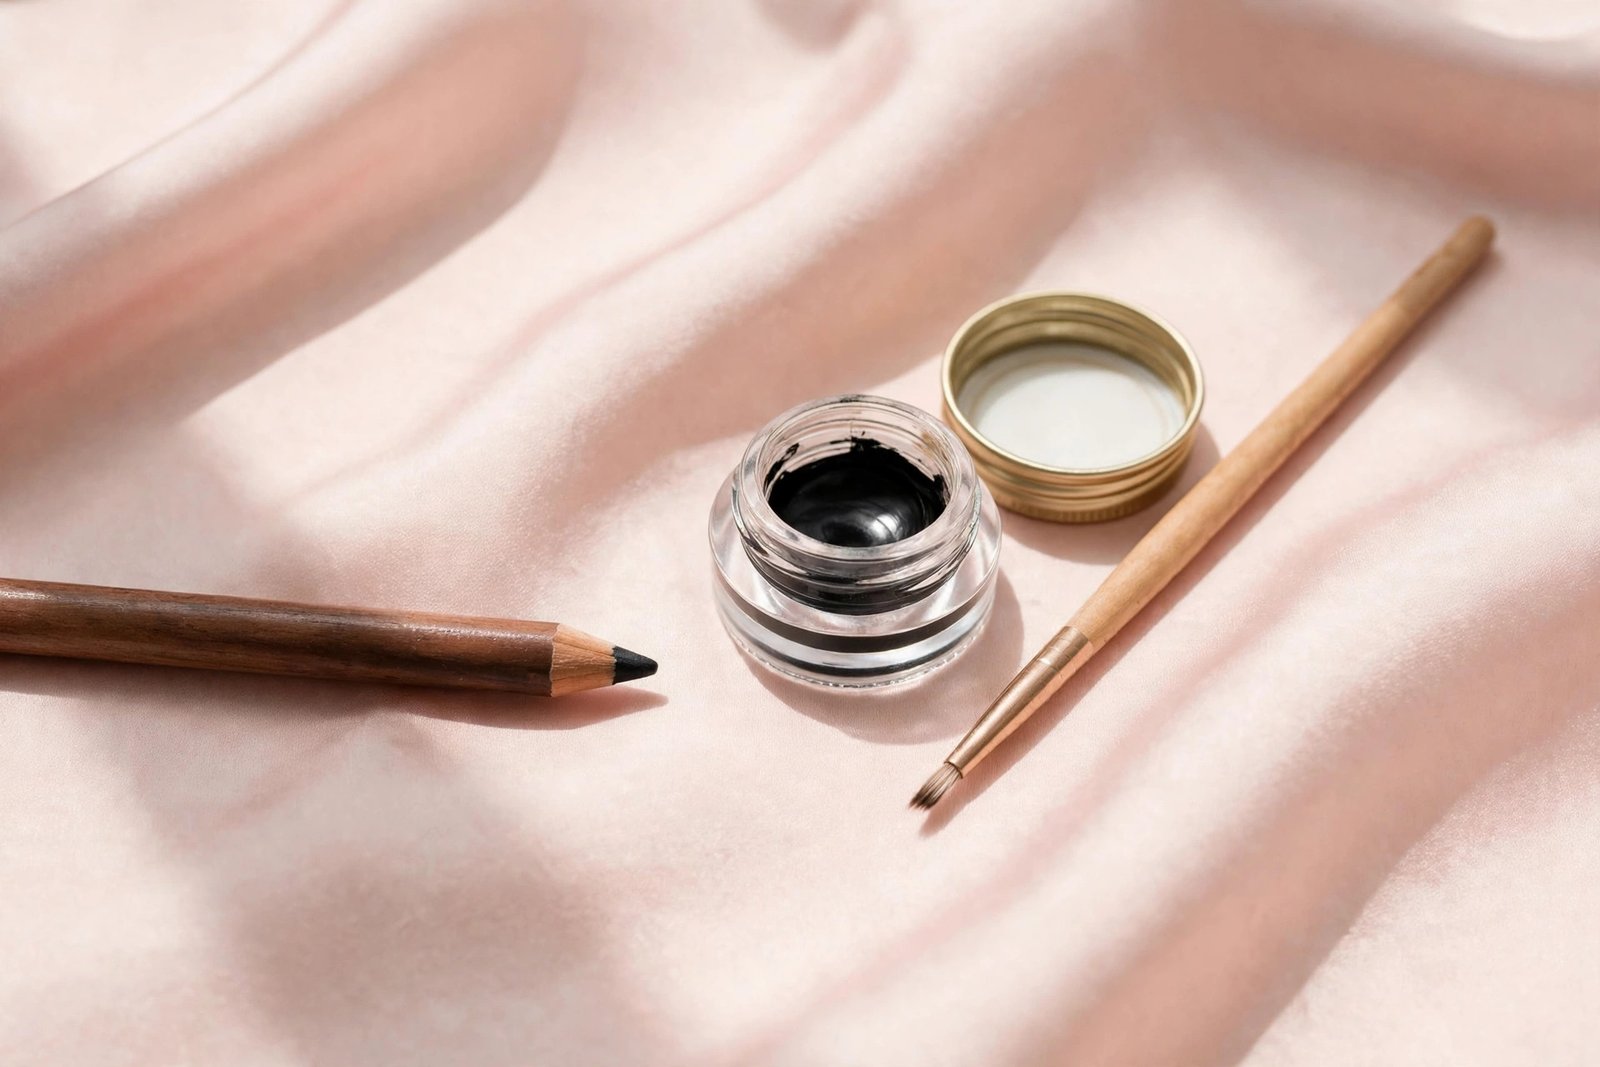
For tightlining: a waterproof twist-up pencil with a fine tip, or a gel liner applied with a small flat or angled brush. Gel gives the most precise lash-root fill; pencil is quicker. Dark brown reads softer for daytime; black gives maximum lash intensity.
For the lower waterline: a waterproof twist-up pencil is the practical choice — you want a fresh, precise tip every time, and twist-ups never need sharpening mid-routine. Kohl-style pencils marketed specifically as waterline-safe are ideal. For the wide-awake effect, a nude or flesh-toned waterproof pencil on the lower waterline is the classic trick.
What to avoid for both: creamy non-waterproof pencils, liquid liner (too wet, migrates badly, and stings if it reaches the eye), and any product past its prime — old eye products are a hygiene risk, especially this close to the eye.
Can You Do Both?
Yes — tightlining the upper waterline plus a soft lower waterline line is a classic combination for full definition, and it’s the base of most smoky eye looks. The key is balance: keep the tightlining as your anchor (it lasts), and treat the lower waterline as the adjustable element — black for drama, brown for softness, nude for brightness. If the lower waterline fades by evening (it often does), the tightlining still holds the look together.
One caution: doing both with heavy black can look harsh in daylight. For daytime, pair tightlining with either bare lower lids or a softly smudged shadow under the lower lashes instead of full waterline liner.
Safety and Hygiene for Waterline Liner
Liner goes closer to the actual eye here than anywhere else in makeup, so hygiene matters more:
- Never share eye liners. Eye infections transfer easily through shared eye products.
- Keep tips clean and fresh. Sharpen wood pencils before each waterline use; twist-up pencils should be wiped clean. Don’t use a pencil on the waterline that you’ve used elsewhere without cleaning it.
- Replace eye liners regularly. Every 3–6 months for products used on the waterline — old products accumulate bacteria.
- Stop if your eyes get irritated. Redness, itching, or watering after waterline application means that formula isn’t agreeing with your eyes — discontinue it. People with sensitive eyes or contact lenses should be especially selective and may prefer to skip the lower waterline entirely.
- Don’t apply waterline liner with an eye infection (or while recovering from one) — and throw out any liner used during an infection.
- Remove thoroughly at night. Waterproof waterline liner needs an oil-based or dual-phase remover; leftover residue along the waterline can irritate eyes overnight.
Optometrists generally advise keeping cosmetics from migrating into the eye itself, which is another reason waterproof, well-set formulas matter — they stay where you put them instead of traveling.
Frequently Asked Questions
Is tightlining the same as waterline eyeliner?
Not quite. Tightlining specifically means the upper waterline (between the upper lashes). “Waterline eyeliner” usually refers to the lower waterline (inner lower rim). They use similar products but create very different effects — invisible lash fullness versus visible drama.
Does tightlining make your lashes fall out?
There is no evidence that tightlining itself causes lash loss, but rough application can stress lashes. Be gentle — wiggle rather than drag — use clean products, and always remove liner thoroughly at night. Aggressive rubbing during removal is harder on lashes than the tightlining itself.
Why does my waterline eyeliner disappear so fast?
The lower waterline is constantly moist from tears, so even waterproof liner breaks down there faster than anywhere else. Waterproof twist-up pencils last longest; setting is nearly impossible on the waterline itself, so accept some fading and reapply for evening. If liner fading everywhere is the issue, [these anti-smudge techniques → how-to-stop-eyeliner-smudging] help.
Can I tightline with liquid eyeliner?
It’s not recommended. Liquid is too wet for the waterline — it migrates, can sting if it reaches the eye, and is hard to control in the lash roots. Waterproof pencil or gel with a fine brush are the right tools.
Which is better for small eyes, tightlining or waterline liner?
Tightlining. It defines without closing the eye off, and it can even make lashes look fuller, which opens the eye visually. Black lower waterline liner tends to make small eyes look smaller — if you want lower definition, use a softly smudged shadow under the lashes or a nude waterline pencil instead.
Tightlining and waterline liner aren’t rivals — they’re different tools. Tightlining is your everyday workhorse: invisible, flattering on every eye shape, and long-wearing. Lower waterline liner is your drama dial: powerful for evenings and smoky looks, with a shorter wear time and more maintenance. Learn both, and you can tune your eye definition to any occasion. For the broader picture, [the beginner’s eyeliner guide → eyeliner-guide-for-beginners] puts these techniques alongside wings, smoky liner, and formula choices.
beginner’s eyeliner guide
best eyeliner for hooded eyes
how to stop eyeliner smudging
winged eyeliner step-by-step
Love this? Pin it for later!