Beauty Blender vs Brush: Which Is Better for Foundation?
If you’re learning foundation application, one of the first questions you’ll hit is whether to use a damp makeup sponge or a foundation brush. Both tools can give you a flawless finish — but they work very differently, and the right choice depends on your foundation formula, your skin type, and the kind of coverage you want. This guide compares them side by side, so you can pick the tool that suits your routine. For the full picture on every brush in your kit, see the makeup brushes guide for beginners.
What Each Tool Does
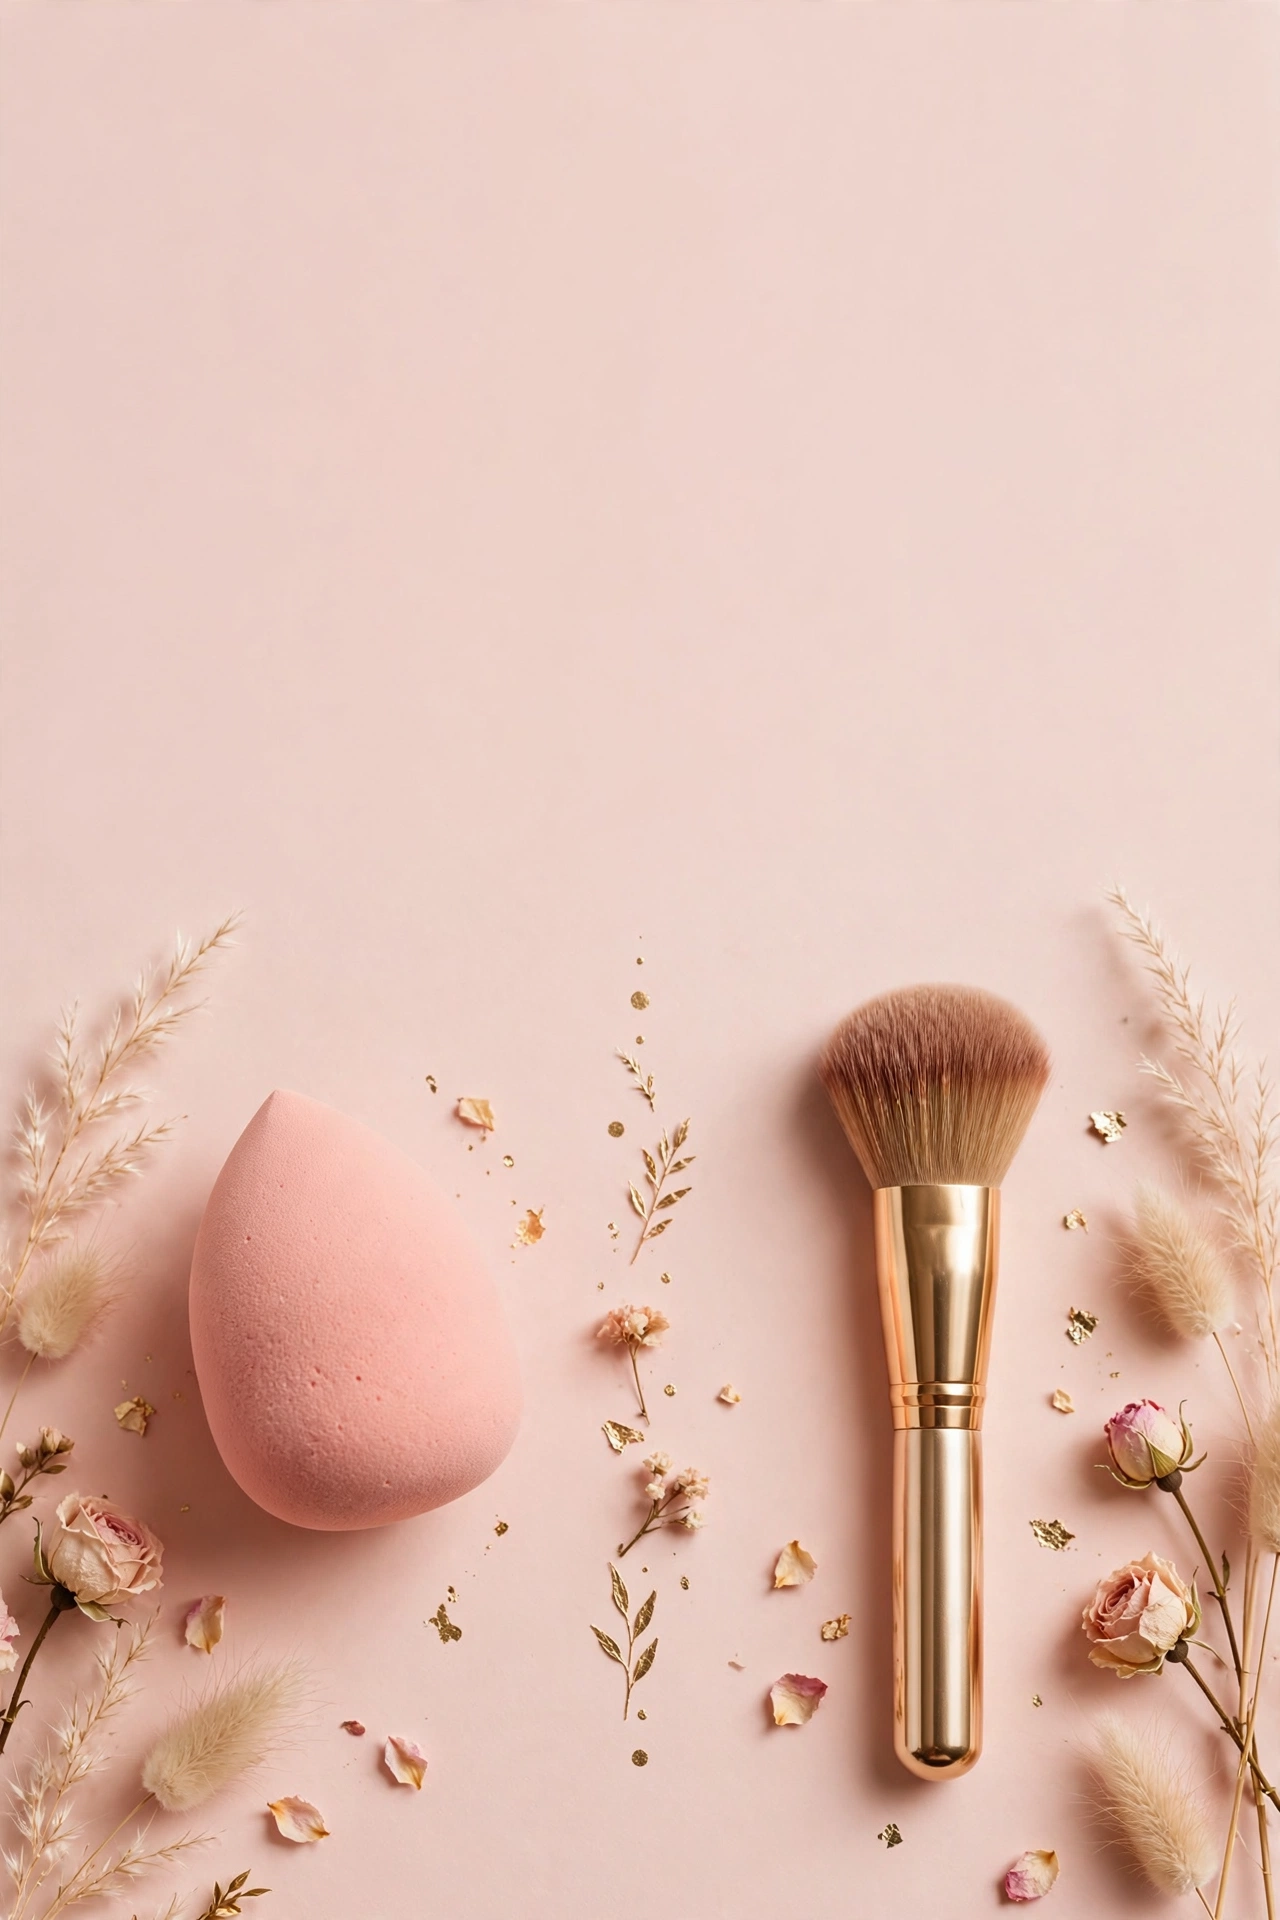
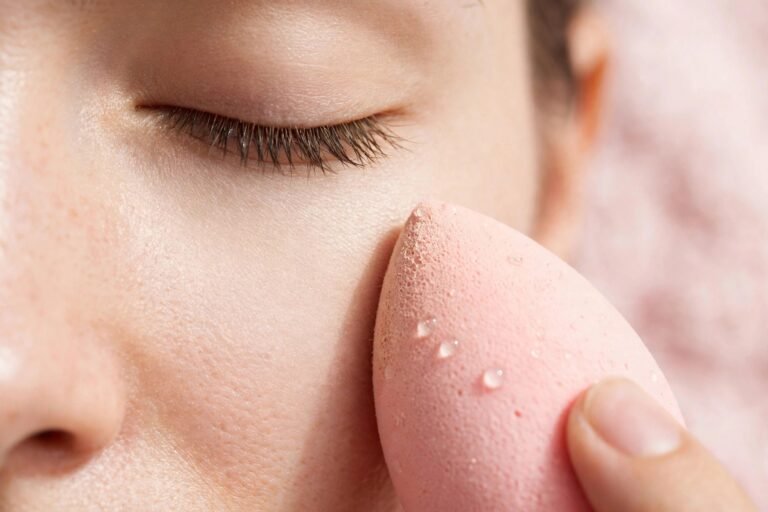
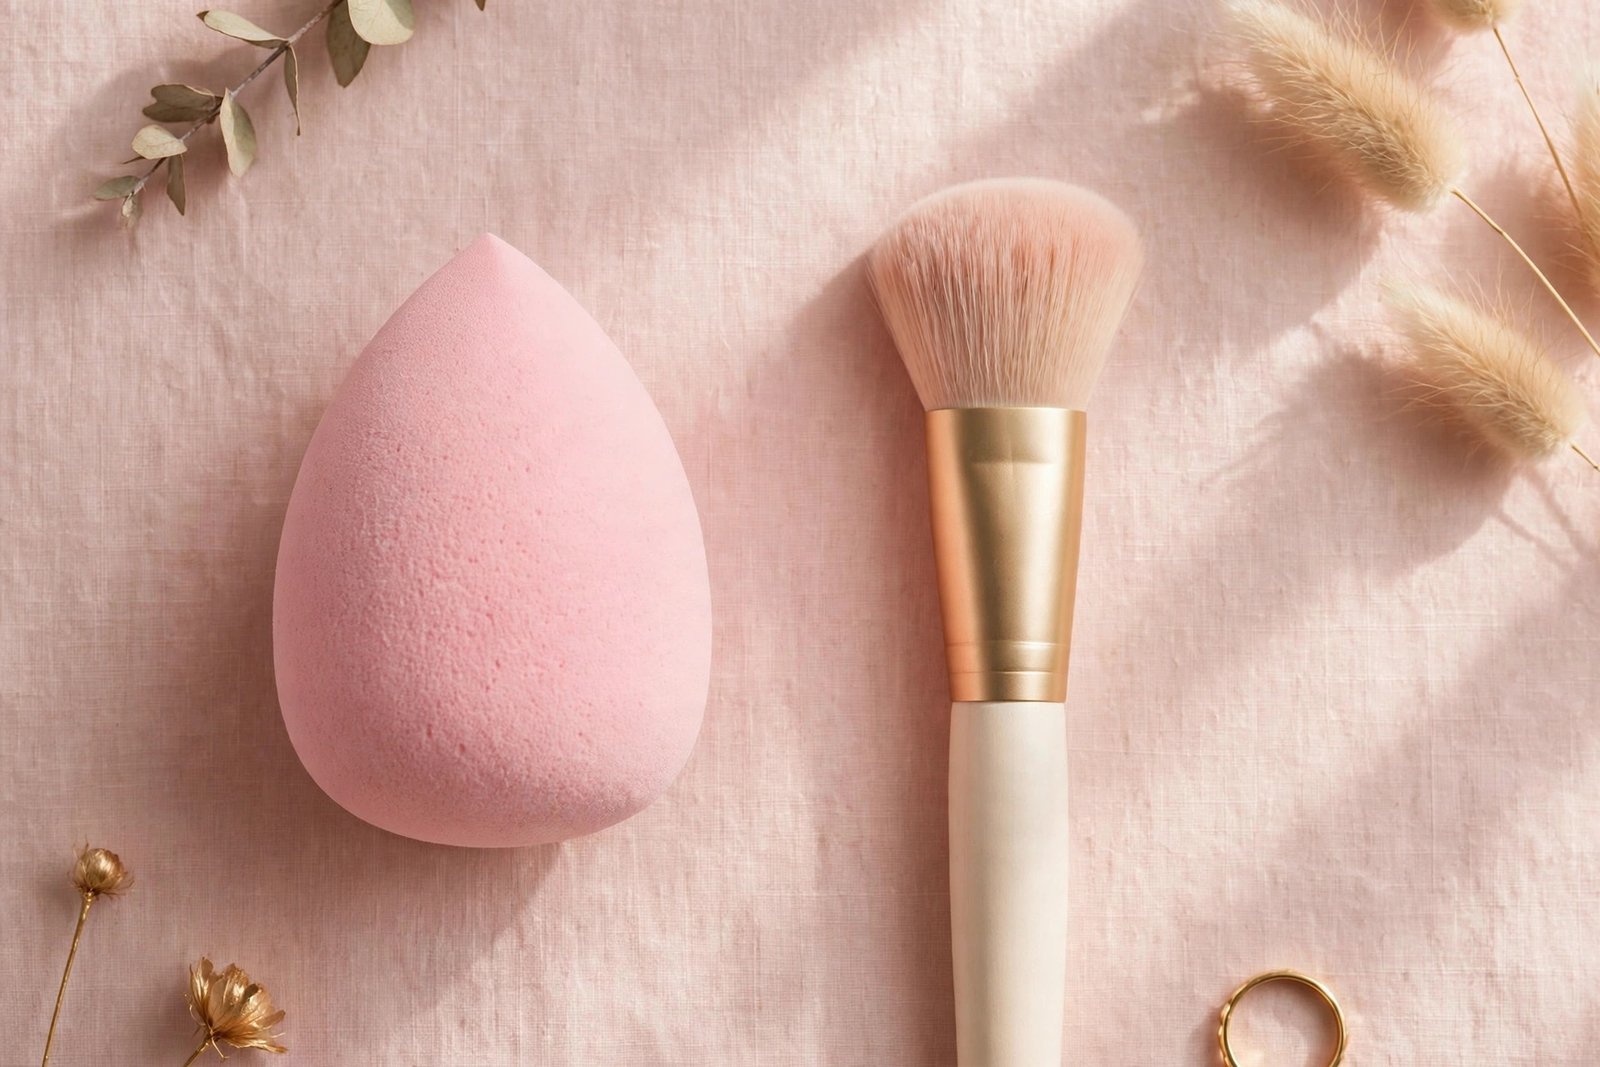
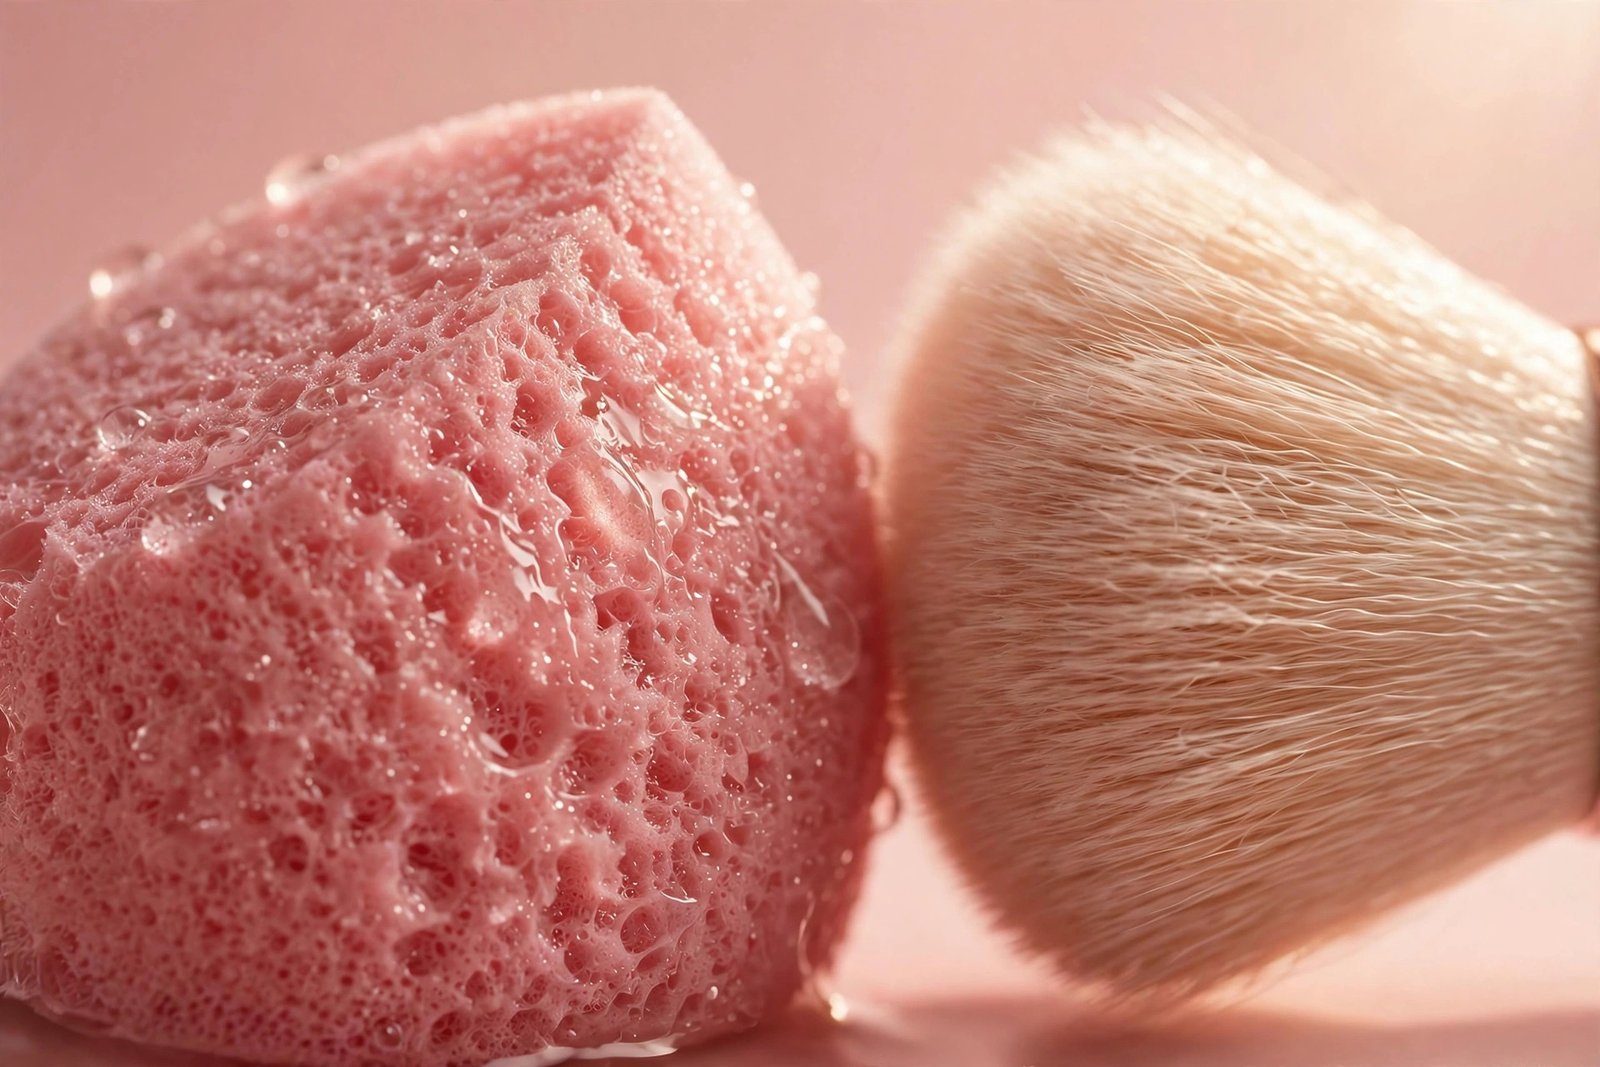
A makeup sponge (popularized by the original beautyblender) is a soft, latex-free foam tool used damp. You press and bounce — “stipple” — foundation into the skin rather than dragging it. The water in the sponge sheers out the product slightly as you blend, which is why sponge application tends to look soft and skin-like.
A foundation brush is usually a flat-topped or rounded kabuki-style brush with densely packed synthetic bristles. You apply foundation in strokes, circles, or buffing motions. Brushes move more product with each pass and let you build coverage faster.
Neither is universally “better.” Makeup artists use both daily — often on the same face. The real question is which one serves your foundation, skin, and skill level best.
Beauty Blender vs Makeup Brush: Head-to-Head Comparison
| Makeup Sponge | Foundation Brush | |
|---|---|---|
| Finish | Soft, natural, skin-like; sheers out product for a diffused look | More polished and even; can look airbrushed with buffing brushes |
| Coverage | Sheer to medium (sponge absorbs some product and waters it down) | Medium to full (transfers almost all product to skin) |
| Speed | Slower — bouncing takes more passes, plus dampening and squeezing time | Faster — covers large areas quickly, especially buffing brushes |
| Product waste | Higher — porous foam absorbs a noticeable amount of foundation | Lower — bristles transfer nearly all product to the face |
| Texture risk | Very low — stippling rarely creates streaks | Moderate — dragging motions can leave streaks or visible brush lines, especially with thin formulas |
| Best foundation formulas | Liquid, serum, and skin tints; also great for pressing in concealer | Liquid, cream, stick, and mineral powder formulas |
| Learning curve | Very forgiving — hard to over-apply; ideal for beginners | Slight learning curve — technique matters more to avoid streaks |
| Cleaning effort | Higher — foam holds onto product; needs thorough washing and drying time | Lower — solid soap or brush cleaner rinses out quickly, dries faster |
| Cost over time | Sponges wear out and should be replaced every 1–3 months | A quality synthetic brush lasts years with proper care |
| Hygiene | Must be cleaned after every use and fully dried; a damp sponge left wet can harbor bacteria | Clean weekly (or after each use for liquid foundation); less prone to bacterial growth |
When a Sponge Wins
A damp makeup sponge is the stronger choice in several situations:
- You want a natural, “second skin” finish. The stippling motion presses foundation into the skin instead of sitting it on top, which softens edges around the nose, jawline, and hairline.
- Your skin is dry or textured. Sponges don’t drag across dry patches or emphasize flakes the way brushes sometimes do. They press product in gently instead of buffing over texture.
- You’re a beginner. Sponges are extremely forgiving. It’s genuinely hard to make foundation look bad with a bouncing motion, which is why many beginners get better results with a sponge first.
- You wear sheer or light-coverage formulas. Skin tints, serum foundations, and tinted moisturizers blend beautifully with a sponge.
- You’re applying concealer under the eyes. The pointed tip of a teardrop sponge gets into the inner corner and blends cream concealer without tugging delicate skin.
- Your foundation looks cakey. Switching from a brush to a damp sponge is one of the fastest fixes for heavy-looking foundation — the water in the sponge sheers out excess product. If caking is an ongoing issue, also check why foundation looks cakey and how to fix it.
The main tradeoff: sponges absorb product. You’ll use more foundation per application than you would with a brush, and cheap sponges can soak up an alarming amount. Wetting and wringing the sponge out thoroughly before use minimizes (but doesn’t eliminate) absorption.
When a Brush Wins
A foundation brush pulls ahead in these cases:
- You want medium-to-full coverage. Brushes transfer nearly all the product to your skin, so one pump goes further and builds coverage faster. If you prefer a fuller-coverage base, a brush is the more efficient tool.
- You’re in a hurry. Buffing a liquid foundation across the face with a dense brush is genuinely faster than bouncing a sponge over every inch.
- You use stick, cream, or powder foundations. Sponges struggle with thicker stick and cream formulas (they drag and absorb too much), and they’re useless with mineral powder. Brushes handle every formula type.
- You want to use less product. If your foundation is expensive, a brush wastes far less of it. Over months, that adds up.
- You dislike damp tools. Some people simply prefer a dry, precise tool. Brushes also dry faster after washing and are easier to keep sanitary.
- You want precision. Flat foundation brushes and smaller buffing brushes give more control around the nose, eyes, and hairline than a chunky sponge.
The main tradeoff: technique matters. Streaks and visible brush lines are the most common brush complaint, especially with runny liquid formulas. The fix is usually to buff in small circles rather than painting in long strokes, and to finish with a light stippling motion or a final press with a sponge.
Can You Use Both? (The Pro Combo)
Absolutely — and many makeup artists do exactly this. The most common combination:
- Apply and build with a brush. Buff your foundation on quickly and evenly to get your base coverage.
- Finish with a damp sponge. Bounce the sponge over the whole face to press everything in, erase any brush lines, and soften the finish.
This gives you the speed and coverage of a brush with the seamless, skin-like finish of a sponge. It uses two tools and takes slightly longer, but for events, photos, or days when you want your base to look perfect, the combo is hard to beat.
A budget-friendly approach: keep one decent synthetic foundation brush for daily application and one affordable makeup sponge for finishing and concealer. That covers every scenario without a big investment.
How Technique Differs
Sponge technique:
1. Fully wet the sponge under running water, then squeeze it out until it’s damp — not dripping. It should roughly double in size.
2. Dot foundation onto your face (forehead, cheeks, nose, chin) or onto the back of your hand.
3. Bounce and press the sponge over your skin in a stippling motion. Don’t drag or rub.
4. Use the pointed end for the nose, under-eyes, and around the mouth; the round base for cheeks and forehead.
5. Build in thin layers — press, assess, then add a second layer only where you need more coverage.
Brush technique:
1. Dispense foundation onto the back of your hand, then pick up small amounts with the brush.
2. Start at the center of the face and work outward. Use short buffing strokes or small circular motions — avoid long painting strokes, which cause streaks.
3. Use less product than you think you need; you can always add more.
4. For extra seamlessness, finish by lightly bouncing a damp sponge over the face to melt away any brush lines.
Common mistakes with both: applying foundation to dry, unprepped skin (moisturizer and primer first make every tool work better), using too much product in one layer, and skipping tool cleaning. Dirty tools are a top cause of patchy, uneven application — here’s how to clean makeup brushes without ruining them.
Which Is Better for Beginners?
For most beginners, a damp sponge is the safer first tool. The bouncing technique is intuitive, it forgives mistakes, and it makes almost any foundation look natural. You don’t need to learn buffing motions or worry about streaks.
That said, if you already own a synthetic foundation brush — or you prefer fuller coverage — a brush is perfectly fine to start with. The learning curve is short: buff in circles, use light pressure, and finish with a sponge press if you see lines. The beginner’s guide to makeup brushes breaks down which brush shapes to start with and what each one is for.
Whichever you choose, remember the tool is only part of the equation. The foundation formula matters just as much — for example, the way a dewy formula like e.l.f. Halo Glow vs Maybelline Fit Me Dewy foundation applies and wears can differ noticeably between a sponge and a brush, so match your tool to your formula.
Frequently Asked Questions
Should the sponge be wet or dry when applying foundation?
Damp — never soaking wet and never bone dry. Run it under water, then squeeze out as much water as possible until it’s just damp and has expanded. A dripping sponge will water down your foundation and make it slide around; a dry sponge absorbs too much product and drags on the skin.
Does a beauty blender waste foundation?
Somewhat, yes. The porous foam absorbs a portion of whatever you apply — that’s the main downside of sponges. Wetting and wringing it thoroughly first reduces absorption, and dotting product on your face (rather than the sponge) helps too. If product waste bothers you, a brush is the more economical tool.
Can I use a makeup sponge with powder foundation?
Not effectively. Damp sponges are designed for liquid and cream products; pressing a wet sponge into powder foundation creates a patchy, cakey mess. Use a brush for powder formulas — a fluffy kabuki or powder brush works best.
How often should I replace my makeup sponge?
Every 1 to 3 months with regular use. Sponges break down, develop tears, and become harder to clean fully over time. If yours has cracks, won’t bounce back to shape, or still looks stained after washing, it’s time for a new one. Wash it after every use and let it dry completely in open air — never store it damp in a closed container.
Is an expensive beautyblender worth it over a cheap sponge?
The original beautyblender set the standard for a reason — the foam density and bounce are consistently good. But the gap has narrowed significantly, and many affordable dupes now perform very well. What matters most is technique (damp, wrung out, stippling motion) and replacing it regularly, not the brand name on the sponge.
Key Takeaways
- Sponges give a soft, natural, skin-like finish and are the most forgiving tool for beginners — but they absorb product and take longer.
- Brushes deliver fuller coverage faster, waste less product, and work with every formula type — but technique matters to avoid streaks.
- Match the tool to your goal: sponge for sheer/natural finishes and dry or textured skin; brush for full coverage, speed, and stick/cream/powder formulas.
- The pro combo — apply with a brush, finish with a damp sponge — gives you the best of both.
- Keep both tools clean: wash sponges after every use and brushes regularly, since dirty tools are a leading cause of patchy foundation.
- The right formula matters as much as the tool — choose your foundation and applicator as a pair, not separately.
Love this? Pin it for later!