Christmas Nail Designs: The Complete Holiday Guide
Few things signal the start of the holiday season quite like a fresh festive manicure. Christmas nail designs are one of the most searched beauty topics every December, and for good reason — your nails show up in every holiday photo, from holding a cocoa mug to unwrapping gifts. Whether you love classic candy-apple red or want to try the glazed chrome finishes trending on Pinterest, there is a Christmas nail design for every style, skill level, and budget.
This guide covers everything you need to plan your holiday manicure: the trending colors of the season, which nail shapes show off festive art best, how to decide between DIY and a salon appointment, a design gallery organized by difficulty, and the aftercare steps that keep your manicure chip-free through New Year’s. Consider this your one-stop reference for Christmas nails, with links to deeper tutorials on specific looks throughout.
If you are new to doing your own nails, start with the basics first. A solid nail care routine at home makes every design look better, and knowing how to make nail polish last longer will save your holiday manicure from chipping before the big day. For those ready to go beyond regular polish, doing gel nails at home gives you salon-level wear without the appointment.
Key Takeaways
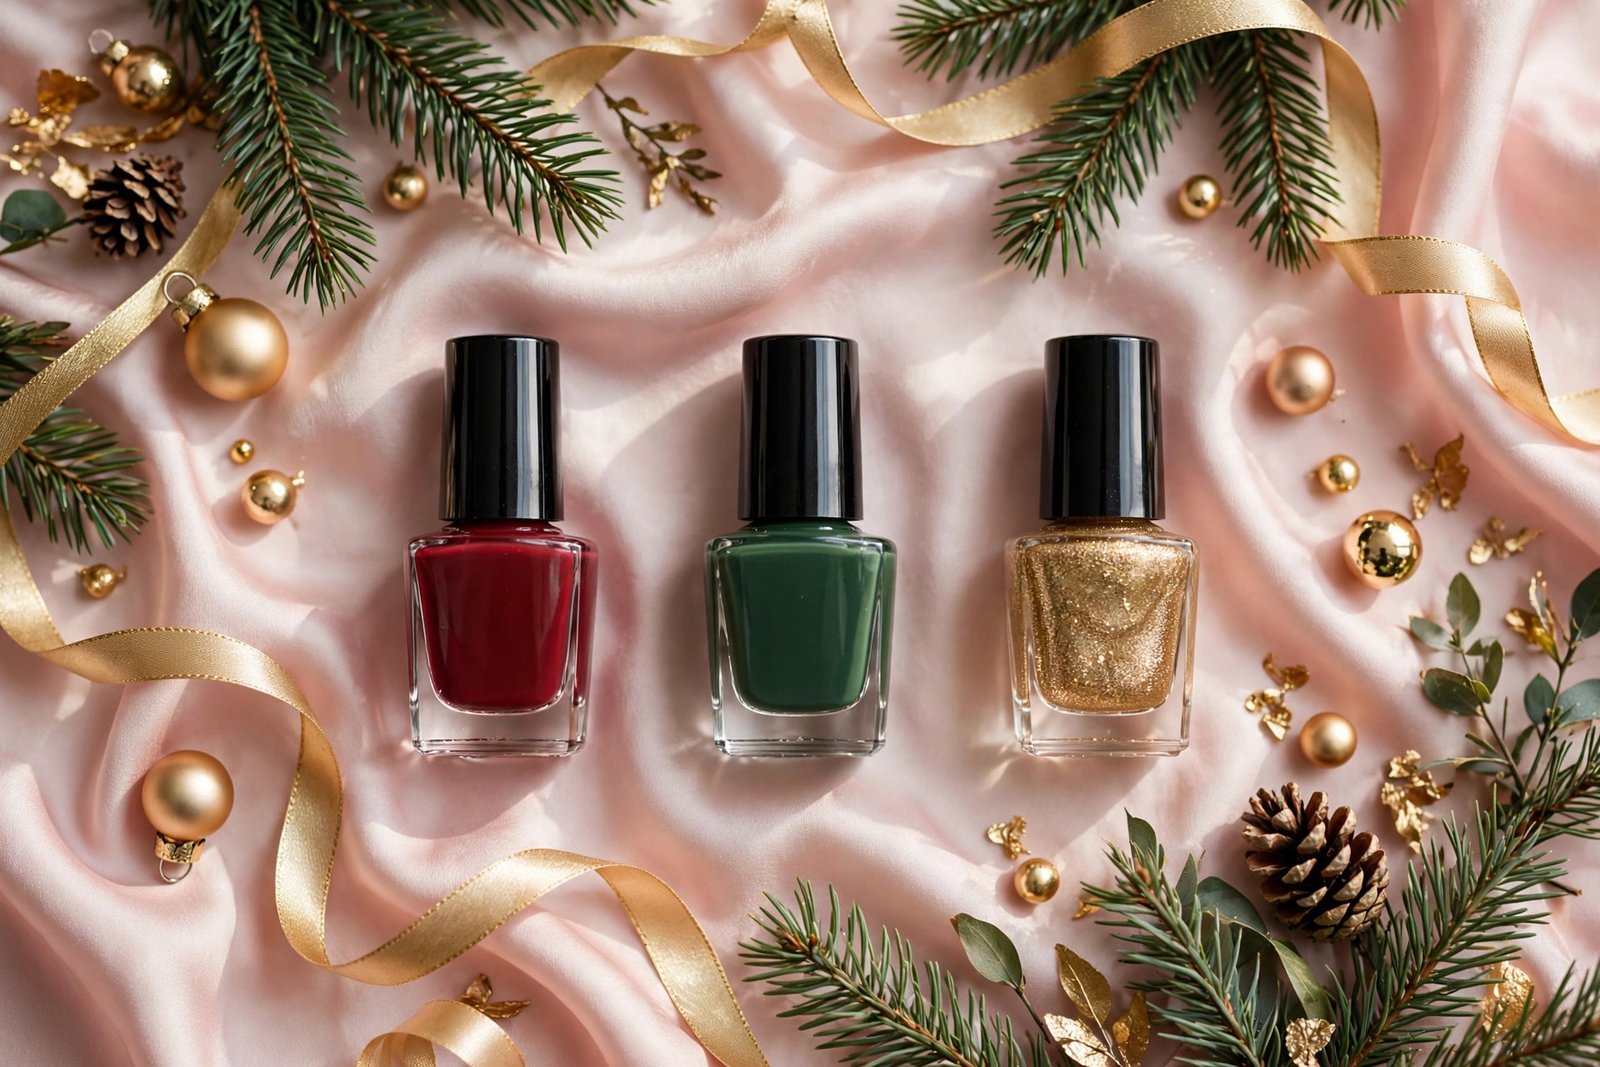
- Deep reds, forest greens, golds, and champagne tones are the core Christmas nail colors, with chrome and cat-eye finishes as the biggest 2026 trends.
- Almond and oval shapes flatter festive designs best, but short squoval nails are the most practical choice for busy holiday schedules.
- Beginners should start with solid colors, glitter accents, or nail stickers; intermediate designs include French twists and ombre; advanced looks include hand-painted trees and snowflakes.
- Gel polish or gel overlays last 2-3 weeks through holiday events, while regular polish needs a fresh top coat every few days.
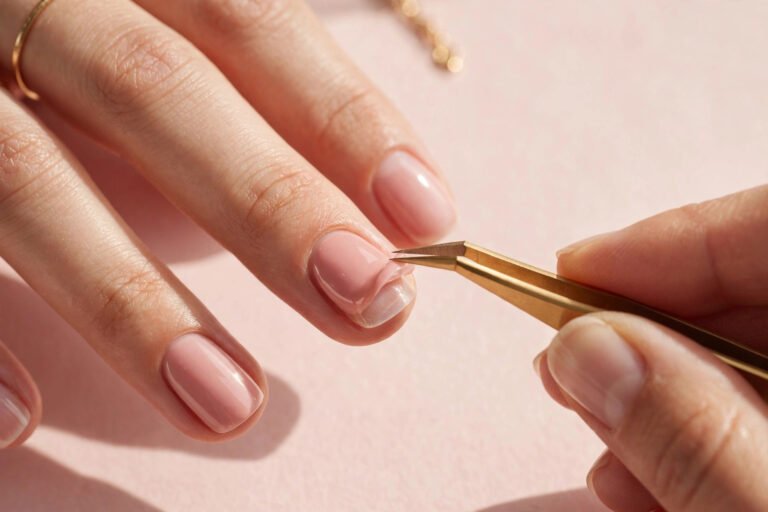
- Proper prep — pushing back cuticles, dehydrating the nail plate, and capping the free edge — matters more than the brand of polish you use.
- Cap every manicure with cuticle oil daily to prevent winter dryness from causing chips and peeling.
Trending Holiday Nail Colors
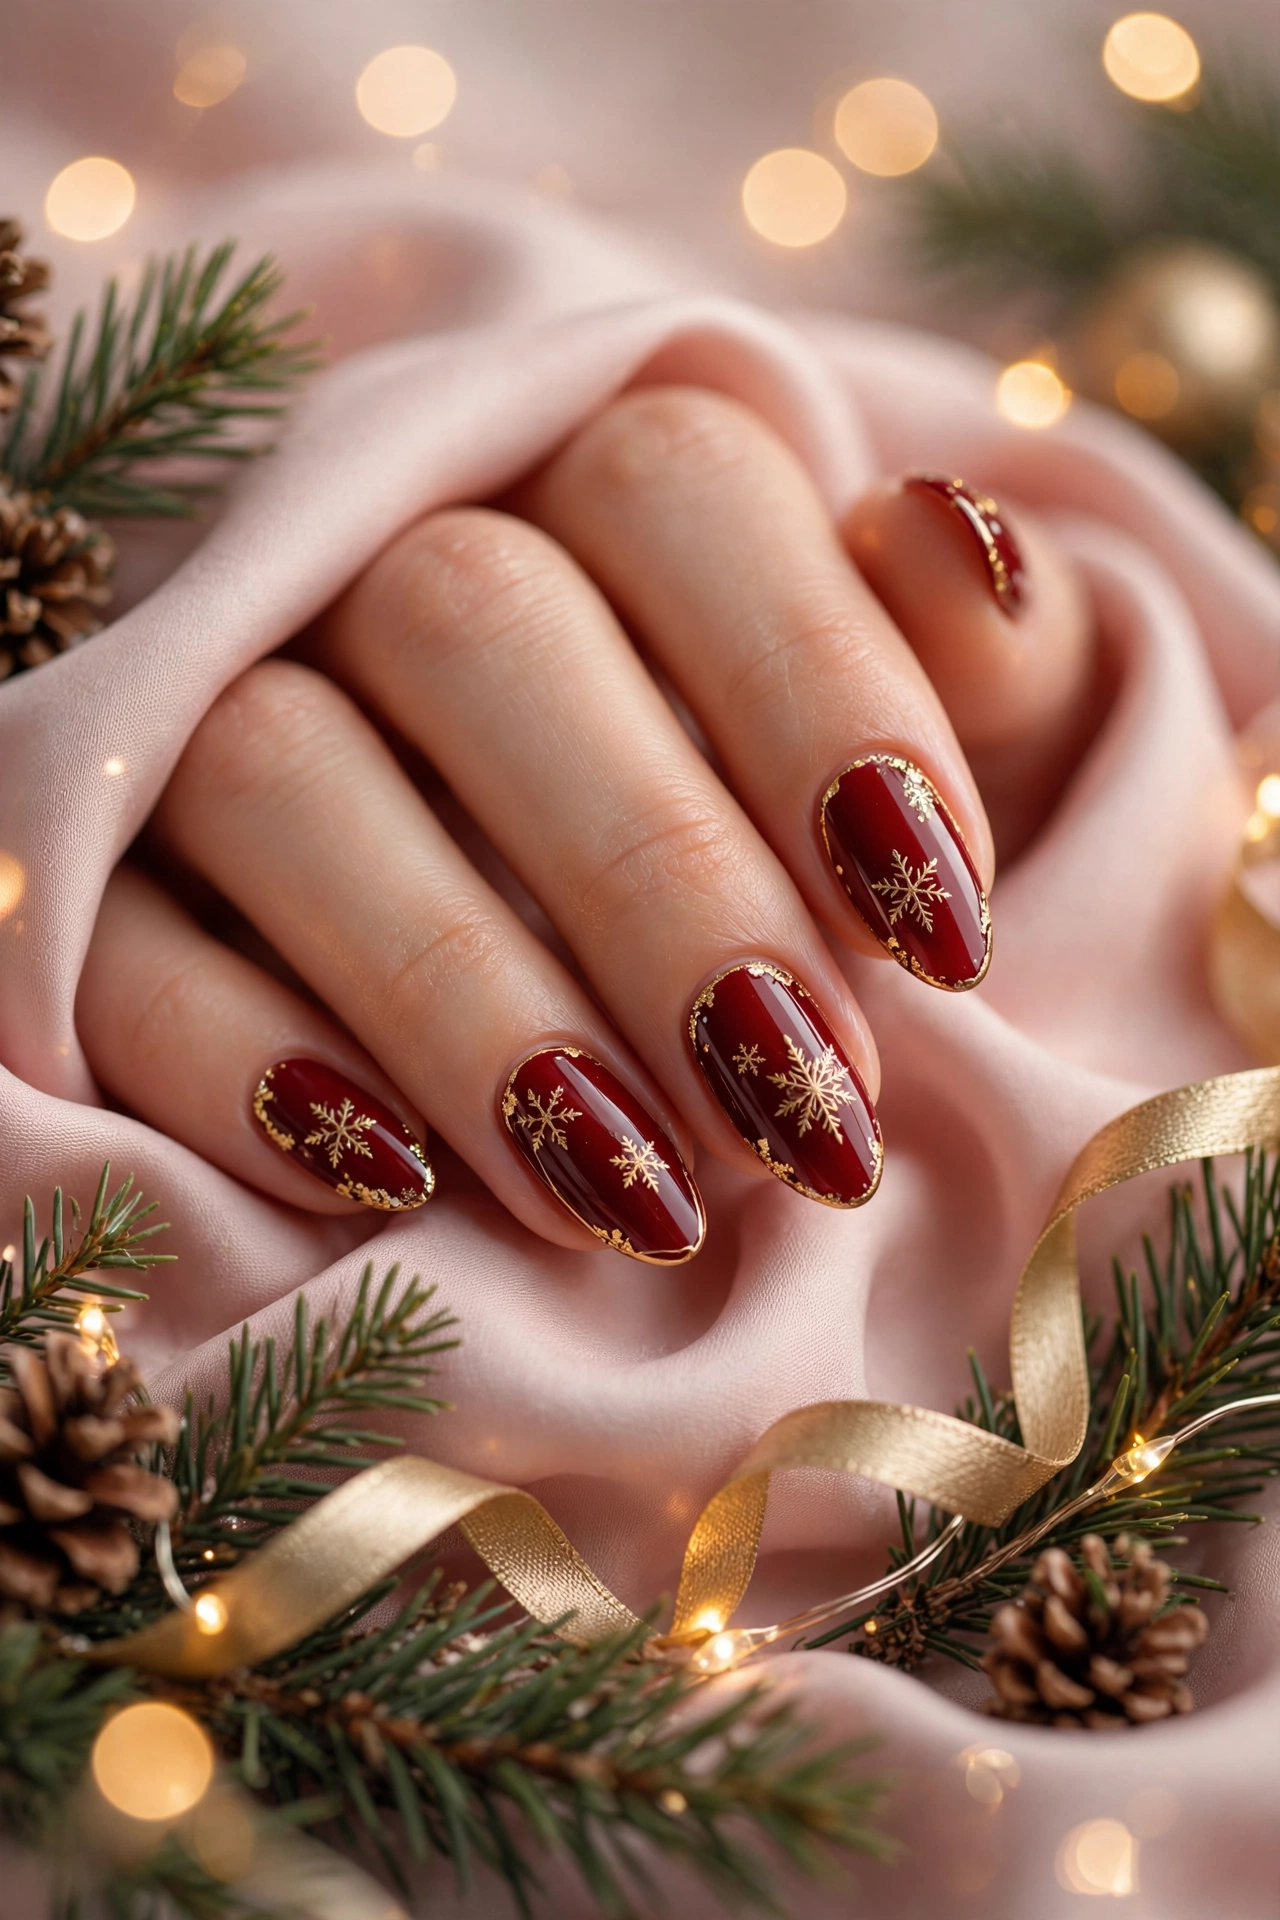
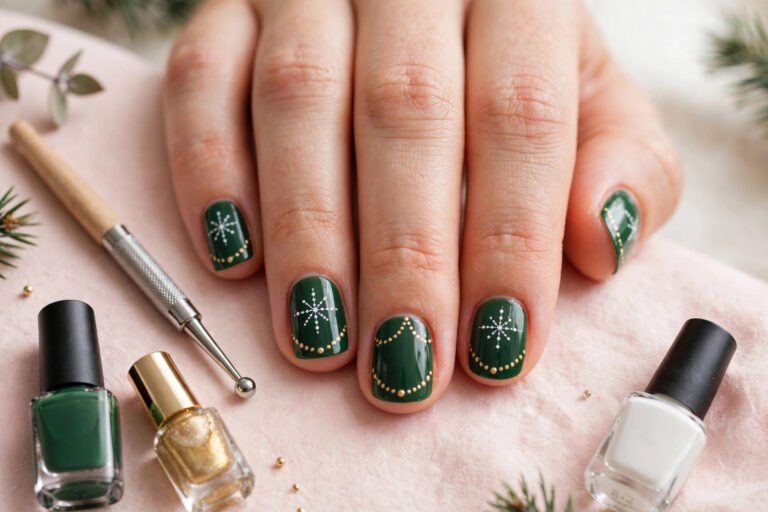
Every Christmas season has its signature palette, and 2026 is no exception. The classics never leave: a rich, blue-based red reads instantly festive and suits nearly every skin tone, while deep forest and emerald greens feel elegant without being costume-like. These two colors remain the backbone of Christmas nail designs because they pair with everything in a holiday wardrobe, from cozy knits to cocktail dresses.
Beyond the classics, metallics are having a major moment. Gold chrome, champagne shimmer, and rose-gold foils dominate Pinterest boards this year, offering a festive look that transitions seamlessly from Christmas dinner to New Year’s Eve. Silver chrome reads cooler and more modern, pairing beautifully with jewel tones and black outfits. For a deeper dive into the metallic trend, see the guide to chrome Christmas nails.
Dark, moody shades are the sleeper hit of the season. Oxblood burgundy, deep plum, and midnight navy give a luxurious feel that works for both office holiday parties and formal events. These shades look especially striking in a glossy gel finish and flatter longer nail shapes. If red is your comfort zone but you want something richer, oxblood is the perfect step sideways — the full breakdown of shades is in red Christmas nail designs.
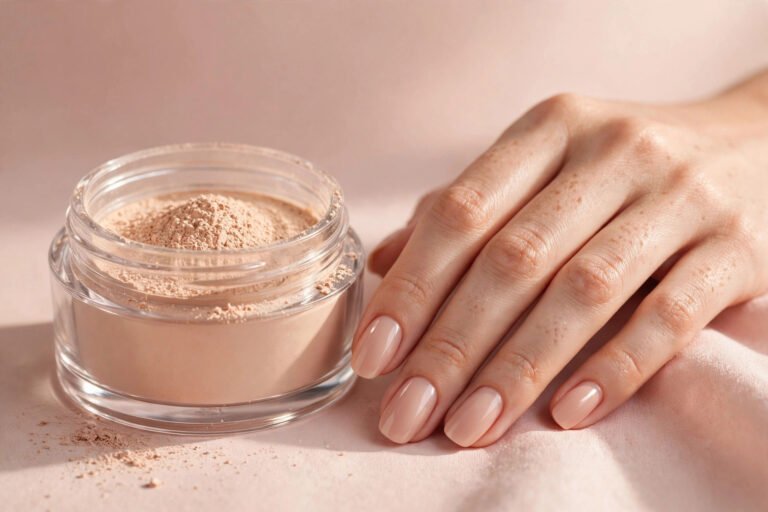
For minimalists, the “quiet luxury” trend continues with sheer milky whites, soft nudes with a hint of shimmer, and the glazed-donut finish that adds dimension without color. A sheer nude base with a single gold accent nail or a delicate snowflake decal gives a nod to the season without full holiday commitment. These understated looks are also the most workplace-friendly option during December.
Nail Shapes That Suit Festive Designs
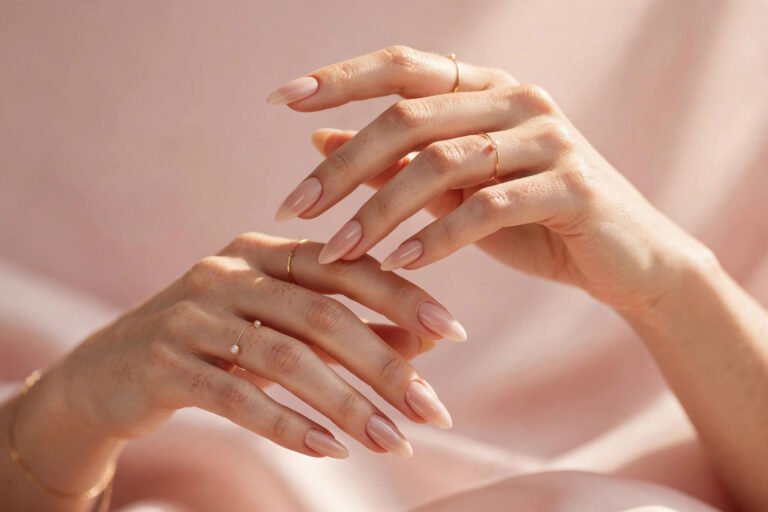
The shape of your nails changes how every Christmas design reads. Almond and oval shapes are the most flattering for holiday nail art because their elongated silhouette gives intricate designs — snowflakes, tiny trees, plaid patterns — room to breathe. If you are getting hand-painted art at a salon, almond is the shape most nail artists recommend for detailed work.
Coffin and ballerina shapes make a bold statement and suit dramatic holiday looks like deep red with gold chrome tips or full glitter coverage. Keep in mind that longer lengths are more prone to breakage during the busy holiday season, when you are wrapping gifts, cooking, and decorating. If you love the look but not the maintenance, consider press-ons in a coffin shape for events only.
Short nails deserve more credit than they get. A neat squoval (square with softened corners) or short oval is practical, chip-resistant, and looks incredibly chic in a single festive color. Short nails are also the best canvas for beginners attempting their first holiday designs — less surface area means less room for mistakes. The guide to choosing the best nail shape for your hands can help you decide based on your finger length and nail beds.
Square shapes work well for French manicure variations with a holiday twist, like deep red tips or gold chrome tips on a nude base. The straight edge gives French tips a crisp, clean line that is harder to achieve on very rounded shapes.
DIY vs Salon: Which Route Should You Take?
Deciding whether to do your Christmas nails yourself or book a salon appointment comes down to three factors: the complexity of the design, how long you need it to last, and your budget.
Choose DIY when you want solid colors, glitter polish, simple accent nails, or sticker and decal designs. Modern gel-polish home kits have made salon-quality wear achievable at home — a full tutorial on gel nails at home walks through the process step by step. DIY is also ideal when you like changing your manicure between events, since you can redo a look the night before a party. If you are just starting out, nail art designs for beginners covers the foundational techniques.
Choose the salon for hand-painted art (detailed snowflakes, portraits, 3D elements), sculpted extensions, or chrome powder application over hard gel — chrome adheres best and lasts longest over a professional gel base. A salon visit 3-5 days before Christmas gives the manicure time to settle while still looking fresh for the holiday. Book early: the week before Christmas is the busiest time of year for nail salons, and prime evening slots go fast.
A hybrid approach works well for many people: get a professional gel base in a versatile color, then add your own holiday decals, glitter gradients, or hand-painted accents at home as events approach. You get longevity plus flexibility.
Cost-wise, a DIY gel kit pays for itself after two to three uses compared to salon gel manicures. But factor in the learning curve — your first at-home gel manicure takes considerably longer than a salon visit, so practice before the week of Christmas.
Design Gallery: Ideas by Difficulty Level
Beginner-Friendly Designs
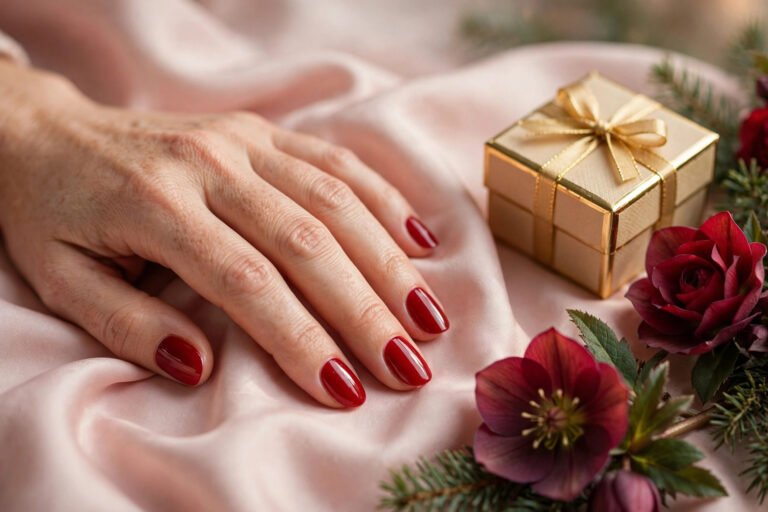
Classic solid red. One rich red cream polish, two coats, glossy top coat. Timeless, foolproof, and appropriate for every occasion. Choose a blue-based red for a classic Christmas feel.
Glitter accent nail. Paint all nails in a solid base color (deep green, burgundy, or nude), then apply a gold or silver glitter polish to one or two accent nails per hand — usually the ring finger. Glitter polish is forgiving because its texture hides imperfections.
Nail stickers and decals. Water-slide decals and adhesive stickers have improved dramatically. Apply over a dry base color, seal with top coat, and you have snowflakes, stars, or tiny trees with zero painting skill required. This is the fastest route to intricate-looking holiday nails.
Dotting-tool polka dots. Using a dotting tool or the end of a bobby pin, dot white polish over a red or green base for a falling-snow effect. Vary the dot sizes for a natural look. Full technique details are in the easy holiday nail art for beginners guide.
Intermediate Designs
Holiday French twist. Replace classic white tips with deep red, forest green, or gold chrome tips over a nude base. The technique is the same as a regular French manicure — the French manicure step-by-step tutorial covers the method — but the festive color swap makes it holiday-ready.
Glitter ombre gradient. Apply a solid base color, then sponge or brush glitter polish from the tip downward, fading toward the cuticle. Gold glitter over deep red and silver glitter over navy are classic combinations. Two thin glitter layers look smoother than one thick one.
Plaid and tartan patterns. Using a striping brush or thin nail art brush, paint crisscrossing lines in red, green, gold, and white over a nude or cream base. Buffalo plaid (red and black checks) is the easiest version and reads instantly festive.
Candy cane stripes. Diagonal red and white stripes over a white base. Use striping tape for crisp lines, or freehand with a thin brush if you have a steady hand. Seal generously with top coat since stripes sit on the surface.
Advanced Designs
Hand-painted Christmas trees. A triangle of green polish with a dotting-tool garland, a gold star on top, and tiny dot ornaments. This requires a steady hand and thin brushes, but it is the quintessential Christmas nail art.
Intricate snowflakes. Fine white lines radiating from a center point, built up with a detail brush. Snowflakes look best on a dark base — navy, deep plum, or black — where the white detail pops.
3D elements and charms. Tiny bows, pearls, or rhinestones applied with nail glue over gel. Beautiful for Christmas Day itself, though 3D elements catch on things and rarely last more than a few days.
Sweater-knit texture. A matte top coat over a cable-knit pattern painted or stamped in the same color as the base creates a cozy 3D sweater effect. Stamping plates make this far more achievable than freehand painting.
Chrome, Glitter, and Special Finishes
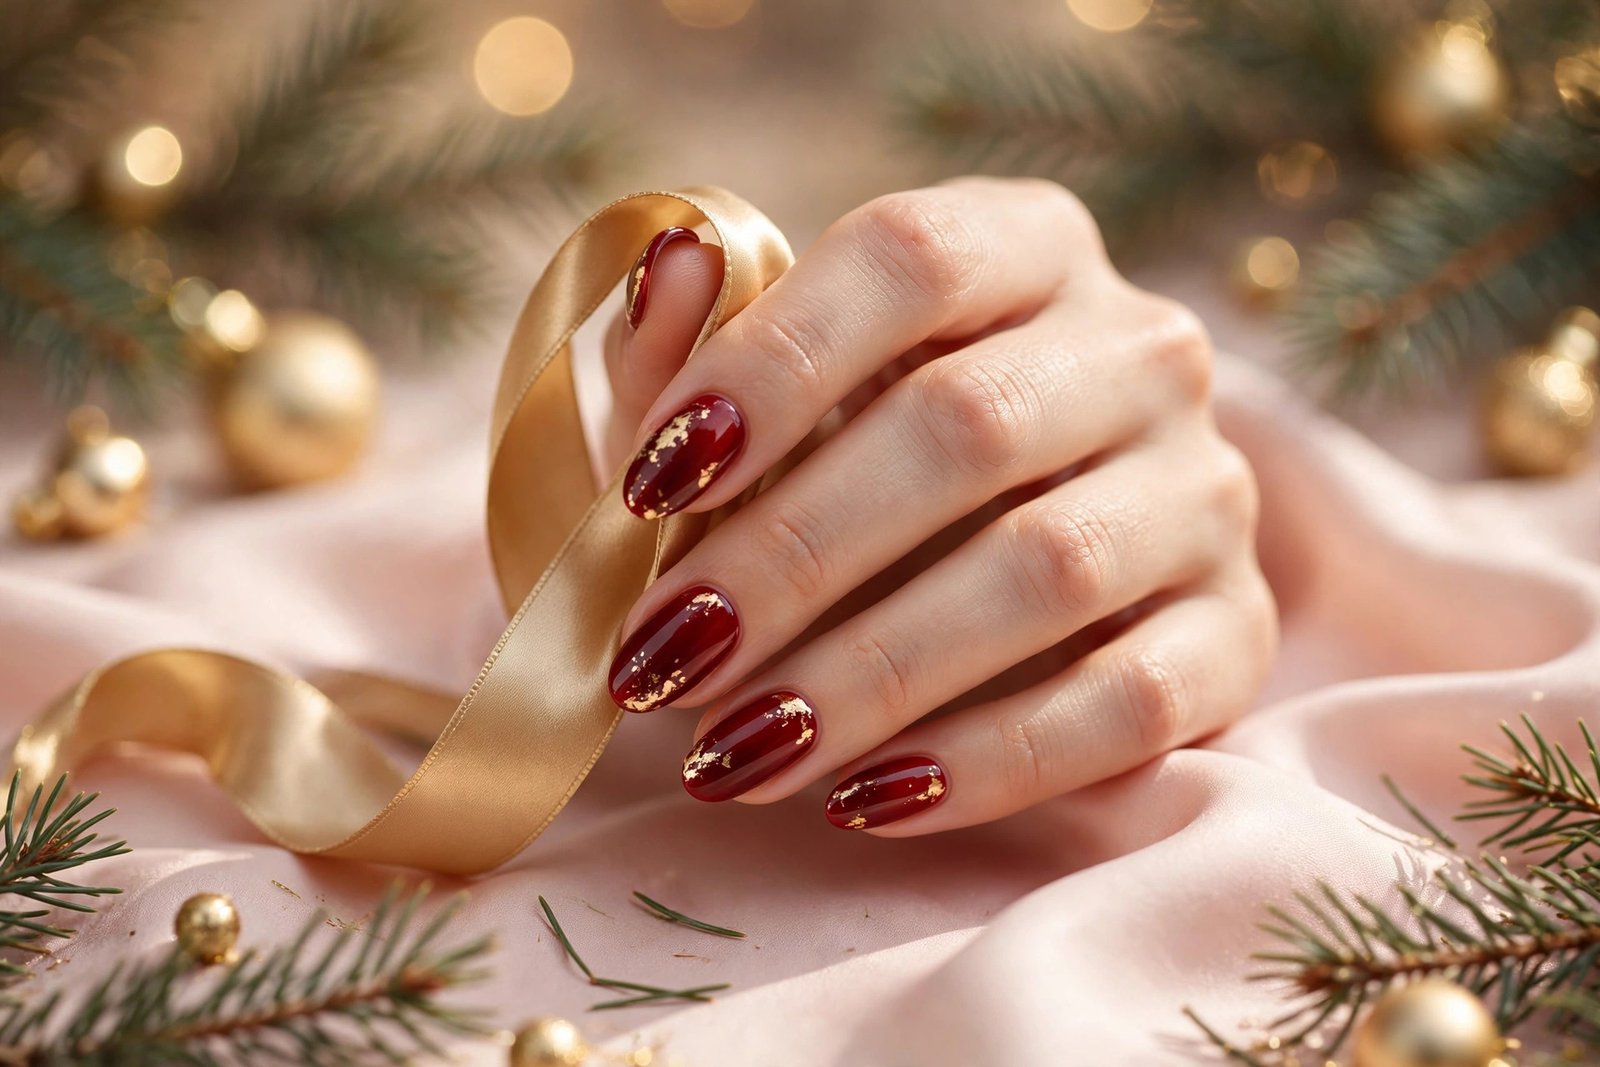
The finish you choose can matter as much as the color. Chrome powder — rubbed over a gel base and sealed with top coat — gives a mirror-like metallic effect that regular metallic polish cannot match. Gold and red chrome are the definitive Christmas choices, and the technique is covered in depth in chrome Christmas nails.
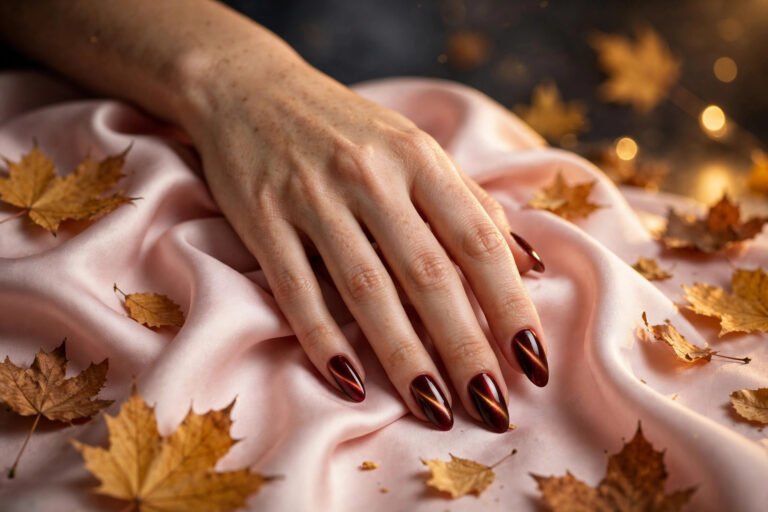
Cat-eye magnetic polish creates a shifting light band across the nail using a magnet held over wet polish. Deep red and green cat-eye shades look like glowing embers — festive without any art skills. If you already own the magnetic polish from fall, it carries beautifully into the holiday season; the cat-eye nails tutorial explains the magnet technique.
Glitter placement has evolved beyond full-coverage sparkle. Try a glitter fade at the tips, a thin glitter line along the cuticle (a “glitter smile line”), or glitter mixed into a French tip. These restrained uses of glitter feel modern and grow out gracefully.
Velvet and magnetic velvet finishes, where tiny shimmer particles create a plush fabric-like effect, are trending for winter. A deep green or burgundy velvet manicure looks expensive and needs no additional art.
Matte top coats transform any Christmas color into something moodier — matte deep red is a completely different look from its glossy twin. Try matte on all nails with one glossy accent nail for contrast, or add glossy top coat just to the tips for a subtle French effect.
Aftercare: Make Your Holiday Manicure Last
Christmas manicures face more abuse than usual: gift wrapping, cooking, cleaning, cold dry air, and hot water from endless dishwashing. A few aftercare habits make the difference between a manicure that lasts until New Year and one that chips by December 27th.
Apply cuticle oil daily — this is the single most effective habit. Winter air dehydrates the nail plate, causing polish to lift at the edges. Keep a cuticle oil pen in your bag and use it at least once a day, ideally before bed so it absorbs overnight.
Wear gloves for dishes and cleaning. Hot water and detergents are the fastest way to kill a manicure, causing both chipping and peeling. If you would not put your hands in it bare, do not put your manicure in it either.
Reapply top coat every 2-3 days. A fresh layer of top coat reseals the free edge — the tip of the nail where chips start — and restores shine. This one step can extend a regular polish manicure by a full week.
File, do not clip, when snags happen. If a nail snags, gently file it smooth rather than clipping, which can crack gel or cause polish to lift further. Keep a glass nail file in your purse for emergencies.
For gel manicures, never peel. Peeling gel off takes layers of your natural nail with it, leaving nails thin and weak for months. If lifting starts, either have it professionally removed or follow a safe soak-off method — the guide to removing gel nails safely at home covers the proper technique. And if your polish keeps failing early, why gel nails peel off troubleshoots the common causes.
Holiday Nail Mistakes Worth Avoiding
A few common missteps can undermine an otherwise great Christmas manicure. The biggest is skipping base coat, especially with red and dark polishes — the pigments stain natural nails, leaving a pink or yellow tint that takes weeks to grow out. Base coat takes thirty seconds and prevents the problem entirely.
Another frequent mistake is applying glitter or art over a base that is not fully dry. Rushing layers causes dragging, smudging, and bubbles that no top coat can hide. If you are short on time, choose a simpler design executed well over an ambitious one done hastily — a flawless solid red always beats a smudged snowflake scene.
Over-filing the nail surface during prep is a quieter problem. Aggressive buffing thins the nail plate, which leads to peeling and breakage in the weeks after the holidays. A gentle once-over to remove shine is all that is needed; the nail should never feel thin or sore afterward.
Finally, avoid cutting cuticles before a holiday manicure. Nicks and micro-cuts around the nail bed are entry points for infection, and they also make polish application messier since the cleanup brush catches on ragged skin. Push cuticles back gently after softening them instead — the detailed guidance on whether to cut cuticles explains why most nail professionals recommend leaving them alone.
Frequently Asked Questions
How far in advance should I do my Christmas nails?
For gel polish, 3-5 days before Christmas is ideal — the manicure looks fresh but has settled past the ultra-shiny day-one stage. For regular polish, do them 1-2 days before, since regular polish starts showing wear within days. If you are doing them yourself, practice the design at least a week earlier so Christmas Eve is not your first attempt.
What is the most popular Christmas nail color?
Classic red remains the most popular Christmas nail color year after year, followed by deep greens and golds. In 2026, chrome finishes in gold and champagne are the fastest-growing trend, and dark shades like oxblood and midnight navy are gaining ground as sophisticated alternatives.
Can I do Christmas nail art on short nails?
Absolutely. Short nails suit solid festive colors, glitter accents, French twists, and simple dotting-tool designs like snow dots. Stick to smaller-scale art — one snowflake per nail rather than a full scene — and keep lines thin. Short squoval or oval shapes give you the most usable nail bed for art.
How long do Christmas gel nails last?
A well-applied gel manicure lasts 2-3 weeks, which comfortably covers the stretch from mid-December through New Year’s. Longevity depends heavily on prep: dehydrating the nail plate, capping the free edge, and avoiding cuticle flooding. Daily cuticle oil and gloves for housework extend wear noticeably.
Are press-on nails good for Christmas?
Press-ons are excellent for Christmas, especially for last-minute plans or one-event wear. Modern press-ons in almond and coffin shapes look remarkably natural, and holiday-specific designs with art already applied save all the painting work. With proper prep (dehydrating and the right glue), they last 1-2 weeks. They are also the best option if you want dramatic length just for Christmas Day.
What nail designs work for both Christmas and New Year’s Eve?
Metallics are the crossover champions: gold chrome, champagne shimmer, and silver glitter work for both holidays. Deep burgundy, black with gold accents, and nude with metallic tips also transition seamlessly. Avoid overtly Christmas-specific motifs (trees, Santa, reindeer) if you want the manicure to last into January — for NYE-specific inspiration, see New Year’s Eve nail ideas.
Christmas nails are one of the simplest ways to get into the holiday spirit — a small detail that shows up in every festive moment. Start with your color and finish, pick a design that matches your skill level honestly, and give yourself enough time before the big day to enjoy the process rather than rush it. However you celebrate, your manicure will be ready for every photo, toast, and gift exchange the season brings.
Love this? Pin it for later!