Easy Holiday Nail Art for Beginners
Holiday nail art looks intimidating — those tiny hand-painted trees and perfect snowflakes seem to require professional training. They do not. With a dotting tool, some striping tape, and a sheet of nail stickers, beginners can create genuinely festive designs that look far more skilled than they are. The secret is choosing techniques that work with shaky hands rather than against them: dots instead of lines, tape instead of freehand, stickers instead of painting.
This guide walks through five beginner-friendly holiday designs with full step-by-step instructions, plus the tools and troubleshooting tips that make first attempts successful. For the bigger holiday picture, see the complete Christmas nail designs guide.
Key Takeaways
- A dotting tool (or bobby pin) is the single most useful beginner nail art tool — dots make trees, snowflakes, ornaments, and snowfall.
- Striping tape creates crisp lines for candy canes and plaid without any freehand skill.
- Nail stickers and water decals give intricate-looking results with zero painting.
- Work on one nail at a time for art, keep polish thin, and clean up mistakes while wet.
- Every design here uses only drugstore-available tools — no professional equipment needed.
Your Beginner Holiday Nail Art Toolkit
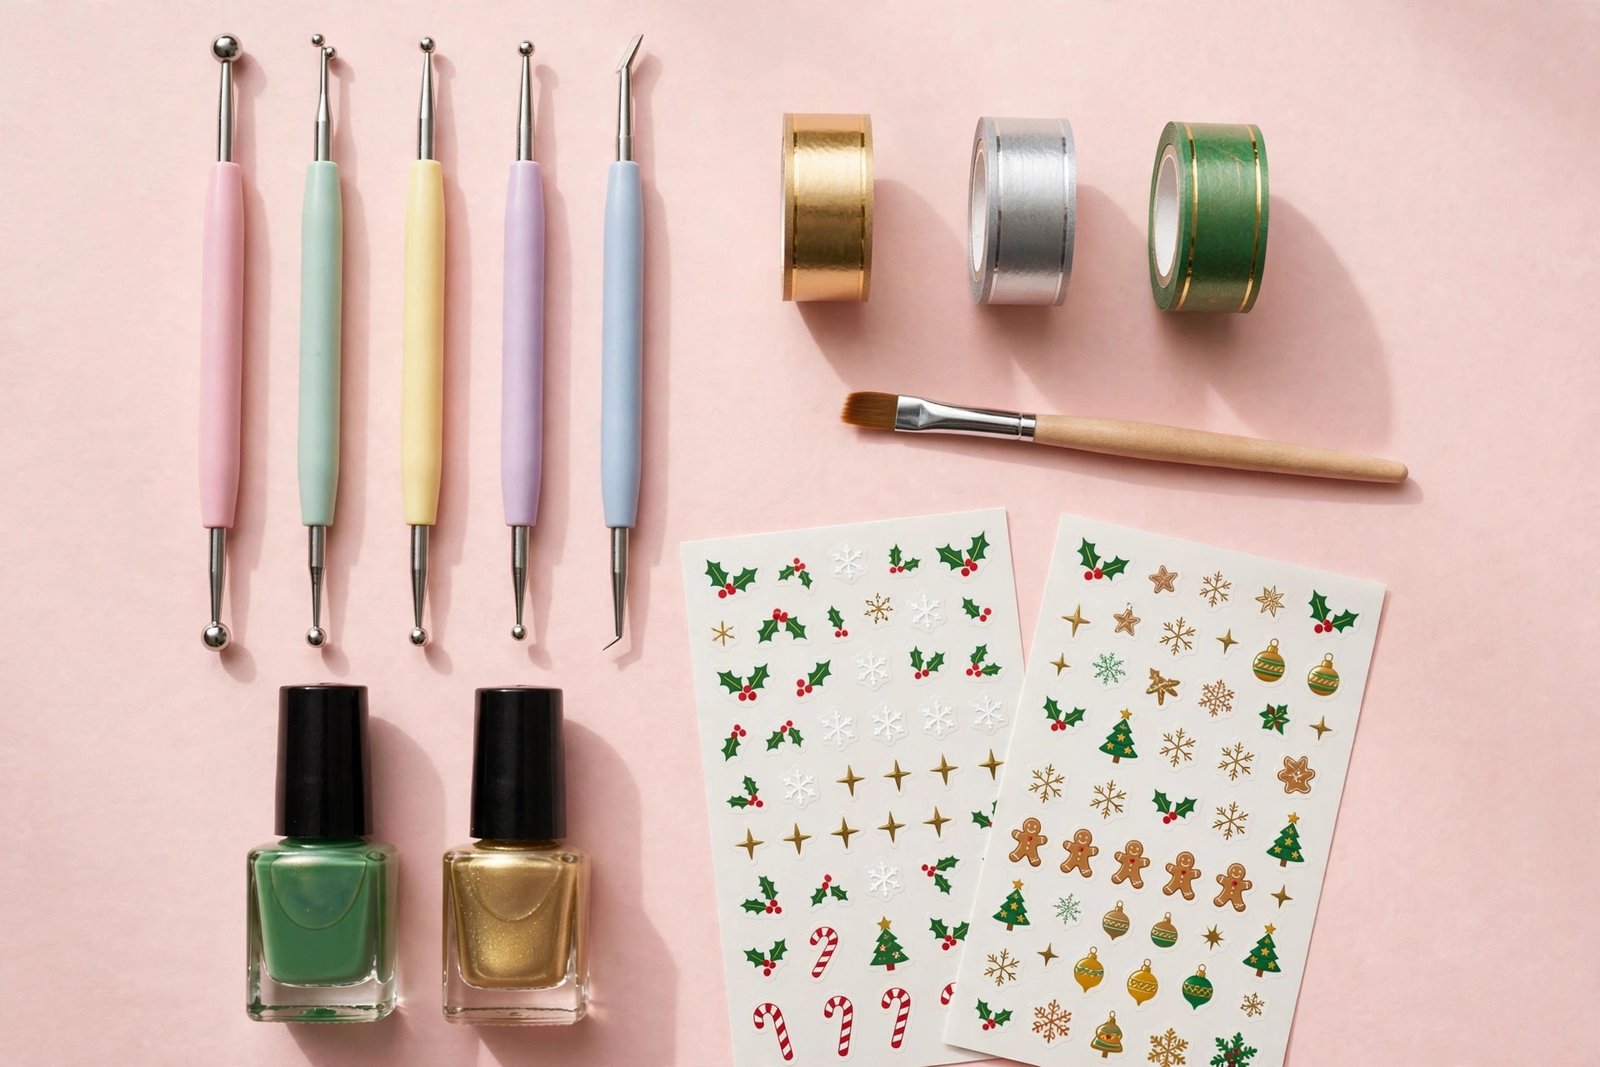
You do not need a professional kit. The essentials: a dotting tool set (a few dollars, with multiple dot sizes — or use bobby pins and toothpicks in a pinch), striping tape (thin adhesive tape that gives crisp lines), a small angled cleanup brush, and acetone or nail polish remover for corrections. A sheet of holiday nail stickers or water-slide decals rounds out the kit for designs where you want detail without painting.
For technique foundations, nail art designs for beginners covers the basics year-round, and easy dotting-tool designs goes deeper on the dot techniques used below. If you have never done a full manicure at home, start with nail care routine for beginners so your art sits on a well-prepped base.
One mindset tip: your first attempt at any design is practice, not performance. Do a trial run on one hand (or even on paper) a few days before you need the manicure. Holiday nail art done calmly looks ten times better than the same design rushed on Christmas Eve.
Design 1: Falling Snow Dots
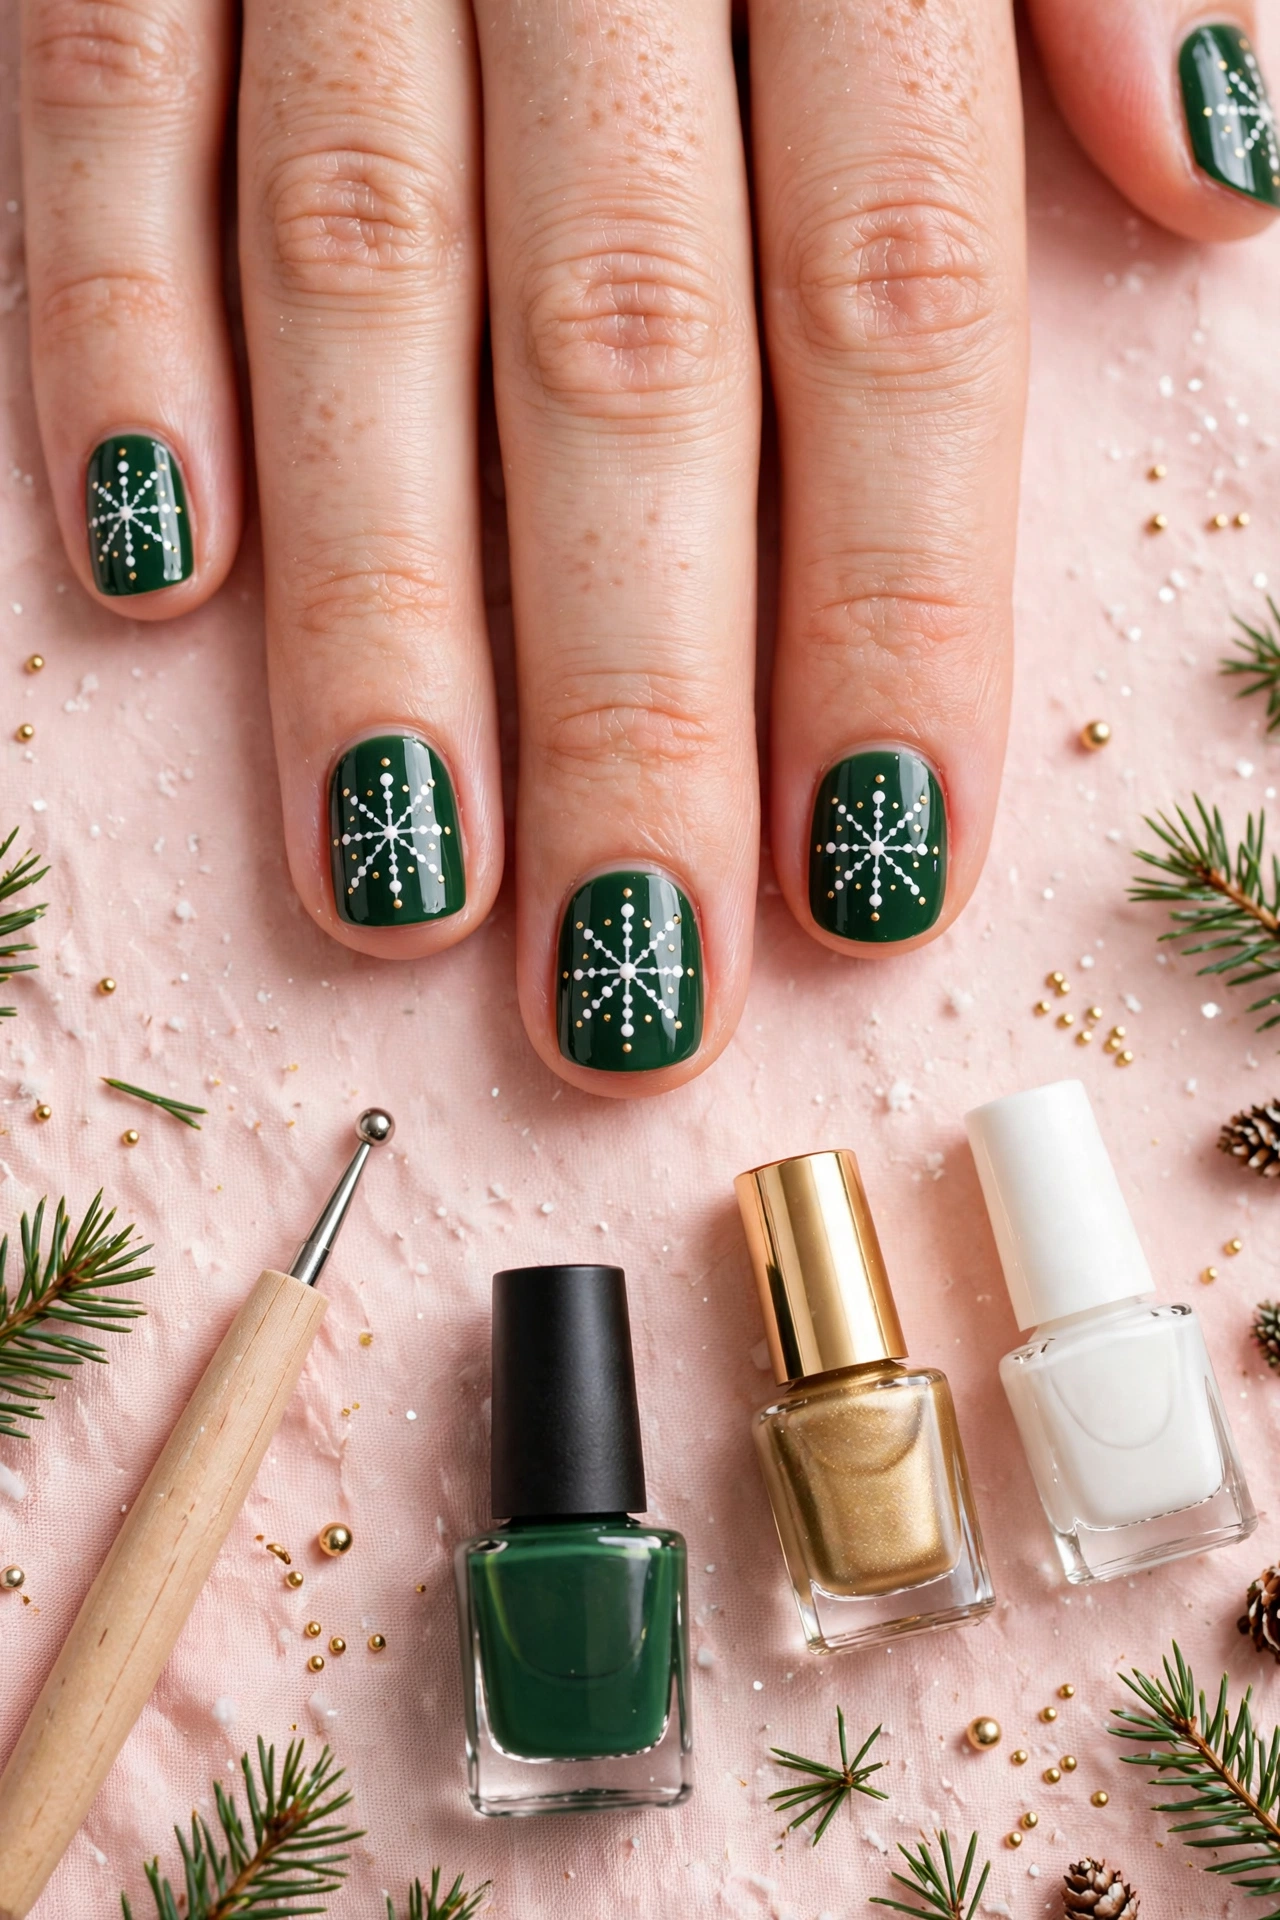
The easiest holiday design in existence — and genuinely pretty.
- Apply base coat, then two thin coats of your base color. Deep red, forest green, navy, or plum all make white dots pop. Let the base dry completely.
- Dip the large end of your dotting tool in white polish. Wipe off excess — you want a controlled dot, not a blob.
- Dot randomly across each nail, varying sizes by using both ends of the tool. Cluster a few dots, leave some space — randomness looks like natural snowfall.
- Optional: add a few tiny gold dots among the white for starlight.
- Seal with top coat once the dots are dry to the touch.
Troubleshooting: if dots spread into blobs, your polish is too thick on the tool or the base is still wet. Less polish, more patience.
Design 2: Dotting-Tool Christmas Tree
A recognizable little tree made entirely of dots — no drawing required.
- Base coat plus two coats of a neutral base: sheer nude, cream, or soft white lets the tree stand out.
- Using green polish on your dotting tool, place dots in a triangle formation: one dot at top, widening rows below (1-2-3-4 dots). Slightly overlap the dots so they read as a solid tree shape.
- Add a gold or yellow dot at the very top as the star.
- Dot tiny red, gold, and white dots over the green triangle as ornaments.
- Optional: a brown vertical line of dots below the triangle as the trunk — or skip it; the triangle reads as a tree on its own.
- Top coat to seal.
Keep the tree small and centered — about two-thirds of the nail height. On short nails, do the tree on just one or two accent nails and keep the rest solid.
Design 3: Tape-Striped Candy Canes
Crisp diagonal stripes with zero freehand work, thanks to striping tape.
- Base coat plus two coats of white polish. Let dry completely — this is critical, since tape will lift tacky polish.
- Cut thin strips of striping tape and lay them diagonally across the nail, leaving even gaps where the red will show. Press the tape edges down firmly.
- Paint red polish over the whole nail, covering tape and gaps alike. One medium coat is enough.
- While the red is still slightly wet, carefully peel off the tape strips with tweezers, pulling at a low angle.
- Clean up edges with your angled brush, let dry, then seal with top coat.
Do this design on accent nails only (one or two per hand) with solid red or white on the rest — full candy cane on all ten nails is a lot. If polish bleeds under the tape, your tape was not pressed down firmly enough or the white base was not fully dry.
Design 4: Sticker Snowflakes
The cheat code for intricate-looking holiday nails.
- Base coat plus two coats of a dark base — navy, deep plum, or black makes white snowflakes pop dramatically.
- Let the base dry completely. Select snowflake stickers or water-slide decals and place one per nail (or on accent nails) using tweezers.
- For adhesive stickers: press down firmly from center outward to avoid air bubbles. For water decals: soak per package instructions, slide into place, and gently blot dry.
- Seal with two coats of top coat — stickers need the extra layer to prevent edge lifting. Cap the free edge.
Stickers over dark polish with glossy top coat look convincingly hand-painted at normal viewing distance. This is the fastest route to detailed holiday nails and an excellent choice for your dominant hand, where painting with your non-dominant hand is hardest.
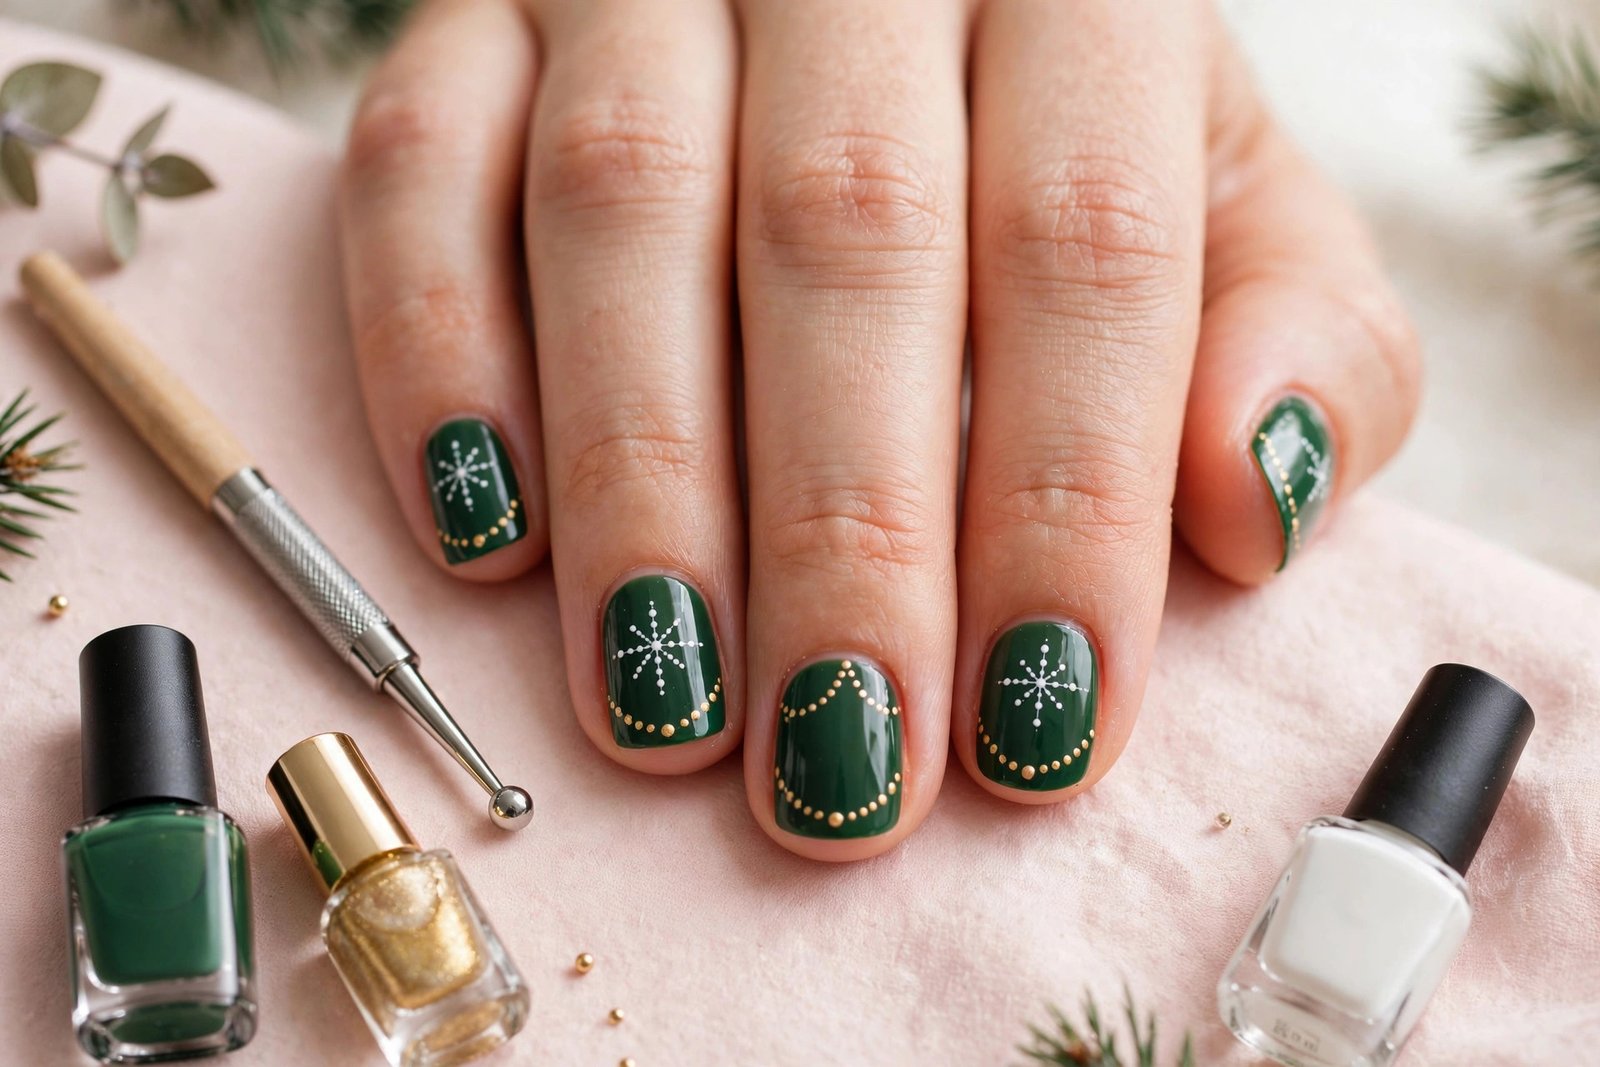
Design 5: Gold Dotted Garland
Elegant, minimal, and easier than it looks.
- Base coat plus two coats of deep green or burgundy.
- With your dotting tool and gold polish, dot a gentle curved line across each nail — like a swag of garland. Keep the curve shallow and centered.
- Add slightly larger dots in red or white along the gold curve as ornaments, spacing them evenly.
- Optional: tiny gold dots scattered above the garland as falling sparkle.
- Seal with top coat.
The key is a light touch and even spacing — step back and look at the whole nail rather than obsessing over individual dots. Imperfect spacing still reads as festive garland.
Troubleshooting Common Beginner Mistakes
Polish is too thick and gloopy. You are loading too much on the brush or tool. Wipe excess off, work in thin layers, and remember that nail art polish should be the consistency of the bottle when new — old, thickened polish is worth replacing.
Designs smudge when I apply top coat. The art was not dry enough. Wait until designs are dry to the touch, then float the top coat on — lay it over the nail without pressing the brush into the art. One gentle stroke per nail, no going back over.
My non-dominant hand looks terrible. Normal. Use stickers and decals on the hand you paint with your non-dominant hand, and save dotting designs for the hand your dominant hand paints. No one examines both hands equally.
Bubbles in the polish. Usually caused by shaking the bottle (roll it instead), applying over a still-wet layer, or old polish. why nail polish bubbles has the full breakdown.
Chips within a day or two. Almost always a prep issue, not an art issue. Dehydrate the nail plate, cap the free edge with every layer, and refresh top coat every few days — the same rules in how to make nail polish last longer apply to art manicures.
Frequently Asked Questions
What is the easiest holiday nail art for a complete beginner?
Falling snow dots (Design 1 above). It requires only a dotting tool and white polish over any dark base, there is no wrong way to place random dots, and it looks intentionally festive. A glitter accent nail is even easier if you want zero art.
Do I need special tools for holiday nail art?
A dotting tool set and striping tape cover nearly all beginner designs and cost very little. Bobby pins, toothpicks, and tweezers work as substitutes. You do not need professional brushes, stamping kits, or a UV lamp for any design in this guide.
How long does beginner holiday nail art take?
Budget 60-90 minutes for your first attempt at a dotted or taped design on all ten nails, including drying time between steps. It gets faster with practice. Stickers and decals cut the time roughly in half since there is no painting step.
Can I do nail art over gel polish?
Yes. Do your gel base color and cure it, then paint your art with regular polish over the cured gel, let the art dry fully, and seal with a gel or regular top coat. Alternatively, do the art with gel polish and cure between steps. If you are new to gel, gel nails at home covers the fundamentals.
How do I remove nail art without damaging my nails?
Soak a cotton pad in remover, hold it on the nail for 15-20 seconds, then wipe — do not scrub aggressively. Glitter elements may need the foil-wrap soak method. Never peel or pick art off; it lifts nail layers with it.
Start with falling snow dots, graduate to the dotting-tool tree when you feel confident, and keep stickers in reserve for your non-dominant hand. Holiday nail art is supposed to be fun — the imperfections are invisible at party distance, and the festive spirit comes through regardless. Pick one design, give yourself an unhurried evening, and enjoy the process.
Love this? Pin it for later!