How to Choose the Right Foundation Formula for Your Skin
Walk into any beauty aisle and you’ll face a wall of foundations: liquids, creams, powders, sticks, serums, cushions — each promising flawless skin. For beginners, the choice feels like guesswork, and guessing wrong means a foundation that slides off by noon, clings to dry patches, or oxidizes three shades darker by dinner.
Choosing the right foundation isn’t about finding the “best” formula — it’s about matching the formula to your skin type, your coverage needs, and your finish preference. Get those three things right and the choice nearly makes itself. This guide walks through every decision step by step, so you can shop with confidence instead of hope.
If you’re building your routine from scratch, our step-by-step makeup guide for beginners shows where foundation fits in the full application order.
Key Takeaways
- Your skin type (oily, dry, combination, sensitive, mature) is the single biggest factor in choosing a foundation formula.
- Oily skin does best with oil-free liquid or powder formulas; dry skin needs hydrating liquid, cream, or serum foundations.
- Coverage (sheer, medium, full) and finish (matte, dewy, satin, natural) are separate decisions from formula — pick all three deliberately.
- Always test foundation on your jawline in natural daylight and wait 10–15 minutes to check for oxidation before buying.
- Undertone (warm, cool, neutral) matters more than the shade number for a seamless match.
Step 1: Identify Your Skin Type
Everything about foundation choice flows from skin type. If you’re unsure which you are, wash your face with a gentle cleanser, wait one hour without applying any products, and observe:
- Oily skin: Shine appears across the forehead, nose, and cheeks within the hour. Pores may look enlarged. Makeup tends to slide or break down by midday.
- Dry skin: Skin feels tight, looks dull, or shows flaky patches. Foundation tends to cling to dry areas and look cakey or patchy.
- Combination skin: Oily in the T-zone (forehead, nose, chin) but normal or dry on the cheeks. The most common skin type — and the trickiest to shop for.
- Sensitive skin: Reacts easily — redness, stinging, or breakouts from new products. Fragrance and certain chemical sunscreens are frequent triggers.
- Mature skin: Shows fine lines, loss of elasticity, or dryness that increases with age. Heavy or matte formulas tend to settle into lines and emphasize texture.
Combination skin strategy: Choose a formula for your dominant concern (usually the oily T-zone) and address dry areas with skincare underneath — a hydrating primer on the cheeks, a mattifying primer on the T-zone. One foundation can work for the whole face if the skin prep is zoned correctly.
Step 2: Understand the Foundation Formula Types
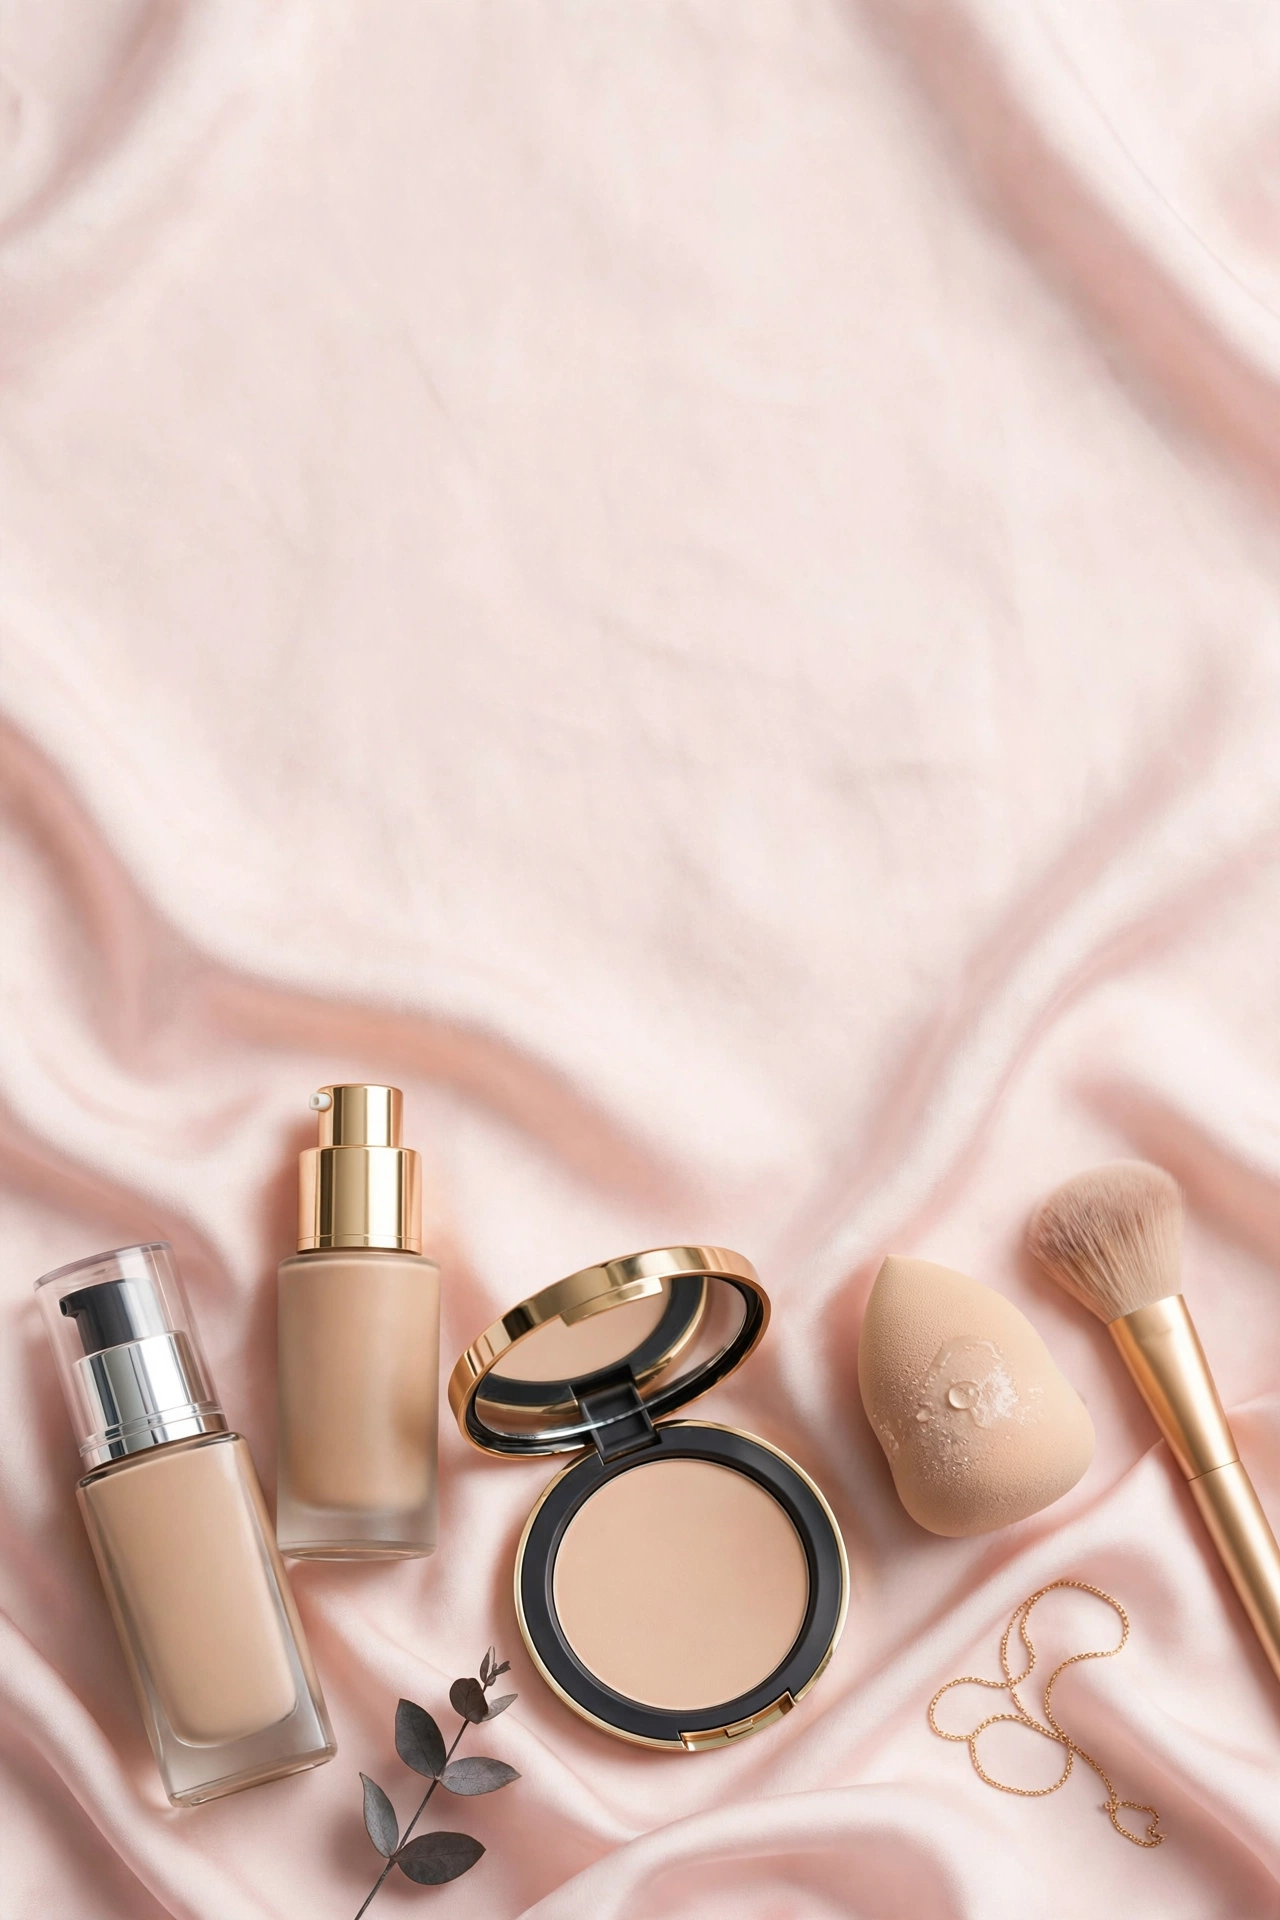
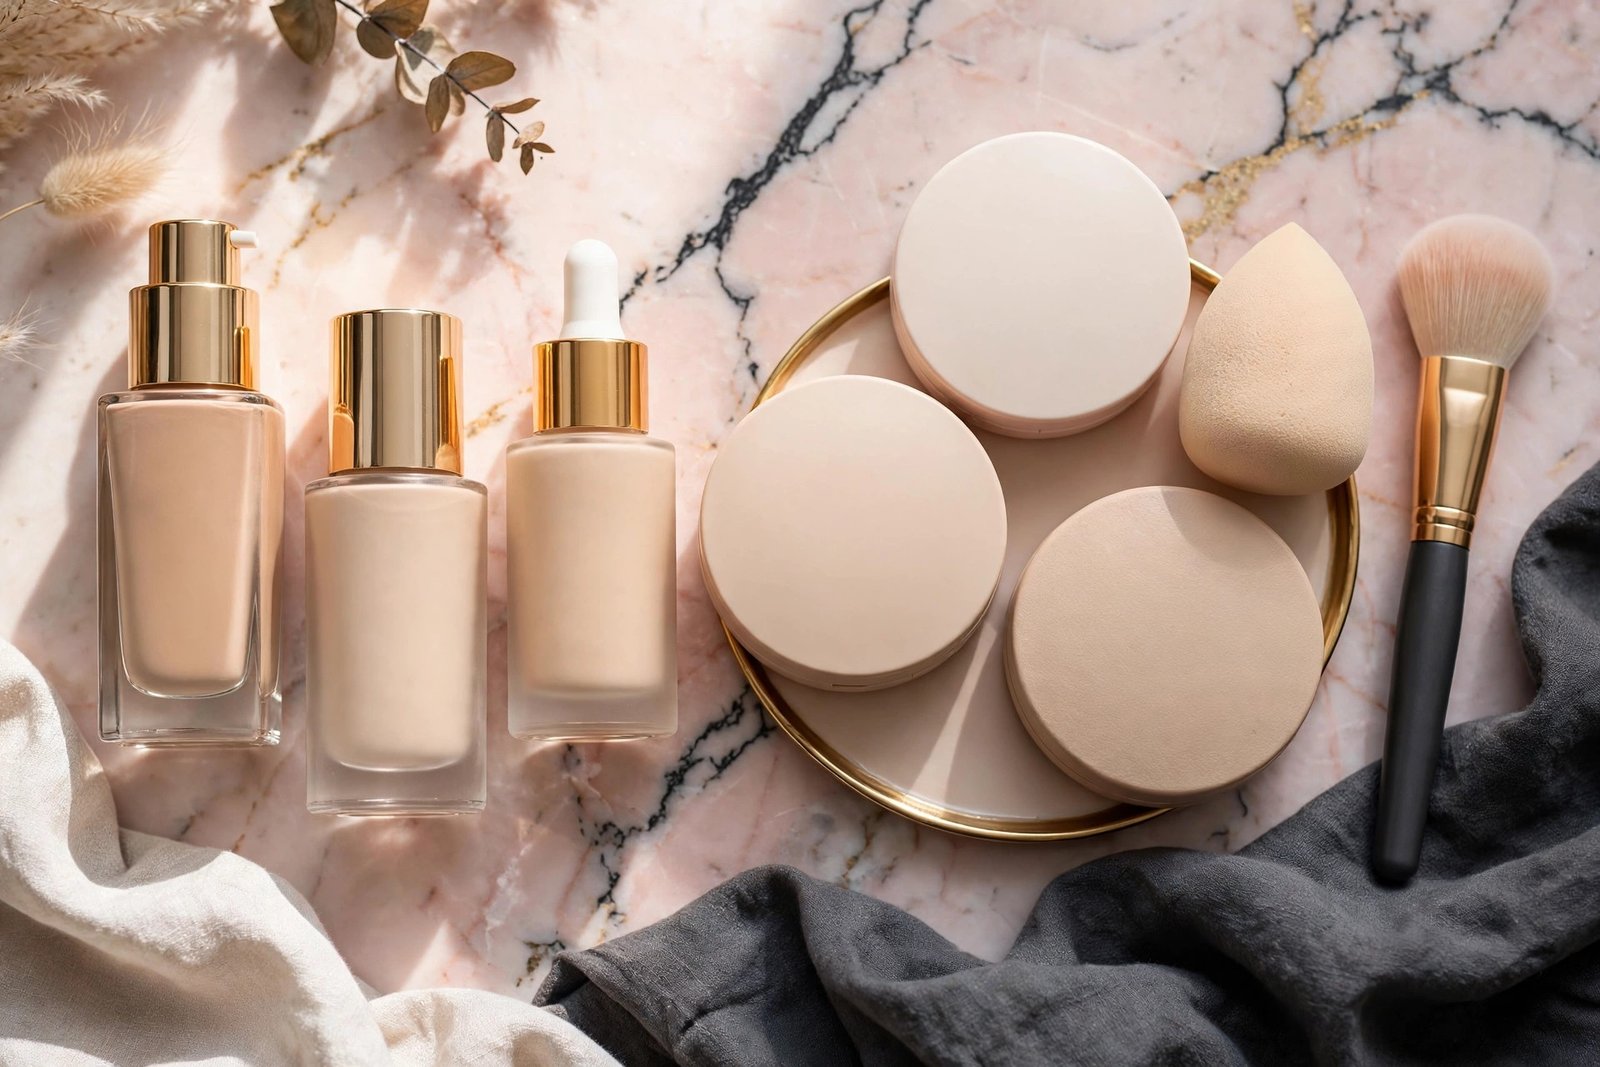
Formula is the physical form of the foundation — liquid, cream, powder, and so on. Each has a characteristic texture, typical coverage range, and skin-type sweet spot.
Liquid Foundation
The most versatile and popular formula. Ranges from sheer to full coverage, and comes in finishes for every skin type.
- Best for: All skin types (choose oil-free for oily skin, hydrating for dry skin).
- Coverage: Sheer to full, very buildable.
- Application: Fingers, sponge, or brush — a damp sponge gives the most natural finish.
- Watch out for: Very matte liquids can look flat on dry skin; very dewy liquids can slide on oily skin.
Cream Foundation
Thicker and more emollient than liquid, usually in a compact or pot. Delivers medium to full coverage with a naturally dewy finish.
- Best for: Dry, mature, and normal skin types.
- Coverage: Medium to full.
- Application: Fingers or a dense brush; warms up with body heat for smooth blending.
- Watch out for: Can feel heavy and transfer easily on oily skin; may settle into fine lines without proper setting.
Powder Foundation
Pressed or loose powder that provides light to medium coverage. The quickest application of any formula.
- Best for: Oily and combination skin; great for touch-ups and hot weather.
- Coverage: Light to medium (buildable with a dense brush).
- Application: Brush for light coverage; a damp sponge presses it to fuller coverage.
- Watch out for: Emphasizes dry patches and fine lines — dry and mature skin types usually find it aging.
Stick Foundation
A solid cream in twist-up form. Portable, precise, and naturally medium-to-full coverage.
- Best for: Normal to dry skin; excellent for spot-concealing and touch-ups.
- Coverage: Medium to full.
- Application: Swipe directly onto skin and blend with a brush or sponge.
- Watch out for: Can drag on dry skin without moisturizer underneath; the heavy texture can overwhelm oily skin.
Serum and Tint Formulas
Lightweight, skincare-infused liquids (often called skin tints or serum foundations). Sheer to light-medium coverage with a natural, skin-like finish.
- Best for: Dry, sensitive, and mature skin; anyone who wants a “no-makeup” look.
- Coverage: Sheer to light-medium.
- Application: Fingers work beautifully — they melt into skin like moisturizer.
- Watch out for: Won’t cover significant discoloration or acne; oily skin may need powder on top.
Cushion Foundation
Liquid foundation soaked into a sponge compact, applied with a puff. Popularized by K-beauty; delivers light-to-medium dewy coverage.
- Best for: Normal to dry skin; convenient for on-the-go application.
- Coverage: Light to medium, buildable.
- Watch out for: Dewy finish can overwhelm oily skin; compacts need replacing more often.
For a detailed head-to-head of the three most popular formats, see our liquid vs powder vs cream foundation comparison.
Step 3: Match Formula to Your Skin Type
Here’s the quick-reference matching that saves the most time in the aisle:
| Skin type | Best formulas | Formulas to be cautious with |
|---|---|---|
| Oily | Oil-free liquid, powder, long-wear matte liquids | Dewy creams, sticks, cushions |
| Dry | Hydrating liquid, cream, serum/tint, stick | Powder, ultra-matte liquids |
| Combination | Satin-finish liquid, powder for T-zone touch-ups | Very dewy or very matte extremes |
| Sensitive | Fragrance-free liquid or mineral powder, serum formulas | Heavy fragrance, chemical SPF formulas |
| Mature | Hydrating liquid, serum, cream (light layers) | Powder, full-coverage matte, thick sticks |
Sensitive skin note: Look for labels like “fragrance-free” (not just “unscented” — that can mean masking fragrance), “non-comedogenic,” and “dermatologist tested.” Mineral-based formulas with zinc oxide or titanium dioxide tend to be well tolerated. Always patch-test a new foundation on your jawline for 24 hours before wearing it all over.
Mature skin note: The goal is hydration and light reflection, not maximum coverage. Heavy full-coverage formulas settle into fine lines and make skin look older. A hydrating medium-coverage liquid, set very lightly, almost always looks better than a thick matte — less product, better skin.
Step 4: Choose Your Coverage Level
Coverage and formula are separate decisions — a liquid can be sheer or full, and so can a cream. Coverage describes how much of your natural skin shows through:
- Sheer: Evens out skin tone slightly; freckles, moles, and minor redness show through. Best for good skin days and no-makeup looks.
- Medium: Covers redness, uneven tone, and mild blemishes; most natural-looking everyday choice. The most popular coverage level for a reason.
- Full: Covers acne, hyperpigmentation, rosacea, and scarring. Best for events, photography, and when you need maximum correction.
Beginner guidance: Start with medium. Sheer can feel like it’s “not doing anything” and full coverage is unforgiving to apply — it shows every blending mistake. Medium coverage with a second light layer only where needed gives a natural result with room to learn.
Building coverage without cakiness: Apply one thin layer everywhere, then add a second thin layer only on areas that need it (around the nose, on blemishes, on dark spots). Two thin layers always look better than one thick one. Our sheer vs medium vs full coverage guide shows what each level actually looks like on skin.
Step 5: Choose Your Finish
Finish describes how the foundation looks once set — matte, dewy, satin, or natural. It’s the third independent decision alongside formula and coverage:
- Matte: No shine, velvety flat. Best for oily skin and long wear. Can look dry or flat on dry/mature skin.
- Dewy: Radiant, luminous, light-reflecting. Best for dry, dull, and mature skin. Can look greasy on oily skin by afternoon.
- Satin: The middle ground — a soft, skin-like glow without obvious shine. The safest finish for combination skin and most beginners.
- Natural: Designed to look like bare skin with no particular effect. Works across skin types when the formula underneath is right.
The finish shortcut for beginners: If you don’t know what you like, choose satin. It’s flattering on the widest range of skin types and photographs well in any lighting.
Want the full breakdown with photos-style descriptions of each finish? Read our foundation finishes explained — matte, dewy, satin, and natural.
Step 6: Get the Shade and Undertone Right
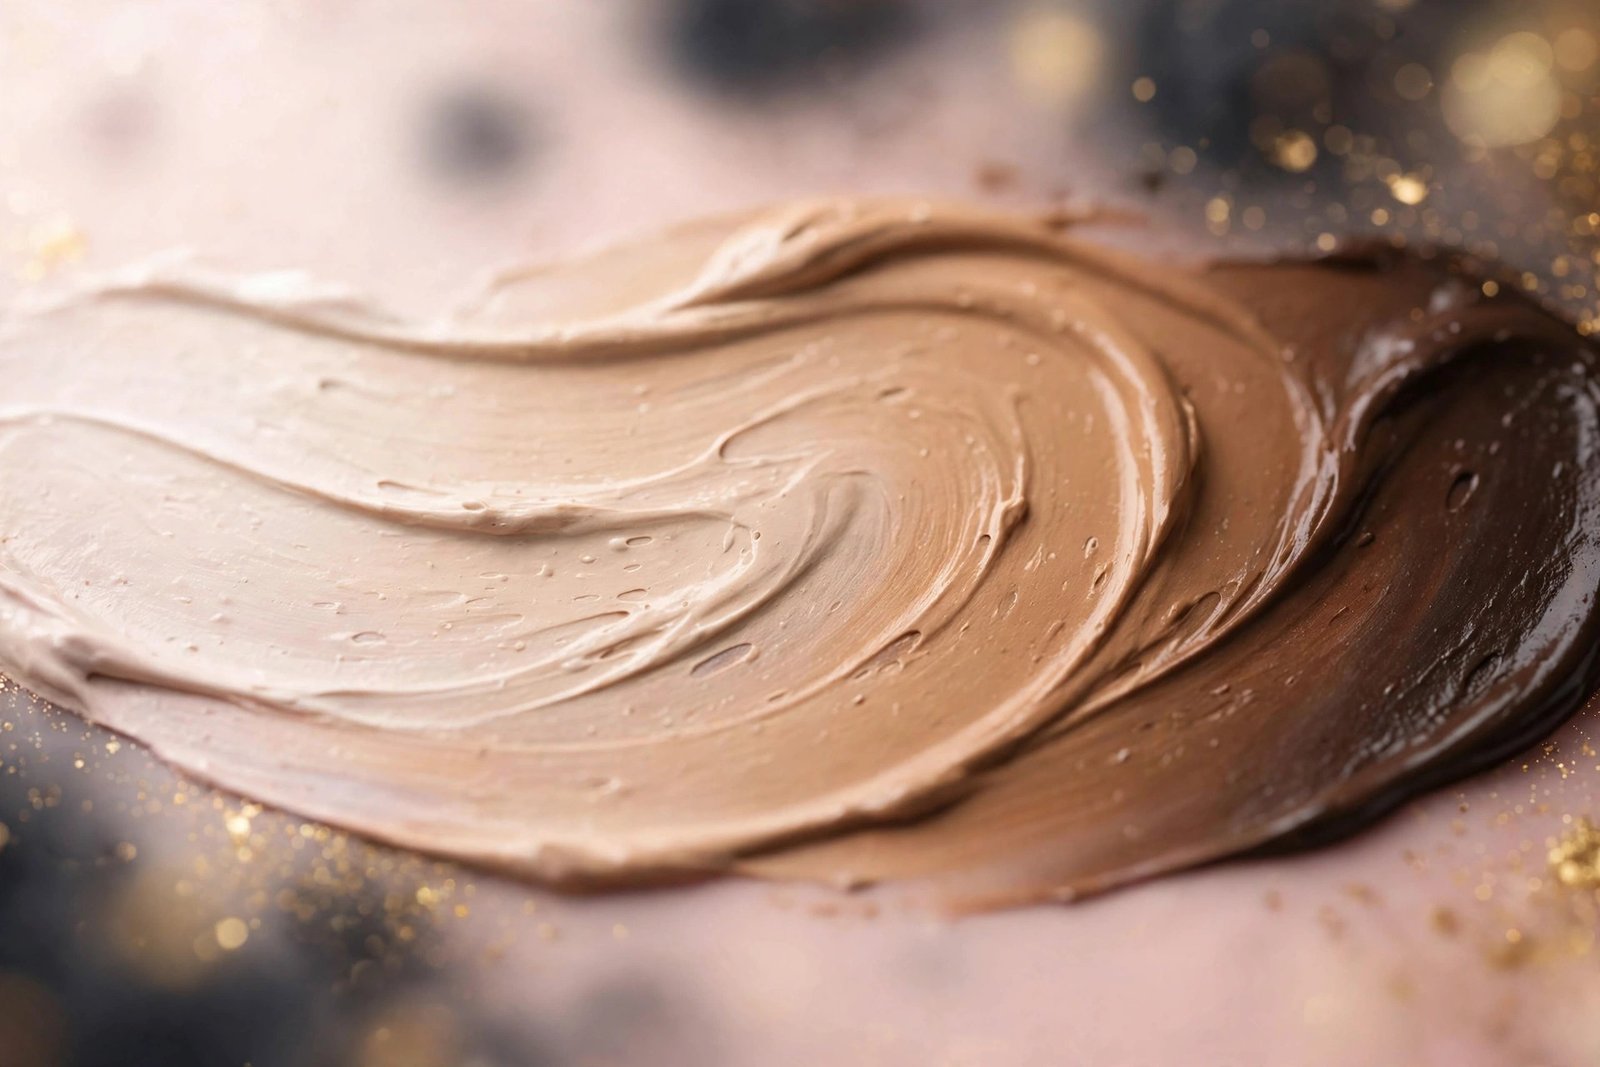
The perfect formula in the wrong shade still looks wrong. Shade matching has two parts: depth (how light or dark) and undertone (the underlying hue).
Finding Your Undertone
Undertone is warm, cool, or neutral — and it doesn’t change with tanning:
- Warm: Skin has golden, peachy, or yellow hints. Veins on your wrist look greenish. You tan easily.
- Cool: Skin has pink, red, or bluish hints. Veins look blue or purple. You burn before you tan.
- Neutral: A mix — hard to tell whether veins are green or blue, and gold and silver jewelry both suit you.
Most foundation lines label undertones with letters or words: W/warm, C/cool, N/neutral (some brands reverse these, so check the brand’s key). Matching undertone matters more than matching the exact depth — a slightly-off depth in the right undertone looks natural; the right depth in the wrong undertone looks orange, ashy, or pink.
Our complete guide to finding your undertone walks through every test in detail, including the jewelry, white-paper, and vein checks.
How to Test Shades In-Store
- Swatch on your jawline, not your hand or wrist — the jawline bridges your face and neck, which is where the match needs to be seamless.
- Test 2–3 adjacent shades in stripes and blend each one slightly.
- Walk to natural daylight — store lighting is designed to flatter, not to match. The shade that disappears into your skin in daylight is the one.
- Wait 10–15 minutes before deciding. Many foundations oxidize — they darken or turn orange as they react with skin oils and air. A shade that matches on application but darkens later was never the right shade.
- Check the neck blend: The right shade makes the line between your jaw and neck vanish.
For the complete in-store testing method — including what to ask for at the counter and how to get matched when you can’t test — see our 7 pro tips for testing foundation shades in-store.
Ingredients to Look For (and Avoid) by Skin Type
Beyond the formula format, the ingredient list shapes how a foundation performs:
Oily skin — look for: oil-free and non-comedogenic labels, silica or clay (oil absorbers), salicylic acid (in some long-wear formulas), dimethicone (smooths without greasiness). Avoid: coconut oil, cocoa butter, and heavy plant oils high on the ingredient list.
Dry skin — look for: hyaluronic acid, glycerin, squalane, ceramides, and nourishing oils like jojoba. Avoid: high alcohol content (denatured alcohol high on the list is drying), and very matte “24-hour wear” claims, which usually mean a drying formula.
Sensitive skin — look for: short ingredient lists, mineral pigments, fragrance-free formulas, niacinamide (calming). Avoid: fragrance/parfum, essential oils (lavender, citrus oils are common irritants), and chemical sunscreen filters if you react to them — use a separate mineral SPF underneath instead.
Acne-prone skin — look for: non-comedogenic and oil-free labels. Avoid: heavy waxes, coconut oil, and isopropyl myristate, all known pore-cloggers. And remember: foundation doesn’t cause acne by itself — not removing it properly does. Double cleansing at night matters more than the foundation you choose.
Application Tips by Formula
The right application method makes any formula perform better:
- Liquid: A damp makeup sponge pressed and bounced over the skin gives the most seamless finish; a brush gives more coverage. Start at the center of the face and blend outward.
- Cream: Warm it between your fingers or with a dense brush. Press into skin rather than sweeping — sweeping moves cream formulas around and creates streaks.
- Powder: Use a fluffy brush in light circular motions for sheer coverage; press with a damp sponge for fuller coverage. Always moisturize first — powder over dry skin looks patchy.
- Stick: Draw stripes on the forehead, cheeks, nose, and chin, then blend with a brush or sponge. Blend quickly — sticks set faster than liquids.
- Serum/tint: Fingertips are ideal. Apply like a moisturizer, pressing into the skin. These sheer formulas are the most forgiving for beginners.
Universal rules: Moisturize first and let it absorb for a few minutes. Use primer only if you need it (mattifying for oily zones, hydrating for dry zones — not a mandatory step). Less product than you think — you can always add more. And blend past the jawline onto the neck so there’s no visible line.
Common Foundation Mistakes Beginners Make
- Choosing formula by trend instead of skin type. The viral dewy cushion won’t work on very oily skin, no matter how popular it is.
- Testing shades on the hand. Hand skin is a different color and texture than face skin — jawline or nothing.
- Buying under store lighting without a daylight check. This single mistake causes most shade mismatches.
- Skipping the oxidation wait. That perfect match at the counter turning orange by lunch is oxidation, and it’s predictable if you wait 15 minutes.
- Applying too much. One thin layer, assess, then spot-add. Thick application emphasizes texture and pores instead of hiding them.
- Ignoring undertone. Depth gets the attention, but undertone is what makes a match look invisible.
- Setting dry skin with heavy powder. Powder is for oily zones. Baking the whole face when you’re dry creates the cakey look everyone wants to avoid.
- Not removing foundation properly at night. Sleeping in foundation clogs pores regardless of how good the formula is.
Frequently Asked Questions
How do I know which foundation formula is right for me?
Start with your skin type: oily skin suits oil-free liquids and powders; dry skin suits hydrating liquids, creams, and serums; combination skin does well with satin-finish liquids; sensitive skin needs fragrance-free, minimal formulas; mature skin looks best in hydrating, light-reflecting formulas. Then choose coverage (medium is the best beginner default) and finish (satin suits most people).
Should I choose foundation based on my skin type or skin tone?
Skin type first, always. Skin type determines which formula will wear well and look good for hours; skin tone determines which shade to buy within that formula. A perfectly matched shade in the wrong formula still fails by midday.
What is the difference between foundation finish and coverage?
Coverage is how much of your natural skin shows through (sheer, medium, full). Finish is how the foundation looks on the surface (matte, dewy, satin, natural). They’re independent — you can have a full-coverage dewy foundation or a sheer matte one. Choose both deliberately.
Why does my foundation look orange after a few hours?
That’s oxidation — the foundation reacting with your skin’s oils and the air, darkening or shifting warm. It’s more common with certain formulas on oily skin. Test shades with a 15-minute wait before buying, consider an oil-free or long-wear formula, and use a primer to create a barrier between skin oils and foundation.
Is expensive foundation actually better than drugstore?
Not necessarily. Price often reflects packaging, marketing, and shade range depth rather than performance. Many drugstore foundations perform as well as luxury ones in wear tests. What matters most is the formula-to-skin-type match — a $12 foundation that’s right for your skin beats a $50 one that isn’t.
Can I mix two foundation shades?
Yes — mixing is a legitimate technique, especially if you’re between shades or your skin tone changes seasonally. Mix on the back of your hand before applying, and keep the ratio consistent. Mixing formulas of different types (like a matte liquid with a dewy serum) also lets you customize finish, though results are less predictable.
Do I need primer under foundation?
Not always. Primer helps in specific cases: mattifying primer on an oily T-zone extends wear; hydrating primer smooths dry patches; color-correcting primer addresses redness. If your foundation already wears well on moisturized skin, primer is optional — it’s a problem-solver, not a requirement.
How often should I replace foundation?
Liquid and cream foundations last about 12 months after opening (check the PAO symbol — the little open-jar icon). Powder lasts up to 2 years. If the smell changes, the texture separates and won’t remix, or the color shifts, replace it regardless of the date. Old foundation can harbor bacteria and irritate skin.
Conclusion
Choosing the right foundation formula stops being overwhelming once you follow the order: skin type first, then formula format, then coverage, then finish, then shade and undertone. Each decision narrows the field until the right product is obvious — and you’ll know exactly why it works for you, which makes every future purchase easier too.
Start with a satin-finish, medium-coverage liquid matched to your skin type — it’s the most forgiving combination for beginners. Then, when you’re ready to fine-tune, explore the details: our foundation finishes explained and liquid vs powder vs cream comparison will help you dial in your perfect match, and our guide to testing shades in-store makes sure the color is flawless.
Love this? Pin it for later!