How to Apply Mascara Without Clumping
Few things are as frustrating as spending time on your eye makeup only to end up with spiky, clumpy lashes that look like spider legs instead of the fluttery fringe you wanted. The good news is that clumping is rarely a problem with the mascara itself — it’s almost always about technique. With a few small adjustments to how you prep, apply, and layer, you can get smooth, separated lashes every single time, whether you’re a total beginner or just tired of fighting your wand.
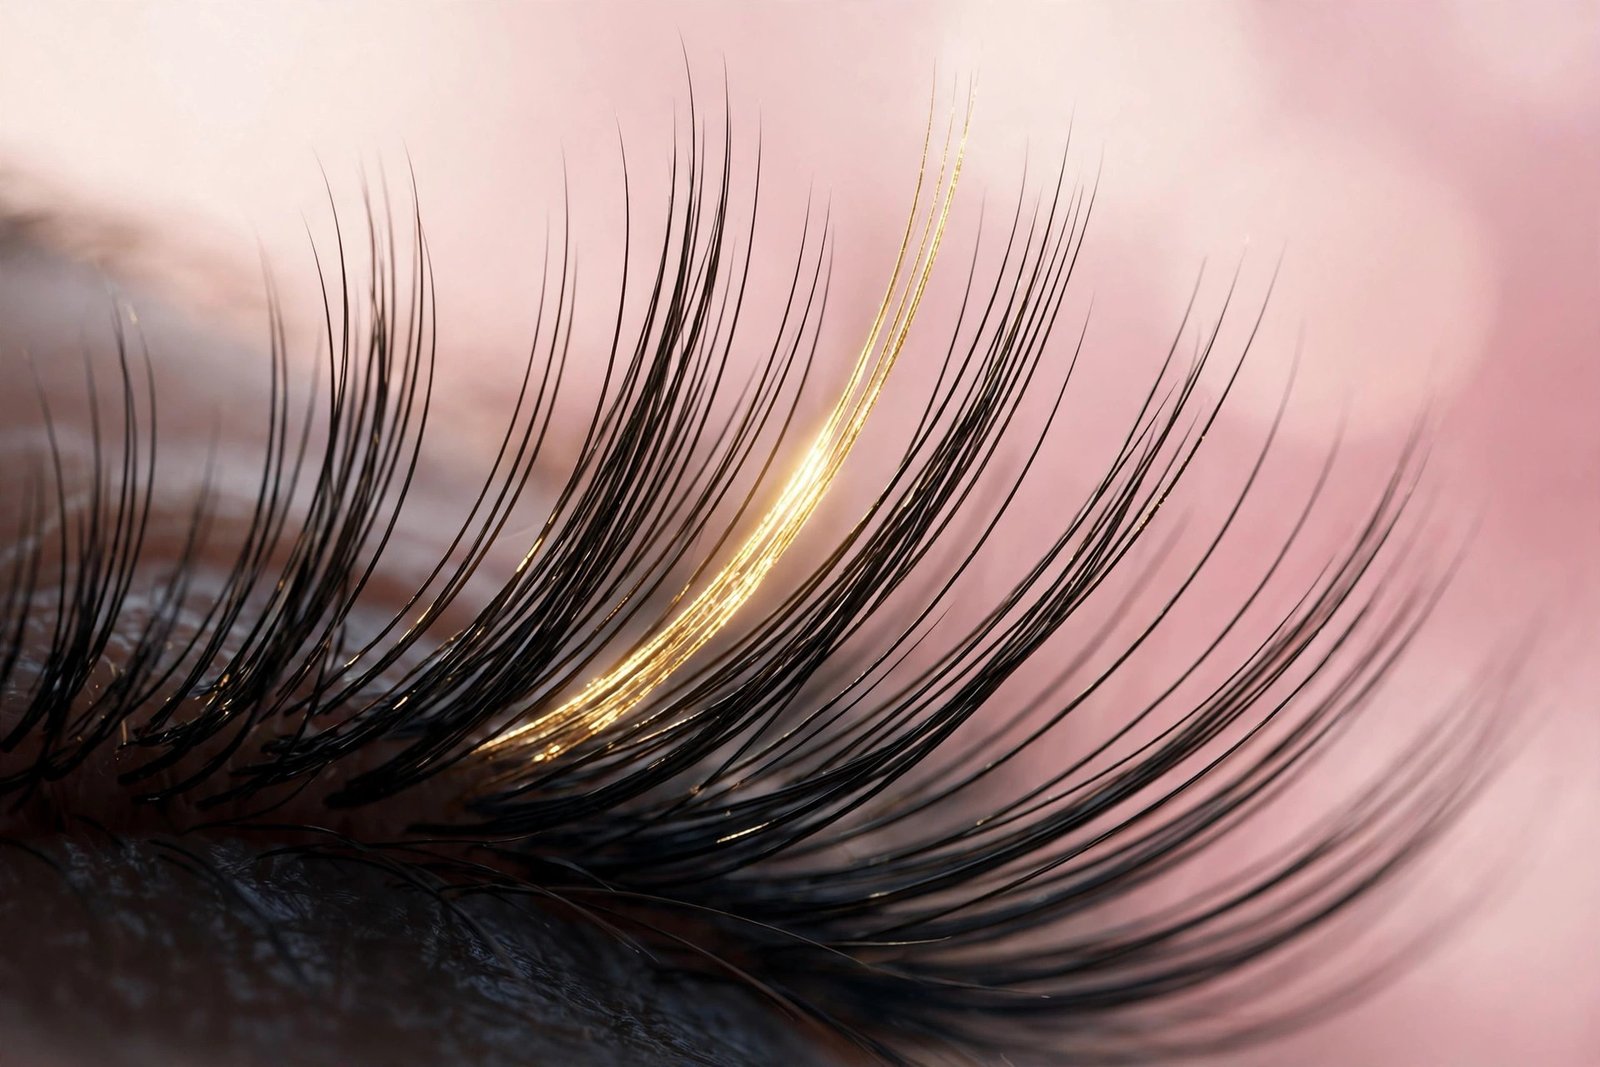
Key Takeaways
- Clumps come from excess product, not the mascara being “bad” — wipe the wand before every application.
- The wiggle technique (side-to-side motion at the base, then straight through) coats each lash evenly and prevents blobs.
- Two thin coats beat one thick coat every time; let the first coat dry for 20–30 seconds before adding the second.
- Never pump the wand in and out of the tube — it forces air in, dries the formula out, and causes clumping.
- A clean spoolie or lash comb after application is the fastest fix for any remaining clumps.
Why Mascara Clumps in the First Place
Before fixing the problem, it helps to understand what’s actually causing it. Clumping happens when too much formula lands on too few lashes at once. Your lashes are naturally fine and slightly curved; when a heavy blob of product sits on them, neighboring lashes stick together and dry that way — creating those thick spikes beginners call “spider lashes.”
Several things contribute to excess product buildup:
Too much product on the wand. Every mascara tube delivers more formula than you need. If you go straight from the tube to your lashes without removing the excess, you’re loading your lashes with far more than they can handle.
An old or dried-out formula. Mascara starts drying out the moment you open it, thanks to air exposure. After about three months, the formula thickens and stops applying evenly. Dermatologists and makeup artists alike recommend replacing mascara every three months — this is also a hygiene issue, since bacteria can grow in the tube.
Pumping the wand. Pushing the wand in and out of the tube forces air inside, which speeds up drying dramatically. This single habit is one of the most common reasons mascara clumps before its time.
Layering wet coats too fast. When you add a second coat while the first is still tacky, the wand drags half-dry formula around, creating uneven globs instead of smooth layers.
If you’re just getting started with eye makeup, reading a broader beginner’s mascara guide first can help you pick the right formula and wand shape before you even worry about technique.
The Right Prep: What to Do Before the Wand Touches Your Lashes
Start with clean, dry lashes
Any leftover makeup, oil, or moisturizer on your lashes will interfere with mascara adhesion. If you’re wearing eye cream or a heavy moisturizer, keep it away from the lash line — oily residue makes mascara slide and gather in clumps. If you have naturally oily lids, a light dusting of translucent powder on the eyelid (not the lashes) helps absorb oil.
Curl your lashes first
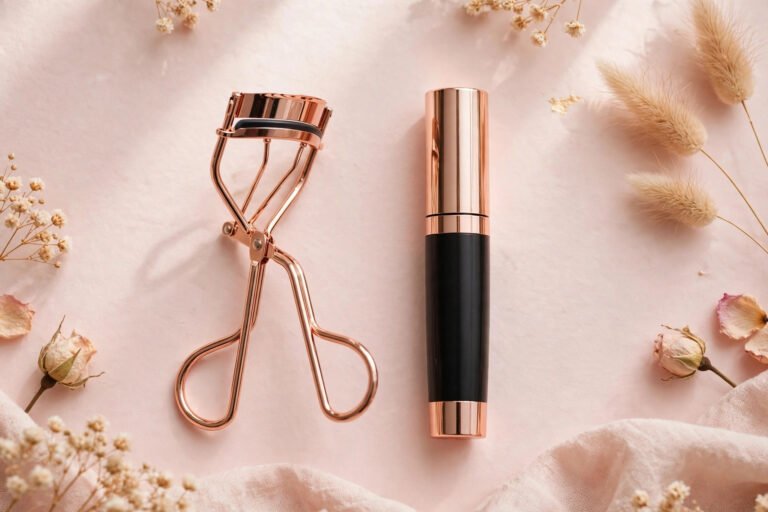
An eyelash curler lifts and separates lashes before mascara, which gives the formula more surface area to coat individually. Always curl on bare lashes — curling after mascara can stick, crimp, and break lashes. If you’ve never used one without pinching yourself, a guide to using an eyelash curler without pinching walks through it safely.
Wipe the wand
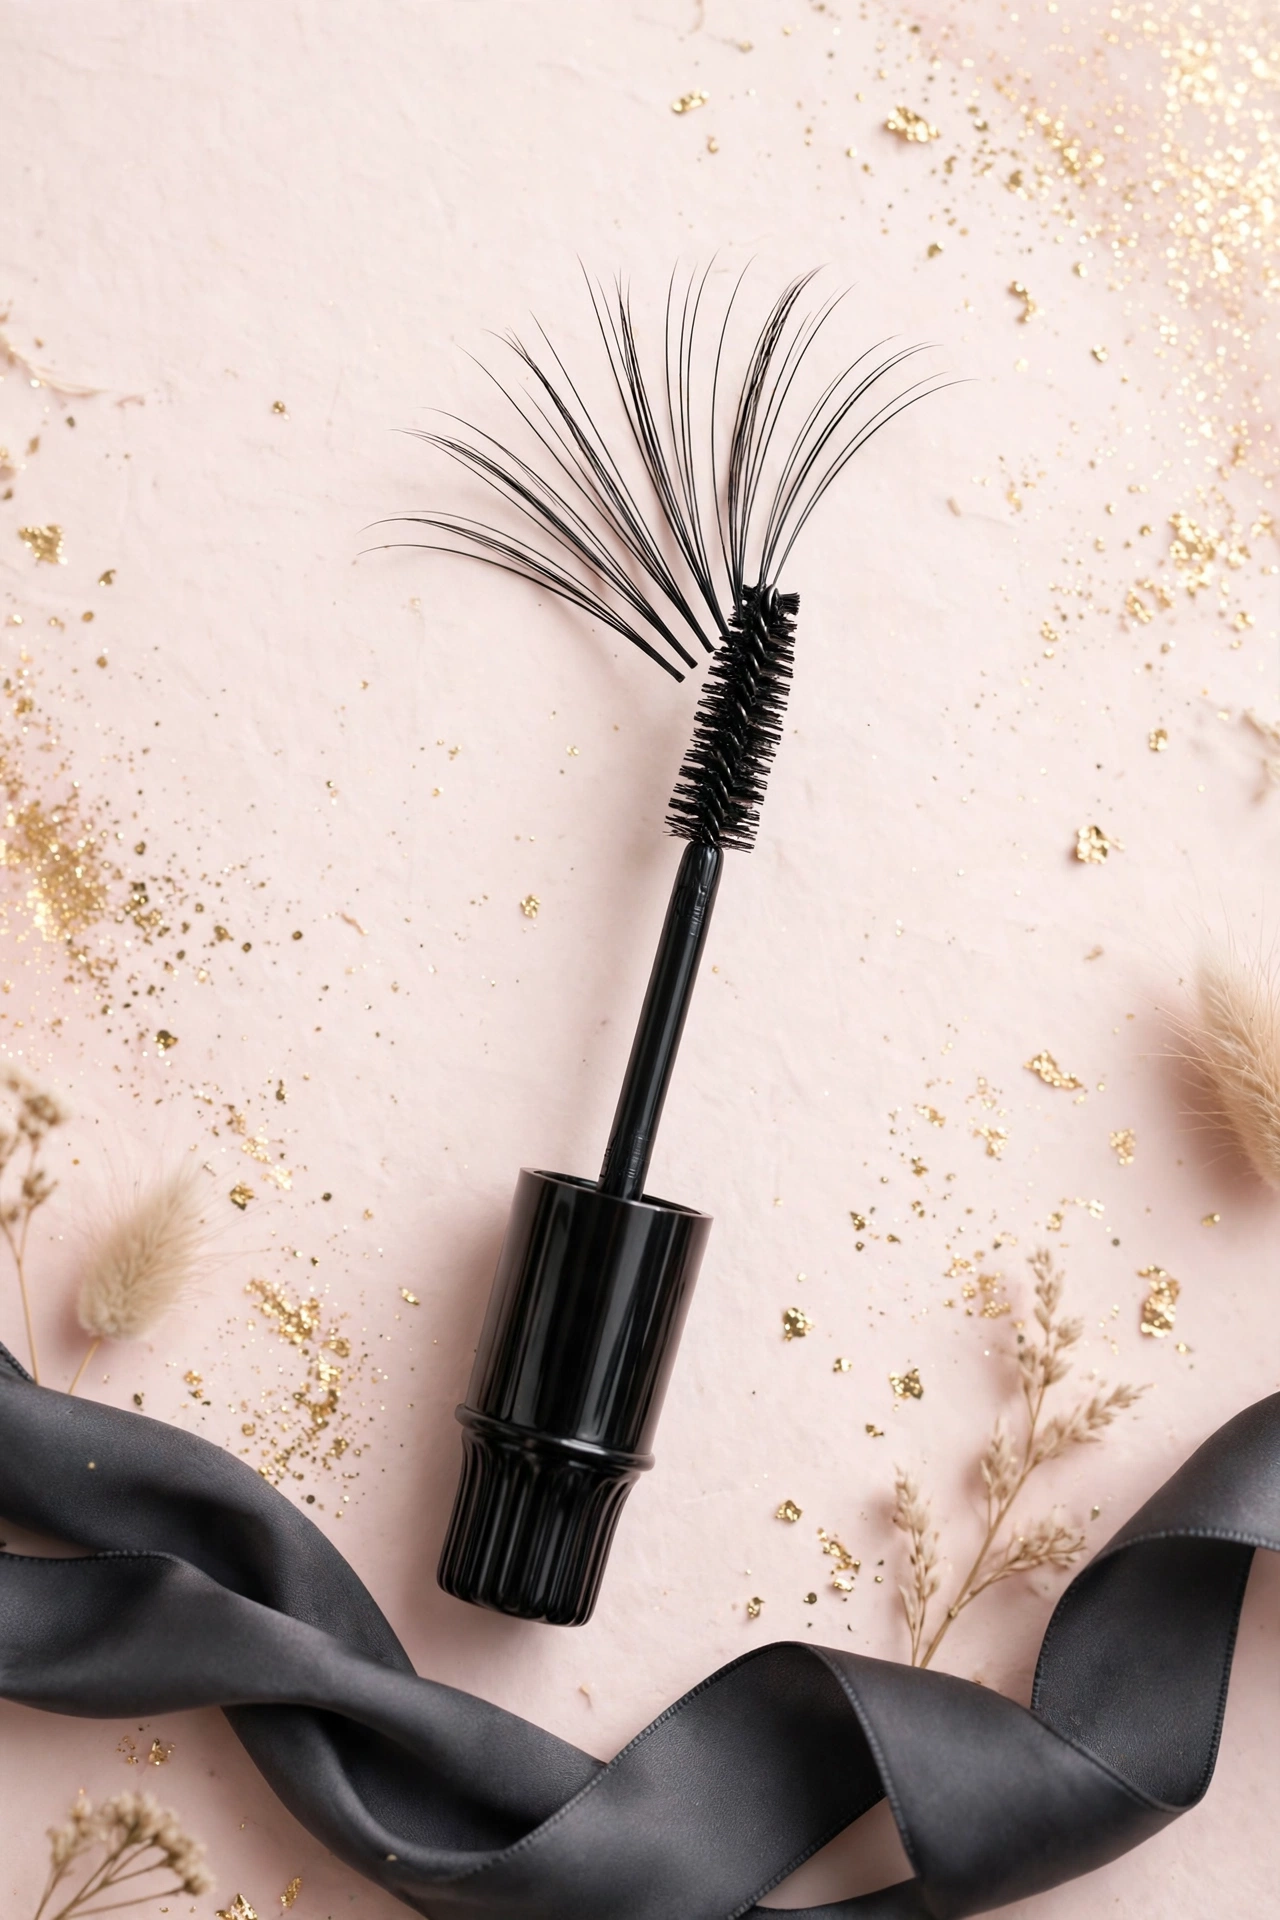
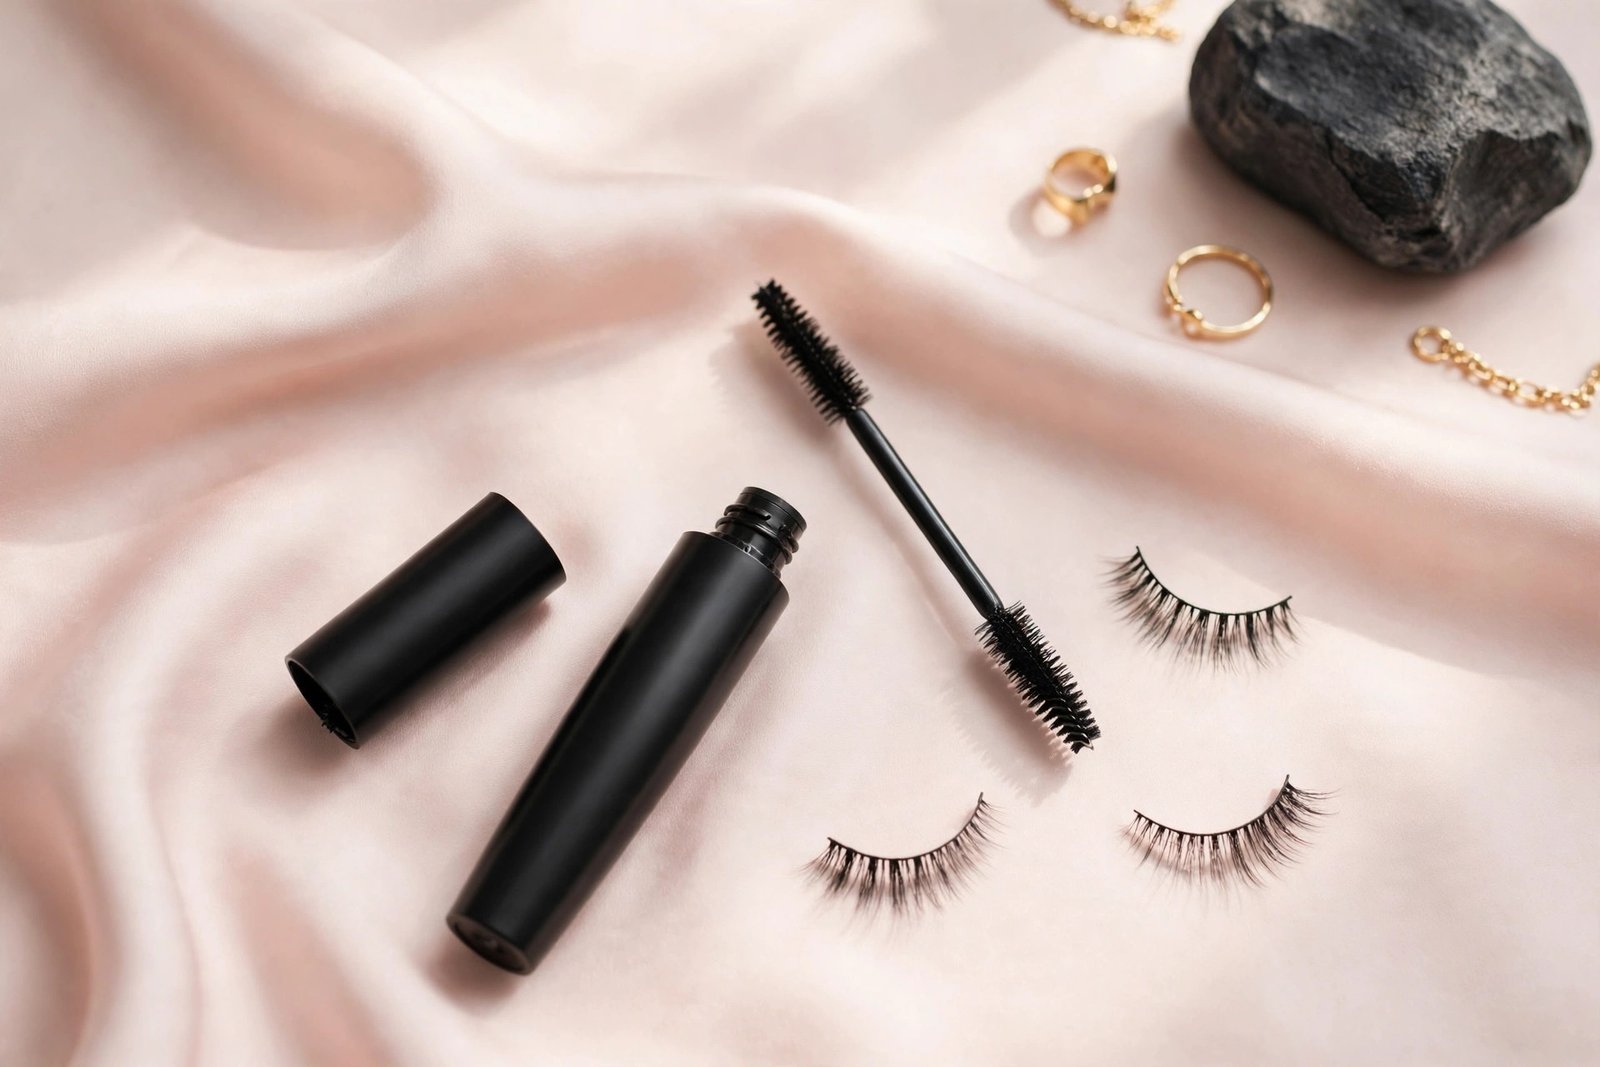
This is the single most impactful step. Before each application, gently wipe the wand against the inside rim of the tube or on a clean tissue to remove excess. You want the bristles visible and defined, not buried in a thick coating of product. For plastic molded wands with tiny teeth, this is especially important since those fine bristles load up quickly.
The Wiggle Technique: Your Clump-Free Application Method
The wiggle technique is the gold standard for smooth mascara application, and it works with virtually any wand type. Here’s exactly how to do it:
-
Look down into a mirror rather than straight ahead. Tilting your head back slightly and looking down gives you the clearest view of your lashes and keeps the wand from smudging your lid.
-
Place the wand at the very base of your lashes, as close to the lash line as you can without touching the skin.
-
Wiggle side to side. Move the wand back and forth in tiny horizontal motions at the base for a second or two. This works the formula down between individual lashes and coats the roots, which is where most of your visible volume comes from.
-
Pull straight through to the tips. After the wiggle, draw the wand smoothly upward through the length of your lashes to the very tips. Don’t wiggle all the way up — that over-deposits product at the ends and causes clumping.
-
Use the tip of the wand for corners. Turn the wand vertically and use the very tip to reach the inner and outer corner lashes that the full wand can’t get.
This method distributes formula evenly from root to tip instead of dumping it all in one spot. Most beginners find that switching to the wiggle method alone fixes about half of their clumping problems immediately.
Layering: Two Thin Coats Beats One Thick One
Let each coat dry before adding the next
After your first coat, wait about 20–30 seconds — long enough for the formula to set slightly but not fully harden. Then apply the second coat using the same wiggle technique. If the first coat is fully dry, the wand has a smooth surface to glide over; if it’s still wet, the wand will drag and disturb it.
Cap it at two (or three, max)
The law of diminishing returns applies hard to mascara. Two thin coats give you most of the length and volume you’ll get; a third coat can work if your lashes are sparse, but beyond that you’re just building up bulk that turns into clumps. If you still want more drama after two coats, the answer is a different mascara formula, not more layers.
Focus volume at the base, length at the tips
One common mistake is applying the same heavy coat all the way through. Instead, concentrate the wiggle motion at the base (where volume matters) and use a lighter touch through the tips (where extra weight causes clumping and drooping). The outer corners can take a slightly heavier hand if you want a cat-eye effect.
The Biggest Application Mistakes That Cause Clumping
Pumping the wand
As mentioned above, pumping pushes air into the tube and dries the formula out. Instead of pumping, twist the wand inside the tube — the rotation picks up fresh product without forcing air in.
Blinking or looking up mid-application
Moving your eyes while the wand is in your lashes causes uneven contact and accidental deposits. Keep your gaze steady, looking down into the mirror, until the coat is done.
Applying to wet lashes
If you’ve just washed your face or cried (no judgment), dry your lashes fully first. Mascara applied over moisture never sets properly and tends to gather in beads.
Using a mascara that’s past its prime
Thick, gummy, or stringy mascara isn’t salvageable. Makeup artists consistently advise replacing mascara every three months, and clumping is often the first sign yours has expired. Adding water or contact solution to “revive” it only introduces bacteria — toss it instead.
Applying lower-lash mascara with the full wand
Lower lashes are finer and closer together, so they clump easily. Use just the tip of the wand, apply very lightly, and skip them entirely on days when you’re short on time. If you wear glasses, this matters even more — smudging is a constant battle, and a guide to stopping mascara smudges on glasses covers formula and technique fixes for that too.
What to Do If You Still Get Clumps
Even with good technique, a clump happens now and then. Here’s how to fix them instead of starting over:
Comb through with a clean spoolie. Keep a spare spoolie brush in your makeup bag. Right after applying (while the formula is still slightly tacky), run the spoolie through your lashes from base to tip. This breaks up clumps and separates lashes beautifully.
Use a metal lash comb for stubborn clumps. Metal lash combs have ultra-fine teeth that get between individual lashes. Use it while the mascara is still slightly wet — once it’s fully dry, combing can flake the formula off.
Blot, don’t scrape. If you see a visible blob forming, dab it gently with a clean cotton swab before it dries. Once it hardens, leave it — scraping dried mascara damages lashes.
Tweezers for the truly stuck-together. If two lashes have fused into one thick spike, gently separate them with the tips of clean tweezers while the mascara is still pliable.
Choosing a Formula That Resists Clumping
While technique matters most, formula choice helps. A few things to look for:
- Drier, waxier formulas tend to build more cleanly than very wet ones, which are more prone to blobs.
- Plastic molded wands with short, evenly spaced teeth are generally better at separating lashes than fluffy fiber brushes, which can deposit more product at once.
- Tubing mascaras form tiny water-resistant tubes around each lash and are famous for their clump-free, smudge-proof wear — worth trying if clumping is your main complaint.
Whether you choose waterproof or washable depends on your lifestyle — a comparison of waterproof and regular mascara breaks down which is better for different lash types and routines.
Frequently Asked Questions
Why does my mascara clump even though it’s new?
Brand-new mascara is often overloaded with product — the formula is at its wettest and the wand picks up a lot. Wipe the wand on a tissue before every use during the first few weeks. Some makeup artists also recommend wiping the wand neck once when you first open a tube to remove the initial glob.
Is it better to apply mascara to upper or lower lashes first?
Start with the lower lashes. The reasoning is practical: if you do your uppers first and then look up to do the lowers, the wet upper lashes can stamp onto your brow bone. Doing lowers first avoids this.
Can I use an eyelash separator after mascara dries?
It’s best to use a spoolie or lash comb while the mascara is still slightly tacky. Once fully dry, dragging a comb through can pull flakes off and make lashes look patchy rather than clumpy — though that’s still better than spider lashes.
How many coats of mascara should a beginner wear?
Two thin coats is the sweet spot for beginners. One coat looks natural and polished; two adds visible definition. Three or more coats are where clumping risk climbs sharply, so work up to that only after you’ve nailed the wiggle technique.
Why do my lashes stick together after the second coat?
Usually this means the first coat was still too wet when you applied the second, or you used too much product on the second pass. Wipe the wand before each coat and give the first coat 20–30 seconds to set. If it keeps happening, try applying the second coat only to the outer two-thirds of your lashes instead of from the base.
Does curling lashes really help prevent clumps?
Yes — curled lashes are already lifted and separated, so the wand can reach each lash individually instead of pushing through a flat mat of them. It’s one of the easiest prep steps you can add.
Conclusion
Clump-free mascara isn’t about having an expensive product — it’s about wiping the wand, using the wiggle technique, and keeping your coats thin and patient. Master these basics and your lashes will look longer, darker, and more defined without a single spider-leg in sight. If you’re still building your mascara knowledge, circle back to a complete beginner’s mascara guide for help choosing the right wand and formula for your lash type, and give the wiggle a try tomorrow morning — you’ll notice the difference on the first stroke.
Love this? Pin it for later!