How to Use a Curling Iron for Beginners (Step-by-Step)
Your first curling iron session can feel intimidating — there’s a 400-degree barrel inches from your face, hair wrapping in directions you can’t quite see, and the very real fear of burning yourself. But here’s the good news: curling iron technique is simpler than it looks, and most beginners get decent curls on their first try once they understand the sequence.
This guide walks you through every step: choosing the right barrel, prepping your hair, sectioning, the wrapping technique, timing, and finishing. It also covers the mistakes that cause the two classic beginner problems — burnt fingers and curls that fall flat within an hour. If you’re still deciding which tool to buy, start with our overview of [hot hair tools for beginners → hot-hair-tools-guide-for-beginners]; if you’re torn between tool types, read [curling wand vs curling iron → curling-wand-vs-curling-iron-difference] first.
Key Takeaways
- Prep is half the technique: fully dry hair + heat protectant + light styling product = curls that form easily and last.
- Small sections, 1 inch wide: thinner sections heat through evenly and hold curl far longer than thick chunks.
- 8–10 seconds per section is the sweet spot for most hair types; fine hair needs less, coarse hair needs slightly more.
- Let curls cool before touching them: hot curls are fragile — cooling sets the shape, touching breaks it.
- Curl away from your face for the most flattering, natural-looking result on the front sections.
Keep reading: hot hair tools guide for beginners
Before You Start: What You Need
Gather everything before the iron heats up — you don’t want to be hunting for clips with a hot barrel in your hand:
- Curling iron (1-inch barrel is the most versatile for beginners)
- Heat protectant spray — applied to every section, no exceptions. Here’s [why heat protectant matters → do-you-need-heat-protectant] if you need convincing.
- Sectioning clips (2–4)
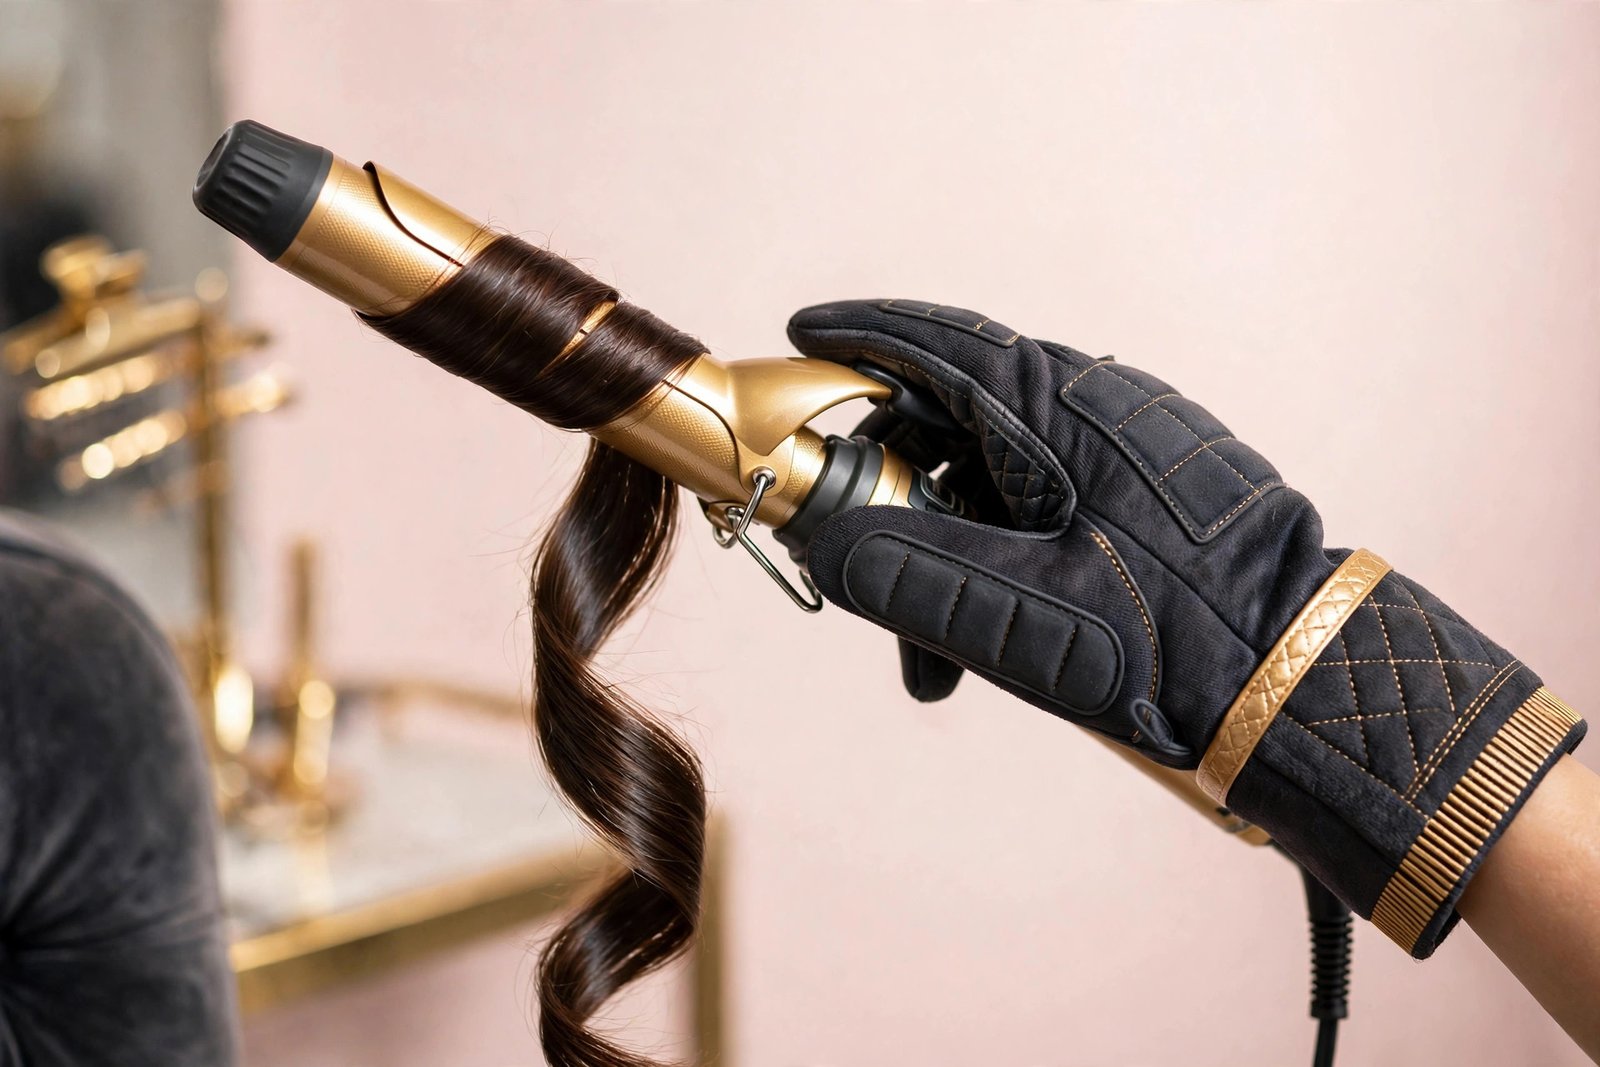
- Heat-resistant glove for your wrapping hand — strongly recommended for the first several sessions
- Light-hold hairspray or texture spray for finishing
- Wide-tooth comb or fingers for breaking up curls at the end
Choosing Your Barrel Size
Barrel diameter controls curl tightness, and curls always relax a bit after styling — so choose slightly tighter than your target:
- ¾ inch: tight ringlets and defined curls (great for short hair)
- 1 inch: classic curls — the best all-rounder for beginners
- 1¼ inch: loose waves and soft curls (ideal for medium to long hair)
- 1½ inch+: volume and barely-there bends rather than real curls
Setting the Right Temperature
Match heat to your hair type — this is a safety issue, not just a styling preference:
- Fine, thin, or damaged/bleached hair: 250–300°F
- Medium, normal hair: 300–350°F
- Thick, coarse, or resistant hair: 350–380°F
Start at the low end of your range. You can always add heat; you can’t undo damage. If hair sizzles, smokes, or smells burnt, stop and turn it down.
Step 1: Prep Your Hair Properly
Start with completely dry hair. This is the most important prep rule: never use a curling iron on damp hair. Water inside the hair shaft turns to steam at iron temperatures and causes bubble damage that weakens hair permanently. If you washed your hair, blow-dry it fully first — or style on second-day hair, which many curlers actually prefer because it has more grip and texture.
Apply heat protectant everywhere. Mist it through your hair section by section, or spray all over and comb through for even distribution. Heat protectant needs to be on the hair before heat touches it — applying it afterward does nothing.
Add grip if your hair is slippery. Very clean, fine, or silky hair resists curling — curls slide right out. A light mist of texturizing spray or a small amount of mousse worked through damp hair before blow-drying gives the iron something to grip. Don’t overdo product, though; heavy product plus heat equals sticky, weighed-down curls.
Brush through. Remove all tangles before you start. Snags catch on the barrel, cause uneven heating, and make sections harder to wrap smoothly.
Step 2: Section Your Hair
Sectioning is what separates decent curls from great ones, and it’s the step beginners skip most often. Working in small, organized sections means every strand gets even heat — which is directly why [curls fall flat → why-curls-fall-flat-after-curling] when sections are too thick.
- Divide into layers. Clip the top half of your hair up, starting with the bottom layer. Most heads need 2–3 horizontal layers: bottom (nape), middle, and top (crown).
- Work in 1-inch sections. Within each layer, take sections about 1 inch wide — roughly the width of the barrel. Thicker sections don’t heat through to the center, so the outside overcooks while the inside stays straight, and the curl collapses within the hour.
- Work bottom to top, back to front. Start at the nape (back bottom), finish each layer before unclipping the next, and save the face-framing front pieces for last — they’re the most visible, so do them when your technique is warmed up.
Step 3: The Wrapping Technique
Here’s the core motion. It feels awkward for about three sections, then becomes automatic.
- Hold the iron correctly. Grip the handle with the clamp facing forward and the barrel pointing slightly downward. Your wrapping hand (with the heat glove on) does the guiding.
- Clamp near the ends — not the roots. Open the clamp and catch the ends of your 1-inch section about 1–2 inches from the tips. Clamping at the roots and wrapping down is an advanced technique; clamping the ends and wrapping up is the beginner-friendly method.
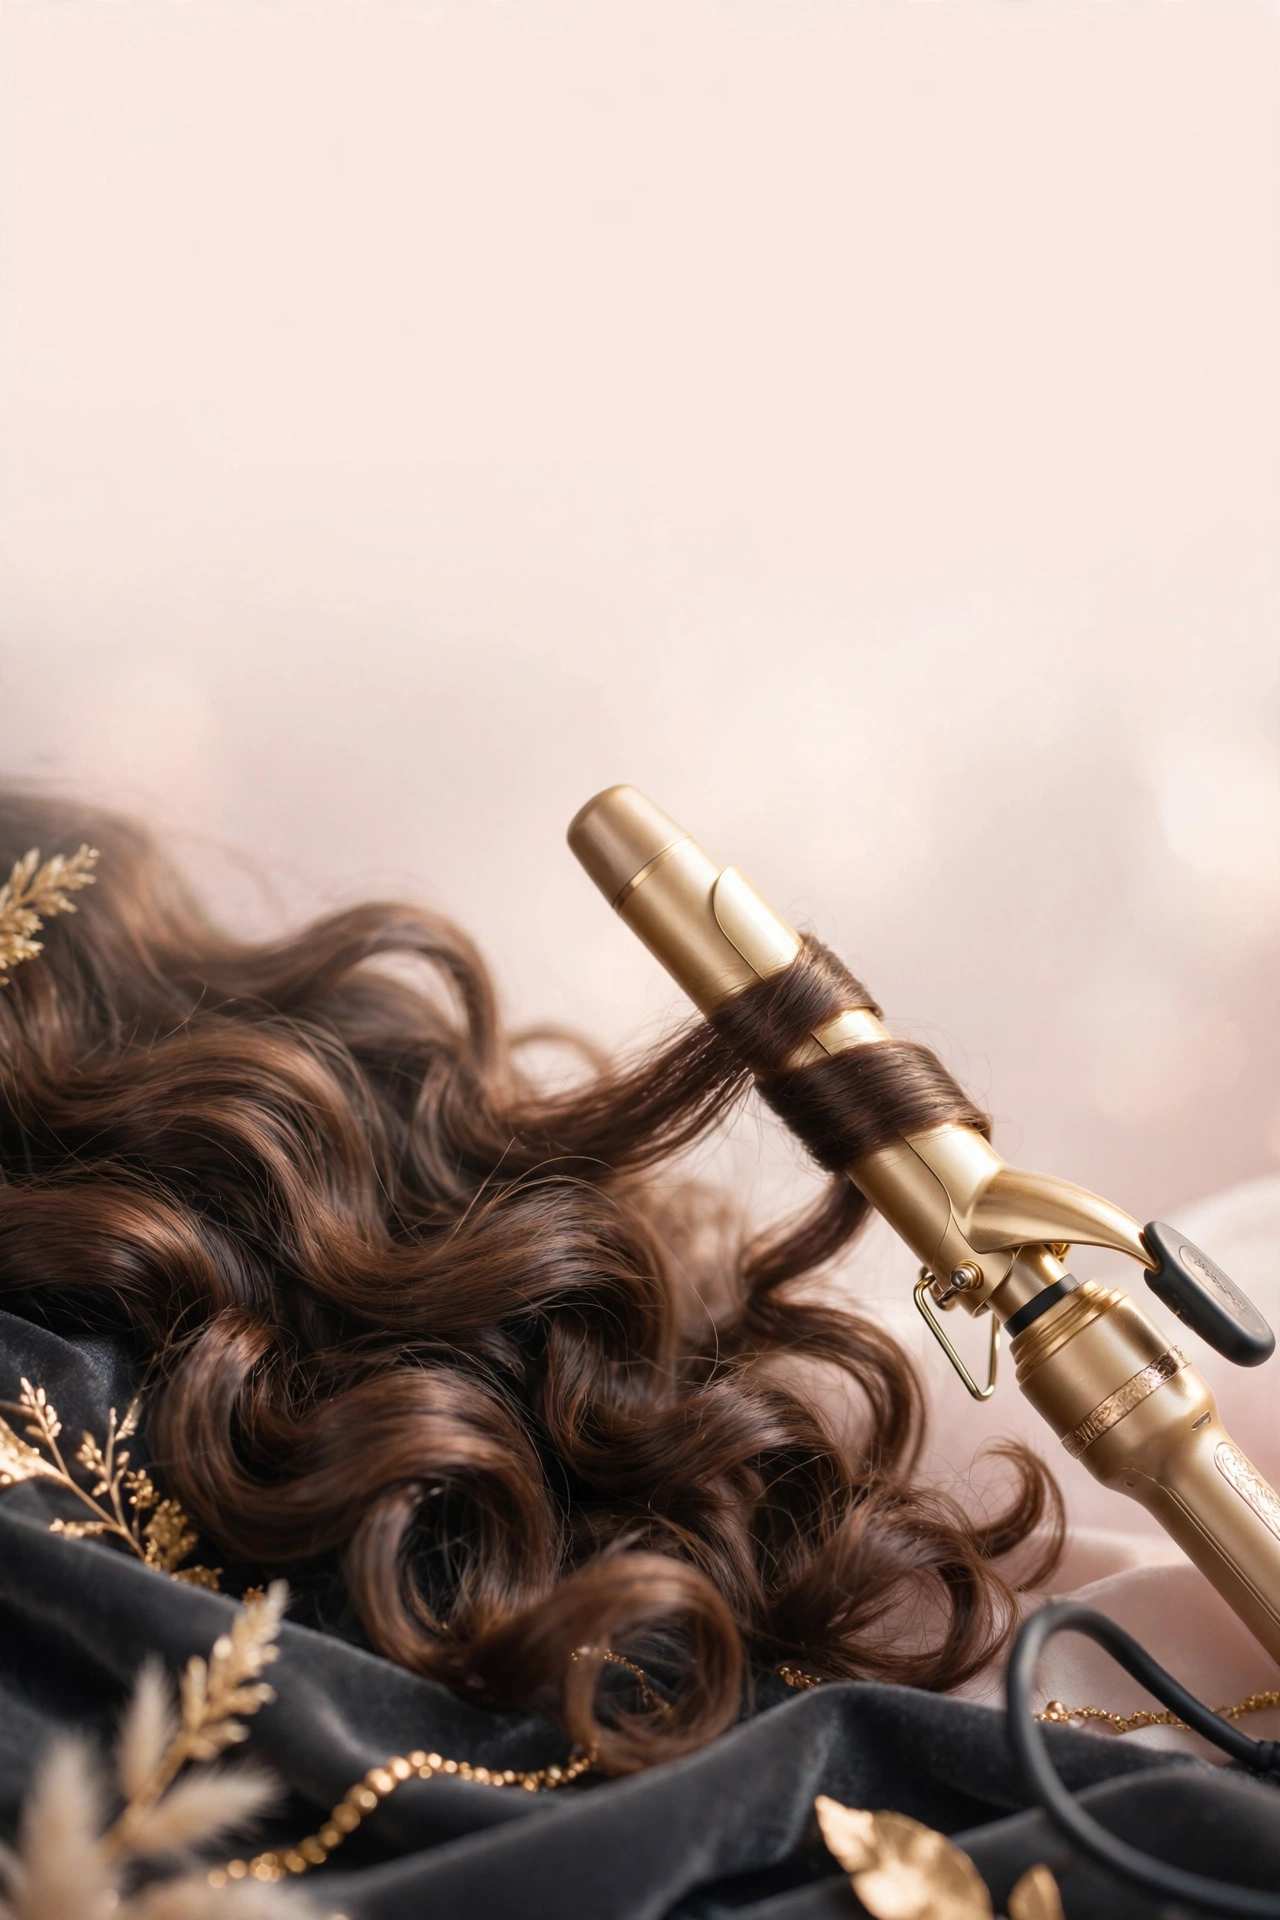
- Wrap the hair around the barrel. Twist the iron so the section wraps flat around the barrel, working upward toward the roots. Keep the hair flat against the barrel — overlapping or twisting the section creates uneven heat and weird kinks. Leave the very tips slightly out for a modern, relaxed finish, or tuck them in for a polished curl.
- Hold 8–10 seconds. Count it out. Fine hair may need only 5–8 seconds; thick hair may need 10–12. Don’t guess — under-heating gives curls that drop immediately, over-heating causes damage.
- Release and let it cool. Open the clamp and let the curl slide off — or better, catch it in your palm (with the glove) and hold it for a few seconds, then pin it or just let it hang. Do not touch, brush, or shake hot curls. Cooling is when the curl’s shape sets; disturbing it breaks the shape before it locks in.
- Repeat section by section. Work through each layer the same way. Consistency in section size, wrap direction, and timing is what makes curls look intentional rather than random.
Which Direction Should You Curl?
Away from the face is the default for the front sections — it opens up your features and looks the most natural. To curl away from your face on the right side, wrap hair clockwise around the barrel (when the barrel points down); on the left side, counterclockwise. For the back sections, alternating directions (one toward, one away) creates more natural, voluminous texture than curling everything the same way. Uniform direction gives a polished, pageant-style look; alternating gives effortless, modern waves.
Step 4: Finishing for Curls That Last
Once every section is curled and fully cooled (give it 5–10 minutes — make coffee, do your makeup):
- Break them up gently. Run your fingers or a wide-tooth comb through the curls to soften them into waves. Never brush hot or just-finished curls with a paddle brush unless you want them gone.
- Mist with light-hold hairspray. Hold the can 10–12 inches away and mist lightly — a heavy shell of hairspray makes curls crunchy and actually weighs them down faster.
- Flip and shake. Flip your head upside down, gently shake the roots, and flip back for volume.
For extra longevity, a pea-sized amount of texturizing cream scrunched into the ends adds definition without stiffness. And if your curls consistently die by lunchtime despite good technique, the culprit is usually section size, skipped heat protectant, or touching curls while hot — our guide to [why curls fall flat after curling → why-curls-fall-flat-after-curling] troubleshoots every cause.
Beginner Mistakes (and How to Fix Them)
Burning Your Fingers, Neck, or Ears
The most common beginner injury. Wear the heat-resistant glove on your wrapping hand for at least your first dozen sessions — there’s no prize for toughing it out. Keep the barrel away from your neck by holding sections outward as you wrap, and tilt your ear away when curling front pieces. Rest the iron on a heat-resistant mat, never on the counter edge where it can roll.
Curls That Fall Flat Within an Hour
The big four causes: sections too thick, temperature too low, touching curls while hot, and no heat protectant or styling product. Fix them in that order — section size alone solves this problem for most beginners.
Clamp Marks and Kinks
Those little dents where the clamp gripped come from clamping too tightly or leaving the clamp in one spot. Keep the clamp tension light, keep the section moving smoothly as you wrap, and don’t re-clamp the same spot. Slight marks usually relax as curls cool.
Uneven Curls — Some Tight, Some Straight
Inconsistent section sizes and timing. Measure sections against the barrel width, count your seconds, and work methodically. Rushing the back sections (which you can’t see well) is the usual culprit — use a hand mirror to check.
Frizzy, Dull Curls
Usually a sign of heat damage buildup or skipped heat protectant. Drop your temperature 25 degrees, make sure protectant goes on every section, and add a weekly deep-conditioning mask to your routine. If frizz persists, your ends may need a trim — damaged ends don’t curl cleanly no matter the technique.
Keep reading: do you need heat protectant
Heat Safety Reminders
Because it bears repeating: hot tools demand respect every single time.
- Heat protectant on every section, every session. Not optional.
- Fully dry hair only. Damp hair + curling iron = steam damage inside the shaft.
- Lowest effective temperature. If 300°F curls your hair, don’t use 400°F.
- Unplug when done and let the iron cool on a heat mat away from edges where it could fall.
- Give hair rest days. Curling daily with perfect technique still accumulates stress — alternate with heatless styles a few days a week.
Frequently Asked Questions
How long should I hold the curling iron on my hair?
8–10 seconds per 1-inch section works for most hair types. Fine or damaged hair: 5–8 seconds. Thick or coarse hair: 10–12 seconds. Holding longer doesn’t make curls last longer — it just adds damage. If curls aren’t forming in that window, your section is too thick or your temperature is too low.
Should I curl my hair when it’s wet or dry?
Always dry — completely dry. Using a curling iron on damp hair causes water inside the shaft to flash into steam, creating tiny blisters (“bubble hair”) that permanently weaken the strand. Blow-dry fully first, or curl second-day hair.
Keep reading: why curls fall flat after curling
Why won’t my hair hold a curl?
The most common reasons: sections too thick to heat through, temperature too low for your hair type, touching or brushing curls before they cool, skipping heat protectant or styling products, or hair that’s too clean and slippery. Work through these one at a time — section size and cooling time fix it for most people. Full troubleshooting: [why curls fall flat after curling → why-curls-fall-flat-after-curling].
Keep reading: curling wand vs curling iron
Is a curling iron or wand better for beginners?
A curling iron is better for beginners. The clamp holds your hair in place while it heats, so you only manage one motion — wrapping. A wand requires you to hold the hair against the barrel yourself (with a glove), which adds coordination difficulty. Wands give more natural, beachy results, but learn on an iron first. Compare both in [curling wand vs curling iron → curling-wand-vs-curling-iron-difference].
How do I curl the back of my head if I can’t see it?
Work by feel in small sections, keep your section sizes consistent, and check with a hand mirror facing your bathroom mirror after each layer. Many beginners find it easier to bring back sections forward over the shoulders to wrap them where they can see. It takes practice — the back doesn’t need to be perfect since it’s the least visible area.
Keep reading: beginner’s guide to hot hair tools
Conclusion
Using a curling iron comes down to a repeatable sequence: dry hair, heat protectant, small sections, clamp the ends, wrap flat, hold 8–10 seconds, release, and let curls cool untouched. Nail that sequence and the rest — direction, barrel size, finishing — is personalization.
Your first session won’t be salon-perfect, and that’s fine. By the third or fourth time, the wrapping motion will feel natural and your timing will be instinctive. Keep the heat safety habits from day one — protectant, right temperature, dry hair only — and you’ll build skill without sacrificing hair health. For the bigger picture of building your hot tool kit, revisit our [hot hair tools guide for beginners → hot-hair-tools-guide-for-beginners], and enjoy the curls.
Love this? Pin it for later!