Hot Hair Tools for Beginners: What You Actually Need
Walk into any beauty aisle and the hot tool wall is overwhelming: curling irons in six barrel sizes, flat irons with a dozen plate materials, blow dryers promising ionic this and tourmaline that. If you’re new to heat styling, it’s hard to know what you actually need versus what’s marketing.
This guide cuts through the noise. You’ll learn what each major hot tool does, who actually needs it, how to buy your first one without overspending, and — most importantly — the heat safety basics that protect your hair from damage. By the end, you’ll know exactly which one or two tools deserve a spot on your bathroom counter. For step-by-step technique once you’ve chosen, see our beginner walkthroughs for [curling irons → how-to-use-curling-iron-for-beginners] and [flat irons → how-to-straighten-hair-with-flat-iron-without-damage].
Key Takeaways
- Most beginners need only one tool: a 1-inch curling iron covers curls and waves; a flat iron covers straightening plus loose waves. Buy for the style you wear most.
- Heat protectant is non-negotiable: every heat styling session, every time, on dry hair — it reduces heat damage significantly.
- Temperature should match your hair type: fine/damaged hair 250–300°F, medium hair 300–350°F, thick/coarse hair 350–400°F. Never max out the dial “just in case.”
- Never use hot tools on wet or damp hair: water boils inside the hair shaft at high heat, causing bubble damage you can’t reverse.
- Material matters less than temperature control: an adjustable heat setting is the single most important feature on any beginner tool.
The Big Three: What Each Hot Tool Does
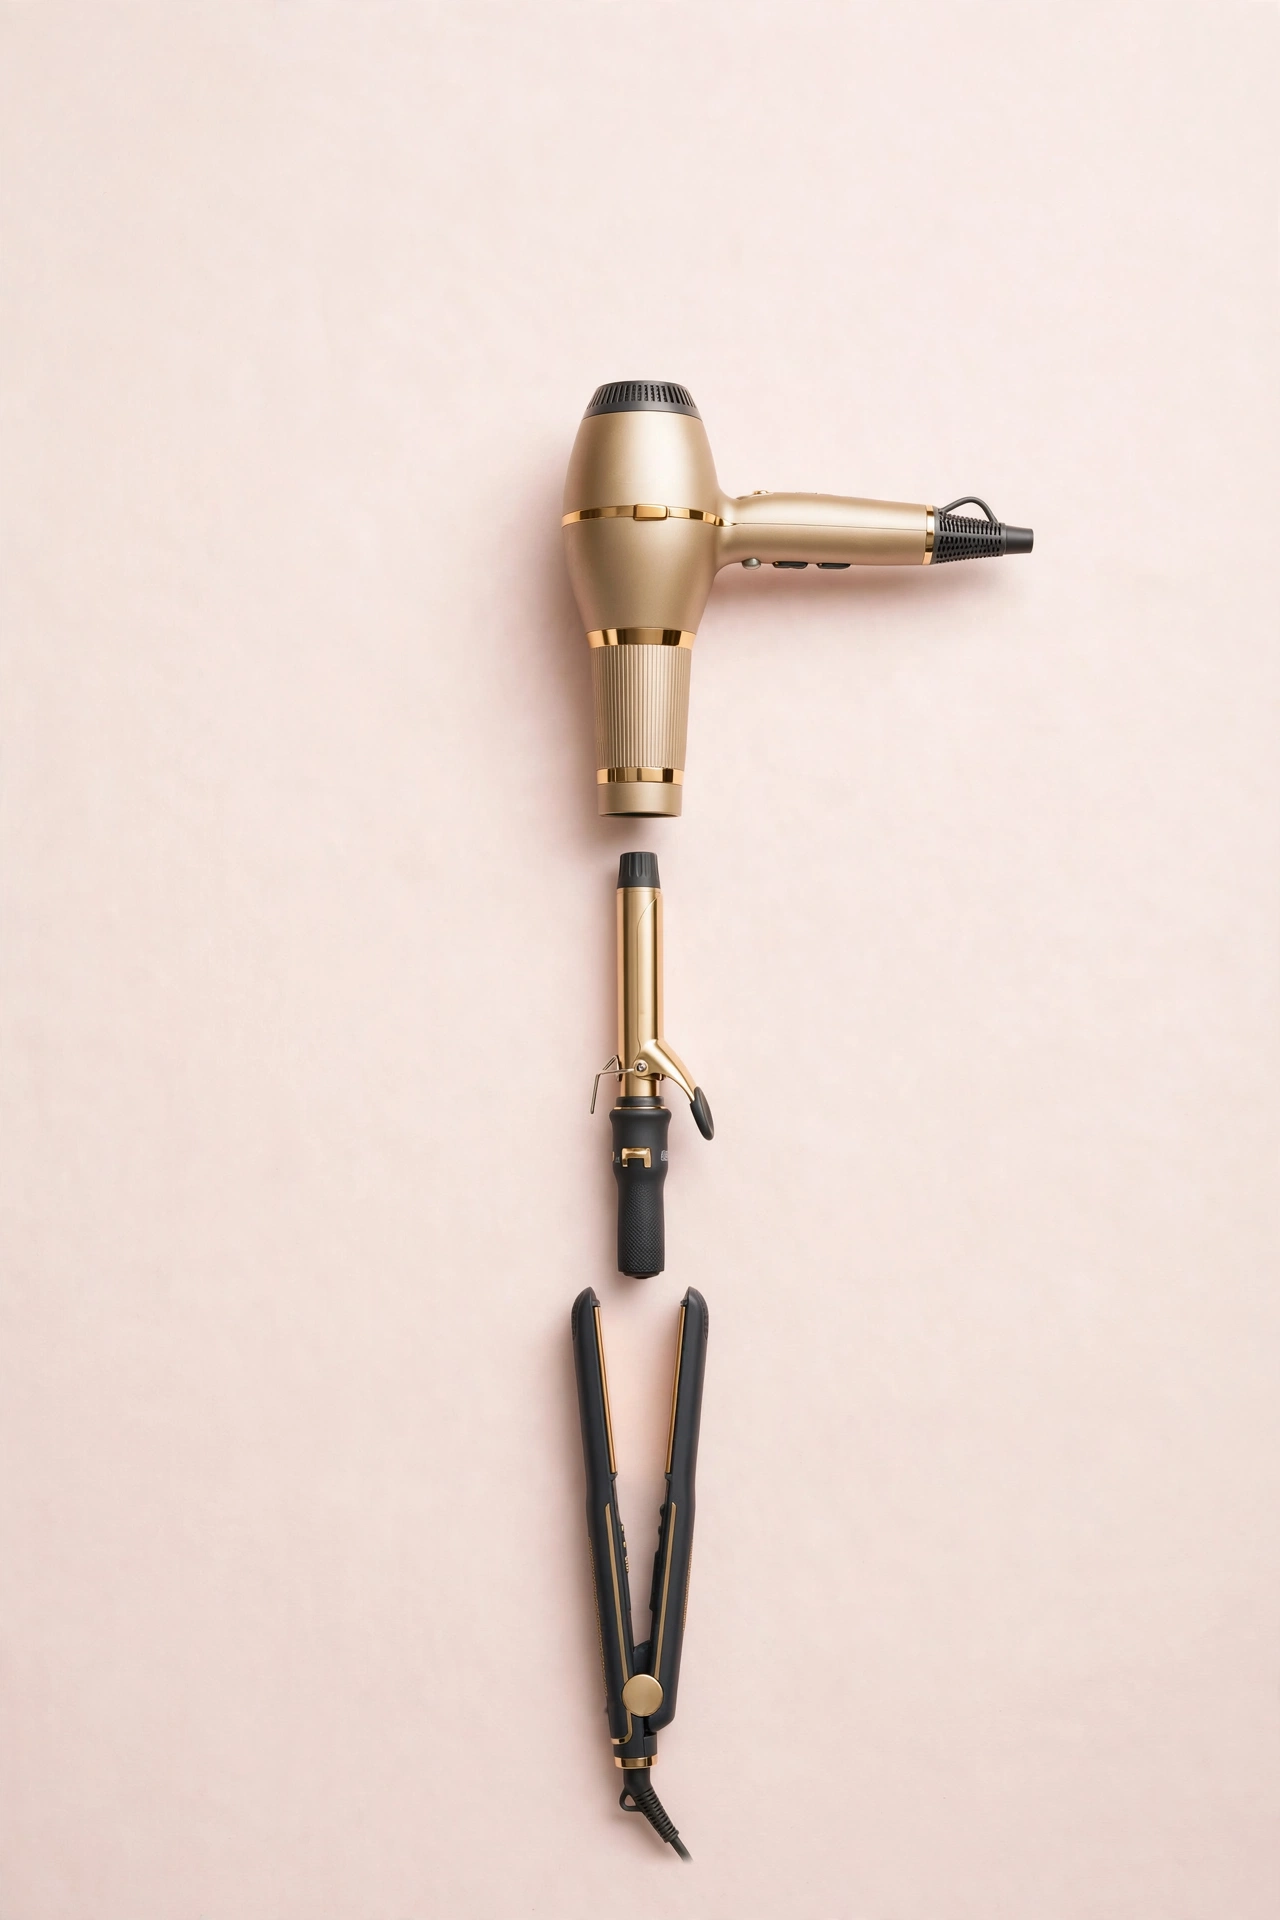
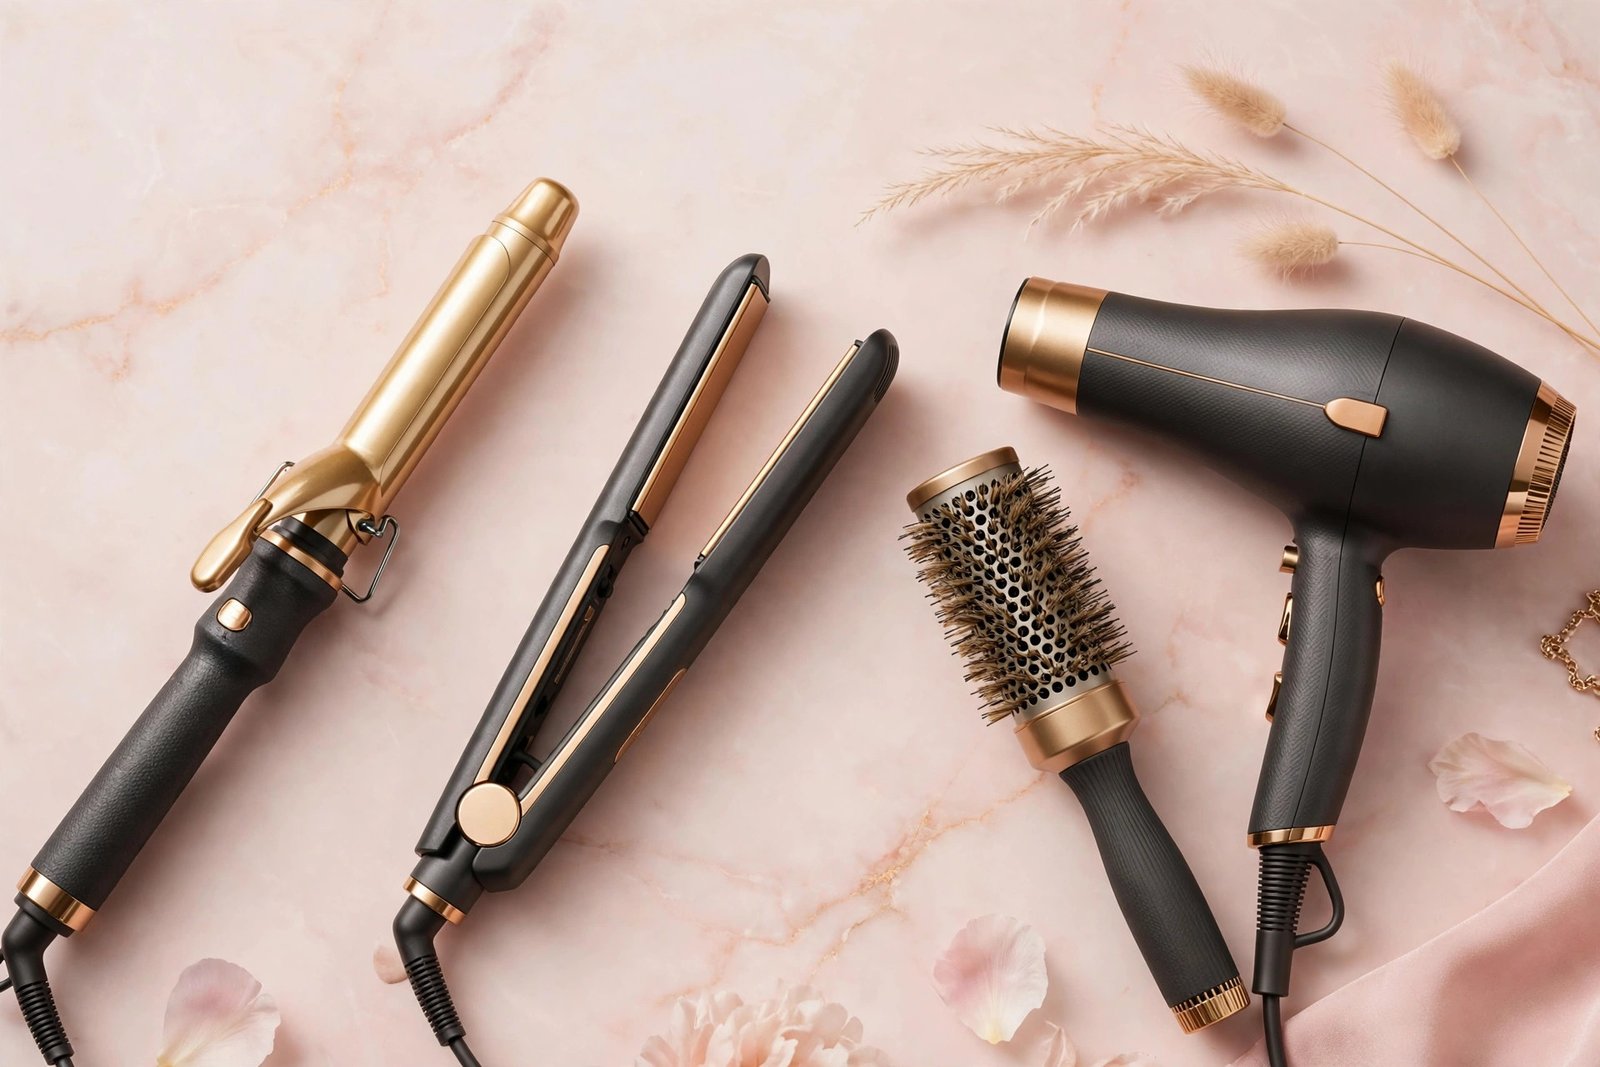
There are really only three categories that matter for beginners. Everything else — wands, brushes, crimpers, hot rollers — is a variation or a specialty tool.
Curling Irons: Curls, Waves, and Volume
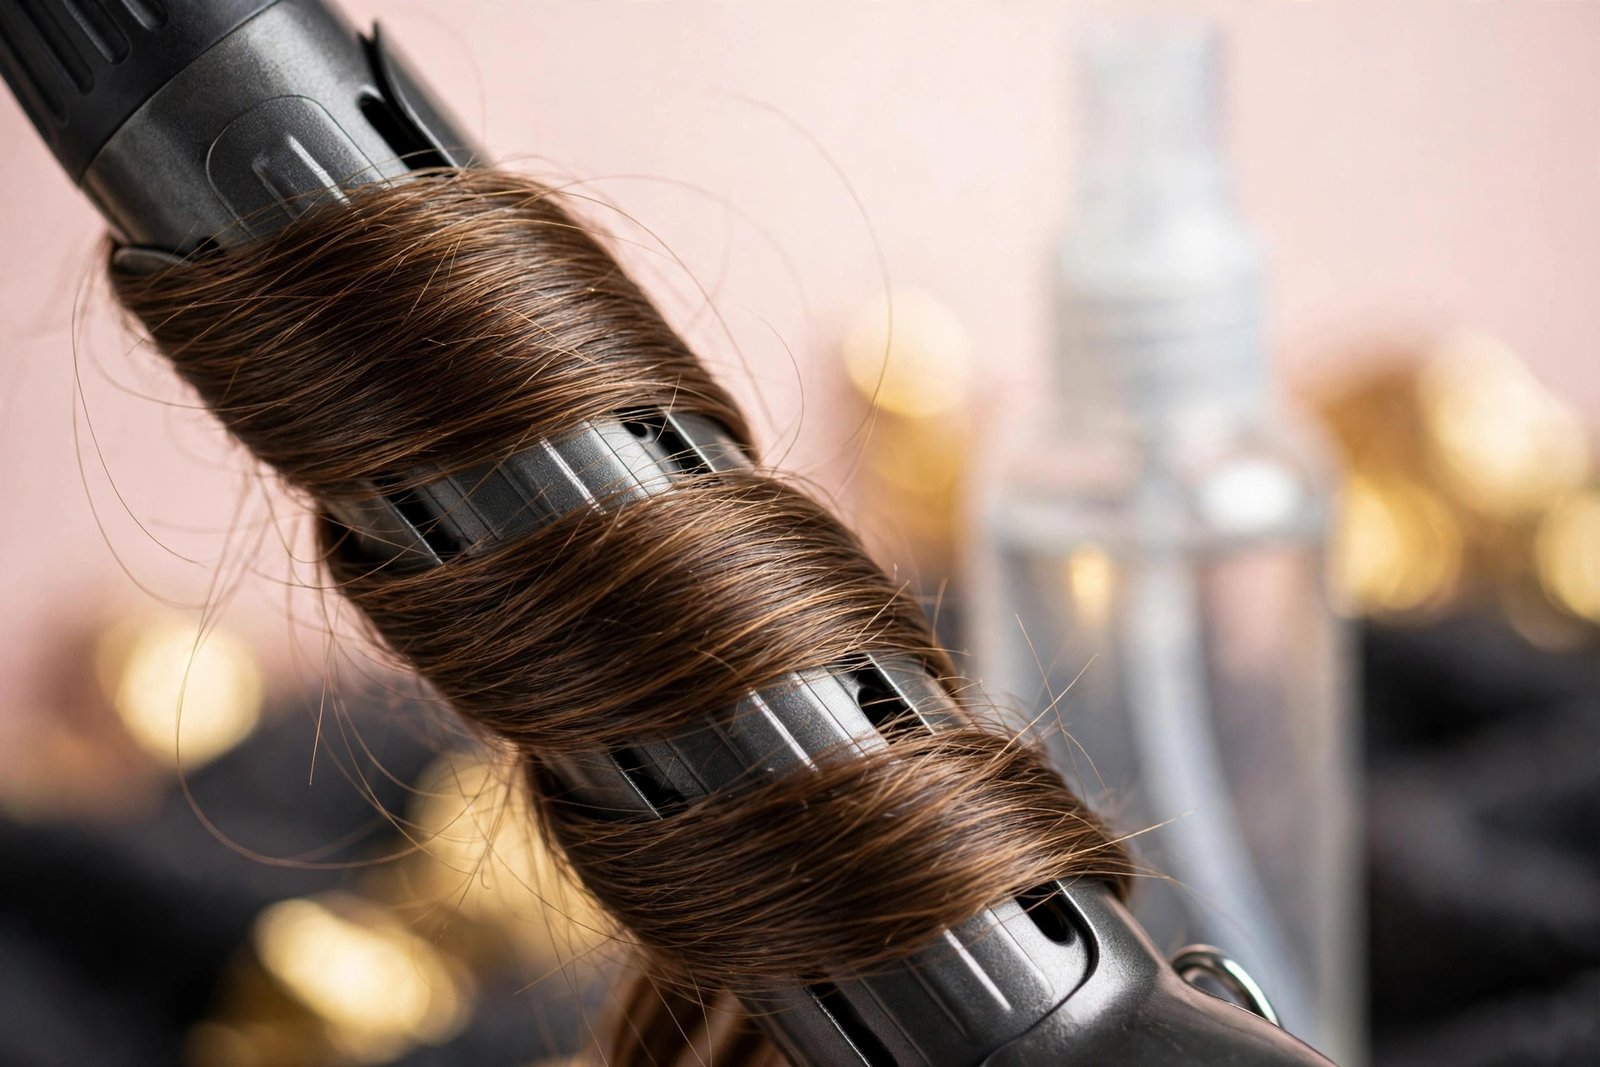
A curling iron has a clamp that holds your hair against a heated barrel while it sets the curl. It’s the most versatile curling tool for beginners because the clamp does the holding for you — you wrap, wait a few seconds, and release. Barrel size determines curl type: smaller barrels (¾ inch) make tight ringlets, 1 inch makes classic curls, and 1¼–1½ inches make loose waves and volume.
Who needs one: anyone who wants curls or waves regularly, from defined curls to beachy texture. If you only buy one hot tool and you like wearing your hair with texture, this is it.
Keep reading: how to use a curling iron step-by-step
Flat Irons (Straighteners): Sleek, Straight Hair
A flat iron has two heated plates that clamp sections of hair and glide from root to tip, smoothing the cuticle into a straight, sleek finish. But flat irons aren’t only for straightening — with a twist of the wrist, they also create loose waves and bends, which makes them the most versatile single tool overall.
Who needs one: anyone who wears their hair straight regularly, plus anyone with frizz who wants a smoothing option. If your natural texture is wavy or curly and you want the option of sleek hair, a flat iron is essential.
Keep reading: how to straighten hair with a flat iron without damage
Blow Dryers (and Blow Dryer Brushes): The Foundation Tool
A blow dryer dries hair with hot air and, paired with a brush, shapes it — adding volume at the roots, smoothing lengths, or creating a bouncy blowout. Blow dryer brushes combine the dryer and a round brush in one tool, making at-home blowouts dramatically easier for beginners who struggle to coordinate a dryer and brush simultaneously.
Who needs one: everyone, honestly — you need to dry your hair somehow, and a dryer with a concentrator nozzle gives you control that air-drying can’t. A blow dryer brush is worth it if you want salon-style blowouts without the coordination challenge. Our [blow dryer brush guide → blow-dryer-brush-guide-for-beginners] covers technique in detail.
Keep reading: blow dryer brush guide for beginners
The Specialty Tools (Probably Skip for Now)
- Curling wands (no clamp) give more natural, beachy curls but are harder to learn — the clamp-free design means you hold hair in place yourself. Wondering which to buy? Read [curling wand vs curling iron → curling-wand-vs-curling-iron-difference] before deciding.
- Hot rollers are gentle and great for volume but slow and bulky.
- Crimpers make zigzag texture — fun, but a niche look most beginners don’t need.
- Automatic curlers (spin-and-curl devices) promise ease but get mixed reviews on results and tangling.
Start with one of the big three. You can always add a specialty tool later once you know your styling habits.
Heat Safety Basics: The Rules That Prevent Damage
This is the most important section in this guide. Heat styling is safe when done correctly, but hot tools can genuinely damage hair when used carelessly. These rules apply to every tool, every time.
Rule 1: Always Use Heat Protectant
Heat protectant sprays and creams form a barrier between your hair and the hot tool, distributing heat more evenly and reducing moisture loss. Apply it to every section before it touches heat — not after, not sometimes. It’s the single highest-impact habit in heat styling. If you’re wondering whether it’s truly necessary, the short answer is yes: see [do you really need heat protectant → do-you-need-heat-protectant] for the full explanation.
Rule 2: Match Temperature to Your Hair Type
More heat is not better — it’s just more damaging. Use the lowest temperature that gives you results:
| Hair type | Recommended range |
|---|---|
| Fine, thin, or damaged/bleached hair | 250–300°F (120–150°C) |
| Medium, normal hair | 300–350°F (150–175°C) |
| Thick, coarse, or resistant hair | 350–400°F (175–200°C) |
Test on a small hidden section first. If your hair smells burnt, sizzles, or smokes, the temperature is too high — turn it down immediately. Never use a tool without adjustable heat on a “one temperature fits all” setting if your hair is fine or damaged.
Rule 3: Never Use Hot Tools on Wet or Damp Hair
This is the rule beginners break most often, usually by rushing. When water trapped inside the hair shaft hits a 350°F plate, it turns to steam instantly — literally boiling inside your hair. This causes “bubble hair,” tiny steam blisters inside the shaft that weaken it permanently and lead to breakage. Hair must be completely dry before flat irons or curling irons touch it. (Blow dryers are the exception — they’re designed for damp hair — but even then, rough-dry to about 80% before using a round brush for styling.)
Rule 4: One Pass, Maybe Two — Not Five
Repeated passes over the same section compound damage. Work in small sections so one slow, steady pass does the job. If a section isn’t straight or curled after two passes, your section is too thick or your temperature is too low — fix the technique, not the pass count.
Rule 5: Give Hair (and Tools) Rest Days
Heat styling every single day accumulates damage even with protectant. Aim for 2–3 heat-free days per week, and learn a couple of heatless styles (braids, buns, twists) for off days. Also let tools cool completely before storing, keep cords away from water, and unplug tools when you’re done — basic safety that matters more than people think.
Warning Signs You’re Overdoing It
Watch for these signals that your heat routine needs adjusting: hair that smells burnt after styling, ends that look frayed or white-dotted, breakage and short flyaways around the crown, curls that won’t hold anymore, or hair that feels straw-like despite conditioning. If you notice these, drop your temperature, reduce frequency, add a weekly deep-conditioning mask, and consider a trim to remove damaged ends.
How to Choose Your First Tool
The Features That Actually Matter
Adjustable temperature control. This is the number-one feature. A tool with a single “on” temperature gives you zero control over damage. Look for a digital display or clearly marked dial with a real range (not just “low/medium/high”).
Plate/barrel material. Ceramic distributes heat evenly and is the best all-rounder for beginners — affordable and gentle. Tourmaline (often a coating over ceramic) adds negative ions that reduce frizz. Titanium heats fastest and hottest — great for thick, resistant hair but easy to overdo on fine hair. For a first tool, ceramic or ceramic-tourmaline is the sweet spot.
Size. For curling irons, 1 inch is the most versatile barrel for beginners — it makes defined curls on shorter hair and soft waves on longer hair. For flat irons, 1-inch plates handle most hair lengths; wider plates (1.5 inch) are faster on very long, thick hair but clumsier for detail work.
Auto shut-off. Tools left on are a fire hazard. Auto shut-off (usually after 30–60 minutes) is a safety feature worth having, especially in a busy household.
What to Skip as a Beginner
- The most expensive pro model. A $40–$80 tool with adjustable heat and ceramic plates performs beautifully for beginners. Expensive tools offer faster heat-up and longer lifespan, which matter for daily salon use — not for learning.
- Multi-barrel interchangeable sets. They’re fun but overwhelming; master one barrel size first.
- Tools without adjustable heat. No matter how cheap or cute, skip them.
A Sensible First Kit
If you’re starting from zero, here’s the minimum viable setup:
- One hot tool — curling iron (1-inch) or flat iron (1-inch), whichever matches the style you wear most
- Heat protectant spray — non-negotiable
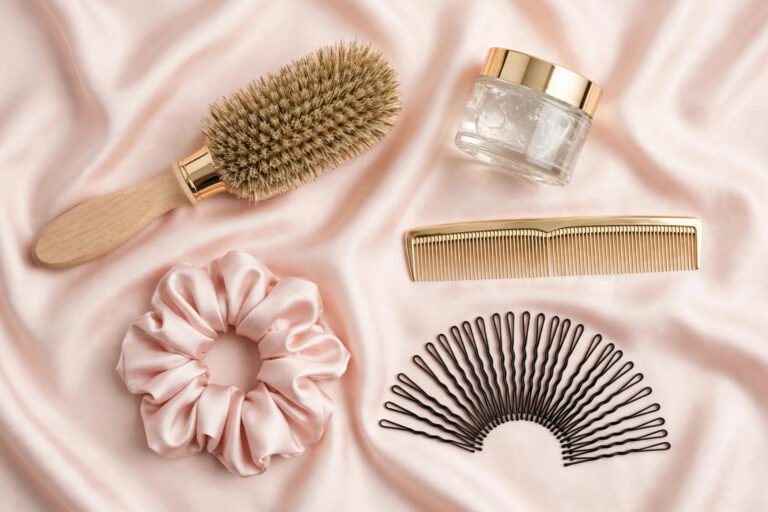
- Sectioning clips — working in sections is half of good technique
- A heat-resistant glove or mat — burns are the most common beginner injury; a glove for your wrapping hand and a mat to rest the hot tool on prevent most of them
That’s it. Everything else can wait until you’ve built the habit. Resist the urge to buy a full arsenal upfront — most beginners discover their second tool purchase is far smarter once they’ve spent a month learning what their hair and routine actually need.
Building Heat Styling Into Your Routine
Hot tools work best as part of a hair care routine that supports them, not as a rescue operation on neglected hair. Regular trims (every 8–12 weeks) keep ends healthy so heat doesn’t travel up splits. A weekly deep-conditioning mask or treatment replenishes the moisture that heat styling removes. And a [solid foundational hair care routine → hair-care-routine-for-beginners] — the right shampoo, conditioner, and leave-in for your hair type — makes every heat styling session easier and less damaging.
On styling days, the order of operations is: wash and fully dry hair → apply heat protectant → section → style with the tool → finish with a light-hold product if desired. Don’t apply heavy oils before heat styling — they can fry on the hair shaft at high temperatures. Lightweight heat protectant first, oils and serums after styling to add shine.
Caring for Your Tools (So They Last)
Hot tools are an investment, and a little maintenance keeps them performing safely for years. Wipe plates and barrels with a slightly damp cloth once they’re cool — product buildup on plates creates hot spots that heat unevenly and can transfer sticky residue to your hair. For stubborn buildup, a paste of baking soda and water on a soft cloth works, but never use abrasive scrubbers that scratch ceramic coatings; scratched plates snag hair and heat unevenly.
Store tools properly: wrap cords loosely (never tightly around the barrel, which stresses the internal wiring), use the heat-resistant pouch or mat that came with the tool, and keep them in a dry place. Inspect cords periodically for fraying or exposed wire — a damaged cord is a shock and fire risk, and the tool should be replaced, not taped up.
Know when to replace: if a tool takes much longer to heat up than it used to, if the temperature feels inconsistent, if plates no longer close evenly, or if the coating is visibly chipped or peeling, it’s time for a new one. A failing tool forces you to compensate with extra passes and higher heat — exactly the habits that damage hair. Most quality tools last 3–5 years with regular use.
Keep reading: beginner hair care routine
Frequently Asked Questions
What hot tool should a beginner buy first?
Buy for the style you wear most. If you want curls and waves, get a 1-inch curling iron with adjustable heat — the clamp makes it the easiest curling tool to learn. If you want straight, sleek hair (with the option of flat-iron waves), get a 1-inch ceramic flat iron. Either way, prioritize adjustable temperature over brand name, and budget $40–$80.
Are hot tools bad for your hair?
Hot tools cause damage when misused — too much heat, no protectant, wet hair, daily use — but they’re safe as part of a sensible routine. The research-backed approach: always use heat protectant, use the lowest effective temperature for your hair type, never style wet hair with irons, and take heat-free days. Hair that’s regularly trimmed and deep-conditioned handles occasional heat styling very well.
Keep reading: curling wand vs curling iron — which should you buy
What’s the difference between a curling iron and a curling wand?
A curling iron has a clamp that holds hair against the barrel; a wand has no clamp — you wrap hair around it manually (usually with a heat glove). Irons are easier for beginners because the clamp does the holding. Wands produce more natural, beachy, clamp-mark-free curls but have a steeper learning curve. Our full comparison, [curling wand vs curling iron → curling-wand-vs-curling-iron-difference], breaks down which suits different goals.
Can I use a flat iron on wet hair?
No — never use a flat iron or curling iron on wet or damp hair. The water inside the hair shaft turns to steam at iron temperatures, causing bubble damage and breakage that can’t be repaired. Some tools are marketed as “wet-to-dry,” but stylists overwhelmingly recommend drying hair completely first. Blow dryers are the only hot tools designed for damp hair.
How often can I use heat on my hair without damage?
Most hair types handle heat styling 2–4 times per week safely when you use heat protectant, appropriate temperatures, and good technique. Daily heat styling accelerates damage even with precautions. If you heat style often, weekly deep conditioning and regular trims become essential, and heat-free styling days help your hair recover.
Why does my hair smell burnt after using hot tools?
A burnt smell means the temperature is too high for your hair, there’s product buildup frying on the shaft, or you’re doing too many passes. Turn the heat down, clarify occasionally to remove buildup, use one slow pass per section, and make sure hair is fully dry. Persistent burnt smell despite lower heat can signal existing damage — consider a trim and a break from heat.
Conclusion
You don’t need a drawer full of hot tools to style your hair beautifully — you need the right one or two, used correctly. Start with a single versatile tool matched to the style you wear most, insist on adjustable heat and ceramic plates, and treat heat protectant and proper temperature as non-negotiable every single time.
Learn one tool well before adding another: master the [curling iron basics → how-to-use-curling-iron-for-beginners] or [flat iron technique → how-to-straighten-hair-with-flat-iron-without-damage], build the safety habits into muscle memory, and your hair will stay healthy while you enjoy the styling. Hot tools are only the enemy when they’re misused — with the right knowledge, they’re simply the fastest route to the hair you want.
Love this? Pin it for later!