Slicked Back Bun Tutorial: The Clean-Girl Look, Step by Step
The slicked-back bun is the defining hairstyle of the clean-girl aesthetic: hair pulled smooth and tight, not a flyaway in sight, finished in a neat bun at the crown or nape. It looks expensive, takes ten minutes, and works for the gym, the office, and dinner alike.
The difference between a bun that looks sleek and one that looks severe — or one that falls apart by lunch — comes down to product choice, brushing technique, and knowing how to adapt the method to your hair type. This tutorial covers all of it.
What You Need
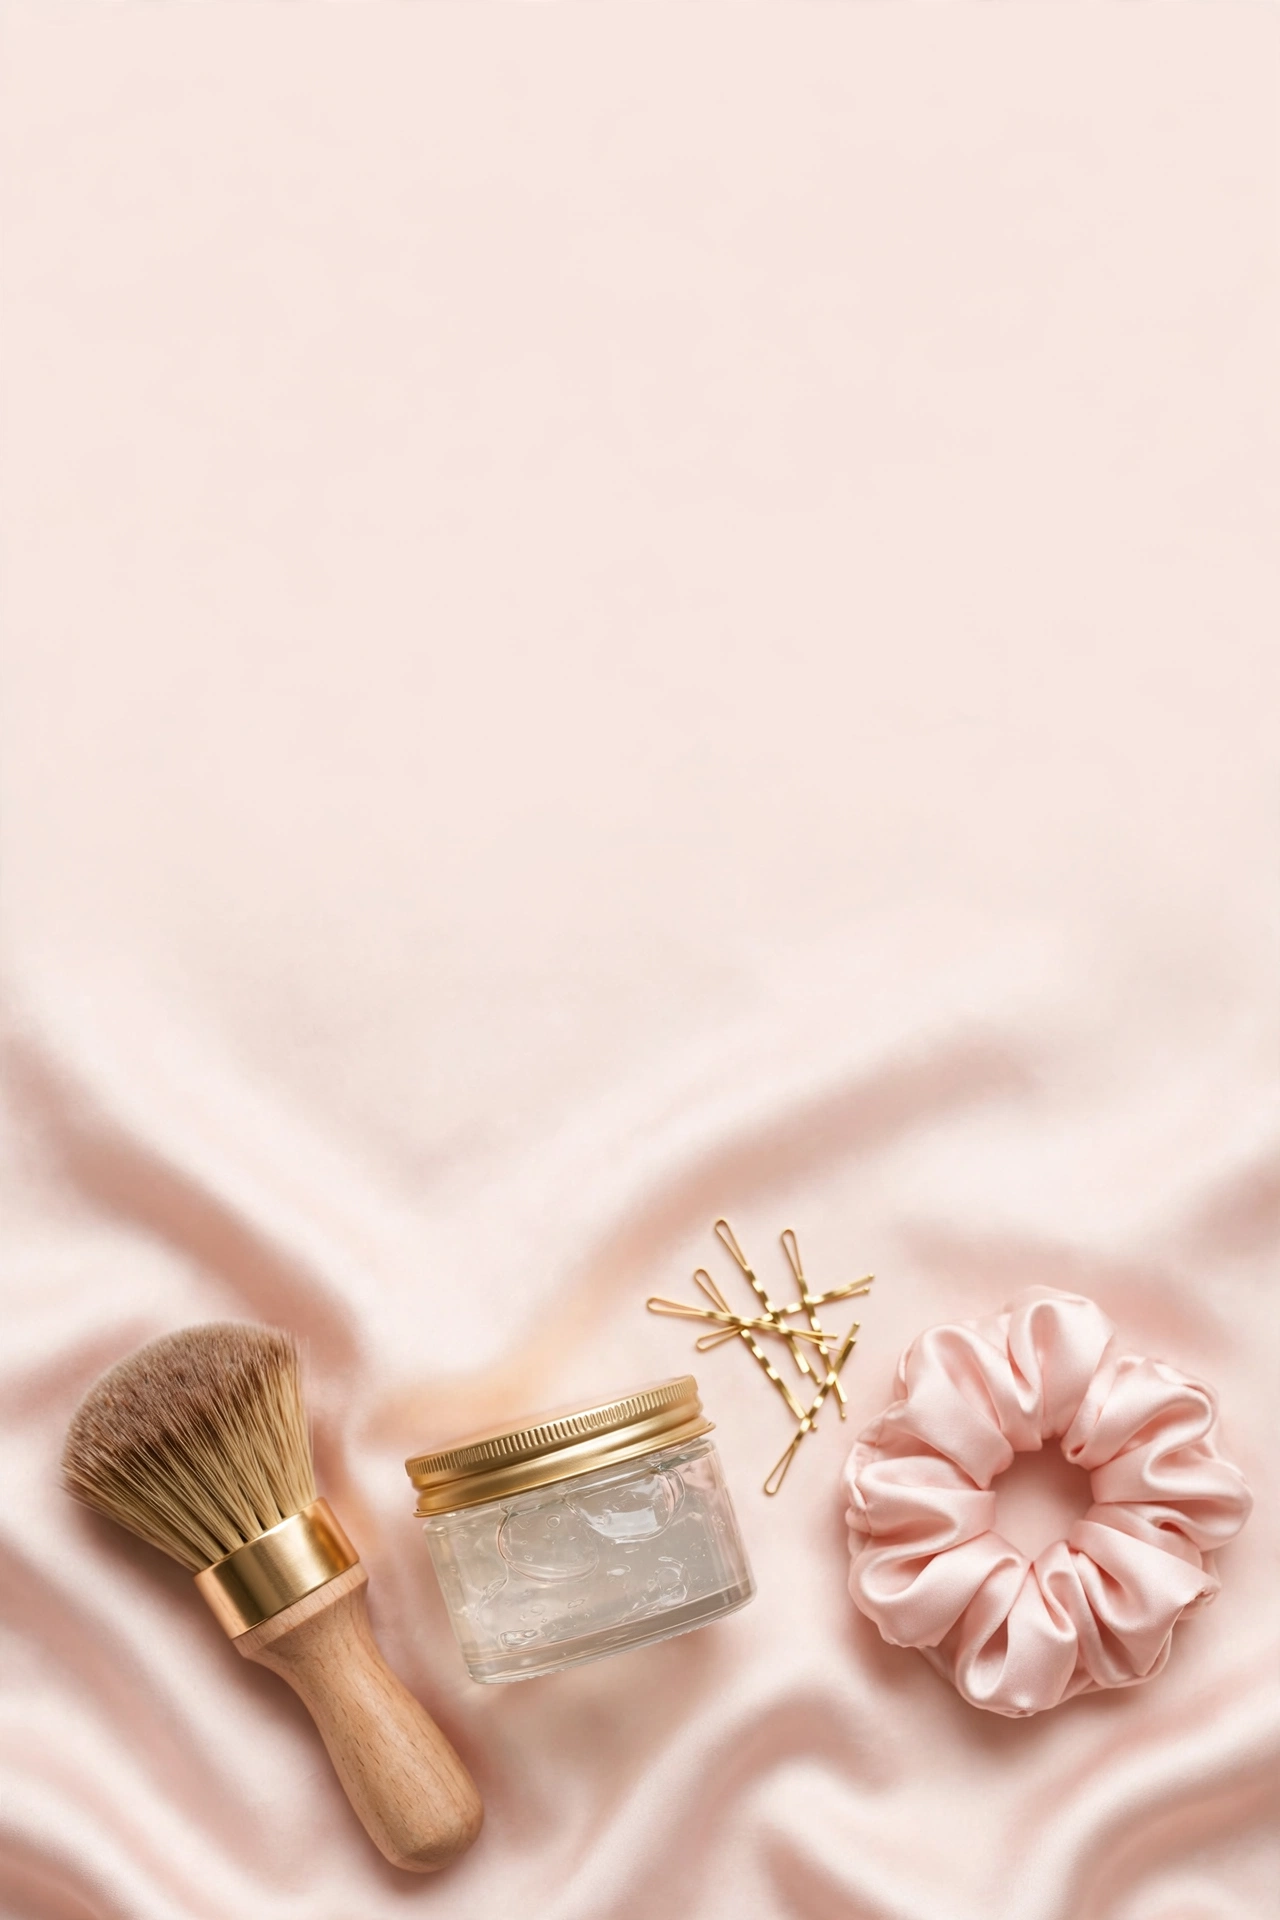
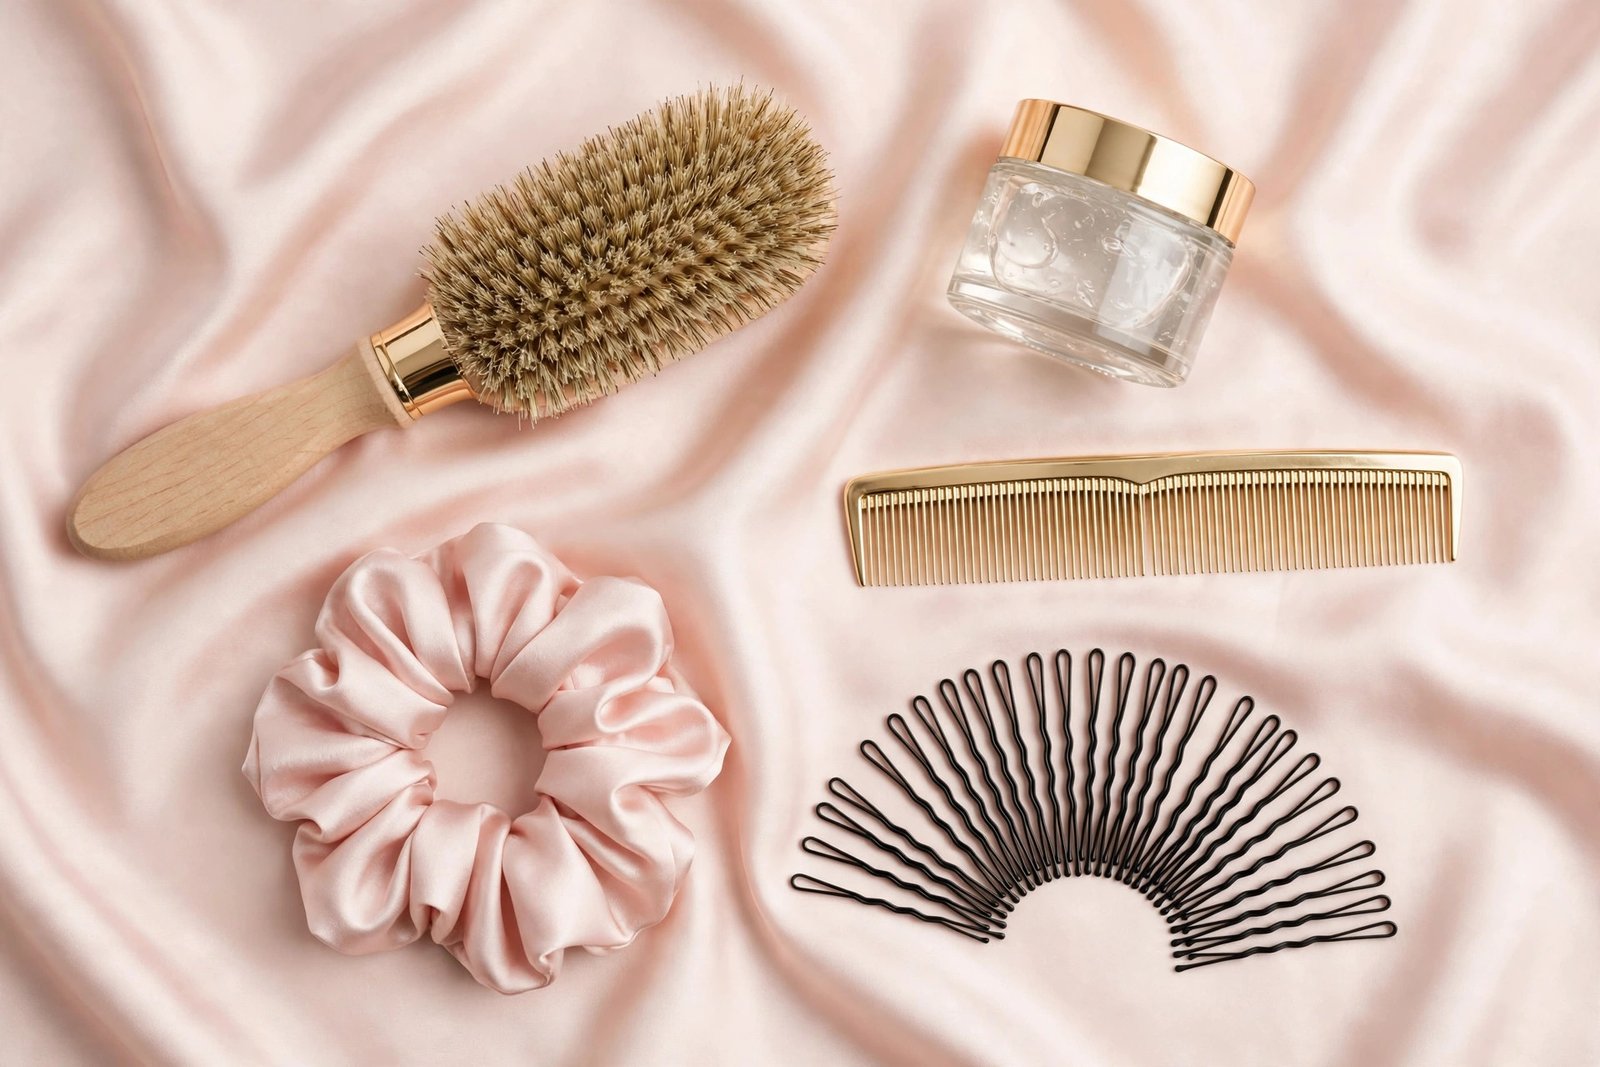
- A boar-bristle brush or mixed-bristle smoothing brush (the key tool — it distributes product and flattens flyaways far better than a paddle brush alone)
- A fine-tooth comb for precision around the hairline
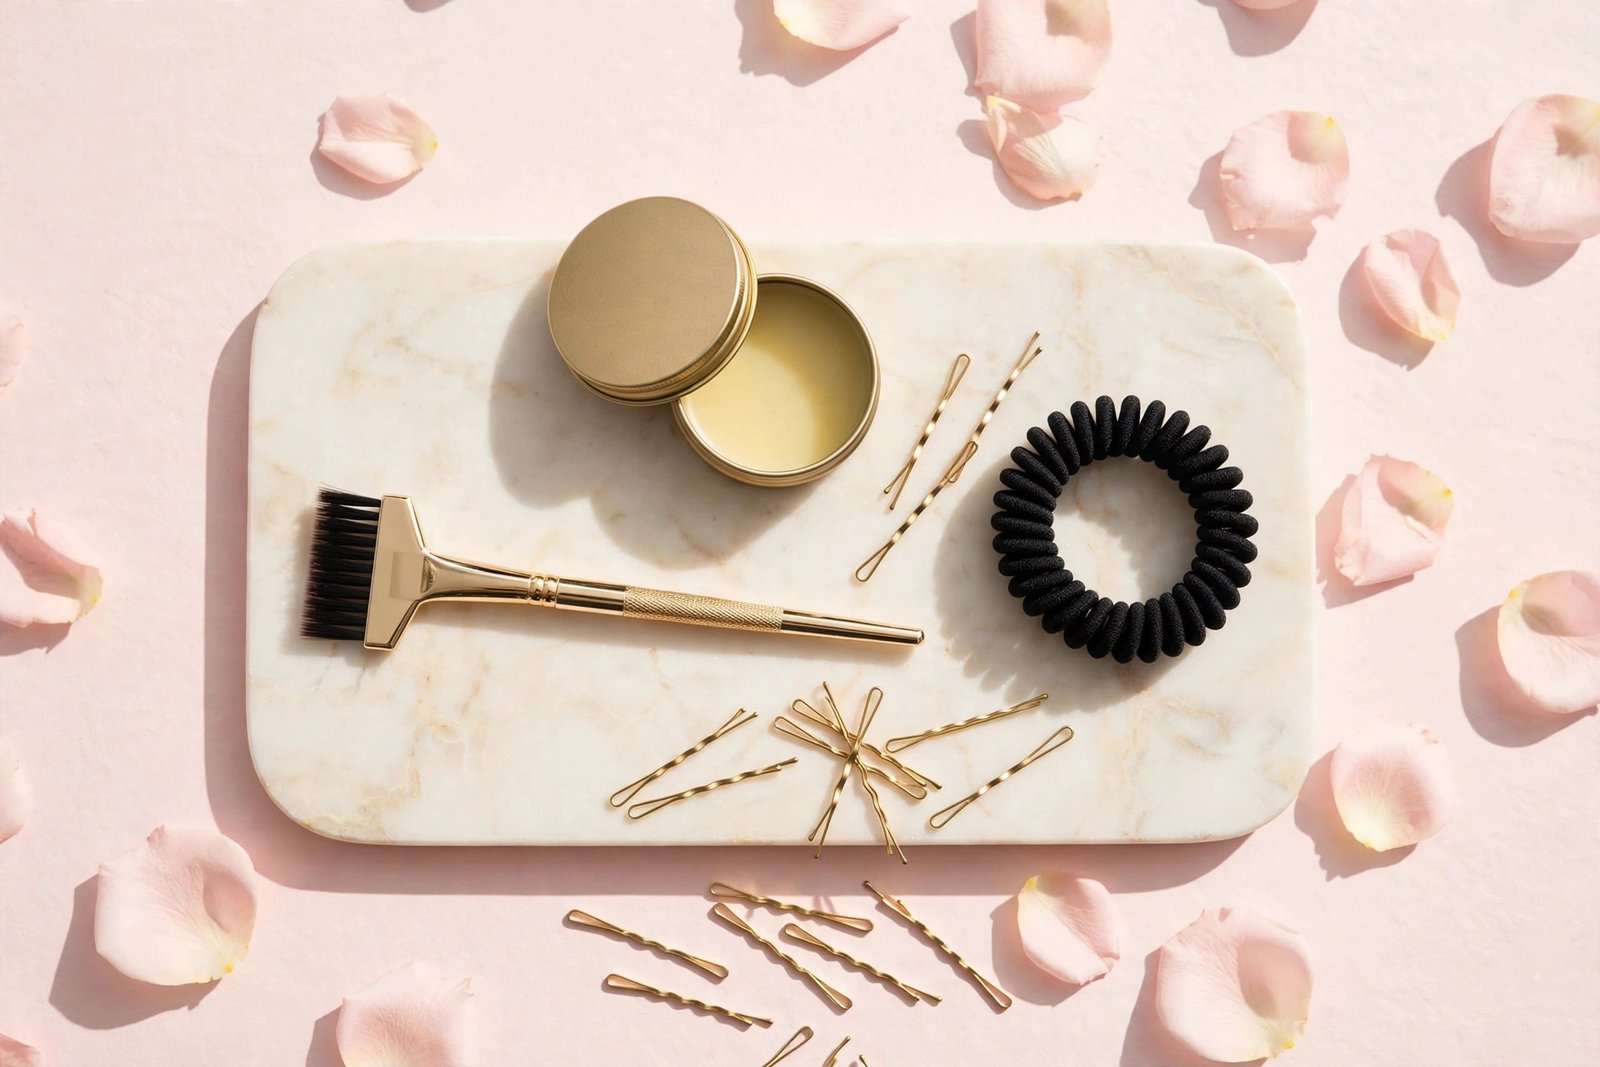
- Styling product: hair gel, smoothing cream, or styling wax — see the product guide below
- Hair ties: snag-free elastics or a silk scrunchie for the base
- Bobby pins in your hair color
- Edge brush or old toothbrush for baby hairs
- Optional: hairspray for final hold, shine spray for polish
New to structured styling? The techniques here pair well with the claw clip updo guide for days when you want polish without the full slick.
Choosing Your Smoothing Product
The product makes or breaks this look. Here’s how the main types compare:
- Hair gel (medium to strong hold): the classic choice. Gives the glassiest, most locked-in finish. Best for thick or coarse hair and humid days. Use a quarter-sized amount, emulsified between palms.
- Smoothing cream: lighter hold with a softer finish. Best for fine hair that gets weighed down or crunchy with gel. Won’t give the same wet-look shine but looks more natural.
- Styling wax or pomade: excellent for taming flyaways and baby hairs along the hairline. Best as a finishing product rather than the main smoother — a little goes a long way.
- Hair oil (finishing): a drop smoothed over the finished bun adds shine and softens any stiffness. Argan or jojoba work well; see oiling for hair health.
Avoid: heavy butters or thick conditioners as styling products — they make hair look greasy rather than sleek within an hour.
Step-by-Step: The Classic Slicked-Back Bun
Step 1: Start with the right base
This style works best on day-old or even second-day hair — natural oils give grip and reduce flyaways. If your hair is freshly washed, apply a light leave-in and let it air-dry or blow-dry smooth first. Damp (not wet) hair is ideal for product distribution.
Step 2: Apply product
Emulsify your chosen product between your palms. Starting at the hairline, smooth it back over the crown, sides, and nape. Work in sections — front hairline first, then sides, then back — so coverage is even. For thick hair, you may need a second pass.
Step 3: Brush everything back
Using the boar-bristle brush, brush all hair straight back from the face toward your chosen bun position (high crown for drama, mid-head for classic, nape for understated). Keep tension even — brush in long, firm strokes. Check the sides in a mirror; the hair behind the ears is where bumps hide.
Step 4: Secure the ponytail
Gather the smoothed hair into a ponytail at your chosen height and secure with a snag-free elastic. Wrap the elastic twice for fine hair, three times for thick. Smooth any remaining bumps with the fine-tooth comb, pressing stray hairs flat against the head.
Step 5: Form the bun
Twist the ponytail firmly and wrap it around the base. For a sleek look, keep the wrap tight and tuck the ends under, pinning as you go. For a slightly softer take, wrap loosely and let the ends fan. Secure with 3–5 bobby pins, pushing them into the bun base (not just through the surface) and crossing two pins in an X for maximum hold.
Step 6: Detail the hairline
Dip the edge brush in a tiny amount of wax or gel and smooth baby hairs along the forehead and temples. You can swoop them into soft waves or press them flat — either reads as intentional. This detailing step is what separates a good slicked bun from a great one.
Step 7: Lock it in
Mist with hairspray from 8–10 inches away — close-range spraying creates wet spots and stiffness. One light, even layer is enough. Finish with a drop of shine serum smoothed over the bun for polish.
Adapting for Fine Hair
Fine hair’s challenge is grip and volume — the bun can look tiny and the style can slide.
- Use smoothing cream instead of gel to avoid the weighed-down, stringy look.
- Backcomb the ponytail lightly before wrapping — this doubles the bun’s apparent size.
- Try a donut bun maker hidden inside the wrap for a fuller shape.
- Secure the base ponytail tightly — fine hair slips out of loose elastics.
- A light mist of dry shampoo for grip at the roots before product adds texture that holds.
Adapting for Thick Hair
Thick hair’s challenge is weight and bulk — the bun gets heavy and the style strains.
- Use a strong-hold gel — creams won’t cut it on coarse, dense hair.
- Work in two ponytails (top half and bottom half) stacked at the same point, then wrap both together. This distributes weight and prevents the elastic from snapping.
- Choose extra-strong elastics and reinforce with bobby pins at the base.
- Keep the bun compact — fold rather than wrap long lengths to reduce leverage pulling the style down.
Making It Last All Day
- Layer your hold: product under the brush + hairspray over the finish beats either one alone.
- Pin strategically: crossed bobby pins at the bun’s base anchor points (top, bottom, each side).
- Carry emergency supplies: two bobby pins and a travel hairspray in your bag fix 90% of midday issues.
- Avoid touching it: every touch loosens the tension. Set it and forget it.
- Refresh at midday if needed: smooth a pea-sized amount of wax over any frizz that appears, especially in humidity. For second-day wear, see refreshing styled hair.
Common Mistakes to Avoid
- Too much product: start with less than you think. You can always add; removing excess means rewashing.
- Skipping the brush: fingers alone can’t create the smooth tension this style needs. The boar-bristle brush is non-negotiable.
- Wrong bun height for your face: very high buns elongate round faces beautifully but can look severe on long faces — mid-height is the universal safe zone.
- Ignoring the nape: the hairline at the nape frizzes first. Run product and the brush through it deliberately.
- Sleeping in it: the tension that makes this style sleek causes breakage if worn overnight. Take it down before bed and try an overnight treatment instead.
Key Takeaways
- Day-old hair, a boar-bristle brush, and the right product (gel for thick hair, cream for fine) are the three pillars of a good slicked-back bun.
- Brush in firm, even strokes from hairline to bun position; detail baby hairs with an edge brush for the polished finish.
- Fine hair needs backcombing or a donut for bun volume; thick hair needs strong-hold gel and sectioned ponytails.
- Crossed bobby pins plus a light, distant hairspray mist keep the style locked all day.
- Take it down before bed — sustained tension causes breakage overnight.
Frequently Asked Questions
Does a slicked-back bun damage hair?
Worn occasionally with proper technique, no. The risks come from daily tight tension (traction alopecia over time), sleeping in the style, and ripping out elastics. Vary your hairstyles, use snag-free ties, and never sleep in a slicked bun.
How do you slick back short hair into a bun?
Gather what you can into a small ponytail or half-bun at the crown, slick the sides back with strong-hold gel, and pin any loose nape pieces up with bobby pins. A mini bun or knotted shape works better than forcing a full bun from short layers.
What is the best product for a slicked-back bun on curly hair?
A strong-hold gel applied to damp hair, brushed smooth with a boar-bristle brush, gives the sleekest result on curly textures. Work in sections and brush each section back before moving on — curly hair re-coils fast, so speed matters.
How do I stop flyaways without making my hair crunchy?
Use a smoothing cream as your base (softer than gel), then spot-treat only the flyaway areas with a tiny amount of wax on an edge brush. Finish with a light-hold hairspray rather than maximum hold. The crunch comes from too much strong product everywhere.
Can I do a slicked-back bun on freshly washed hair?
Yes, but it’s harder — clean hair is slippery. Apply a leave-in for grip, blow-dry smooth, and use slightly more product than you would on second-day hair. Dry shampoo at the roots before styling adds the texture that freshly washed hair lacks.
How long should a slicked-back bun last?
With proper product layering and pinning, 8–12 hours is realistic, including a workout for many people. Humidity is the biggest enemy — on very humid days, choose a stronger-hold gel and add a second light hairspray layer midday if needed.
Love this? Pin it for later!