Curling Wand vs Curling Iron: Which One Should You Buy?
Walk into any beauty aisle and you will see two tools that look almost identical but work differently: the curling wand and the curling iron. They both make curls — but the curls they make, how you use them, and which hair types suit each one are genuinely different. Buying the wrong one is one of the most common beginner regrets in hair styling.
This guide breaks down the real differences — clamp vs. clampless, curl shape, ease of use, learning curve, and heat safety — so you can buy the right tool the first time.
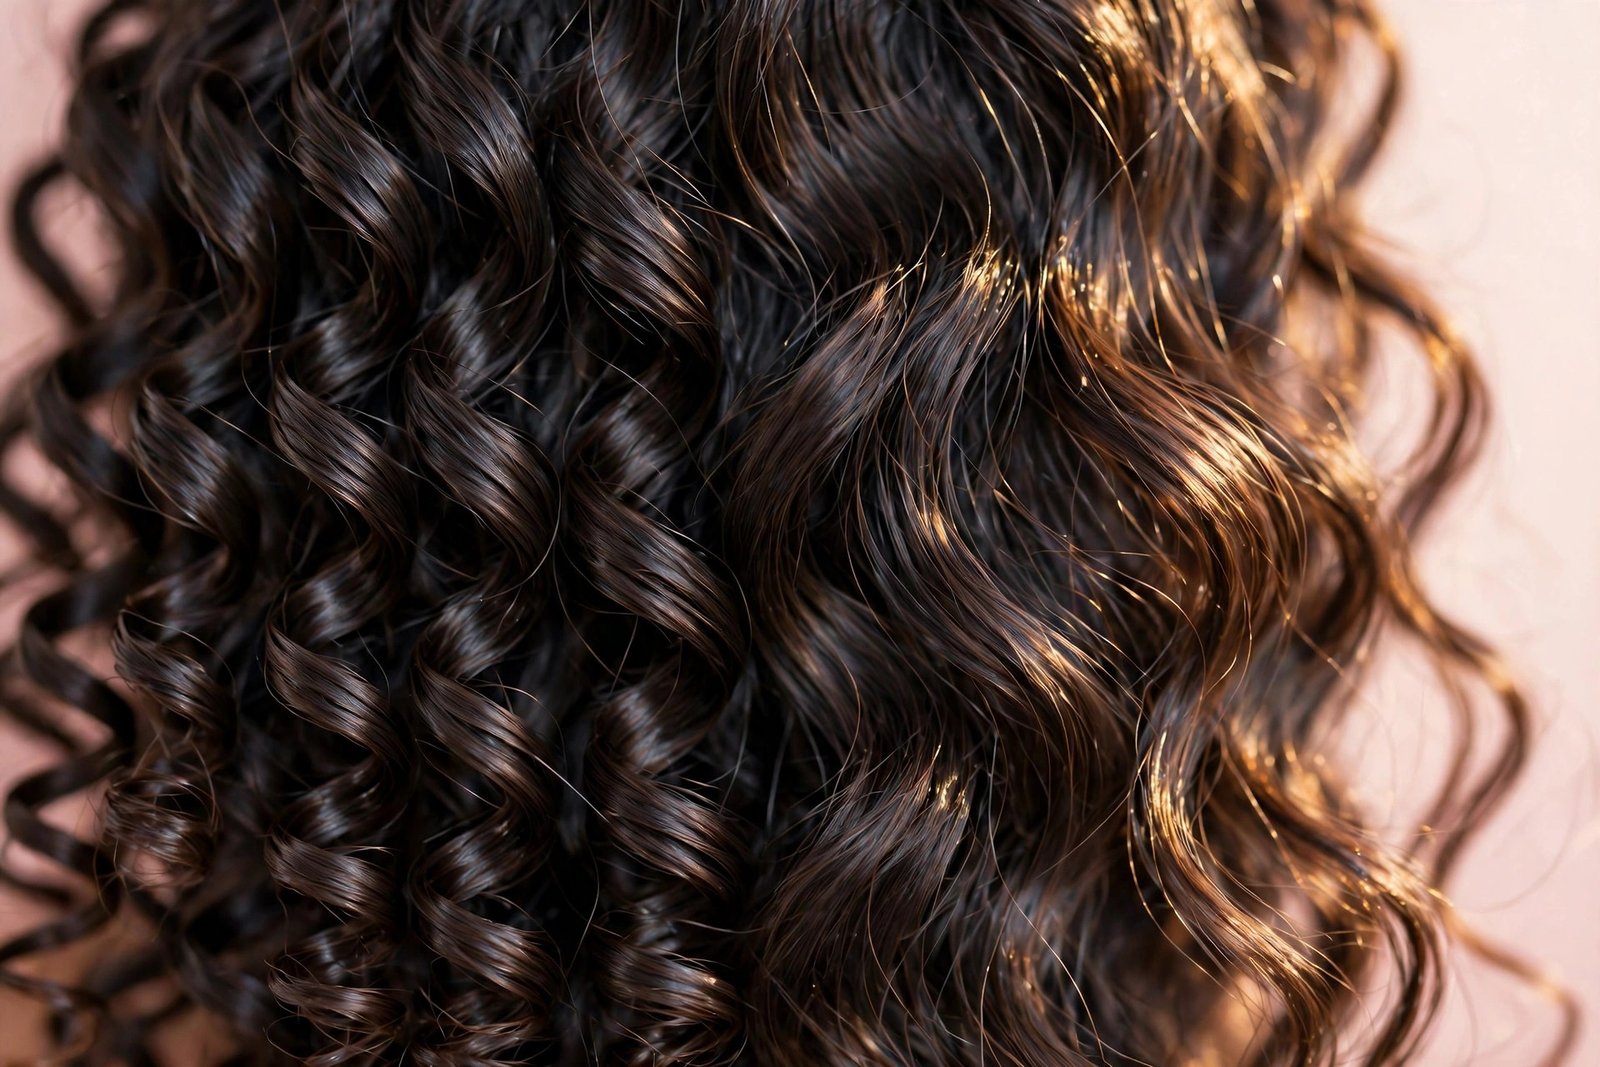
Key Takeaways
- A curling iron has a clamp that holds the hair; a wand is clampless — you wrap hair around the barrel by hand (with a heat glove).
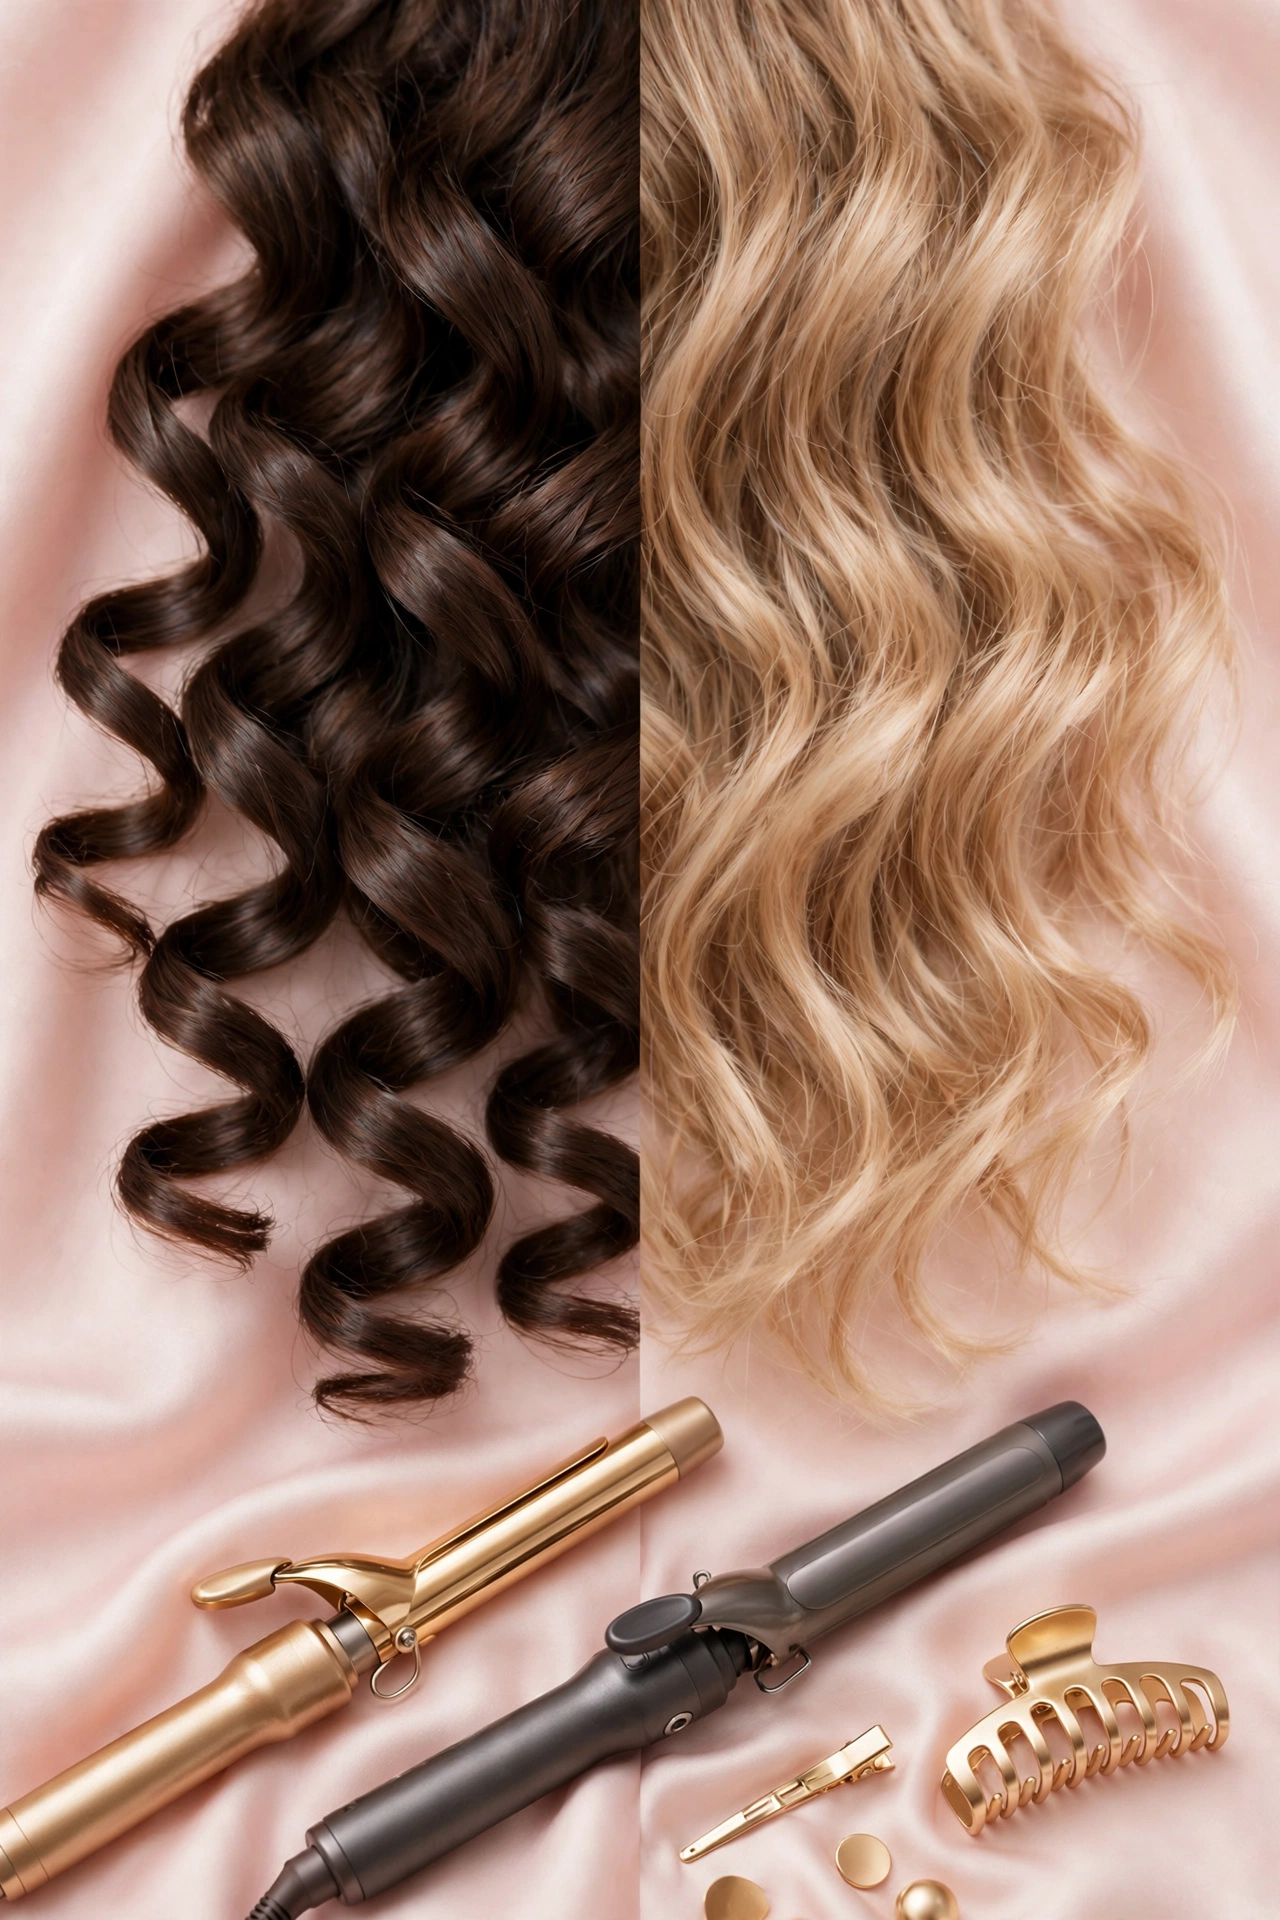
- Wands create looser, more natural beachy waves; irons create more uniform, polished curls and ringlets.
- Wands are often easier for beginners making waves; irons give more control for defined curls.
- Both are hot tools: heat protectant is mandatory, match temperature to your hair type, and never use on wet hair.
- Barrel shape matters too — tapered vs. straight barrels change the curl, whichever tool you pick.
The Core Difference: Clamp vs. Clampless
The Curling Iron: Clamp Holds the Hair
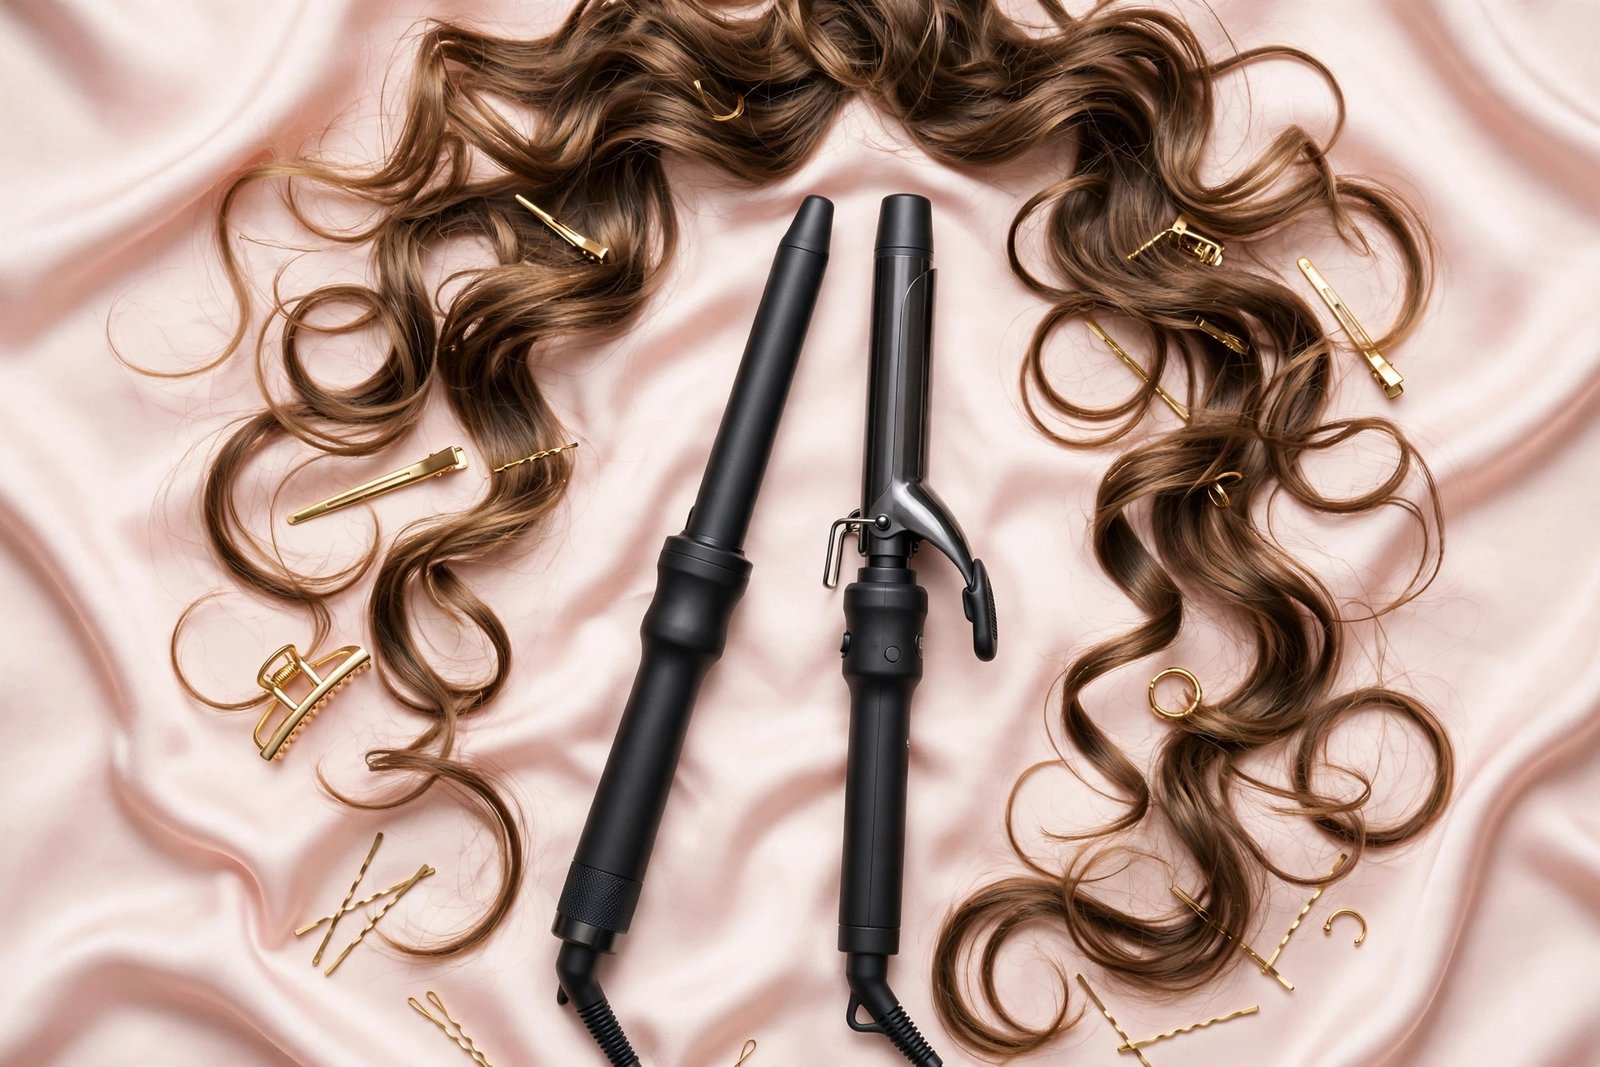
A curling iron has a spring-loaded clamp attached to the barrel. You open the clamp, place the ends of a hair section in it, and roll the iron up toward your scalp. The clamp holds the hair in place while the heat sets the curl. Most irons have a uniform barrel (same width from base to tip), which produces consistent, even curls from root to tip.
The Curling Wand: You Wrap, It Heats
A curling wand has no clamp — it is just a heated barrel, sometimes tapered (wider at the base, narrower at the tip). You wrap a section of hair around the barrel by hand, holding the ends with your fingers. A heat-resistant glove is essential here, because your fingers are close to a 400°F surface. The tapered shape creates curls that are looser at the top and tighter at the ends — the natural-looking, beachy wave effect.
If you have not used either tool yet, start with this step-by-step curling iron tutorial for beginners to learn the fundamentals of sectioning, wrapping, and timing that apply to both tools.
Curl Types: What Each Tool Actually Creates
This is the deciding factor for most buyers. The tools produce visibly different results:
Curling Iron Curls
- Uniform and polished: because the barrel is the same width throughout, each curl has a consistent shape.
- Defined ringlets: smaller barrels (3/4 to 1 inch) create classic spiral curls.
- Vintage and formal styles: the even, controlled curl suits updos, prom styles, and polished looks.
- Longer-lasting on some hair types: the clamp holds the hair in full contact with the barrel, which can set the curl more firmly.
Curling Wand Waves
- Natural and tousled: the tapered barrel creates curls that vary in width — looser at the roots, tighter at the ends — which reads as effortless and modern.
- Beachy waves: the signature wand result. Soft, undone, and the most requested curl style of the past decade.
- Less uniform: the variation is the point. If you want every curl identical, a wand will frustrate you.
- Softer root transition: because the wrap usually starts a bit away from the scalp, wand curls blend more naturally into straight roots.
A quick rule of thumb: want ringlets and polish? Iron. Want waves and texture? Wand. If you are choosing your very first hot styling tool and want the full picture first, this beginner guide to hot hair tools compares every major tool category.
Ease of Use: Which Is More Beginner-Friendly?
This surprises people: there is no universal answer — it depends on what you find awkward.
The Case for the Wand
- No clamp to coordinate — you just wrap and hold.
- No clamp crease (the flat mark a clamp can leave if you press too hard).
- Faster once you learn the wrapping motion.
- The heat glove protects your fingers while you learn.
The Case for the Iron
- The clamp holds the hair for you — your hands are free and farther from the heat.
- More control over where the curl starts and ends.
- Easier to do the back of your head, where wrapping by feel is harder.
- Timing is simpler: clamp, roll, hold, release.
Most beginners find the iron slightly easier for the back sections and the wand slightly easier for front face-framing pieces. Honestly, many people end up owning both eventually — but if you are buying one, pick based on the curl style you want most, not on which seems easier. The learning curve for either is a few practice sessions.
Barrel Sizes and Shapes: The Details That Change Everything
Both tools come in multiple barrel sizes, and size matters more than the wand-vs-iron debate for the final look:
- 3/4 inch: tight curls and ringlets, best on short to medium hair.
- 1 inch: the classic all-rounder — defined curls with bounce, works on most lengths.
- 1.25 inch: loose curls and soft waves, the most popular size for medium to long hair.
- 1.5 inch and up: very loose waves and volume more than curl, best on long hair.
Tapered barrels (common on wands) create that natural varied curl. Straight barrels (standard on irons) create uniform curls. Some irons now come with interchangeable barrels, which is a budget-friendly way to experiment with sizes before committing.
Heat Settings and Safety for Both Tools
Wands and irons reach the same temperatures and carry the same risks. These safety rules apply equally to both:
- Heat protectant every time. Both tools press or wrap hair against a surface at 300–400°F+. Protectant is the single most effective damage-prevention step. More on why it matters in this heat protectant guide.
- Match temperature to hair type. Fine or damaged hair: 250–300°F. Medium hair: 300–350°F. Thick or coarse hair: 350–400°F. Never exceed 450°F.
- Never use on wet or damp hair. Hair must be completely dry — steam-styling wet hair causes structural damage.
- Use the heat glove with a wand. It comes with the tool for a reason. Finger burns are the most common wand injury.
- Limit hold time. Hold each section for 5–10 seconds (fine hair) to 10–15 seconds (thick hair). Longer holds don’t make better curls — they make drier hair.
- Let curls cool before touching. Curls set as they cool. Touching or brushing hot curls pulls them straight.
One of the most common frustrations with both tools is curls that drop within an hour. If that is happening to you, this guide to curls falling flat covers the causes — from hair being too clean to skipping the cool-down — and how to fix each one.
Side-by-Side Comparison
| Feature | Curling Iron | Curling Wand |
|---|---|---|
| Clamp | Yes — holds hair in place | No — wrap by hand |
| Curl shape | Uniform, polished, defined | Natural, tousled, beachy |
| Best for | Ringlets, vintage looks, formal styles | Waves, texture, everyday effortless looks |
| Learning curve | Easier for back sections | Easier for front sections |
| Burn risk | Lower (hands stay farther from barrel) | Higher (use the heat glove) |
| Clamp crease risk | Yes, if technique is off | No |
| Barrel options | Mostly uniform; some interchangeable | Often tapered; some interchangeable |
| Price range | Similar — budget to professional tiers exist for both | Similar |
Which Should You Buy? A Decision Guide
Buy a curling iron if:
- You want defined, uniform curls or ringlets.
- You style for formal events, photos, or vintage looks.
- You find the idea of wrapping hot hair by hand intimidating.
- You mostly curl the back of your head and want the clamp’s help.
Buy a curling wand if:
- You want loose, natural-looking waves.
- Beachy, tousled texture is your everyday style.
- You are comfortable using a heat glove.
- You dislike the clamp crease mark.
Consider both (eventually) if:
- You style your hair often and want versatility.
- You do both polished event looks and casual everyday waves.
- Budget-friendly interchangeable-barrel sets let you try both formats in one purchase.
There is no wrong answer here — only a mismatch between the tool and the result you actually want. Be honest about which curl style you reach for most, and buy for that.
Frequently Asked Questions
Can I get waves with a curling iron or ringlets with a wand?
Yes, with technique adjustments. A large-barrel iron (1.5 inch) with a loose wrap gives soft waves; a small straight section wrapped tightly on a wand gives more defined curls. But each tool fights you a little when used against its nature — you will get better results faster using the tool designed for the look you want.
Which is less damaging to hair?
Neither is inherently less damaging — damage comes from temperature, hold time, frequency, and whether you use heat protectant, not from the presence or absence of a clamp. A wand used at 450°F without protectant will damage hair far more than an iron used at 320°F with protectant.
Do I really need the heat glove with a wand?
Yes. The barrel reaches several hundred degrees and your fingers wrap hair directly against it. The glove is thin enough to let you feel what you are doing while preventing burns. Most wands include one in the box — if yours didn’t, buy one before your first use.
Why do my curls look different on each side of my head?
This is almost always a wrapping-direction issue. For a symmetrical look, wrap hair away from your face on both sides. With an iron, that means rolling outward; with a wand, wrapping in the same outward direction. Practice in front of a mirror until the motion is automatic.
How long do curls last from each tool?
With proper prep (heat protectant, the right temperature, cooling before touching), both tools produce curls that last a full day on most hair types. Iron curls sometimes hold slightly longer because the clamp keeps hair in full barrel contact. Either way, a light flexible-hold hairspray after cooling extends wear without crunchiness.
Conclusion
The curling wand vs. curling iron debate really comes down to one question: what do you want your curls to look like? Polished, uniform ringlets point to the iron; loose, natural waves point to the wand. Both need the same heat safety habits — protectant, correct temperature, dry hair, and reasonable hold times — and both reward a few practice sessions before the big event.
Pick the tool that matches your most-wanted style, learn its technique properly, and you will wonder why the choice ever felt complicated. And if hot tools are still new territory for you overall, this beginner’s guide to hot hair tools is the best place to start.
Love this? Pin it for later!