Best Dip Powder Nail Kit for Beginners: What to Buy
Buying your first dip powder nail kit is exciting — and a little overwhelming. Search online and you’ll find dozens of kits ranging from suspiciously cheap to surprisingly expensive, all claiming to be “salon quality” and “beginner friendly.” Some are genuinely great starter sets. Others are missing essential pieces, include rock-hard powders, or come with instructions that might as well be blank.
In this guide, you’ll learn exactly what a complete dip powder nail kit must include, what to look for (and what to avoid) as a beginner, and which beginner-friendly picks are worth your money. Once you’ve chosen your kit, our step-by-step dip tutorial will walk you through your first manicure, and when it’s time for a fresh set, our safe removal guide has you covered.
If you’re still weighing dip against other options, our dip powder vs acrylic comparison can help you decide.
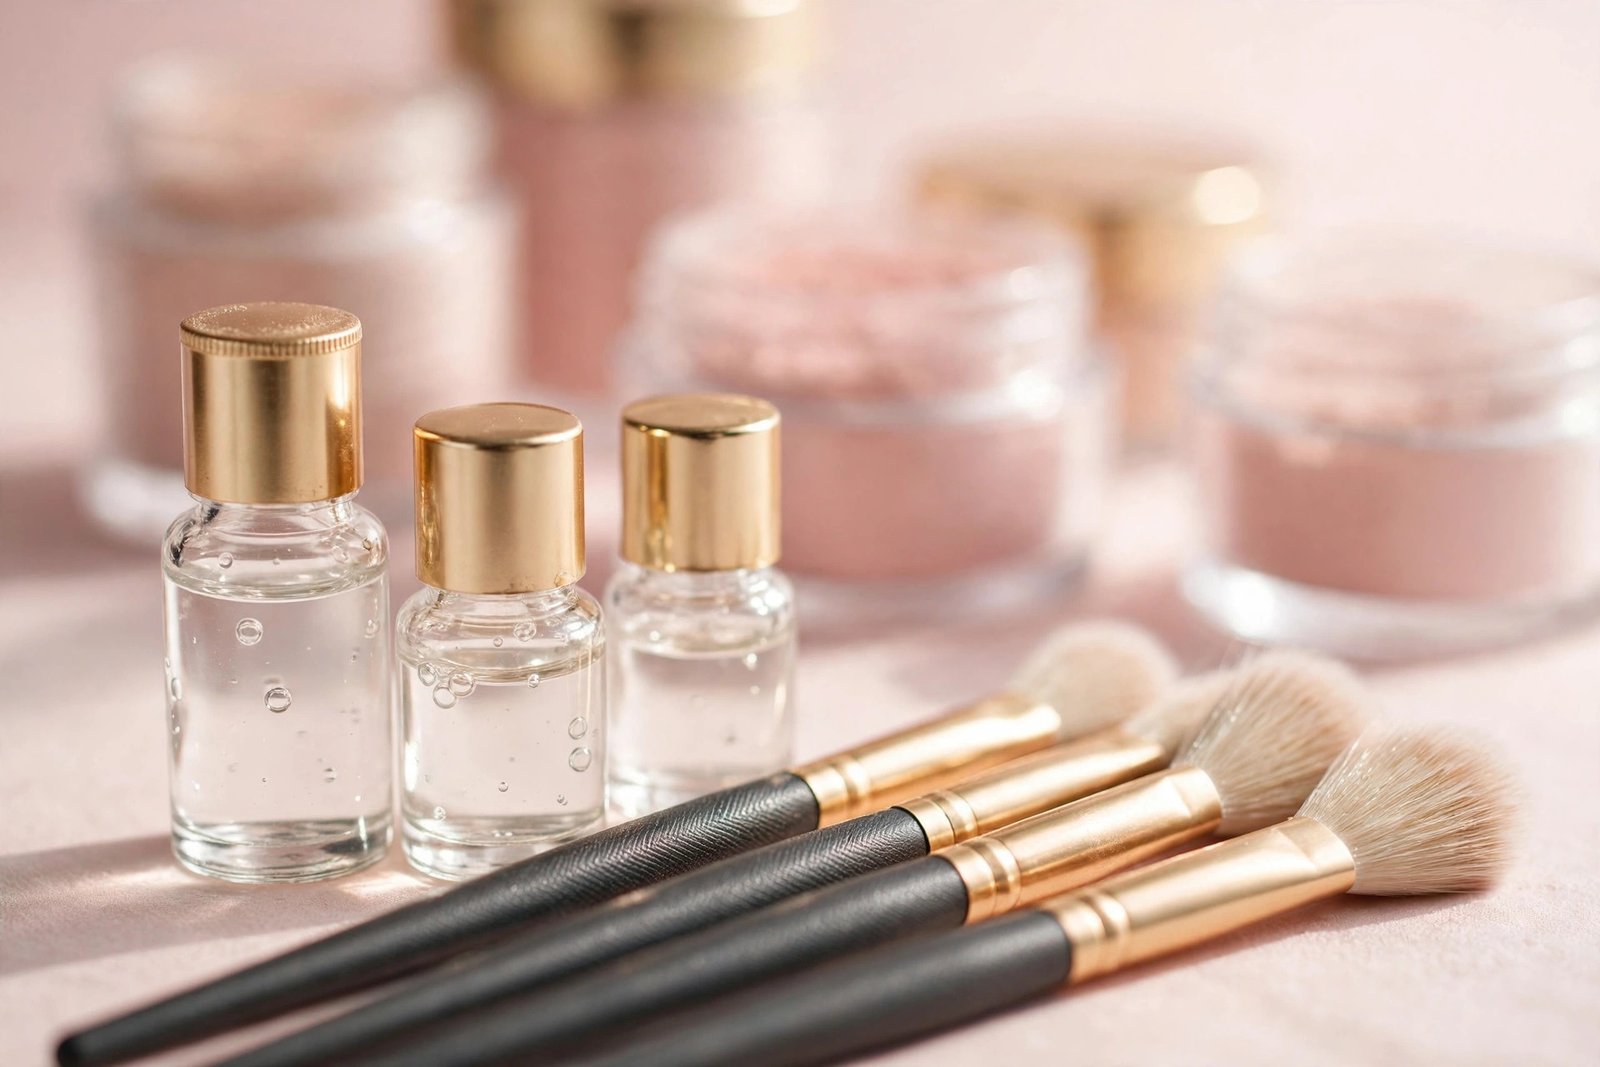
What a Complete Dip Powder Kit Must Include
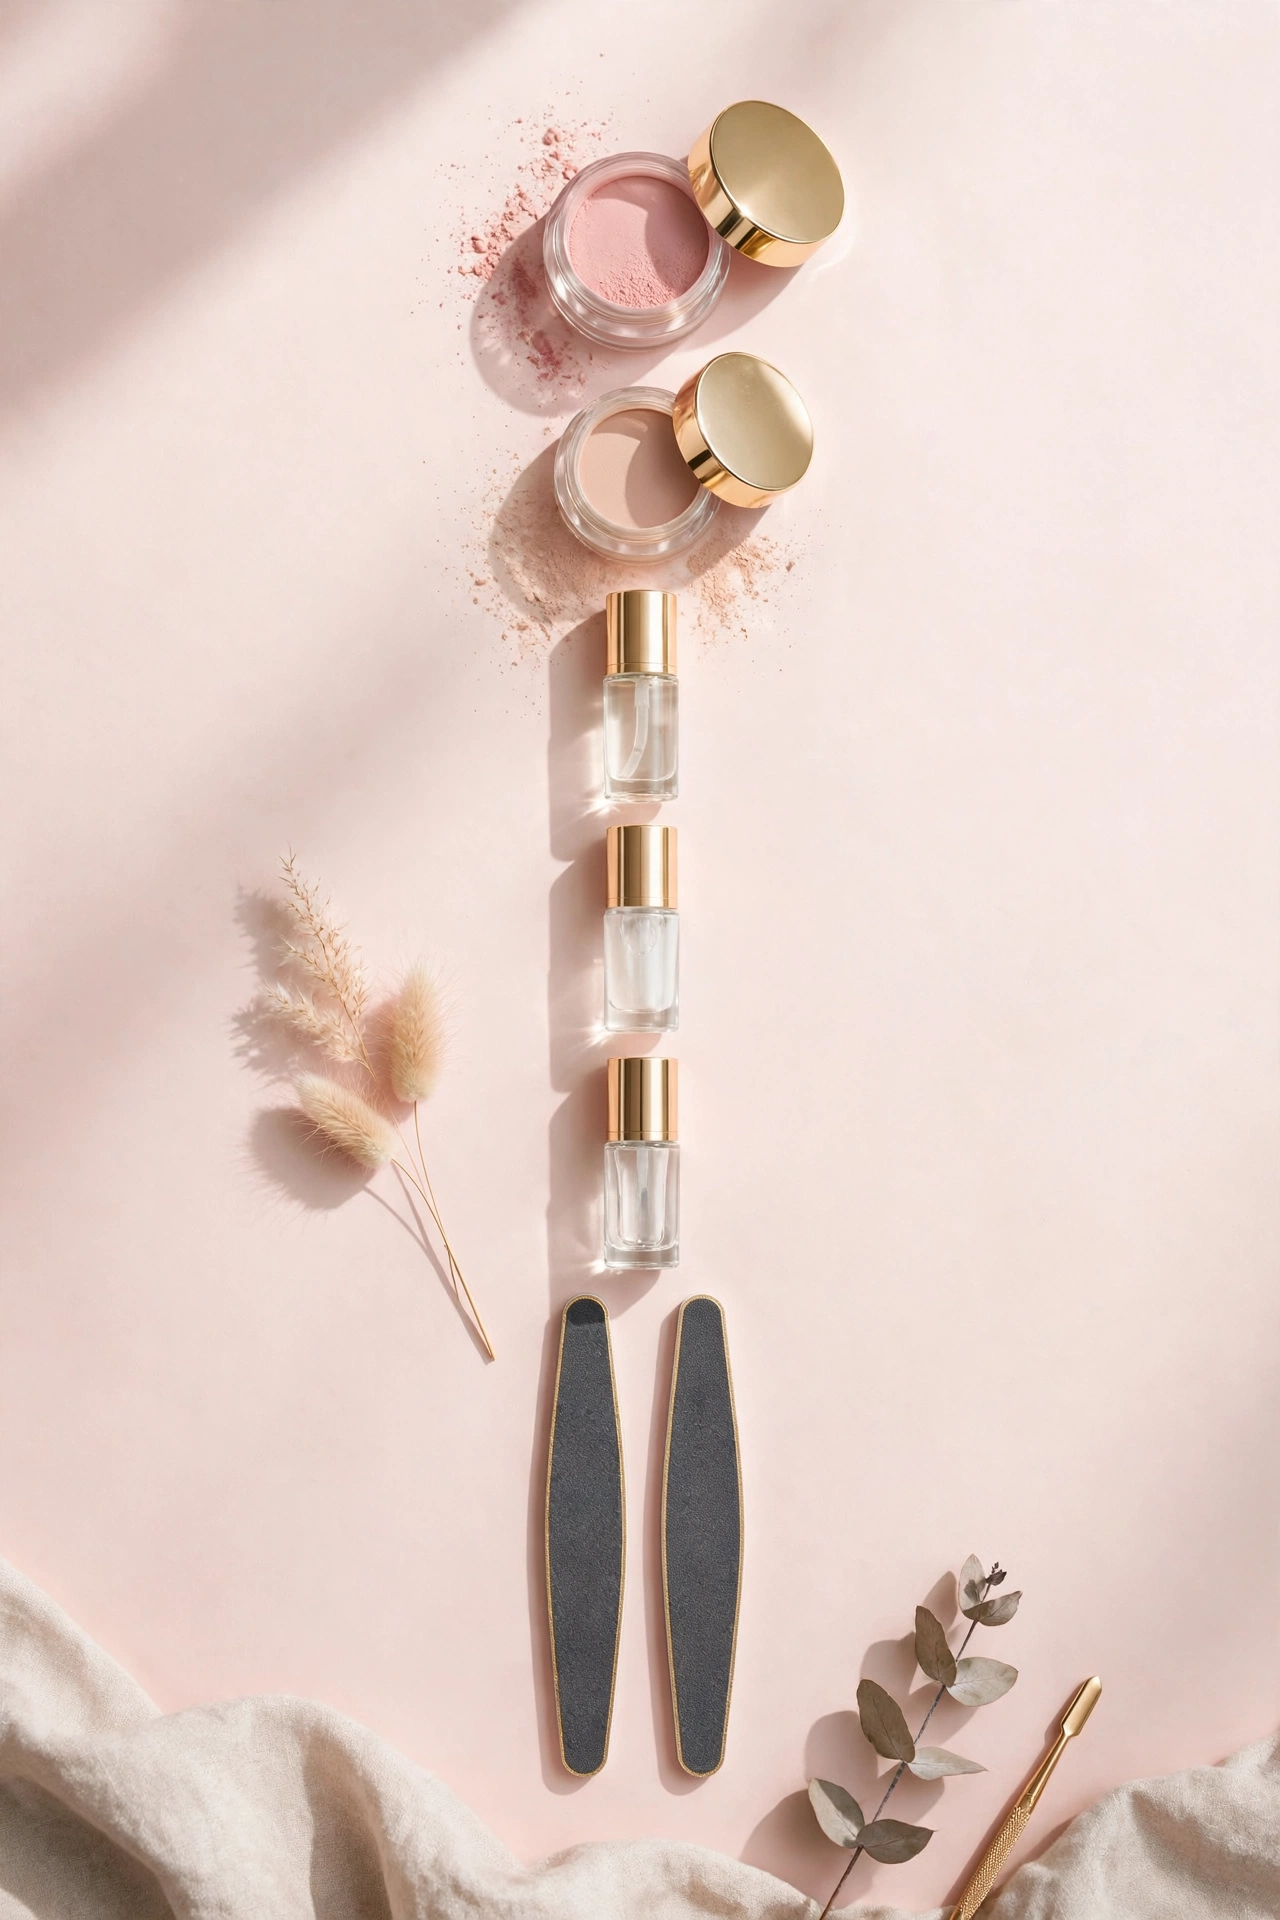
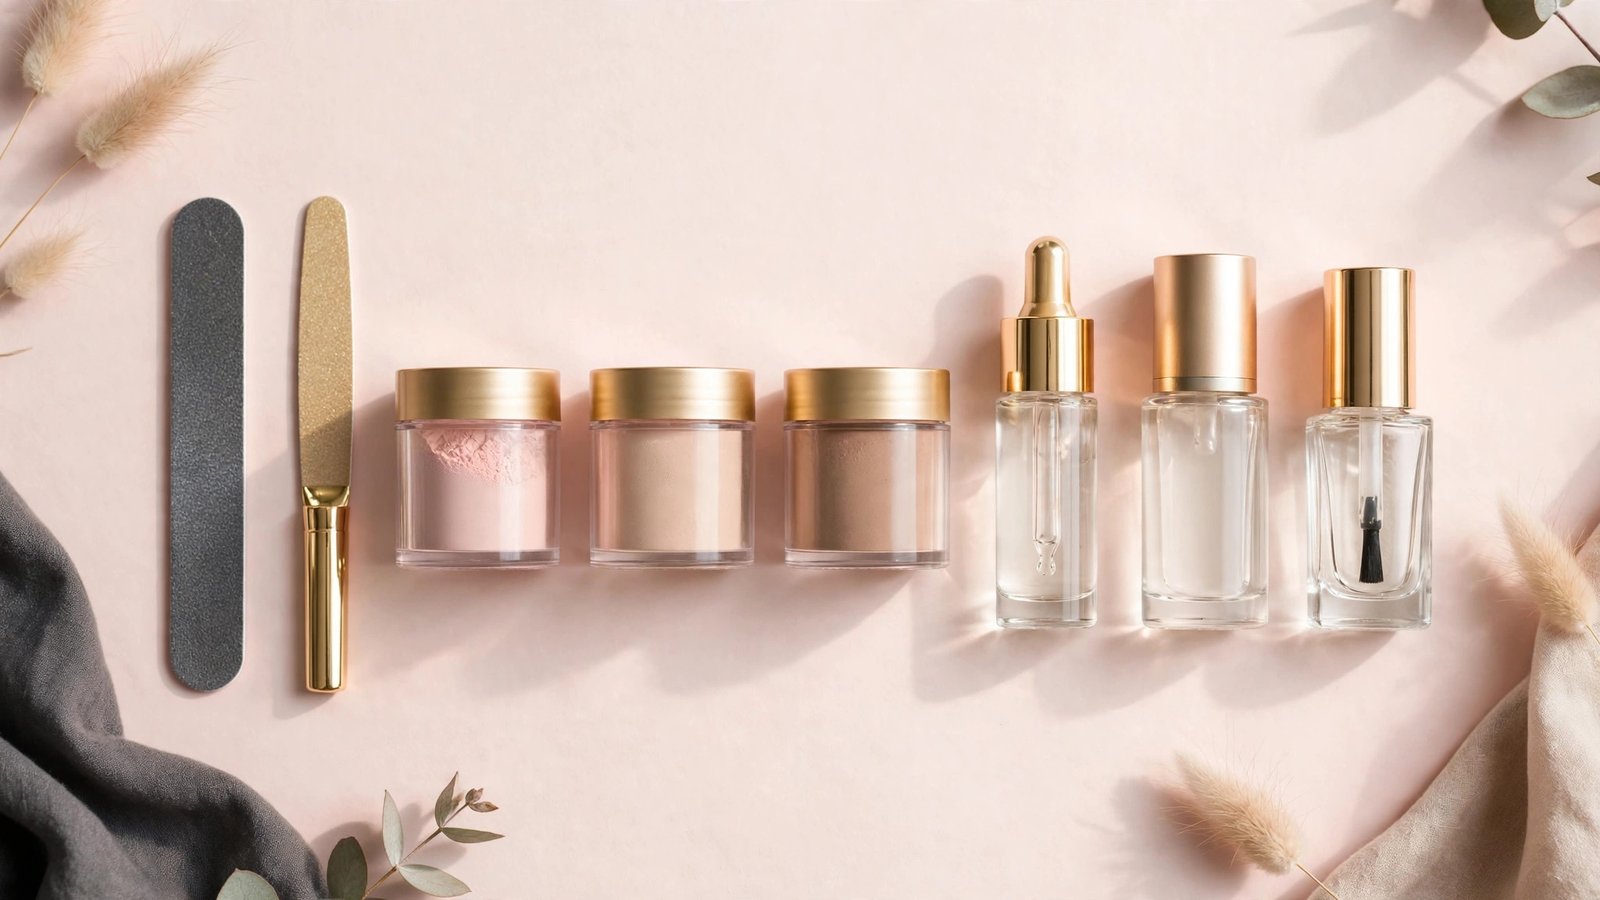
A true starter kit should contain everything you need for a full manicure out of the box. Before you buy, check the contents list against this checklist:
The liquids (non-negotiable — all four):
– Base coat — the glue-like liquid that the powder adheres to. You’ll use this for every dip layer.
– Activator — the liquid that chemically hardens the powder. Without it, the manicure won’t set.
– Top coat — the glossy seal that gives dip nails their shine. Most systems need two coats.
– Brush saver / cleanser — keeps your base and top coat brushes from hardening with residue. Kits that skip this cause beginners endless frustration with ruined brushes.
The powders:
– At least 2–4 colored powders in wearable shades. More colors is nice, but quality beats quantity.
– A clear or natural powder — used as a base layer for strength and to prevent darker colors from staining your natural nail. Kits that include this show they were designed by people who understand the process.
The tools:
– Nail file (180 grit) for shaping and smoothing
– Buffer block for finishing
– Cuticle pusher or wooden sticks
– A powder brush or dust brush for sweeping off excess powder between dips
Nice-to-have extras:
– Nail tips and nail glue (if you want to try extra length later)
– Cuticle oil (great for aftercare)
– A small tray or cupcake liners for the pour-over method
– An instruction booklet or QR code linking to video tutorials
If a kit is missing the activator, top coat, or brush saver, it’s not a complete kit — you’ll be placing a second order before your first manicure is done.
What to Look for in a Beginner Kit
Beyond the contents checklist, these qualities separate beginner-friendly kits from frustrating ones:
Fine, smooth powder texture. Cheap powders can be gritty or clumpy, which makes smooth application nearly impossible. Look for reviews mentioning “fine milled” or “smooth application.” You can’t judge this from product photos, so reviews from other beginners are your best guide.
Well-sealed, clearly labeled liquids. The bottles should be clearly marked (base, activator, top coat) — beginners constantly mix these up in poorly labeled kits. Good seals matter too; dip liquids thicken when exposed to air.
Real instructions. The best beginner kits include a detailed step-by-step booklet or link to video tutorials. If the “instructions” are three vague sentences on the box, you’ll be searching tutorials anyway — which is fine, since our DIY dip tutorial exists, but good kit instructions are a sign of a thoughtful brand.
A reasonable color range. As a beginner, you want versatile shades you’ll actually wear — nudes, soft pinks, a classic red, maybe a glitter. Kits with 20 neon colors and no neutrals look exciting but get less use.
Cruelty-free and low-odor formulas if that matters to you. Many modern dip brands formulate without the harshest chemicals and advertise lower odor. Check the brand’s claims if this is a priority.
Sensible sizing. Full-size liquids (around 15ml / 0.5oz each) last through many manicures. Tiny 5ml bottles run out fast and cost more per manicure in the long run.
Beginner-Friendly Picks Worth Considering
The dip powder market has several well-established brands that consistently get positive feedback from beginners. Rather than declaring one “best” — the right kit depends on your budget and priorities — here are the types of picks worth considering, with what each is known for:
The comprehensive starter: Kiara Sky dip system. Kiara Sky is one of the most recognized names in dip powder, and their starter kits are popular for good reason: fine-milled powders, reliable liquids, and wide color availability for refills. Their kits typically include the full liquid set plus a solid color selection. The price sits in the mid-range, but the per-manicure cost is low once you’re set up. A good choice if you want a brand with staying power and easy refill shopping.
The beginner-focused kit: Revel Nail starter kit. Revel Nail built its reputation specifically around the DIY dip community, and their starter kits reflect that — clear labeling, beginner-oriented instructions, and an active user community sharing tips. Their powders are known for smooth application. Worth a look if you want a brand that caters to at-home users rather than salons.
The budget-friendly entry: Modelones dip powder kit. Modelones offers some of the most affordable complete kits, often bundling many colors with the full liquid set. The value is hard to beat for a first kit when you’re not sure you’ll stick with dip long-term. Just go in with realistic expectations: at this price point, powder texture can be slightly less refined than premium brands, so thinner application and careful filing matter more.
The salon-quality option: ANC (Amazing Nail Concepts) or DipWell kits. These brands lean toward the professional end — excellent powder fineness and reliable liquids. They cost more upfront but deliver a noticeably smoother result that’s more forgiving of beginner technique. Consider this tier if you’ve already tried a budget kit and want to upgrade, or if you’d rather buy once and buy well.
The glitter and effects specialist: brands with strong specialty lines. If you’re drawn to glitter, chrome, or thermal color-changing powders, look for kits from brands known for special effects (many dip brands now offer these). Just note that glitters and chunky effects are harder to file smooth — master the basics with creams and fine shimmers first.
What about no-name mega-kits? Those kits with 30+ colors at a rock-bottom price are tempting, but quality is a lottery — gritty powders, mislabeled liquids, and missing brush saver are common complaints. If you go this route, buy from a seller with a strong return policy and lots of recent reviews.
What NOT to Buy as a Beginner
A liquids-only set with no powders. Some listings sell just the base/activator/top set. That’s fine as a refill — not as a first purchase. You need powders too.
Individual powders before you own liquids. It’s tempting to build a rainbow one jar at a time, but powders from different brands don’t always play well with other brands’ liquids. Start with one brand’s complete system, then expand.
Professional-size bulk jars. A 2oz jar seems like great value until you realize you’ll never finish it — dip powder has a shelf life, and contaminated or old powder clumps. Standard 1oz jars are plenty.
UV lamps “for dip powder.” You don’t need one. Dip hardens via the activator, not UV light. Any kit bundling a lamp for dip is either confused or upselling — save your money. (If you also want to try gel, that’s a separate purchase; our DIY gel nails tutorial covers what gel actually requires.)
Cuticle nippers as a “must-have.” Beginners cutting their own cuticles is how infections happen. A pusher is all you need to start. Our should you cut your cuticles explains when cutting is and isn’t appropriate.
Kit vs. Buying Separately: The Cost Math
Is a kit actually cheaper than buying pieces individually? Almost always, yes — for your first setup.
A typical beginner kit ($30–$60) includes liquids worth $25–$35 purchased separately, plus 3–6 powders ($6–$12 each individually), plus tools. Buying the equivalent separately usually runs $60–$90. Kits also guarantee the liquids and powders are formulated to work together, which matters more than beginners expect.
Where buying separately makes sense: refills. Once you own the liquid set, individual powder jars in new colors are the economical way to expand your collection. And when a liquid runs out (base coat usually goes first), replace just that bottle — no need for a whole new kit.
Per-manicure cost breakdown: A $45 kit that yields 15–20 manicures works out to roughly $2–$3 per manicure in product. Compare that to $35–$55 per salon visit, and the kit pays for itself after a single use. Even factoring in the learning curve and a few redo’s, DIY dip is one of the highest-value beauty skills you can learn.
Safety and Hygiene Tips for Your Kit
- Don’t share liquids between people without proper hygiene — and never double-dip into shared powder jars. Use the pour-over method: shake powder over the nail into a dish and funnel the excess back.
- Keep bottles tightly closed when not in use. Dip liquids thicken and harden with air exposure; wipe bottle necks clean before capping.
- Store powders sealed and dry. Moisture causes clumping. If a powder clumps, it’s compromised — don’t try to rescue it.
- Replace contaminated brushes. If your base brush hardens despite brush saver, replace it rather than fighting it — hardened brushes drag product and ruin application.
- Ventilate your workspace. Dip is low-odor compared to acrylic, but the liquids still have a chemical smell. A cracked window or fan is plenty.
- Check expiration. Old liquids get thick and gummy; old powders clump. If your kit sat in a closet for two years, test the liquids’ consistency before committing to a full set.
Building good habits from day one also means building a good at-home nail care routine — healthy natural nails are the foundation every manicure sits on.
Key Takeaways
- A complete beginner kit must include all four liquids (base, activator, top coat, brush saver), several colored powders plus a clear/natural powder, and basic tools (file, buffer, cuticle pusher).
- Look for fine-milled powders, clearly labeled bottles, real instructions, wearable colors, and full-size liquids — reviews from other beginners are your best quality signal.
- Established beginner-friendly brands include Kiara Sky, Revel Nail, Modelones (budget), and ANC/DipWell (premium) — each suits a different budget and priority.
- Don’t buy liquids-only sets, single powders before owning liquids, bulk jars, unnecessary UV lamps, or cuticle nippers as a starter.
- Kits ($30–$60) beat buying separately for your first setup and pay for themselves after one use — per-manicure cost drops to $2–$3.
- Practice good kit hygiene: pour-over method instead of double-dipping, sealed storage, ventilation, and replace old or contaminated products.
Frequently Asked Questions
How much does a good beginner dip powder kit cost?
Expect $30–$60 for a complete, decent-quality starter kit with the full liquid set, several powders, and tools. Below $25, quality gets unpredictable; above $70, you’re paying for premium branding or huge color counts you may not need yet. Remember the kit pays for itself after a single use compared to salon prices.
Can I mix dip powder brands?
Powders from different brands generally work with each other’s liquids, but it’s not guaranteed — formulations differ. As a beginner, stick to one brand’s system until you’re comfortable, then experiment with mixing. If a new powder behaves oddly (won’t harden, looks dull), brand incompatibility is a likely culprit.
How long do dip powder liquids last once opened?
Typically 12–24 months if stored sealed in a cool, dry place. Base coat usually runs out first since you use it for every layer. If liquids get thick, stringy, or gummy, they’ve expired — replace them. Using expired liquids causes application problems that look like technique issues.
Do I need nail tips to use a dip powder kit?
No. Dip powder works beautifully on natural nails — that’s its main appeal for beginners. Tips are only needed if you want significant extra length. Master the basic application on your natural nails first; adding tips introduces gluing, blending, and shaping steps that complicate the learning curve.
What’s the difference between dip powder and acrylic powder?
They’re very similar chemically — dip powder is essentially finely milled acrylic powder. The difference is the application system: dip uses a glue-like base coat plus activator, while traditional acrylic mixes the powder with liquid monomer and sculpts it. Some people use acrylic powder with dip liquids successfully, but purpose-made dip powder is milled finer for smoother results.
Are cheap dip powder kits safe?
Price alone doesn’t determine safety, but very cheap kits are more likely to have quality control issues — inconsistent powder fineness, mislabeled bottles, or liquids with stronger odors. Buy from sellers with real reviews and return policies, check that ingredient lists are provided, and stop using anything that causes unusual irritation. When in doubt, established brands are the safer bet.
Love this? Pin it for later!