How to Remove Dip Powder Nails at Home (Safely)
Taking off dip powder nails is where most nail damage happens — not from the product itself, but from impatience. Peeling, prying, or picking off a dip manicure can tear away layers of your natural nail in seconds, leaving nails thin, weak, and peeling for weeks. The good news: the safe method is simple, cheap, and something you can absolutely do at home.
In this guide, you will learn how to remove dip powder nails at home using the acetone soak-off method — the same approach salons use — plus what to do about stubborn spots, what never to do, and how to nurse your nails back to health afterward. If you are new to dip entirely, start with our dip powder vs acrylic comparison or our DIY dip powder tutorial.
Knowing how long dip powder nails last helps you time your removal before lifting starts — removing at the right time makes the whole process easier.
Why Safe Removal Matters So Much
It is worth understanding what actually happens when you peel off dip powder. The product is bonded to your nail plate, and when you force it off, it doesn’t separate cleanly — it rips microscopic (and sometimes visible) layers of keratin away with it. Do this once and your nails may feel thin for a week. Do it repeatedly and you can end up with nails that peel in layers, bend painfully, and won’t hold a manicure at all.
Nail techs see this constantly: clients who blame the product for “ruining” their nails when the real culprit was peeling off a lifting edge in the car. Acetone soaking, by contrast, dissolves the bond gradually so the product releases without taking your nail with it. It takes 15 to 25 minutes instead of 15 seconds — and that patience is the entire difference between healthy nails and damaged ones.
What You’ll Need
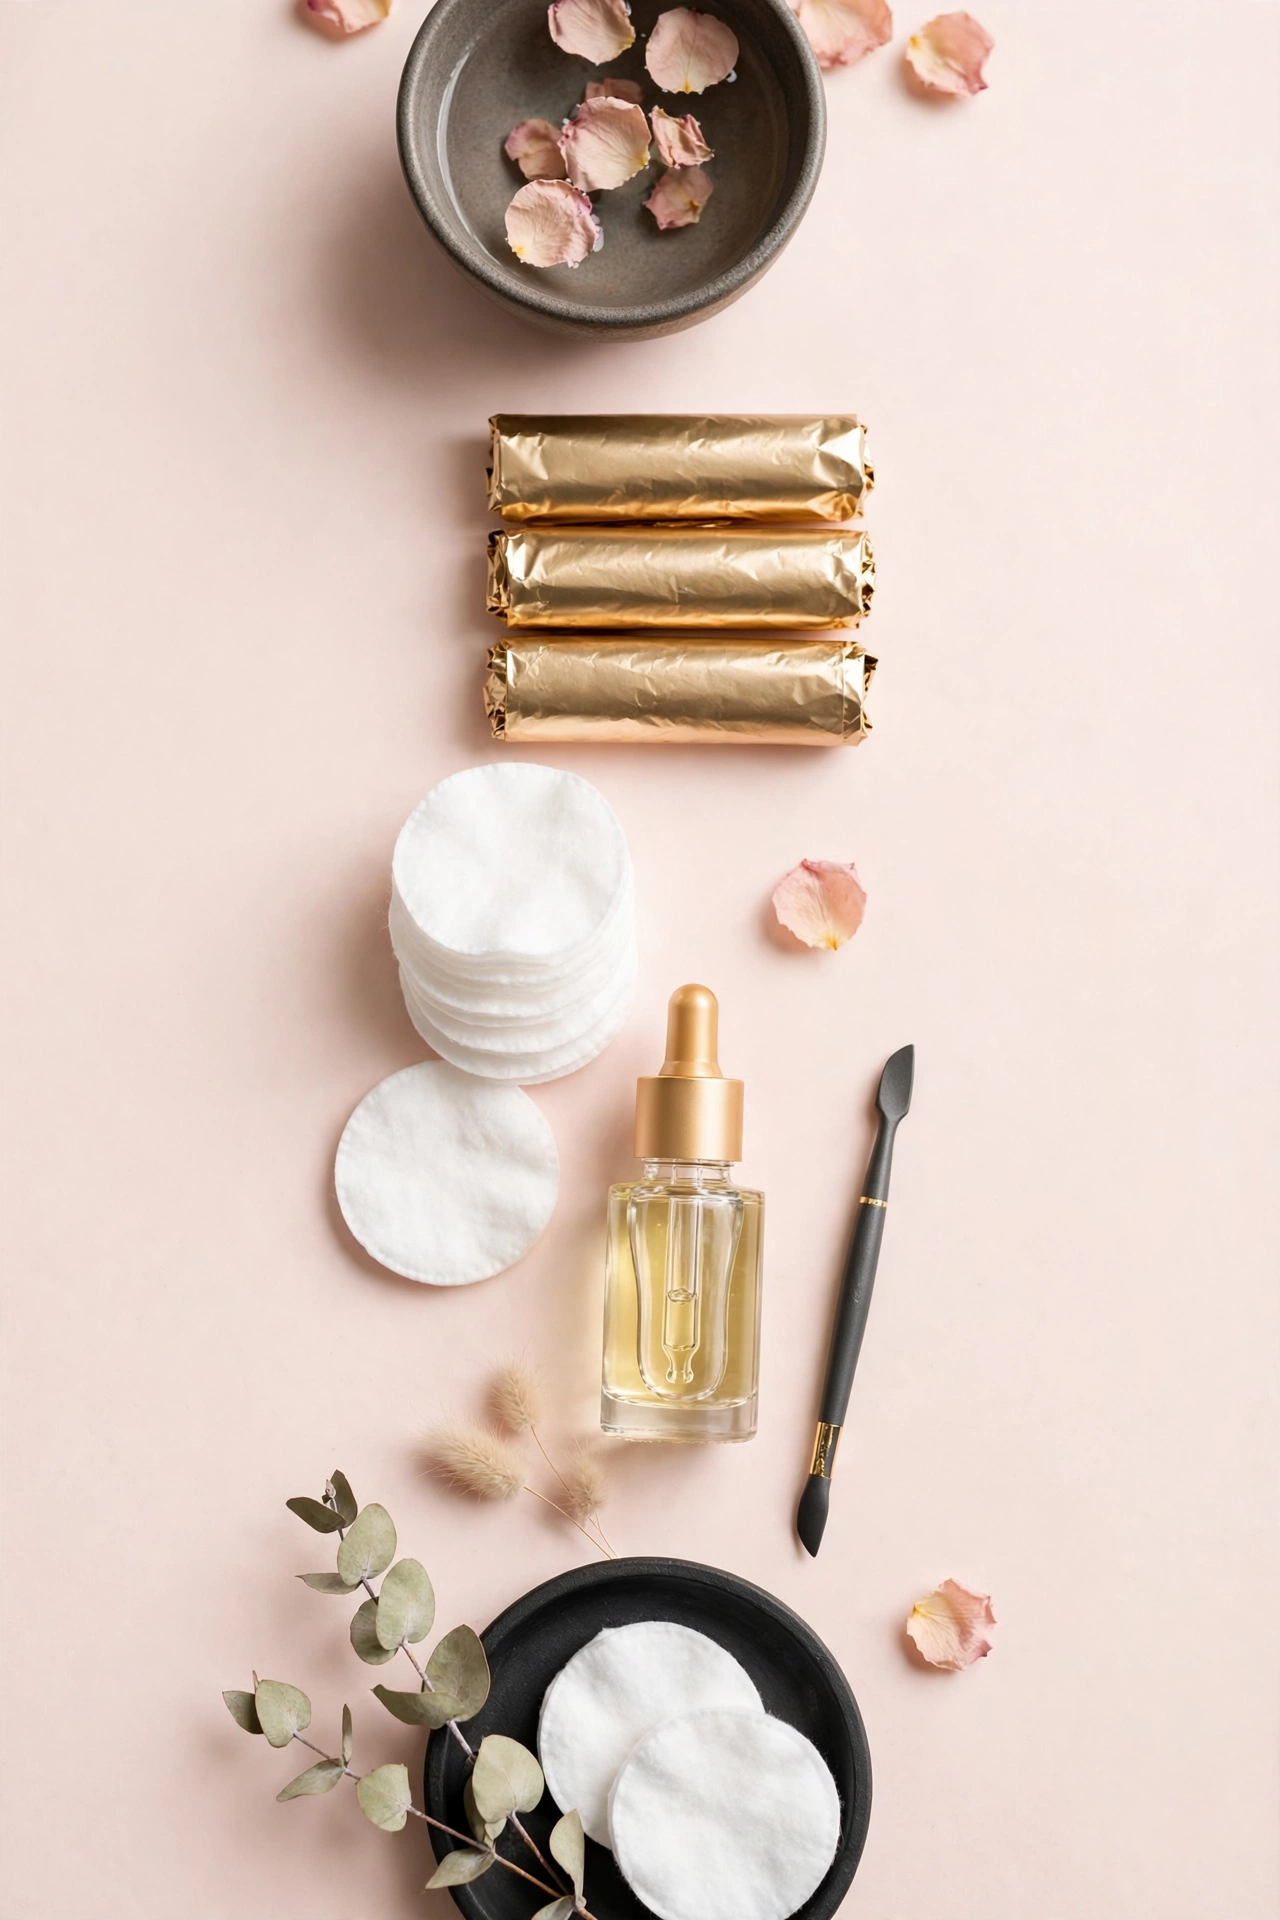
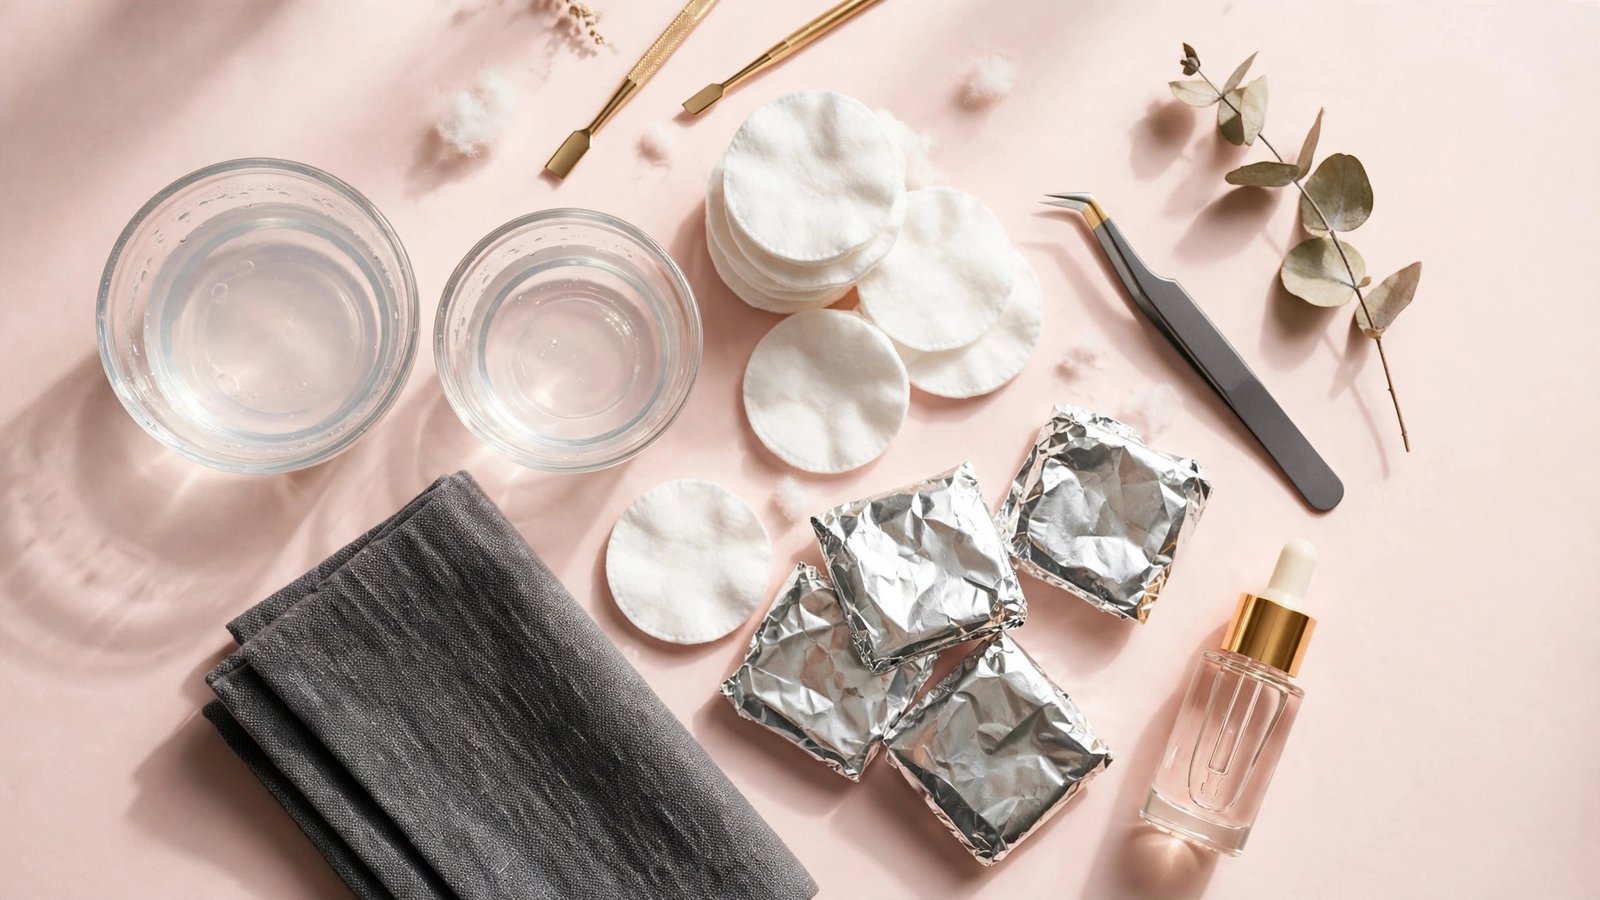
- 100% pure acetone (not regular nail polish remover — it must say 100% acetone)
- Coarse nail file (100/180 grit) for breaking the top seal
- Cotton balls or pads
- Aluminum foil strips (about 10 squares, big enough to wrap each fingertip)
- Cuticle pusher or wooden orange stick
- Petroleum jelly or thick hand cream (to protect surrounding skin)
- Buffer block
- Cuticle oil and hand cream for aftercare
- Optional: a small glass bowl if you prefer the bowl-soak method
Set up in a ventilated area — acetone fumes are strong. Avoid open flames; acetone is flammable. If you have cuts or broken skin around your nails, wait until they heal, because acetone will sting.
The Acetone Soak-Off Method: Step by Step
Step 1: File Off the Top Layer
Using your coarse file, gently file the shiny top coat off every nail. You don’t need to file down to the natural nail — just break through the glossy seal and scuff up the surface so acetone can penetrate. The nail should look dull and matte when you are done.
This step is non-negotiable. The top coat is designed to be acetone-resistant, and skipping the filing means the acetone can’t reach the product underneath — you will soak for 40 minutes with nothing happening and conclude the method “doesn’t work.”
Step 2: Protect the Skin Around Your Nails
Acetone is very drying to skin. Apply a thick layer of petroleum jelly or rich hand cream to the skin around each nail — cuticles, sidewalls, and fingertips. This barrier keeps the acetone working on the nail product instead of stripping moisture from your skin. It makes a noticeable difference in how your hands feel afterward.
Step 3: Soak in Acetone
You have two options here — the foil-wrap method or the bowl method. Both work; foil is less messy and uses less acetone.
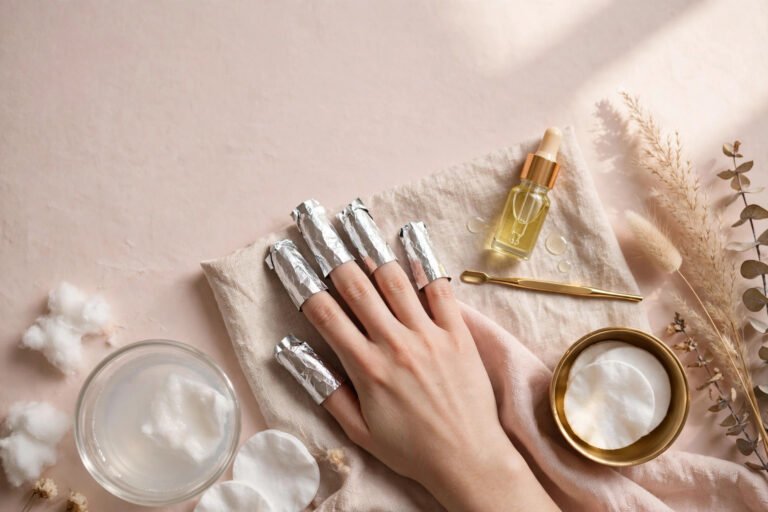
Foil-wrap method (recommended):
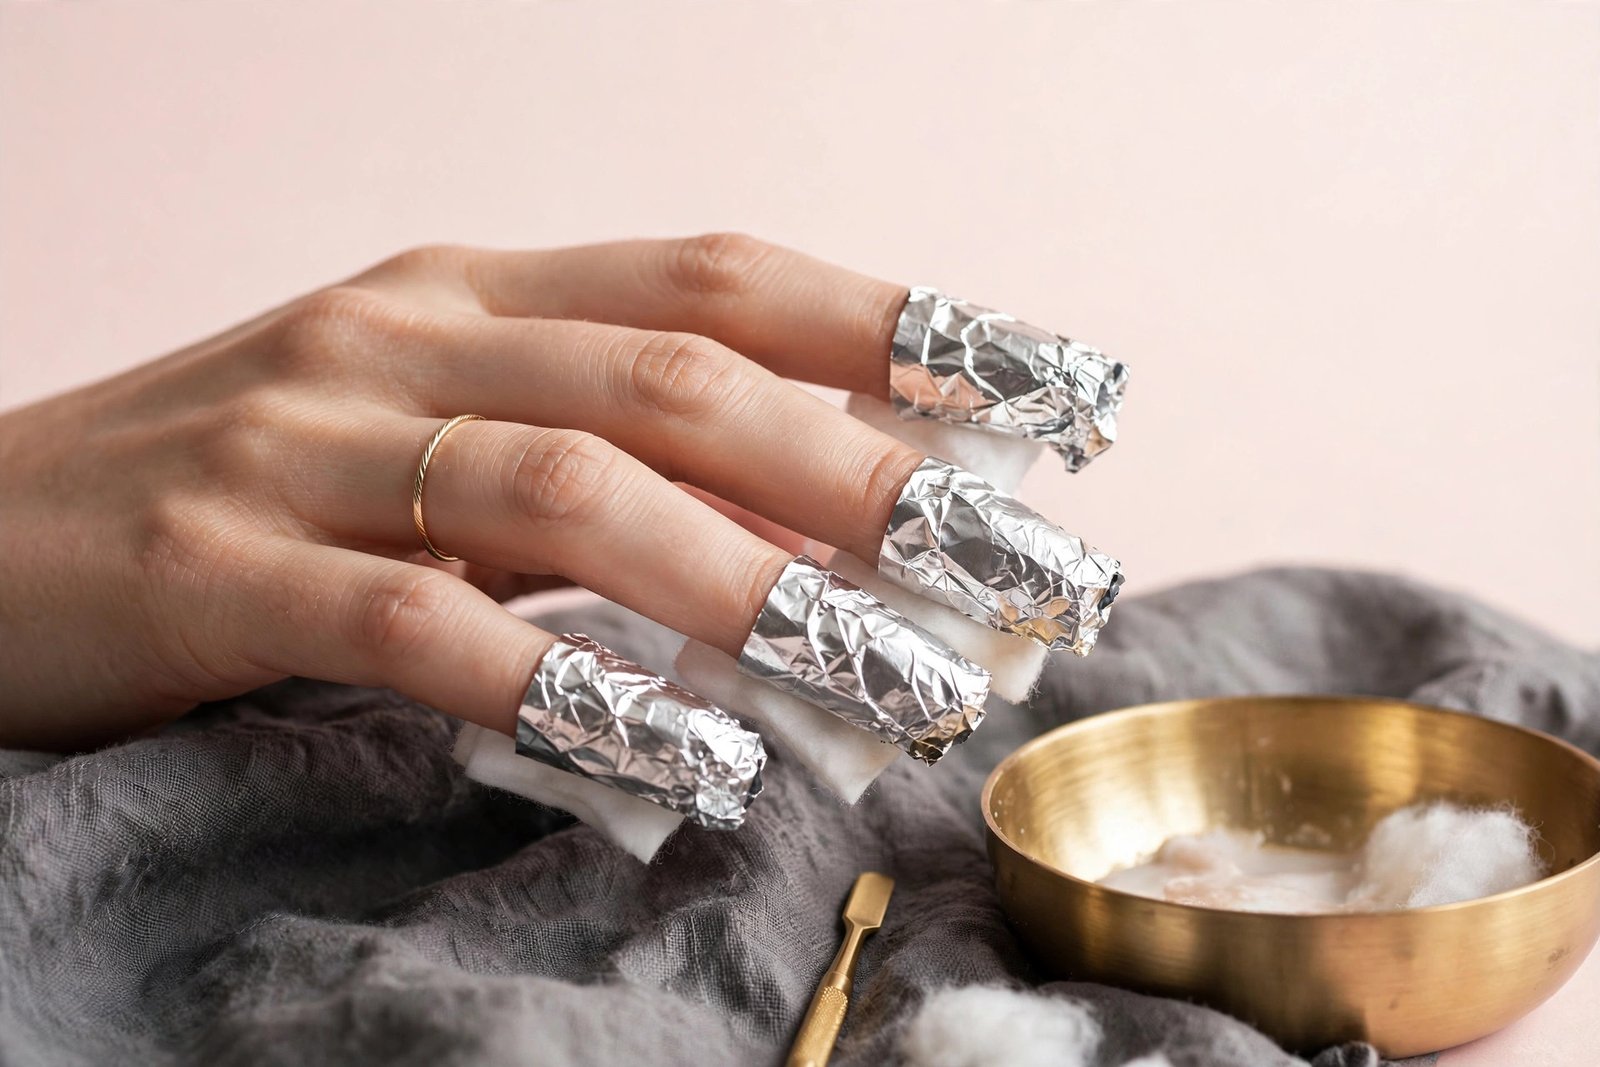
1. Soak a cotton ball or pad in 100% acetone and place it directly on the nail.
2. Wrap a square of foil snugly around the fingertip to hold the cotton in place.
3. Repeat for all ten nails.
4. Wait 15 to 20 minutes. The foil traps warmth, which speeds up the dissolving process.
Bowl method:
1. Pour enough acetone into a small glass bowl to submerge your nails.
2. Soak your fingertips for 15 to 20 minutes.
3. This uses more acetone and dries out more skin, but some people find it simpler.
Resist the urge to peek every three minutes — unwrapping lets the acetone evaporate and cools everything down, slowing the process. Set a timer and do something else.
Step 4: Gently Push Off the Softened Product
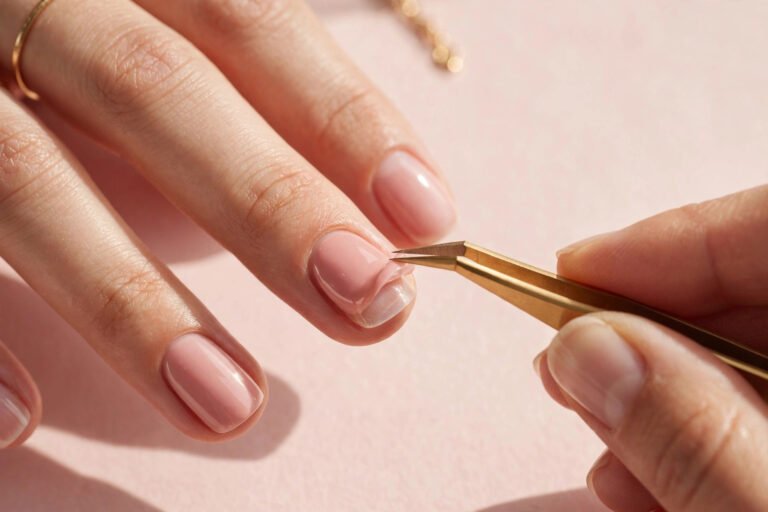
After 15 to 20 minutes, unwrap one nail and check. The dip powder should look soft, crumbly, or flaky. Using your cuticle pusher or orange stick, gently push the softened product off the nail, working from cuticle toward the free edge. It should come away with light pressure.
If a nail still feels hard and firmly attached, don’t force it — rewrap it with a fresh acetone-soaked cotton ball and give it another 5 to 10 minutes. Forcing product that isn’t ready is exactly how damage happens. Different nails may be ready at different times, especially if some areas were applied thicker.
Step 5: Buff and Clean Up
Once all the product is off, you will likely have a slightly rough nail surface with minor residue. Gently buff with your buffer block to smooth everything out — light pressure only. Wash your hands thoroughly with soap and water to remove all acetone, then move immediately to aftercare while your nails are clean.
If you are planning to reapply dip right away (many people do a fresh set the same day), make sure all residue is buffed smooth and the nail is fully dry — leftover soft product or moisture will compromise the new manicure’s adhesion. Our DIY dip powder tutorial picks up right from this prepped state.
What to Do About Stubborn Spots
Sometimes a patch or two refuses to budge. Here’s how to handle it without damaging your nail:
- Re-soak, don’t scrape. The answer to stubborn product is almost always more soak time, not more force. Rewrap with fresh acetone (used cotton loses potency) for another 10 minutes.
- File the stubborn spot lightly. If one thick area resists, gently file its surface to thin it, then re-soak. Thinner product dissolves faster.
- Try the warm towel trick. Wrapping your foiled hands in a warm towel boosts the acetone’s effectiveness — warmth accelerates the chemical breakdown.
- Check your acetone. If nothing is softening after 25 minutes, make sure your bottle actually says 100% acetone. “Acetone nail polish remover” blends are weaker and much slower.
- Leave a thin base layer. If a whisper-thin layer of clear base remains and won’t budge, it’s fine to gently buff it smooth and leave it — forcing it off does more harm than leaving a paper-thin layer that will grow out.
What NEVER to Do When Removing Dip Powder
- Never peel or pry. This is the number one rule. Peeling tears keratin layers off your nail plate. Even if an edge is lifting and it’s tempting — don’t.
- Never use metal tools aggressively. A cuticle pusher is for gentle pushing of softened product, not scraping or gouging. If you’re applying real force, stop and re-soak.
- Never use non-acetone remover and expect results. Regular polish remover won’t dissolve dip powder in any reasonable timeframe. You need 100% acetone.
- Never file down to the natural nail aggressively. Filing through the product into your nail plate thins the nail. File only the product, and stop when you see your natural nail.
- Never skip aftercare. Acetone strips oils from nails and skin. Skipping rehydration leaves nails brittle and prone to peeling.
The same principles apply to other soak-off systems — our gel nail removal guide covers the similar process for gel if you ever switch systems.
Aftercare: Restoring Your Nails After Removal
Acetone is effective but dehydrating, so aftercare isn’t optional — it’s part of the removal process.
Immediately after: Massage cuticle oil generously into each nail and the surrounding skin. Then apply a rich hand cream. Your nails and skin just went through a chemical soak; they need moisture back.
The next few days: Keep up the cuticle oil at least twice daily. If your nails feel dry or look white and chalky at the tips, that’s dehydration — oil and time fix it. Avoid harsh hand soaps for a day or two if your skin feels sensitive.
If your nails feel weak: Give them a break before your next set if they feel thin or bendy. A week of diligent cuticle oil and gentle care usually restores them. For ongoing strengthening, our strengthening weak, brittle nails guide covers nail hardeners, diet factors, and habits that build resilience. And building a consistent at-home nail care routine between manicures keeps nails in the best possible condition.
Should you take breaks between dip sets? Many nail techs recommend an occasional breather — even a few days of bare, well-oiled nails between sets lets you assess your nail health honestly. If your nails always feel paper-thin under product, that’s a sign your prep buffing is too aggressive or your removal needs more patience.
Key Takeaways
- Never peel, pry, or pick off dip powder — forcing it off tears keratin layers from your nail plate and causes the weakness most people blame on the product.
- The safe method is a 100% acetone soak: file off the glossy top seal, protect surrounding skin, wrap acetone-soaked cotton in foil for 15–20 minutes, then gently push off softened product.
- If product resists, re-soak with fresh acetone rather than scraping — warmth and patience dissolve what force cannot.
- File only the product, never aggressively into the natural nail, and stop when you see your own nail.
- Aftercare is mandatory: wash off acetone, then flood nails with cuticle oil and hand cream to restore lost moisture.
- Give nails an occasional break between sets and keep up daily cuticle oil to maintain long-term nail health.
Frequently Asked Questions
How long does it take to soak off dip powder nails?
Typically 15 to 25 minutes of actual soaking, plus 10 minutes of prep and cleanup — about 30 to 40 minutes total. Thicker applications or multiple fills take longer. If nothing is softening after 25 minutes, check that you’re using 100% acetone and that you filed off the top coat seal first.
Can I remove dip powder nails without acetone?
Not effectively. Dip powder is designed to be acetone-soluble, and non-acetone removers won’t dissolve it in any practical timeframe. Some people try filing the entire manicure off, but this is extremely tedious and very easy to over-file into the natural nail. Acetone soaking is the safe, standard method — there’s no good shortcut.
Why do my nails feel thin after removing dip powder?
Two likely causes: peeling or prying during removal (which tears nail layers), or over-buffing during prep before application. Acetone itself dehydrates but doesn’t thin the nail plate. If nails feel thin, give them a week of cuticle oil and gentle care before your next set, and be extra careful with buffing pressure next time.
Can I reapply dip powder immediately after removal?
Yes, as long as removal was done properly and your nails feel healthy. Make sure all residue is buffed smooth and nails are completely dry and oil-free before starting. If your nails feel sore, bendy, or paper-thin, take a break of several days to a week with daily cuticle oil first.
Is 100% acetone bad for your nails?
Acetone dehydrates nails and skin temporarily, which is why aftercare matters — but it doesn’t permanently damage the nail plate the way peeling does. The dehydration is reversible with cuticle oil and moisturizer. Protect surrounding skin with petroleum jelly during the soak to minimize dryness.
How often should I remove and redo dip powder?
Most people wear a set for 2 to 4 weeks before removing or filling. Don’t stretch a lifting manicure for extra weeks — water getting under lifted edges creates a breeding ground for bacteria and makes removal harder. Remove or fill promptly when you notice lifting at the edges or significant regrowth.
Love this? Pin it for later!