Bronzer Guide for Beginners: Warm Up Your Face Right
Bronzer is the fastest way to make your whole face look healthier. One well-applied product adds warmth, dimension, and that “just back from a long weekend” glow — no vacation required. But bronzer is also one of the easiest products to get wrong: the wrong shade turns orange, the wrong placement looks dirty, and heavy hands create muddy streaks.
This beginner’s guide covers everything: how to choose your bronzer shade, where bronzer actually goes (and where it doesn’t), the application techniques that guarantee a natural finish, and the mistakes that give bronzer a bad name. By the end, you’ll be warming up your face in under two minutes.
- Key Takeaways:
- Choose a bronzer 1–2 shades deeper than your skin tone with a warm (not orange) undertone.
- Apply where the sun hits: forehead perimeter, cheekbones, nose bridge, jawline — the “3” shape.
- Build in thin layers; bronzer mistakes almost always come from too much product at once.
- Bronzer warms; contour sculpts — they’re different products for different jobs.
- Blend upward and outward, and always check your work in natural light.
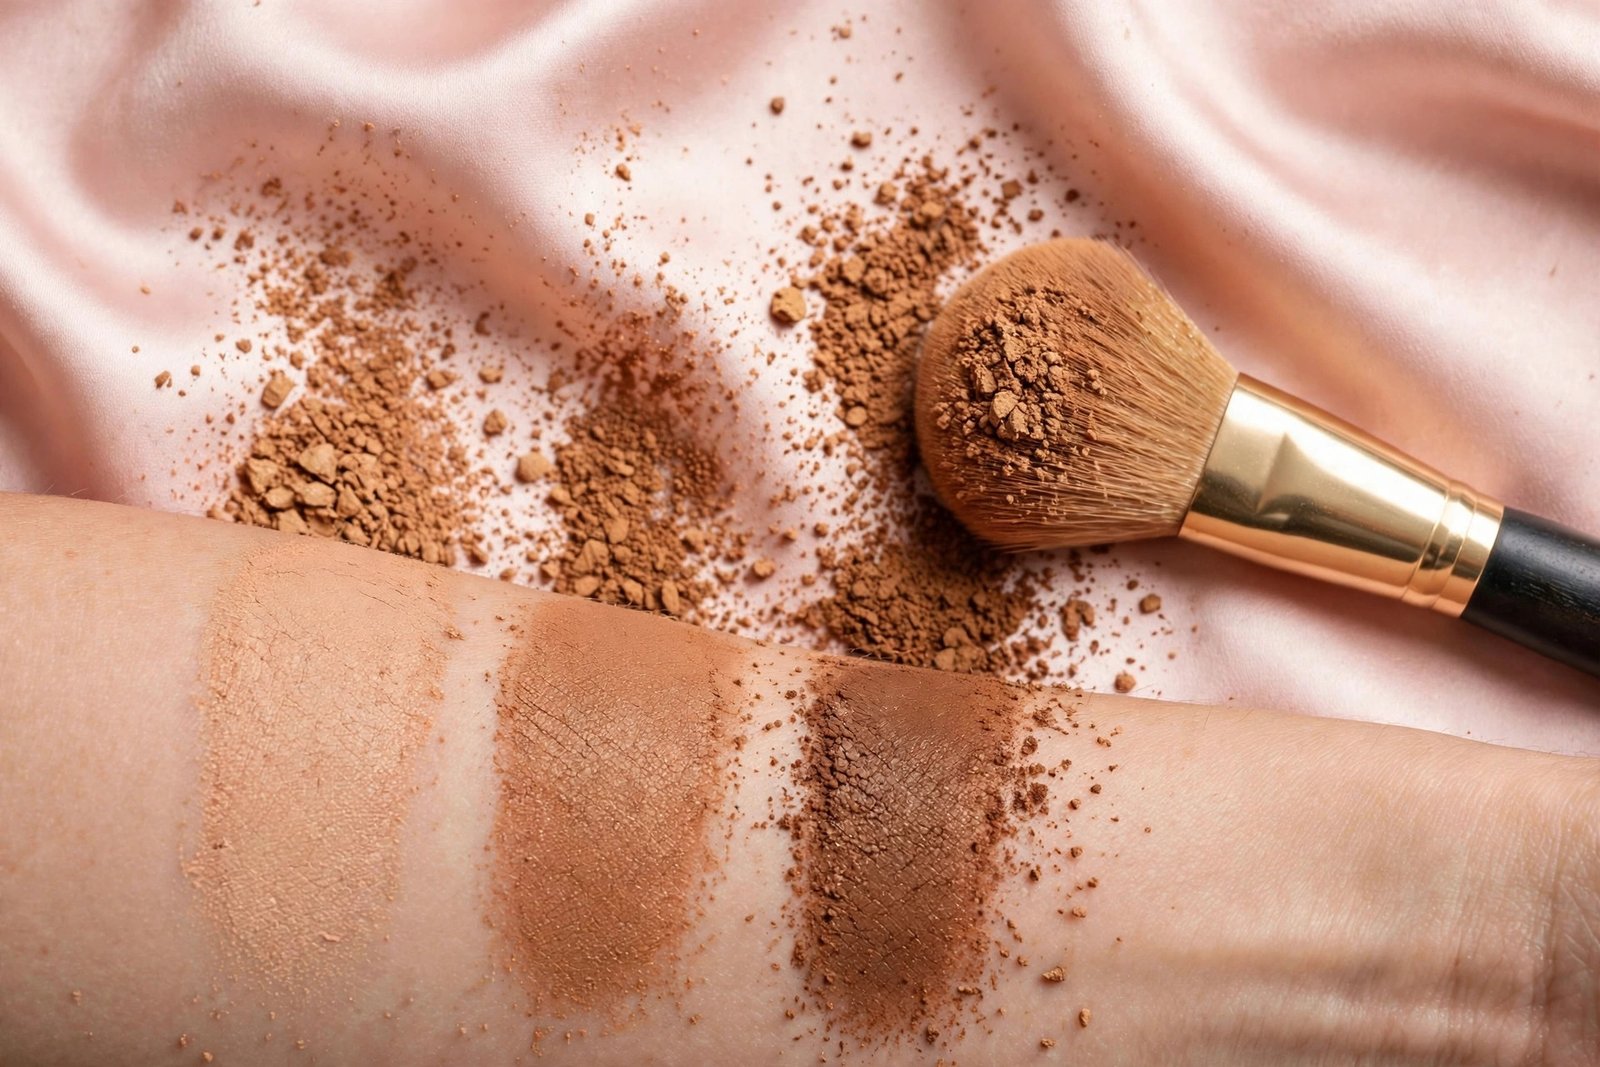
What Bronzer Actually Does
Bronzer’s job is warmth. It mimics the way sunlight naturally tans the high, exposed planes of your face — the forehead, the tops of the cheekbones, the nose. A good bronzer application reads as healthy color, not makeup.
This is different from contouring, which uses cool-toned shadow shades to create the illusion of depth and structure. Beginners often confuse the two, which is why orange, muddy results happen: using a warm bronzer to sculpt (or a cool contour to warm) breaks the logic of both. For the full breakdown, see the bronzer vs contour — what’s the real difference.
Think of it this way: bronzer is sunshine, contour is shadow. You can absolutely use both, but they go in different places with different shades.
Choosing Your Bronzer Shade
Shade selection is where most beginners go wrong, and it’s the single biggest factor in whether your bronzer looks natural.
The 1–2 Shades Rule
Pick a bronzer one to two shades deeper than your natural skin tone. Go deeper and the contrast looks obvious; go lighter and it disappears. When testing, swatch on your jawline in natural light — the right shade should look like a slightly deeper version of your skin, not a different color.
Undertone Matters More Than Depth
- Warm undertones: golden, honey, and terracotta bronzers harmonize naturally.
- Cool undertones: look for neutral-warm bronzers rather than intensely golden ones — too much gold can look orange on cool skin.
- Neutral undertones: most bronzers work; choose by depth.
The word to fear on packaging is “orange.” If a bronzer pulls orange on your skin in the swatch test, it will pull more orange once blended. Fair skin is especially vulnerable — the best bronzer for pale skin with zero orange tones goes deep on fair-friendly shades.
Finish: Matte vs. Shimmer
Beginners should start with a matte bronzer. Matte formulas are forgiving: they blend easily, they don’t emphasize texture, and they can’t be confused with highlighter. Shimmer bronzers combine warmth and glow in one step, which sounds efficient but makes placement mistakes more visible. Master matte first; add shimmer bronzer later if you want extra glow.
Powder vs. Cream
Powder bronzer is the beginner-friendly default — it’s the easiest to control and the hardest to over-apply. Cream bronzer gives a more skin-like, dewy finish but requires more blending skill and the right tools. Start with powder; graduate to cream when blending feels second nature. When you’re ready, the how to apply cream bronzer without streaks walks through the technique.
Where Bronzer Goes: The Face Map
Bronzer goes where the sun would naturally hit your face. The classic guide is the “3” shape: starting at the forehead, sweep down along the temple, in under the cheekbone, and back out along the jawline — tracing a 3 on each side of the face.
Breaking it down by zone:
Forehead Perimeter
Sweep bronzer along the hairline and temples. This frames the face with warmth and is especially flattering on larger foreheads. Keep it at the perimeter — bronzing the center of the forehead can look like a tan line gone wrong.
Cheekbones
Apply just under and along the cheekbones, blending upward. The warmth here mimics a natural tan and adds dimension. Blend thoroughly toward the hairline so there’s no visible edge.
Nose
A light dusting down the bridge of the nose (and a tiny touch on the tip) mimics sun exposure. Use whatever is left on the brush after the cheeks — a fresh dip for the nose is almost always too much.
Jawline and Chin
A sweep along the jawline ties the warmth together and prevents the “floating face” effect where a bronzed face meets a pale neck. Blend down into the neck slightly for a seamless transition. A whisper on the chin center adds balance.
Where Bronzer Does NOT Go
- All over the face like foundation. Blanket bronzing looks flat and muddy. Targeted placement is the whole point.
- The under-eye area. Warmth here reads as darkness and fatigue.
- Inside the hollows like contour. Bronzer in the deep hollows looks dirty, not sculpted. If you want sculpting too, the beginner contouring guide covers proper shadow placement.
Tools: What You Actually Need
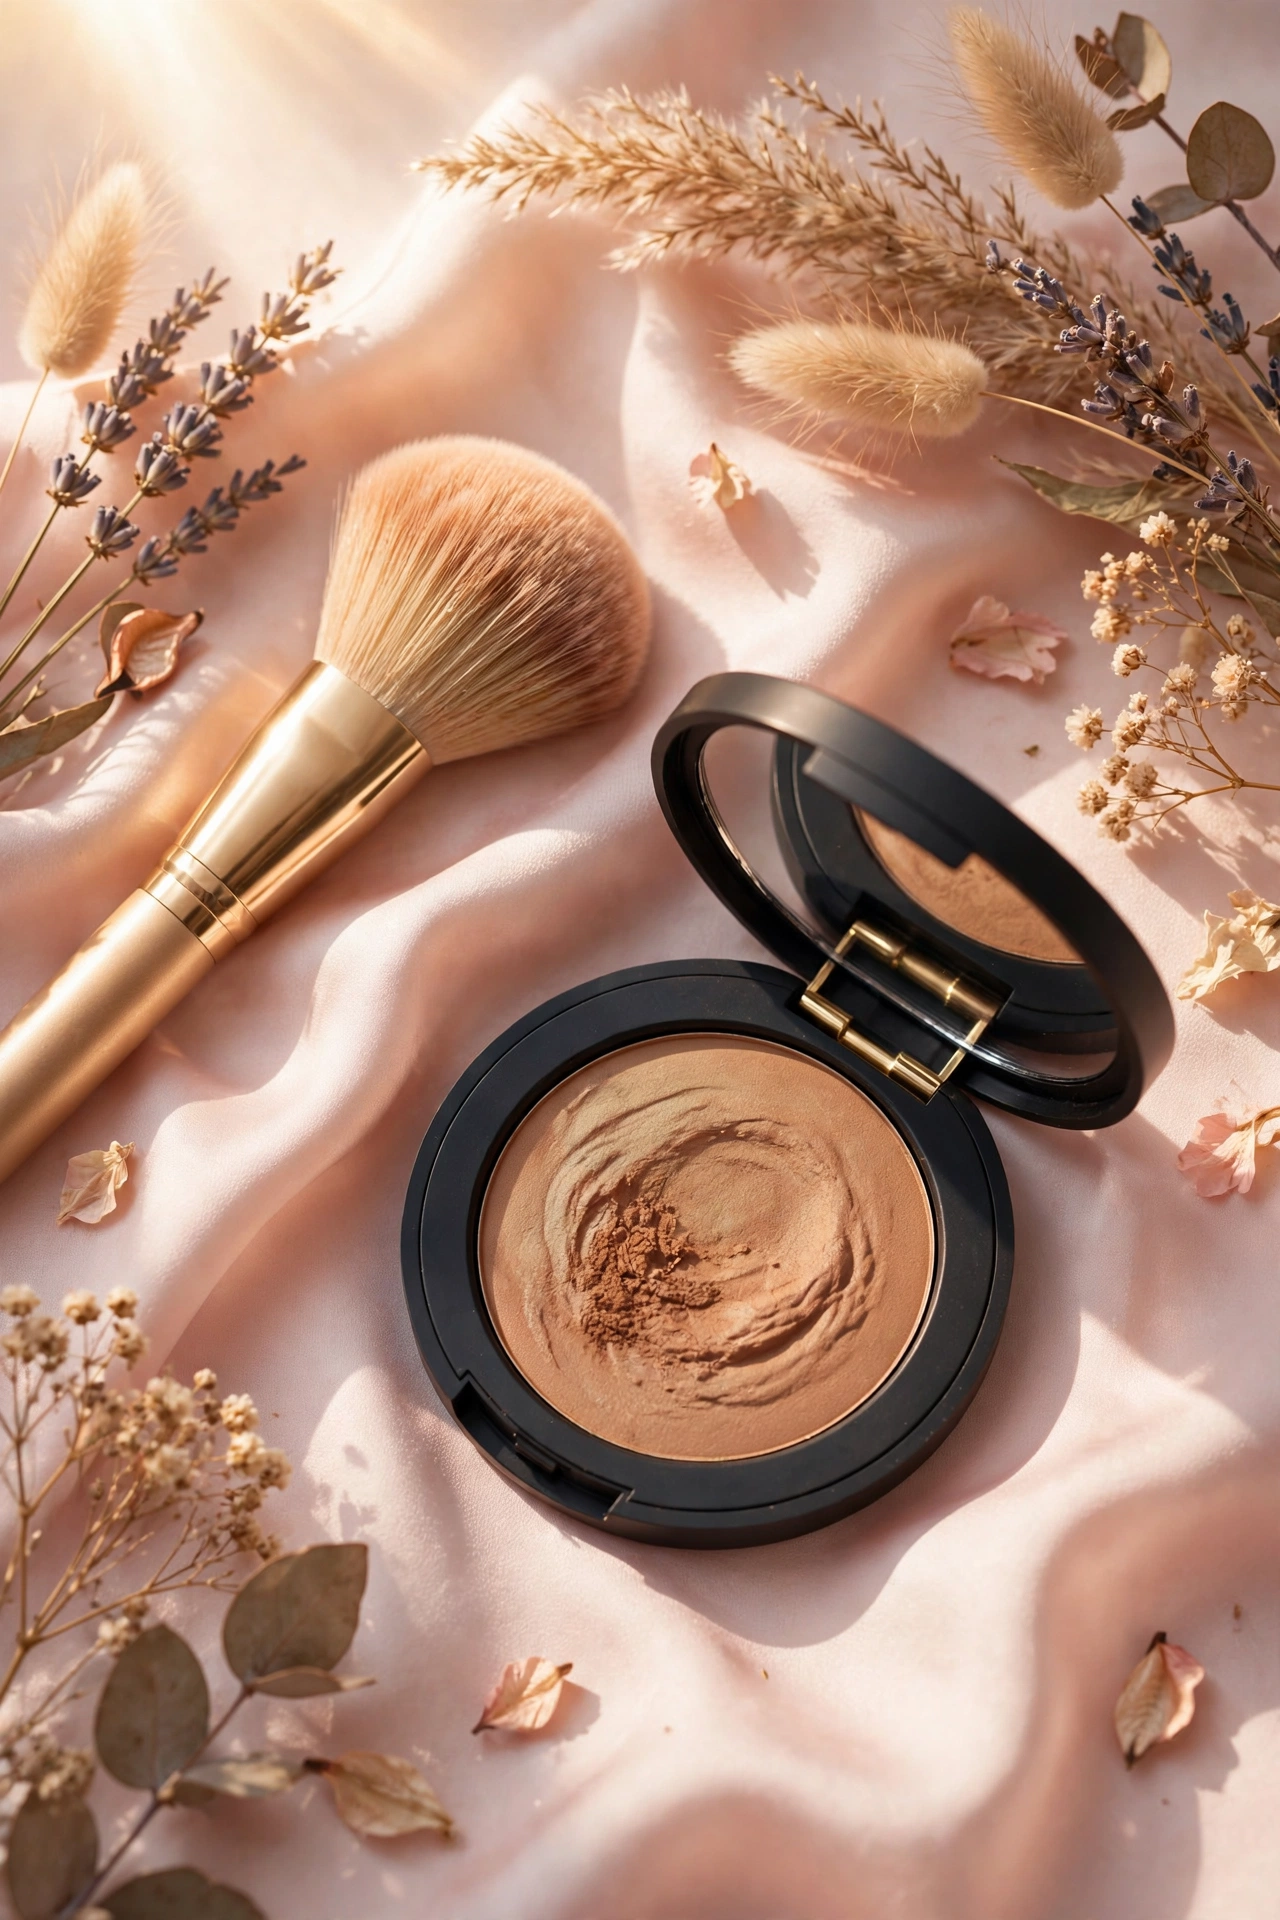
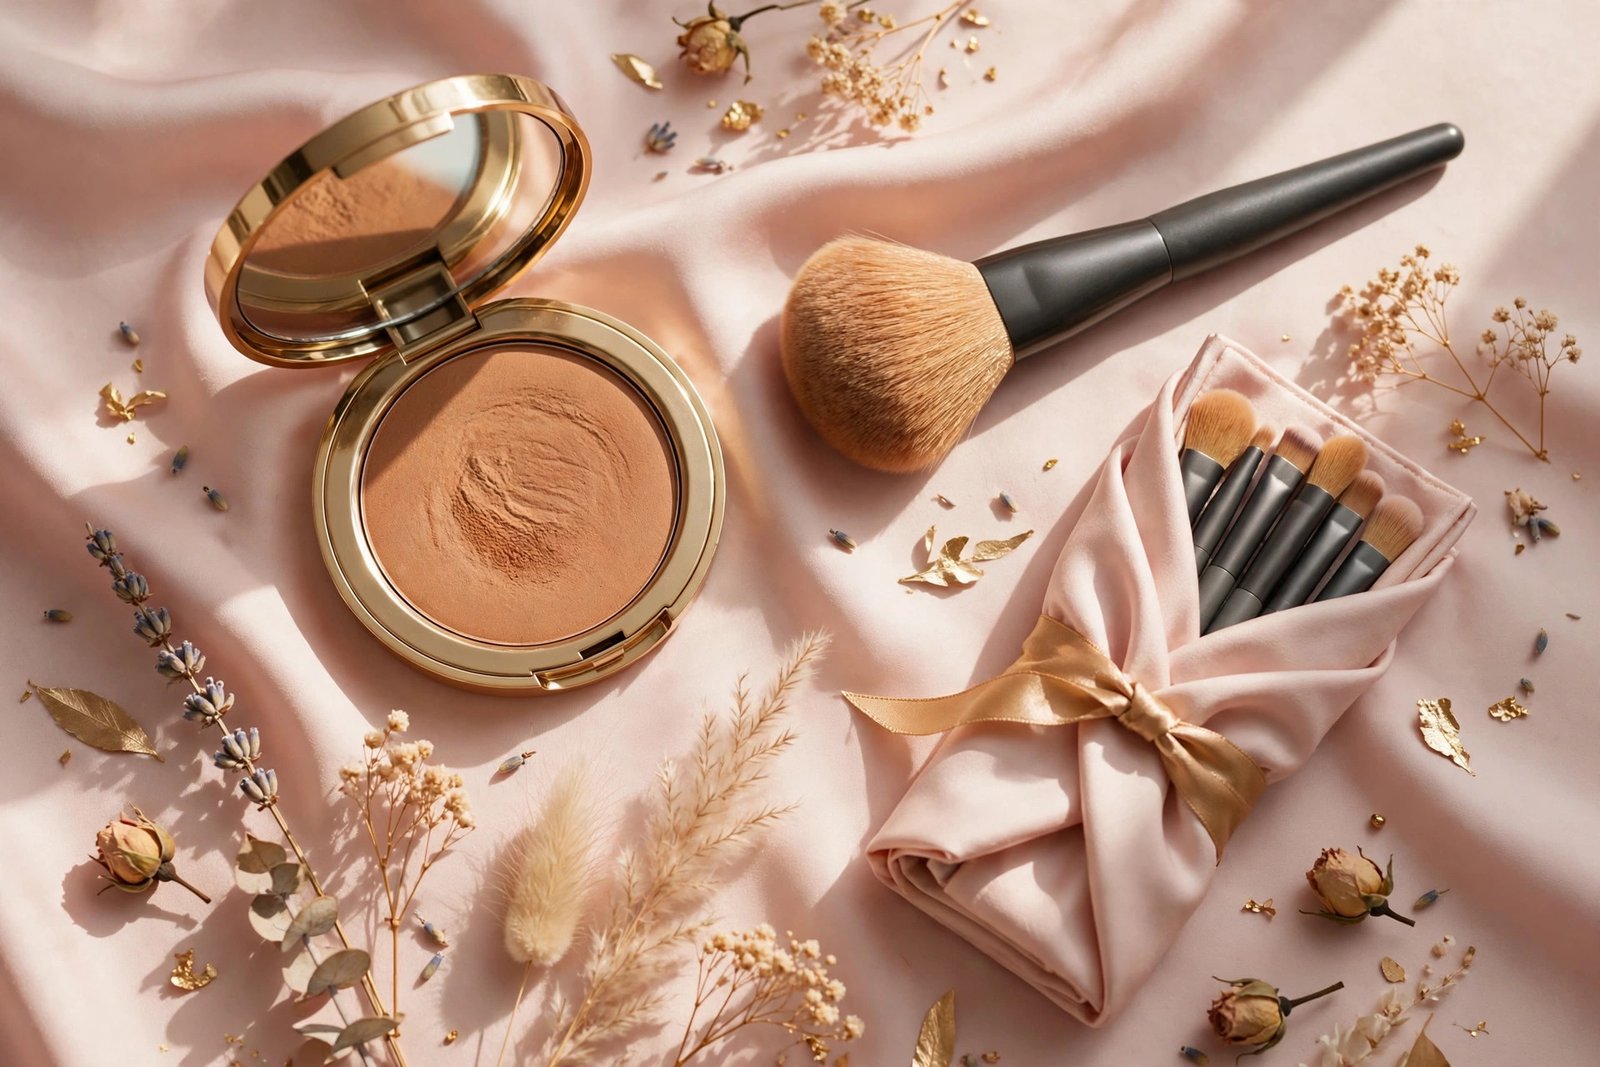
You need one good brush to start: a large, fluffy, tapered powder brush. The fluffiness diffuses product so you can’t easily over-apply; the tapered shape reaches the temples and jawline precisely.
What to avoid as a beginner: small dense brushes (they deposit too much product in one spot), and your fingers (fine for cream blush, terrible for powder bronzer — they create patchy streaks).
Brush care matters too. A dirty brush holds old product and applies unevenly. Wash your bronzer brush weekly with gentle soap, reshape, and dry bristles-down or flat.
The 5-Minute Beginner Application Routine
- Finish your base first. Bronzer goes over foundation and concealer, after any cream products. Applying bronzer under base makeup mutes it completely.
- Tap off excess. After dipping your brush, tap it once on the compact edge or blow gently. Most bronzer disasters start with an overloaded brush.
- Start at the temples. Begin each “3” at the outer forehead — product is heaviest where the brush first touches, and the perimeter can handle it.
- Sweep, don’t scrub. Use light, sweeping strokes in the 3 pattern. Scrubbing back and forth deposits uneven patches.
- Build in layers. One sheer layer, assess, then add a second if needed. Two thin layers always look better than one heavy one.
- Blend the edges. After placement, use a clean fluffy brush (no product) to soften any visible lines, especially at the jawline and hairline.
- Check in natural light. Indoor lighting hides harsh edges. A quick daylight check before you leave catches everything.
Bronzer Placement for Different Face Shapes
The “3” shape is a universal starting point, but small tweaks by face shape make bronzer noticeably more flattering.
Round faces: Focus bronzer along the temples and under the cheekbones with slightly stronger definition at the jawline sides. This adds the illusion of length. Keep the forehead perimeter light so you don’t widen the upper face.
Oval faces: You need the least adjustment — the standard 3 works beautifully. Just keep everything balanced and don’t over-bronze the forehead, since oval faces already have ideal proportions.
Square faces: Soften the angles by concentrating bronzer on the outer corners of the forehead and along the jawline angles. Blend thoroughly at the jaw corners — harsh lines here emphasize squareness rather than softening it.
Heart-shaped faces: Warm the wider forehead generously at the temples and hairline, but go lighter on the jawline and chin, which are already narrow. This balances the face’s natural top-heaviness.
Long faces: The goal is visual width. Apply bronzer more horizontally — across the forehead perimeter and straight back along the cheekbones toward the ears — and skip heavy jawline application, which adds length.
These are refinements, not rules. The 1–2 shades guideline and the tap-off-build-blend technique matter far more than face-shape micro-adjustments.
Bronzer and Blush: How They Work Together
Bronzer and blush are partners, not competitors. Bronzer adds warmth; blush adds color and life. The classic order: bronzer first (the warmth base), then blush on the apples of the cheeks, then highlighter on the high points if you want glow.
Placement keeps them distinct: bronzer sits higher and more toward the perimeter (temples, under cheekbones, jawline), blush sits on the apples of the cheeks. When they overlap too much, the face looks uniformly flushed rather than dimensionally warm.
For creative ways to blend the two, the blush draping technique explained shows a trending method that merges blush and contour-like placement.
Bronzer for Different Skin Tones
Fair skin: Choose the lightest bronzers available — often labeled “light” or “fair.” The risk is orange, so test carefully and favor neutral-warm over golden. Build very slowly; fair skin shows every extra layer.
Light-medium skin: You have the widest range of options. Honey and soft terracotta shades look natural. One to two shades deeper than your skin is the sweet spot.
Medium-tan skin: Go for richer golden and bronze tones. You can handle more depth and more warmth without it reading orange. Shimmer bronzers also tend to look gorgeous on medium-tan skin.
Deep skin: Choose deep bronze, copper, and rich terracotta shades. Avoid bronzers that are lighter than your skin — they create an ashy cast. On deep skin, bronzer often functions more as a glow and warmth enhancer than a visible color shift, which is exactly right.
Seasonal Adjustments
Your bronzer shade shouldn’t be static year-round. In summer, when skin naturally deepens, you may need a shade deeper; in winter, your summer bronzer may look too dark and muddy. Many regular bronzer users own two shades — one for their lightest months, one for their deepest — and blend between them in the shoulder seasons.
Also adjust finish by season. Dewier skin in humid summer months pairs well with cream bronzer; drier winter skin often looks better with powder over a well-moisturized base.
Common Beginner Mistakes (and Fixes)
The orange mask. Cause: shade too warm or too deep for your skin. Fix: go one shade lighter and more neutral; blend more thoroughly.
Muddy jawline. Cause: too much product at the jaw edge with no blending downward. Fix: use a clean brush to diffuse the edge, and blend a touch down the neck.
Streaky cheeks. Cause: applying over unset cream products, or using a too-small brush. Fix: make sure base layers are set or fully blended first; switch to a bigger, fluffier brush.
Bronzer as contour. Cause: placing warm bronzer deep in the cheek hollows to sculpt. Fix: learn the difference — bronzer warms the perimeter, contour sculpts the hollows. (See the bronzer vs contour guide linked above.)
Skipping the neck. Cause: bronzed face, pale neck. Fix: always carry a whisper of bronzer down the jawline onto the upper neck.
Applying with a heavy hand first thing. Cause: dipping and going straight to the cheek. Fix: tap off excess, start at the temples, build in layers.
Bronzer Mistakes by Formula
Powder bronzer pitfalls: applying over tacky, unset foundation (causes patchiness); using a damp brush (creates streaks); not tapping off excess.
Cream bronzer pitfalls: using too much (creams are pigmented — a little goes far); blending with fingers in circles (moves base makeup); applying over powder (pills and cakes). The dedicated cream bronzer application guide covers the cream-specific technique in full.
Frequently Asked Questions
Do I need bronzer if I already use blush?
They do different jobs. Blush adds color; bronzer adds warmth and dimension. You can wear one without the other, but together they create the most natural healthy-skin effect. If you must choose one, pick based on what your face lacks: paleness needs bronzer’s warmth, sallowness needs blush’s color.
Can beginners use bronzer every day?
Absolutely — a sheer daily bronzer application takes under two minutes and makes most faces look healthier instantly. Keep it light for daytime; build it up for evenings.
What’s the difference between bronzer and contour?
Bronzer is warm-toned and goes where the sun hits (forehead perimeter, cheekbones, nose, jawline) to add warmth. Contour is cool-toned and goes in the hollows (under cheekbones, sides of nose, jawline underside) to create shadow and structure. Different shades, different placement, different purposes.
Should bronzer have shimmer?
For beginners, no — start matte. Matte bronzer is more forgiving of placement mistakes and doesn’t emphasize skin texture. Once you’re comfortable, a subtle shimmer bronzer can double as bronzer-plus-glow for evenings.
How do I fix bronzer that’s too dark?
Don’t try to blend it away with more brushing — that spreads the problem. Instead, press a clean damp sponge over the area to lift excess, then re-blend the edges with a clean fluffy brush. If it’s still too dark, dust a little translucent powder over it to soften.
Does bronzer expire?
Yes. Powder bronzer typically lasts two to three years; cream bronzer about one year. If it smells off, applies patchy despite proper technique, or the texture has changed, replace it. Old product also harbors bacteria — not worth the risk for a $15 item.
Can I use bronzer as eyeshadow?
Yes — matte bronzer makes an excellent natural eyeshadow, especially for a quick warm wash across the lids. Use a fluffy brush and blend well. It’s one of the best multi-use tricks for a minimal makeup bag.
How do I wear bronzer with a full contour routine?
Layer in this order: foundation, contour (cool-toned, in the hollows), bronzer (warm-toned, on the sun-kissed perimeter and over the cheekbones), blush, then highlighter. Bronzer goes slightly above and around the contoured areas — they should complement, not overlap. When both are placed correctly, contour creates the structure and bronzer creates the healthy warmth, which is exactly how professionally made-up faces get their dimension.
Conclusion
Bronzer is simple once the fundamentals click: right shade (1–2 shades deeper, undertone-matched), right placement (the sun-kissed 3), right technique (tap off, sweep, build in layers, blend the edges). Start with a matte powder and a big fluffy brush, practice the 3-shape for a week, and check your work in daylight. The natural warmth you’re after is genuinely a two-minute job — the learning curve is short, and the payoff is a healthier-looking face every single day.
One last beginner tip: take a photo of your finished bronzer in natural light on day one, then again after two weeks of practice. The progress is usually dramatic, and comparing the two shots trains your eye faster than any tutorial. Small daily improvements in blending and shade judgment compound quickly — within a month, the routine will feel completely automatic.
Love this? Pin it for later!