Highlighter Guide for Beginners: Glow Like a Pro
If you’ve ever stared at a highlighter palette and wondered whether it’s makeup or fairy dust, you’re not alone. Highlighter is one of the most misunderstood products in a beginner’s kit — used right, it gives skin a lit-from-within glow that makes everything else look better; used wrong, it’s a glittery streak that catches every unforgiving light. This guide breaks down exactly what highlighter does, which formula to buy first, where it goes on your face, and the placement tricks that separate a natural glow from a disco ball. By the end, you’ll be able to pick the right shade, apply it with confidence, and never look shiny in photos again.
- What highlighter actually does: It reflects light off the high points of your face, creating dimension and a healthy glow — it’s the opposite of contour.
- Formula first: Creams and liquids give a skin-like glow that’s easiest for beginners; powders give a stronger beam and last longer on oily skin.
- Placement matters more than product: The same highlighter looks natural or garish depending entirely on where and how much you apply.
- Shade match is everything: Pick a tone that harmonizes with your undertone (champagne for fair, golden for warm, rose for cool, bronze for deep).
- Less is always more: Build in thin layers with the right tool instead of one heavy swipe.
- Pair it with contour and blush in the right order for a sculpted, balanced face instead of competing shiny patches.
- Mature skin can absolutely glow — cream and subtle satin formulas are your friends; chunky glitter is the enemy.
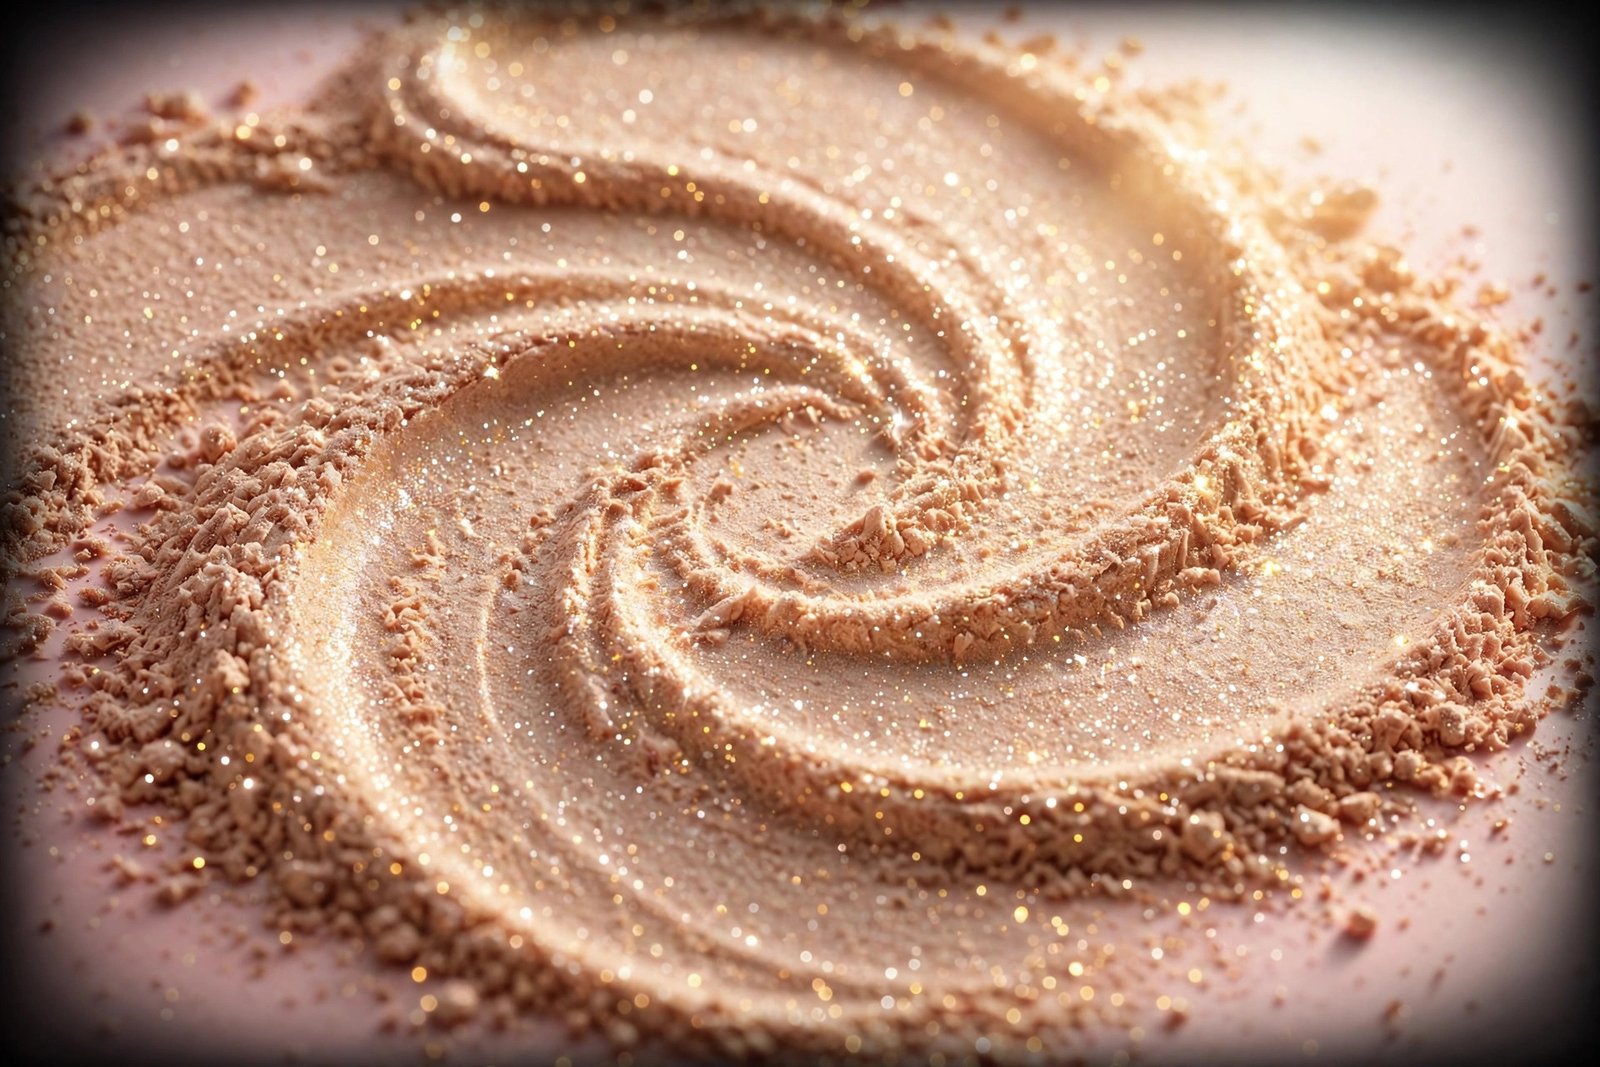
What Highlighter Is (and Isn’t)
Highlighter is a light-reflecting makeup product designed to draw the eye to the raised planes of your face — the tops of the cheekbones, the brow bone, the bridge of the nose, the Cupid’s bow. Where contour creates shadow and recedes areas, highlighter does the opposite: it brings areas forward and adds luminosity. Think of it as makeup’s lighting director.
What highlighter is not is a fix for everything. It won’t blur pores (it can actually emphasize them if applied over textured areas), it won’t replace blush, and more of it doesn’t mean more beautiful. The most common beginner mistake is treating highlighter like the main event rather than the finishing touch. It should be the last light you add to your face, applied in small amounts to small areas.
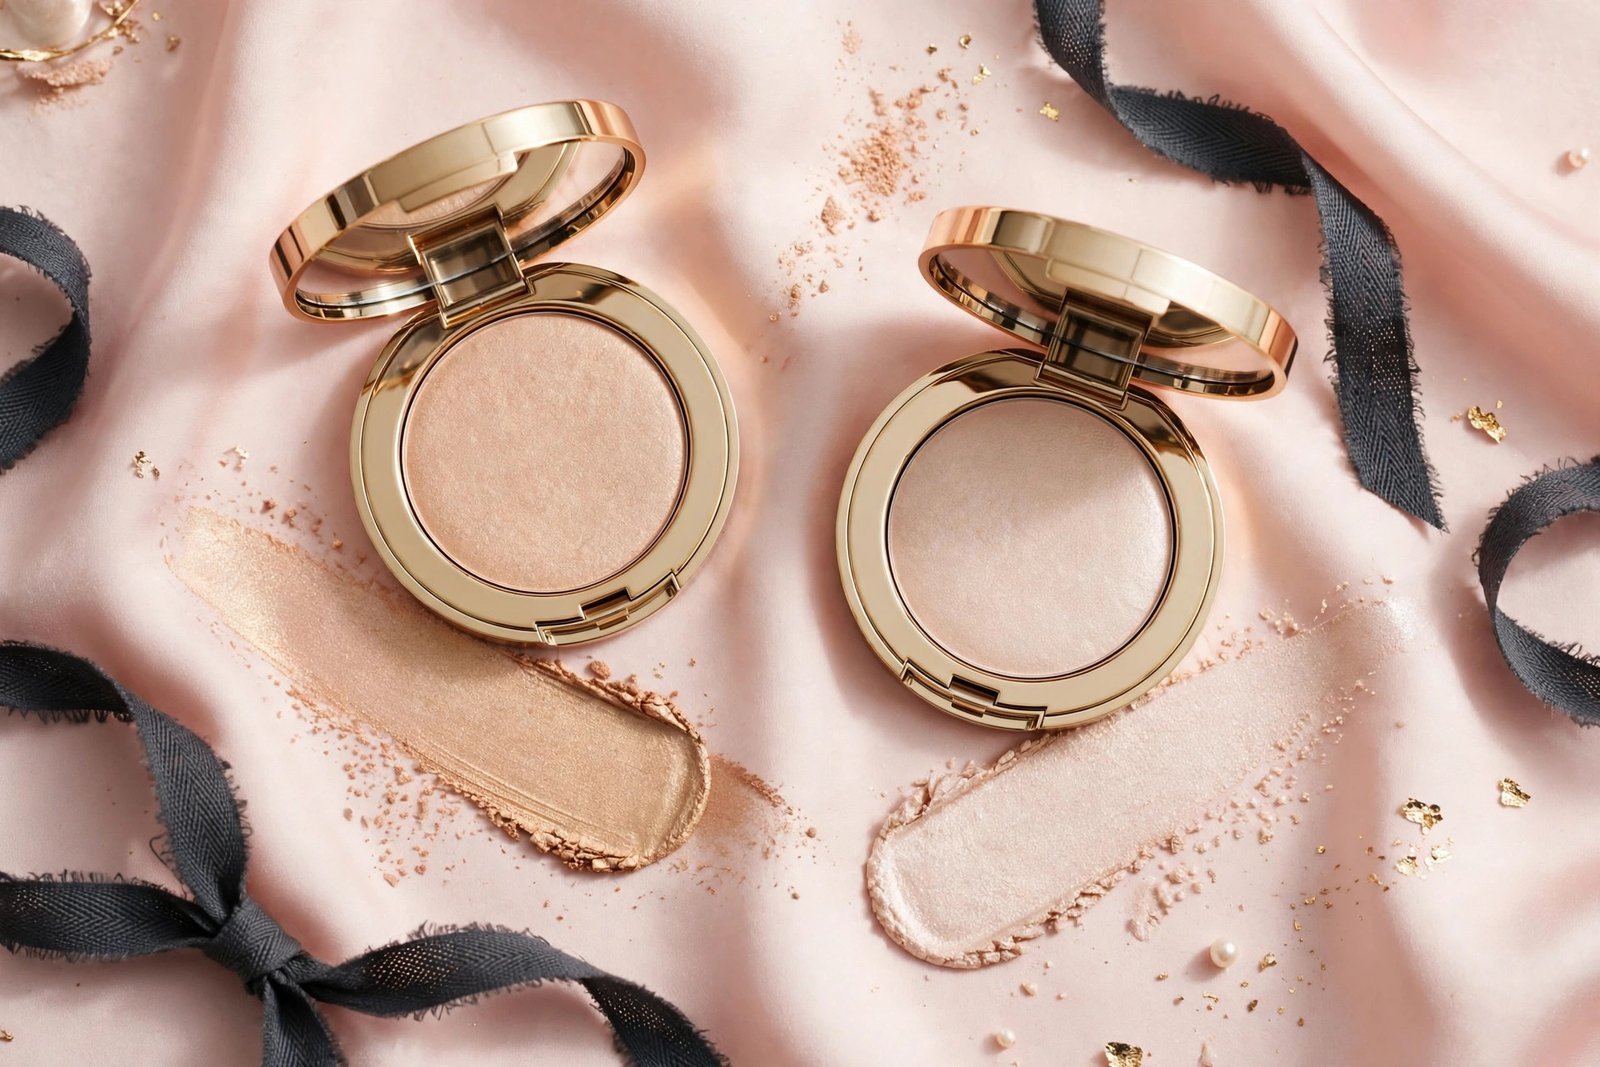
Highlighter comes in four main formulas: powder (pressed or loose, applied with a brush), cream (in compacts or sticks, blended with fingers or a sponge), liquid (drops or wands, mixed into foundation or dotted on), and sticks (twist-up, great for travel). Each has its own finish personality, which is why choosing a formula is the first real decision. For a deep comparison of the two most popular options, see the cream vs powder highlighter breakdown.
How to Choose Your First Highlighter Shade
Shade selection is where most beginners go wrong, because drugstore lighting and online swatches lie. The rule that professional makeup artists use: match the highlighter to your undertone, then go one or two levels lighter than your skin.
- Fair skin, cool undertone: Icy pearl, silver-champagne, pale pink. Avoid gold — it reads yellow and muddy.
- Fair skin, warm undertone: Champagne, soft peach-gold. These melt into warm fair skin beautifully.
- Medium skin: True champagne, warm gold, peach. Medium skin tolerates the widest range of shades.
- Olive skin: Golden champagne, warm bronze with a golden base. Avoid silvery tones, which can look ashy.
- Deep skin: Bronze, copper, rich gold. Deep skin can carry intense, metallic shades that would overwhelm fair skin — this is where highlighter truly shines.
How to find your undertone: look at the veins on your inner wrist in natural light. Blue or purple veins suggest cool undertones; green suggests warm; a mix suggests neutral. Jewelry is another clue — if silver looks better on you, you’re likely cool; if gold flatters, you’re likely warm.
The second shade consideration is finish: satin, shimmer, or metallic. Satin (a soft sheen with no visible sparkle) is the most forgiving and the best beginner choice — it reads as “great skin” rather than “makeup.” Shimmer has fine reflective particles and gives the classic glow. Metallic or foil finishes are intense and editorial — save them for evenings until you’ve mastered subtle application. A common beginner trap is buying the most pigmented, blinding highlighter on the shelf and wondering why it looks like a stripe of tin foil. Start satin.
The Beginner’s Face Map: Where Highlighter Goes
Highlighter belongs on the high points of the face — the places light naturally hits. The full face map for highlighter placement covers eight key spots in detail, but here’s the beginner’s essential five:
- Tops of the cheekbones — the single most important spot. Smile slightly to find the ridge, then apply just above it, sweeping toward the temples. This is what creates that lifted, sculpted glow.
- Brow bone — a small amount directly under the arch of each eyebrow opens up the eyes.
- Inner corners of the eyes — a tiny dot brightens tired eyes instantly.
- Bridge of the nose — a thin line down the center (not the tip, unless you want to emphasize it) makes the nose look slimmer and more defined.
- Cupid’s bow — a touch on the V of the upper lip makes lips look fuller.
Start with just the cheekbones and inner eye corners. Those two spots alone give a polished glow. Add the other three as you get comfortable. If you’re also learning to sculpt, read how to contour for beginners alongside this guide — highlighter and contour are designed to work as a pair.
Spots to skip as a beginner
Not every glowing spot suits every face. The forehead center can make you look oily in photos. The chin emphasizes texture. The tip of the nose draws attention to it (fine if that’s your goal, but know the effect). Under the eyes highlights dark circles and fine lines instead of hiding them — brightening there belongs to concealer, not highlighter. Stick to the essential five until your technique is solid.
Tools: What You Actually Need
You don’t need a drawer full of brushes. For most beginners, two tools cover everything:
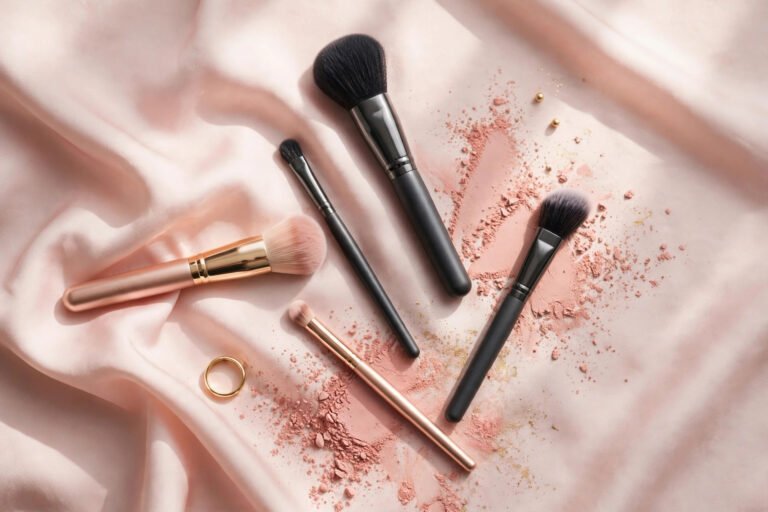
- A small fluffy brush (tapered or fan-shaped) for powder highlighter. The fluffier the brush, the more diffused the application — which is exactly what beginners want. Dense brushes pack on too much product.
- Your ring finger for cream and liquid formulas. The warmth of your fingertip melts cream highlighter into skin seamlessly, and the ring finger applies the least pressure, giving you control.
A damp makeup sponge also works beautifully for creams — it sheers the product out for the most natural finish. Avoid applying cream highlighter with a dense powder brush; it streaks. And never apply powder highlighter with your fingers — the oils on your skin grab the powder unevenly and it looks patchy.
Brush hygiene matters more than most beginners realize. A dirty highlighter brush mixes old product, oils, and skin cells into every application, which muddies the color and can cause breakouts along the cheekbones. Wash your highlighter brush weekly with gentle soap.
Step-by-Step: Your First Highlighter Application
Apply highlighter after foundation, concealer, contour, and blush — it’s the finishing light. Here’s the beginner routine:
Step 1: Prep the canvas. Highlighter magnifies texture, so the skin underneath matters. Well-moisturized skin with a smooth base (foundation or tinted moisturizer fully set) gives the most flattering glow. If you have dry patches, they will catch the shimmer — address them with skincare first, not more product.
Step 2: Choose your formula and tool. Powder + fluffy brush, or cream + ring finger. Don’t mix application methods until you’re comfortable with one.
Step 3: Load lightly. Tap off excess powder from the brush, or pick up a pea-sized amount of cream. You can always add more; removing too much highlighter means redoing your base.
Step 4: Apply to the cheekbones. Using the brush, sweep in a C-shape from the top of the cheekbone toward the temple — never below the cheekbone, where blush lives, and never too close to the nose. For cream, dot three small dots along the cheekbone ridge and tap to blend with your finger in a stippling motion.
Step 5: Inner eye corners. Pick up the tiniest amount of product on the tip of your finger or a small brush and press (don’t drag) into the inner corners. This single step makes you look more awake than concealer alone.
Step 6: Brow bone and nose, optional. A whisper under the brow arch, a thin line down the nose bridge. Blend the edges so there are no visible lines — highlighter should fade into skin, not sit on top of it.
Step 7: Check in different light. Bathroom lighting lies. Step near a window or check your phone camera in natural light. If you see distinct stripes or sparkle chunks, blend more with a clean fluffy brush.
The 7 Mistakes That Make You Look Shiny (Not Glowy)
- Applying over textured skin. Highlighter on top of active breakouts, rough patches, or enlarged pores emphasizes them. Keep shimmer away from texture — glow belongs on smooth planes.
- Using too much product. The number-one beginner error. A visible stripe of product is too much. If you can see where the highlighter starts and ends, blend more or use less.
- Wrong shade for your undertone. A gold highlighter on cool fair skin looks orange; a silver one on deep warm skin looks gray. When in doubt, champagne suits almost everyone.
- Highlighting the wrong areas. Shimmer on the forehead center, chin, or the sides of the nose reads as oil, not glow. Placement is everything.
- Chunky glitter formulas. Fine shimmer = glow. Visible glitter particles = costume. Check the product in sunlight before buying — if you see individual sparkles, it’s too much for daily wear.
- Applying before blush and contour. Order matters: foundation → contour → blush → highlighter. Highlighter goes last so it sits on top as a light, not buried under color.
- Skipping setting on oily skin. If your T-zone gets oily by noon, a light dusting of translucent powder on the forehead and nose before highlighter keeps the glow where you put it instead of letting oil take over.
Highlighter for Your Skin Type
Oily skin: Powder formulas are your best friend — they absorb a little oil and stay put. Apply over a mattified base, and keep highlighter to the cheekbones and brow bone only. Skip the nose bridge if your nose gets shiny; that’s a recipe for looking greasy by 2pm.
Dry skin: Cream and liquid highlighters melt into dry skin without clinging to flakes. Powders can look chalky on dry skin, especially in winter. Prep with a hydrating moisturizer and let it absorb fully before makeup.
Combination skin: Use powder on the T-zone-adjacent areas (nose bridge) and cream on the cheeks. Mixed formulas for mixed skin is completely normal.
Mature skin: This deserves emphasis — highlighter is not just for twenty-somethings. The key is formula: creams and satin-finish liquids add youthful luminosity without settling into fine lines. Avoid chunky shimmer and heavy metallics, which catch in wrinkles. Apply with a light hand on the cheekbones and skip the areas where skin is thinnest. A dedicated guide to the best highlighter for mature skin covers specific products and techniques for skin over 40.
Sensitive or acne-prone skin: Fragrance-free formulas, clean brushes, and keeping highlighter away from active breakouts. Patch-test new products on the jawline first.
Layering: Highlighter + Blush + Contour in the Right Order
These three products share the cheek area, so the order and boundaries matter:
- Contour first — in the hollows of the cheeks, creating shadow.
- Blush second — on the apples of the cheeks, adding color.
- Highlighter last — on the tops of the cheekbones, above the blush, adding light.
They should sit in adjacent zones, not on top of each other. The classic mistake is applying highlighter directly over blush, which muddies both. Leave a small buffer zone between them, then blend the edges so the transitions are seamless. If you’re going for the viral glassy look, the glazed donut skin makeup tutorial shows how to layer highlighter with other products for maximum glow without the grease.
Making Your Glow Last All Day
Highlighter fading by afternoon is normal — light-reflecting particles migrate and oils break them down. To extend wear:
- Layer formulas: Apply a cream highlighter first, then set it with a light dusting of powder highlighter on top. The powder locks the cream in place and intensifies the glow.
- Set the base: A primer suited to your skin type (mattifying for oily, hydrating for dry) gives highlighter something to grip.
- Use a setting spray: A light mist after makeup application melts powder into skin and extends wear by hours. Hold it 8–10 inches from your face.
- Blot, don’t powder over: If shine appears midday, blot with blotting papers first. Adding more powder highlighter over oil creates a cakey mess.
- Carry a mini for touch-ups: A small cream stick in your bag lets you refresh the cheekbones in seconds without redoing anything else.
Budget vs. Luxury: What Actually Matters
Here’s the honest truth most beauty content won’t tell you: highlighter is one of the categories where drugstore products genuinely compete with luxury. The reflective pigments (mica, synthetic pearl) are similar across price points. What you’re paying for in luxury highlighters is finer milling, more nuanced shade ranges, and prettier packaging.
For your first highlighter, a well-reviewed drugstore powder in a champagne shade is a perfectly smart buy. Spend your money instead on the things that make highlighter look good: a decent fluffy brush, a good moisturizer, and a base that sits smoothly. Once you know your preferred formula and shade family, then consider investing in a luxury version if you want to.
What to check regardless of price: fine milling (swatch it — if it feels gritty or you see sparkle chunks, pass), shade harmony with your undertone, and how it looks in natural daylight, not just store lighting.
Frequently Asked Questions
Can I wear highlighter every day, or is it just for evenings?
Highlighter is absolutely an everyday product — the key is finish and amount. A satin-finish highlighter applied lightly to the cheekbones looks like healthy, well-rested skin, not evening makeup. Save the intense metallic and foiled finishes for nights out. For daily wear, if someone can’t tell you’re wearing highlighter but thinks your skin looks great, you’ve nailed it.
Should beginners start with cream or powder highlighter?
Most makeup artists recommend cream or liquid for true beginners because they’re more forgiving — you blend with your fingers, and mistakes sheer out easily. Powder requires brush control to avoid harsh lines. However, if you have very oily skin, powder may actually be easier since it stays put without sliding. The full cream vs powder highlighter comparison breaks down which suits your skin type.
Why does my highlighter look glittery instead of glowy?
Three likely causes: the formula has large glitter particles instead of fine shimmer (check in sunlight before buying), you’re applying too much, or your shade is too light/frosty for your skin tone. Switch to a satin or finely-milled shimmer formula, use half the product, and make sure the shade harmonizes with your undertone. Also check that you’re not applying it over dry, flaky skin — texture turns shimmer into sparkle.
Where should I NOT put highlighter?
Avoid the center of the forehead (reads as oily), the chin (emphasizes texture), the sides of the nose (widens it visually), under the eyes (highlights dark circles), and over active breakouts or rough patches. Highlighter belongs on smooth, raised planes only. The highlighter face map shows every correct spot and the common misplacements to avoid.
Does highlighter expire?
Yes — powder highlighter lasts about 2 years, creams and liquids about 12 months after opening. Expired highlighter can harbor bacteria (especially creams applied with fingers) and the formula can go off, applying patchy. If it smells odd, has changed texture, or you’ve had it since before you can remember, replace it.
Can I use highlighter if I have large pores?
Yes, with strategy. Keep highlighter away from areas with visible pores (usually the nose, chin, and inner cheeks) and concentrate it on the outer cheekbones and brow bone where pores are smaller. Satin finishes are safer than shimmery ones, since shimmer particles catch in pore openings. Good skincare — regular exfoliation and niacinamide — also minimizes how pores interact with shimmer.
What’s the difference between highlighter and illuminator?
Highlighter is a targeted product applied to specific spots after makeup. An illuminator (or luminizer) is typically a liquid mixed into foundation or applied all over under makeup for an all-over glow. Think of illuminator as the base glow and highlighter as the spotlight. Many beginners do well starting with an illuminator mixed into foundation — it’s nearly foolproof — before graduating to targeted highlighter.
Conclusion
Highlighter stops being intimidating the moment you understand its job: a little reflected light on the high points of your face, in a shade that suits your undertone, in a formula that suits your skin type. Start with a satin champagne, learn the five essential placement spots, build in thin layers, and check your work in natural light. Master those basics and you’ll get the glow that makes people ask about your skincare routine — which is, after all, the highest compliment highlighter can earn. For your next steps, map out the exact highlighter placement points or settle the cream vs powder question before you buy.
Love this? Pin it for later!