Where to Apply Highlighter: The Complete Face Map
Knowing where highlighter goes is the difference between a glow that looks expensive and shine that looks accidental. Placement is arguably more important than the product itself — the right highlighter in the wrong spot still looks wrong, while a mediocre highlighter in exactly the right spots looks beautiful. This face-map guide walks through the eight key placement zones, explains what each one does for your face, flags the areas to avoid, and shows how to adjust placement for your face shape. Bookmark this one — it’s the reference you’ll come back to.
- The 8 key spots: cheekbones, brow bone, inner eye corners, nose bridge, Cupid’s bow, temples, chin center (optional), and collarbones (for evenings).
- The golden rule: highlighter goes on raised, smooth planes where light naturally hits — never on recessed or textured areas.
- Start with three spots (cheekbones, inner corners, brow bone) and add more as your technique improves.
- Placement changes with face shape — round, long, square, and heart-shaped faces each have an optimal map.
- The most common misplacements (forehead center, nose tip, under eyes) are what make people look shiny instead of glowy.
- Highlighter and contour are a team — learn the beginner’s highlighter guide first, then pair placement with contour for full dimension.
The 8 Key Spots on the Face Map
1. Tops of the cheekbones
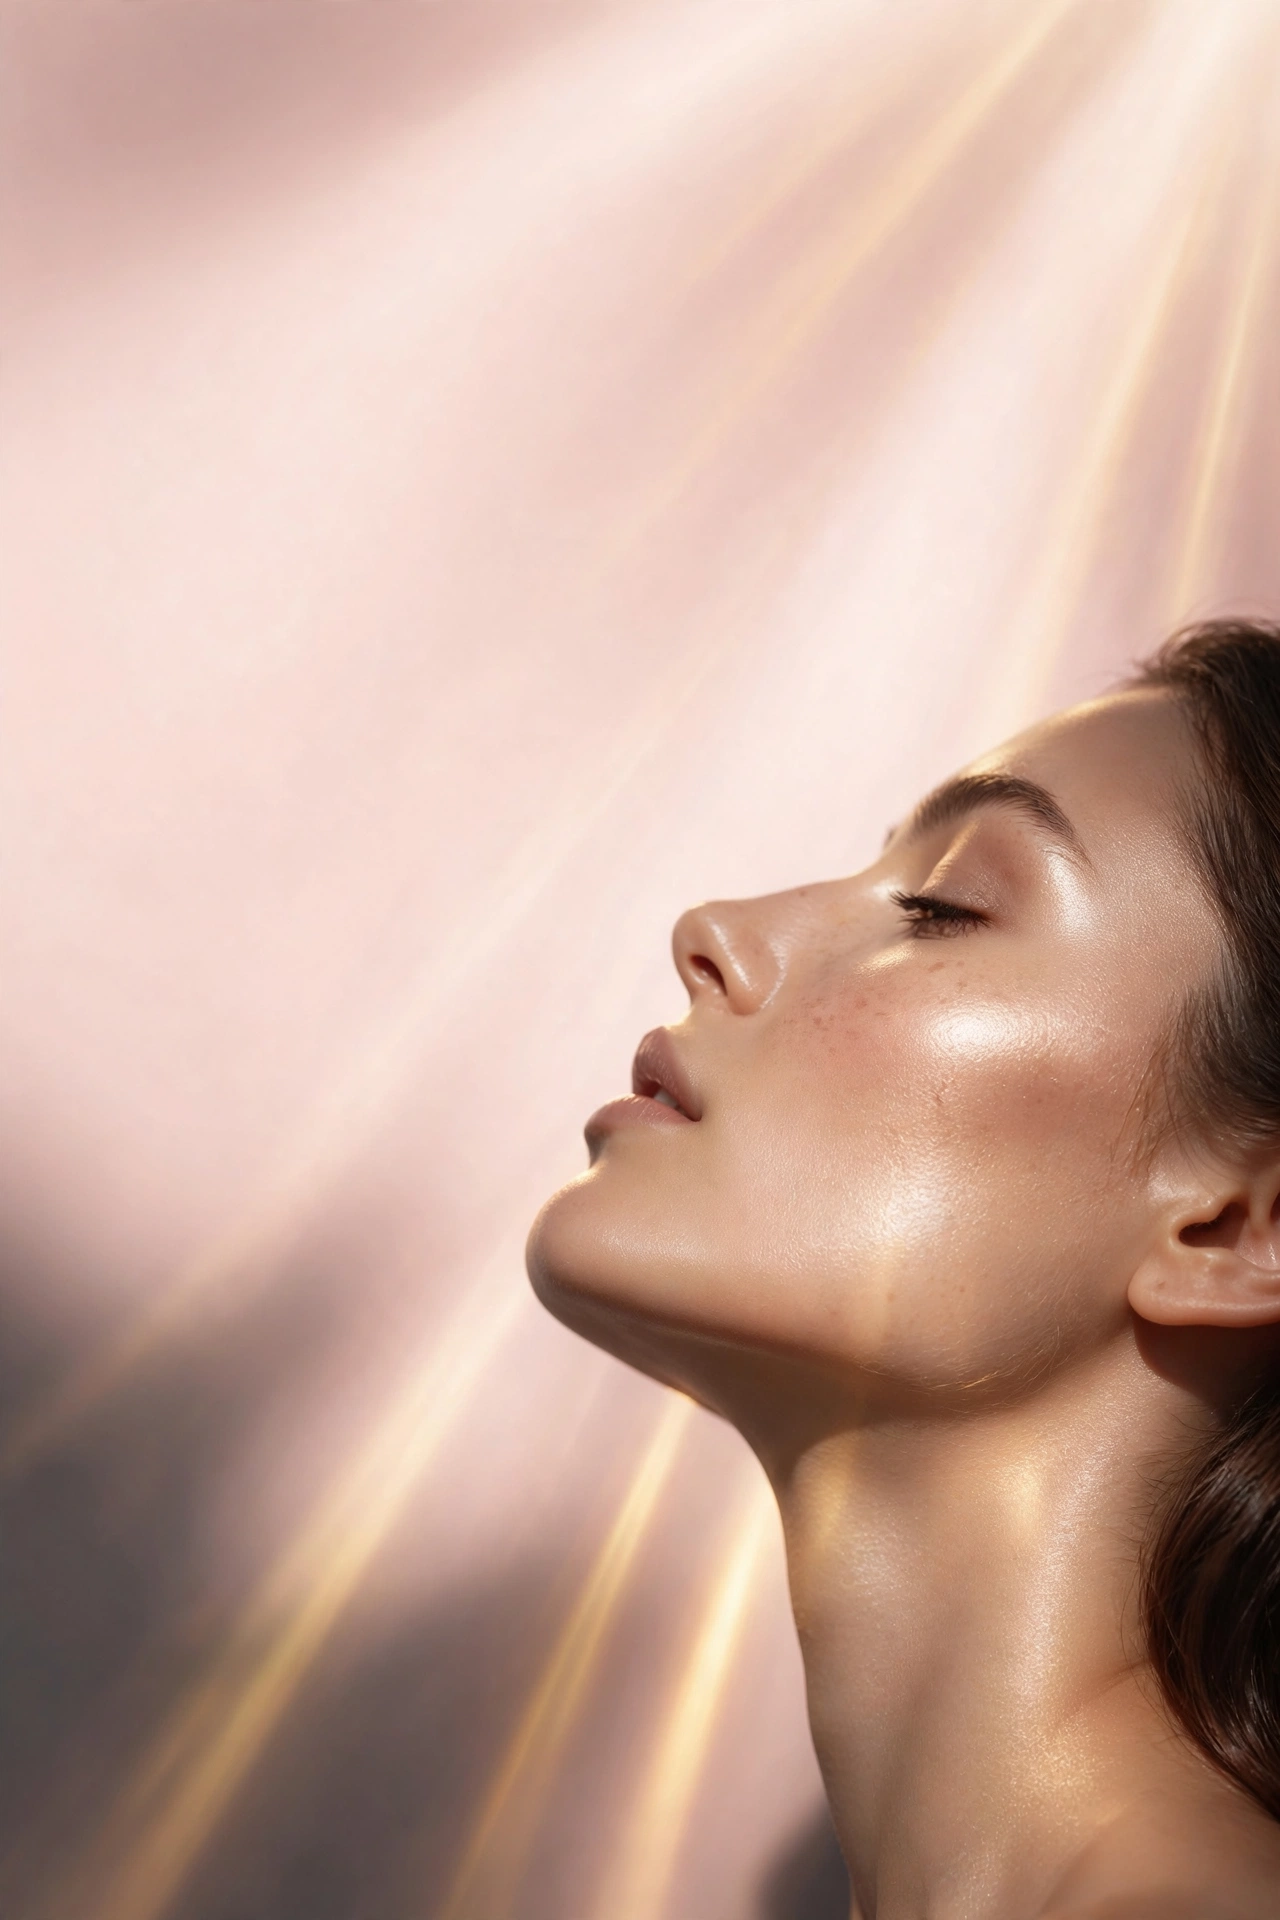
The anchor of every highlighter look. Find the ridge of your cheekbone by pressing gently along your cheek — the bone you feel is the target. Apply highlighter along the top of that ridge, sweeping from the outer cheek toward the temple in a soft C-shape. This placement lifts the face visually and is the single spot that makes the biggest difference. Stay above the hollow of the cheek (where contour goes) and below the eye — there’s a sweet band about an inch wide where highlighter belongs.
2. Brow bone
A small amount directly beneath the arch of each eyebrow — not on the eyelid, not on the forehead, but the bony ridge under the brow. This opens up the eye area and makes brows look more defined. Use a light hand: too much here looks frosty, especially in photos. A satin finish works best in this spot.
3. Inner corners of the eyes
The highest-impact tiny spot on the face. A pinhead-sized dot of highlighter pressed into each inner eye corner instantly brightens tired eyes and makes you look more awake — it’s the one placement even highlighter skeptics tend to love. Press, don’t drag, and keep the amount minimal. This is also the spot where a slightly lighter, brighter shade than your cheek highlighter can work beautifully.
4. Bridge of the nose
A thin, straight line down the center of the nose bridge — about the width of a pencil line. This creates the illusion of a slimmer, more defined nose by drawing light down its center. Critical details: keep the line straight (a wobbly line looks obvious), stop before the tip, and blend the edges. If your nose is oily, skip this spot or use powder over a mattified base — shimmer plus nose oil reads as grease by midday.
5. Cupid’s bow
The little V at the center of your upper lip. A tiny dab of highlighter here catches light and makes lips look fuller without any filler illusion tricks. Blend it well — an unblended dot looks like a crumb. This spot pairs beautifully with a defined lip line and works with any lip color.
6. Temples
A soft sweep at each temple, connecting the cheekbone highlight upward toward the hairline. This is an advanced spot that creates a continuous glow frame around the face and photographs beautifully. Blend thoroughly into the hairline — a visible edge at the temple looks like a mistake. Skip this one until you’re comfortable with the core five.
7. Center of the chin (optional)
A tiny touch on the very center of the chin can balance the glow, especially in full-face evening looks. But this spot is risky: chin skin is often textured, and highlighter emphasizes that. Only use it if your chin is smooth, keep the amount minimal, and skip it entirely if you’re prone to chin breakouts.
8. Collarbones and shoulders (evenings out)
Highlighter isn’t just for the face. For evening events, a sweep along the collarbones and the tops of the shoulders adds a gorgeous glow to bare skin in photos. Use a body-safe shimmer or mix liquid highlighter with body lotion. This is strictly special-occasion territory — daylight collarbone shimmer looks out of place.
The Priority Order: Where to Start
If all eight spots feel overwhelming, use this progression:
Level 1 (everyday, 2 minutes): Cheekbones + inner eye corners. This alone gives a polished, awake glow.
Level 2 (polished, 4 minutes): Add brow bone + Cupid’s bow. Now the eyes and lips get definition too.
Level 3 (full glam): Add nose bridge + temples. The complete sculpted glow.
Level 4 (evening): Add chin + collarbones. Maximum luminosity for low light and photography.
Most days, Level 1 or 2 is plenty. The full map is a toolkit, not a requirement — using all eight spots daily is how beginners end up looking overdone.
Face Shape Adjustments
The standard map assumes an average oval face. Adjust for yours:
Round face: Concentrate highlighter on the tops of the cheekbones and temples, sweeping upward and outward. This draws the eye up and out, adding the illusion of length. Skip the chin — highlighting it emphasizes roundness. Pair with contour under the cheekbones (see how to contour for beginners) for maximum sculpting.
Long/oblong face: Keep highlighter on the cheekbones but sweep it more horizontally than upward — vertical sweeps add length you don’t need. A touch on the chin can actually help here by visually widening the lower face. Skip heavy temple highlighting.
Square face: Focus on the cheekbones and soften the angles — a diffused highlight on the outer cheekbone draws attention to the center of the face. Avoid highlighting near the jawline, which emphasizes squareness. The brow bone and inner corners are safe glow spots for every face shape.
Heart-shaped face: Your cheekbones are already prominent, so use a light hand there. Balance a wider forehead by keeping temple highlight minimal, and add a touch to the chin to visually widen the narrower lower face.
Diamond face: Highlight the cheekbones (your best feature) but keep it diffused and blended well outward. A touch on the chin and forehead center — used sparingly — can balance dramatic cheekbones, though these spots need careful blending.
Where NOT to Apply Highlighter
The “avoid” list is as important as the map:
- Center of the forehead: Reads as an oily T-zone, not a glow. If you want forehead luminosity, use a dewy foundation or illuminator mixed into base instead.
- Under the eyes: Highlights dark circles, fine lines, and puffiness. Brightening belongs to concealer here.
- Tip of the nose: Draws the eye to the tip and can make the nose look larger or bulbous. Keep the line on the bridge only.
- Sides of the nose: Visually widens the nose — the opposite of what most people want.
- Over active breakouts or rough patches: Shimmer magnifies texture. Let those areas stay matte.
- The jawline: Emphasizes the jaw rather than sculpting it. Contour belongs here, not highlighter.
- Eyelids (as a base): A shimmery lid is a look, but highlighter formulas aren’t designed as eyeshadow bases — they crease and fade unevenly.
Application Technique by Spot
Different spots need different tools and motions:
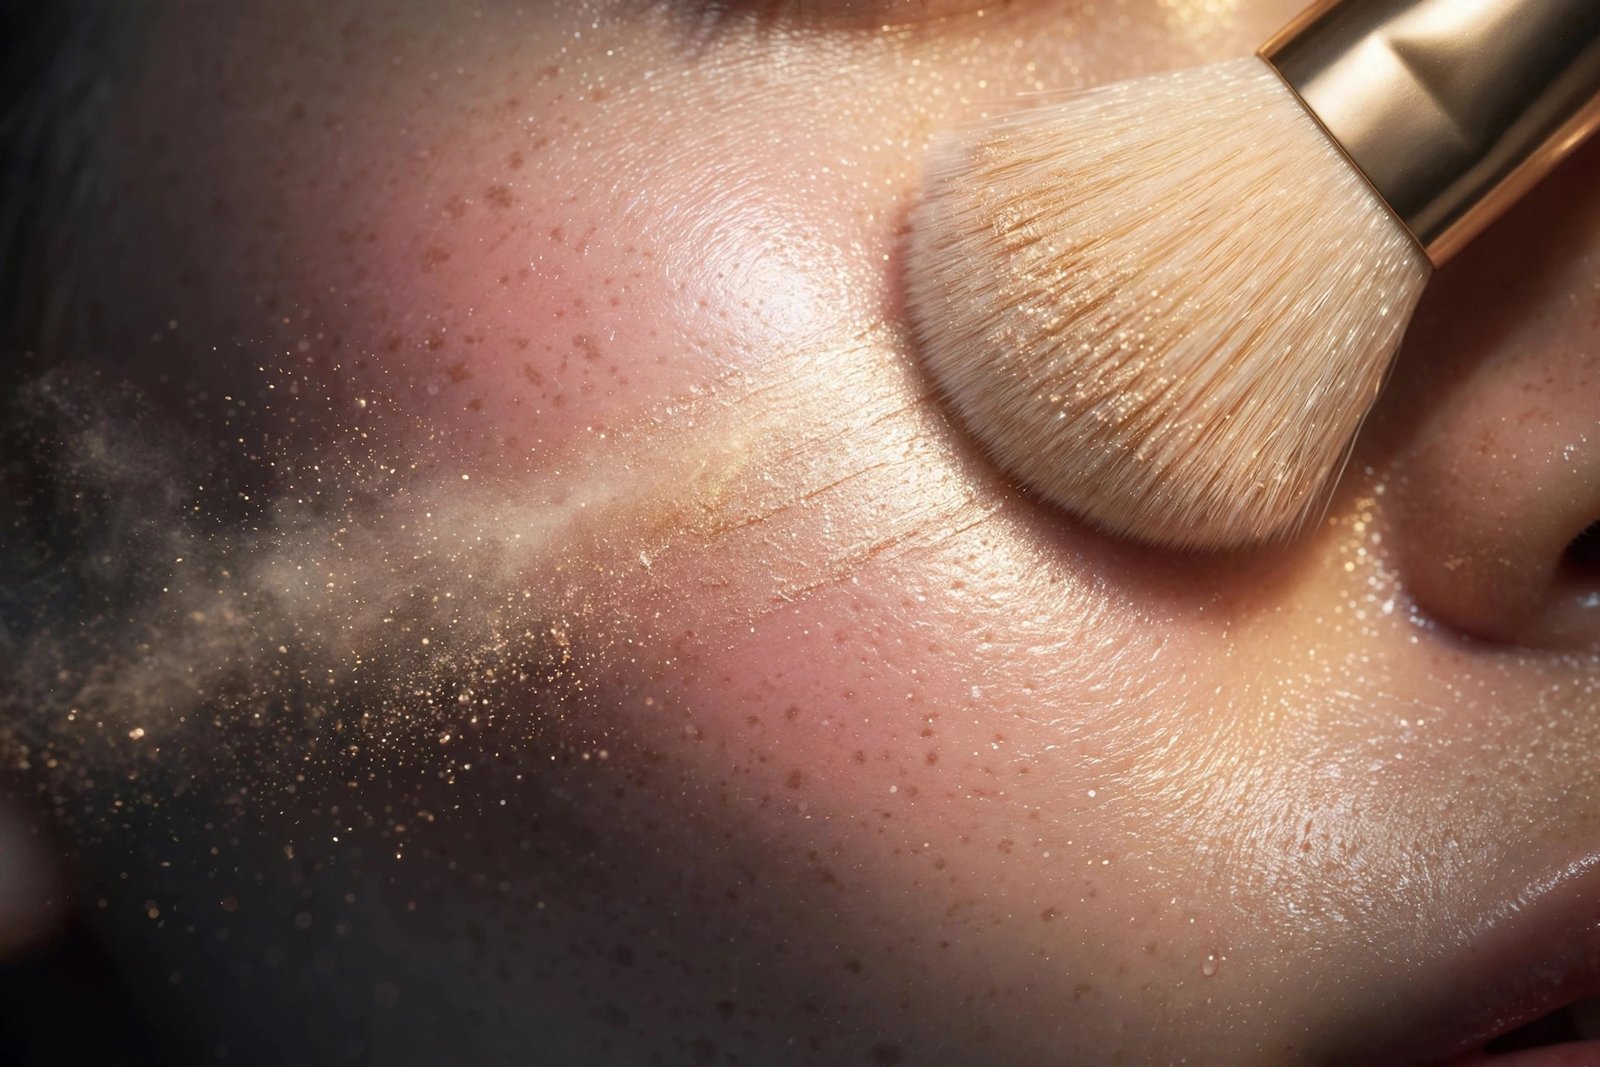
- Cheekbones: Fluffy brush, sweeping C-motion (powder) or stippling taps (cream).
- Brow bone: Small flat brush or fingertip, one light sweep. Blend the lower edge into the lid.
- Inner corners: Smallest brush you own or a fingertip, pressing motion. The tiniest amount.
- Nose bridge: Thin brush or the edge of a sponge, one straight pass. Blend edges with a clean finger.
- Cupid’s bow: Fingertip, one dab, blend outward.
- Temples: Fluffy brush, soft circular blending into the hairline.
The universal rule: blend the edges. Highlighter should fade into the surrounding skin with no visible line where it starts or stops. After applying, take a clean fluffy brush and softly buff the perimeter of each spot. Then check in natural light — indoor lighting hides harsh edges that daylight reveals.
Highlighter Placement with Blush and Contour
The cheek is shared territory, so zones matter. Picture the cheek divided into three horizontal bands:
- Top band (cheekbone ridge and above): Highlighter territory.
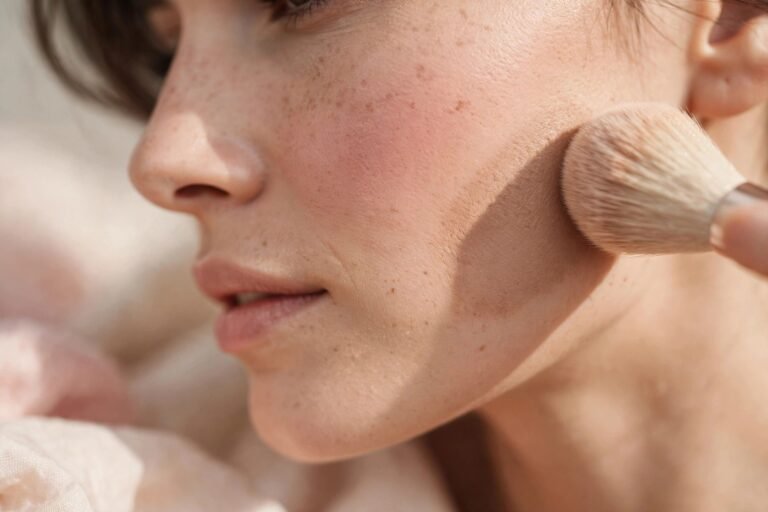
- Middle band (apples of the cheeks): Blush territory. For blush placement basics, see the beginner’s blush guide.
- Lower band (hollows beneath the cheekbone): Contour territory.
Apply in that order — contour, blush, highlighter — and leave a small buffer between each zone, blending the boundaries. When zones overlap, colors muddy: highlighter over blush turns both dull, and blush over highlighter kills the glow. If you’re deciding between cream and powder formulas for layering, the cream vs powder blush comparison covers the same layering logic for blush.
Common Placement Mistakes (and Fixes)
The stripe: A visible line of product along the cheekbone. Fix: use less product, a fluffier brush, and buff the edges with a clean brush.
The disco ball: Visible glitter particles catching light individually. Fix: switch to a finely-milled satin or shimmer formula — the product, not your technique, is the problem.
The grease look: Shine in the T-zone that reads oily rather than glowy. Fix: you’re highlighting spots that get oily (forehead, nose, chin). Restrict highlighter to the cheekbones and eyes, and mattify the T-zone first.
The floating highlight: Glow that sits visibly on top of skin, unblended. Fix: apply over a smooth base, blend edges, and consider switching to cream formula, which melts into skin more naturally.
The wrong-spot glow: Highlighter technically well-applied but in unflattering spots (chin on a round face, forehead on oily skin). Fix: revisit the face-shape adjustments above — placement should flatter your structure, not fight it.
Frequently Asked Questions
How do I know if I’m using too much highlighter?
The natural-light test: step near a window or take a selfie in daylight. If you see distinct stripes, sparkle chunks, or your face looks wet rather than dewy, it’s too much. Well-applied highlighter should be hard to pinpoint — people should think your skin looks great, not notice the product. When in doubt, remove half.
Should highlighter go above or below blush?
Above — on the tops of the cheekbones, while blush sits on the apples. If you draw a line from your ear toward the corner of your mouth, highlighter lives above that line and blush below it. They can nearly touch, but the highlighter should never sit directly on top of the blush color.
Can I apply highlighter with my fingers?
Yes — fingers are actually ideal for cream and liquid highlighters. The warmth helps the product melt into skin. Use your ring finger for the lightest pressure. For powder highlighter, though, stick to a brush: fingers grab powder unevenly and deposit too much in one spot.
Why does my highlighter disappear by lunchtime?
Light-reflecting particles migrate as skin produces oil and you touch your face. Extend wear by applying over primer, layering cream under powder, and setting with a light mist of setting spray. Oily skin types fade fastest — blotting papers at midday (before reapplying anything) help enormously.
Do I need different highlighter shades for different spots?
Not necessarily, but it can elevate the result. Many makeup artists use a slightly brighter, lighter shade on the inner eye corners and Cupid’s bow than on the cheekbones — it makes those small spots pop without overwhelming. For beginners, one well-chosen champagne shade used everywhere is completely fine.
Conclusion
The face map isn’t complicated once you internalize the principle: light goes on the high, smooth planes — cheekbones, brow bone, inner corners, nose bridge, Cupid’s bow — and stays away from textured, oily, or recessed areas. Start with the essential three spots, adjust for your face shape, blend every edge, and check in natural light. Do that consistently and placement becomes muscle memory. From here, the next decision is formula — work through the cream vs powder highlighter comparison to pick the right texture for your skin, or go back to the full beginner’s highlighter guide for shade and technique fundamentals.
Love this? Pin it for later!