Blush for Beginners: The Complete Guide to Formulas, Tools & Application
Blush is the one makeup product that can make you look instantly more awake, healthy, and put-together — even on days when you’ve skipped everything else. A single sweep of color on the cheeks brings warmth back to the face, adds dimension that foundation flattens out, and creates that lit-from-within glow most people associate with good skin. Yet for beginners, blush is also one of the most intimidating products in the makeup bag. Too much looks clownish, the wrong shade looks muddy, and nobody seems to agree on exactly where it goes.
This complete blush guide for beginners removes all of that guesswork. You’ll learn what blush actually does, every formula type and who each suits, which tools to use, a foolproof step-by-step application method, how to pick a shade for your skin tone, where to place blush for your face shape, and the beginner mistakes to avoid. If you’re building your makeup skills from scratch, pair this guide with our [makeup for beginners → makeup-for-beginners-step-by-step-guide] for the full routine in order.
Key Takeaways
- Blush adds color, warmth, and dimension back to the face after foundation — it’s the fastest way to look awake.
- The five main blush formulas are powder, cream, liquid, gel, and stick; powder is the easiest starting point for beginners.
- Start with a medium-density, angled or fluffy blush brush; fingers work for cream formulas, sponges for liquid.
- The classic beginner method: smile lightly, apply to the apples, and blend upward and outward toward the temples.
- Choose shades based on your undertone (cool, warm, or neutral) and skin depth — soft pinks and peaches suit most beginners.
- Cream blush suits dry skin best; powder suits oily skin best — [compare both in depth → cream-blush-vs-powder-blush].
- Apply less than you think you need; you can always build color up, but removing excess is harder.
What Blush Actually Does for Your Face
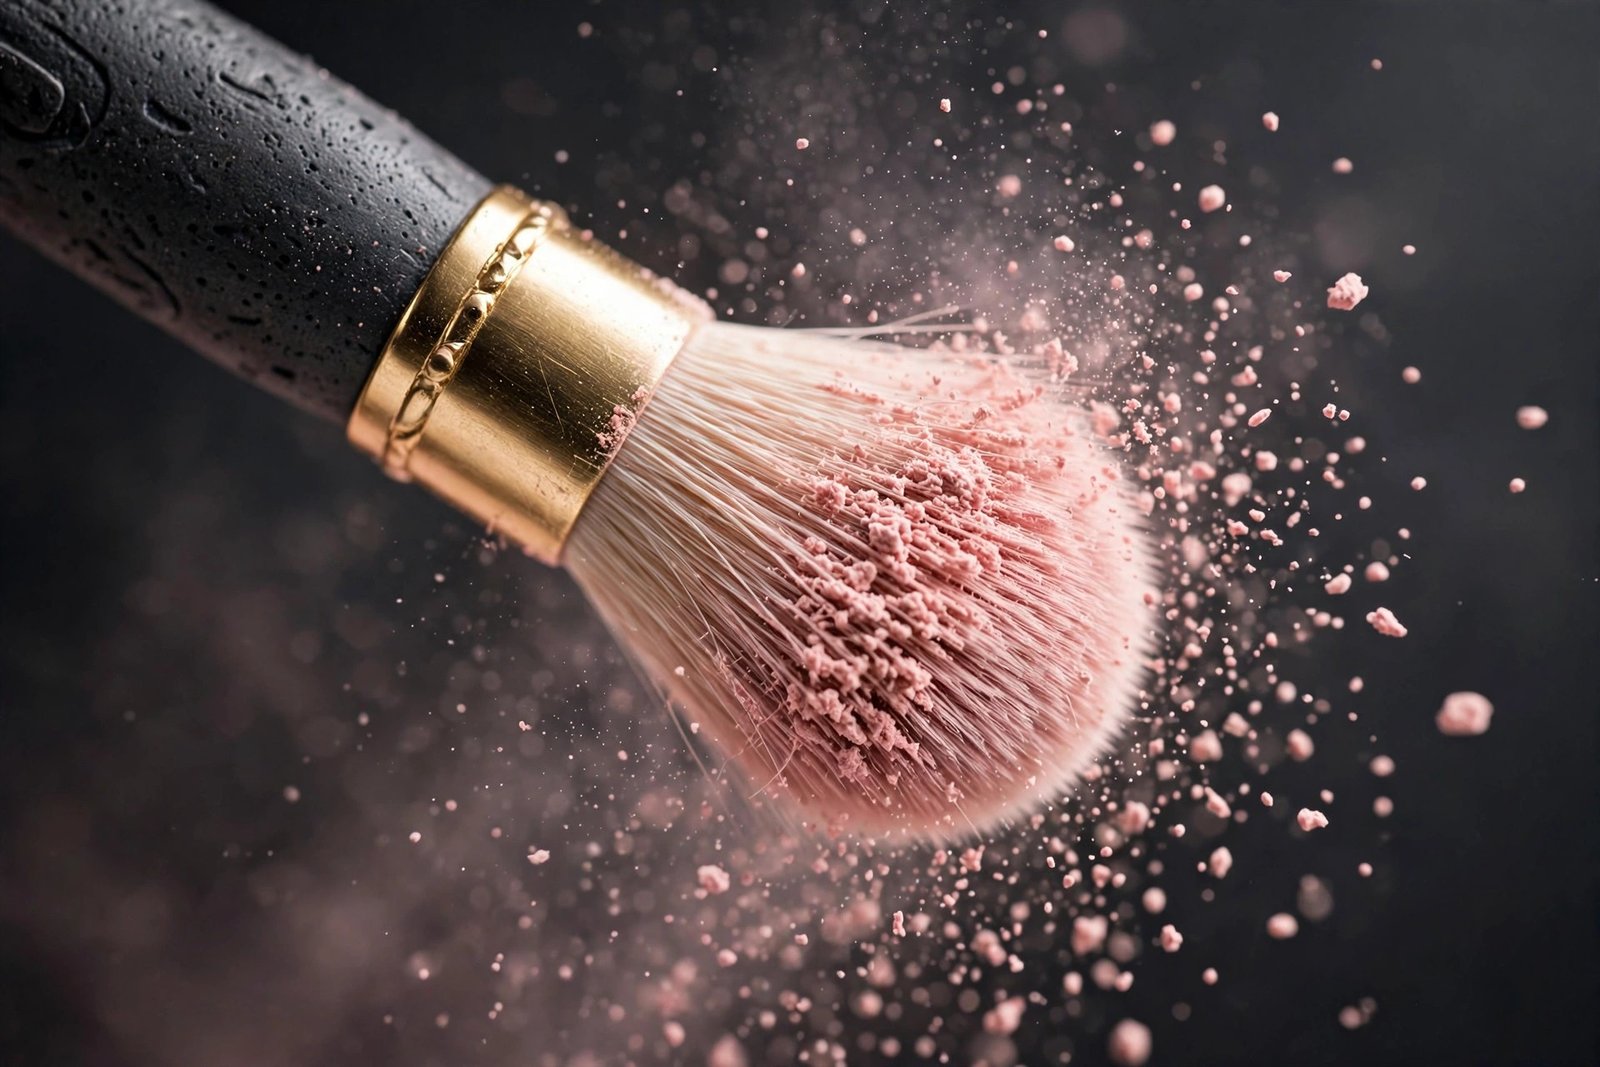
To use blush well, it helps to understand what it’s doing. Foundation and concealer even out skin tone, but in the process they flatten the face — removing the natural variation in color that makes skin look alive. Blush restores that variation in a controlled, flattering way. It mimics the natural flush that appears when blood rises to the surface of the skin: on the cheeks after exercise, in the cold, or when you’re genuinely happy. That association is why blush reads as “healthy” and “youthful” to the eye.
Blush also creates dimension. The face is a three-dimensional surface, and a well-placed flush of color emphasizes the high planes of the cheekbones while softly defining the mid-face. This is why placement matters as much as product — the same blush can lift the face, widen it, soften it, or add roundness depending on where it sits. Our detailed [blush placement guide for every face shape → where-to-apply-blush-face-shape] breaks down exactly where each face shape should apply color.
Finally, blush ties a whole makeup look together. Eyeshadow and lipstick can look disconnected from each other, floating on an otherwise blank face. A touch of blush in a coordinating tone bridges the gap, making the entire look feel cohesive and intentional. Once you see the difference blush makes in a before-and-after, it tends to become a non-negotiable step.
The 5 Blush Formulas (and Who Each Suits)
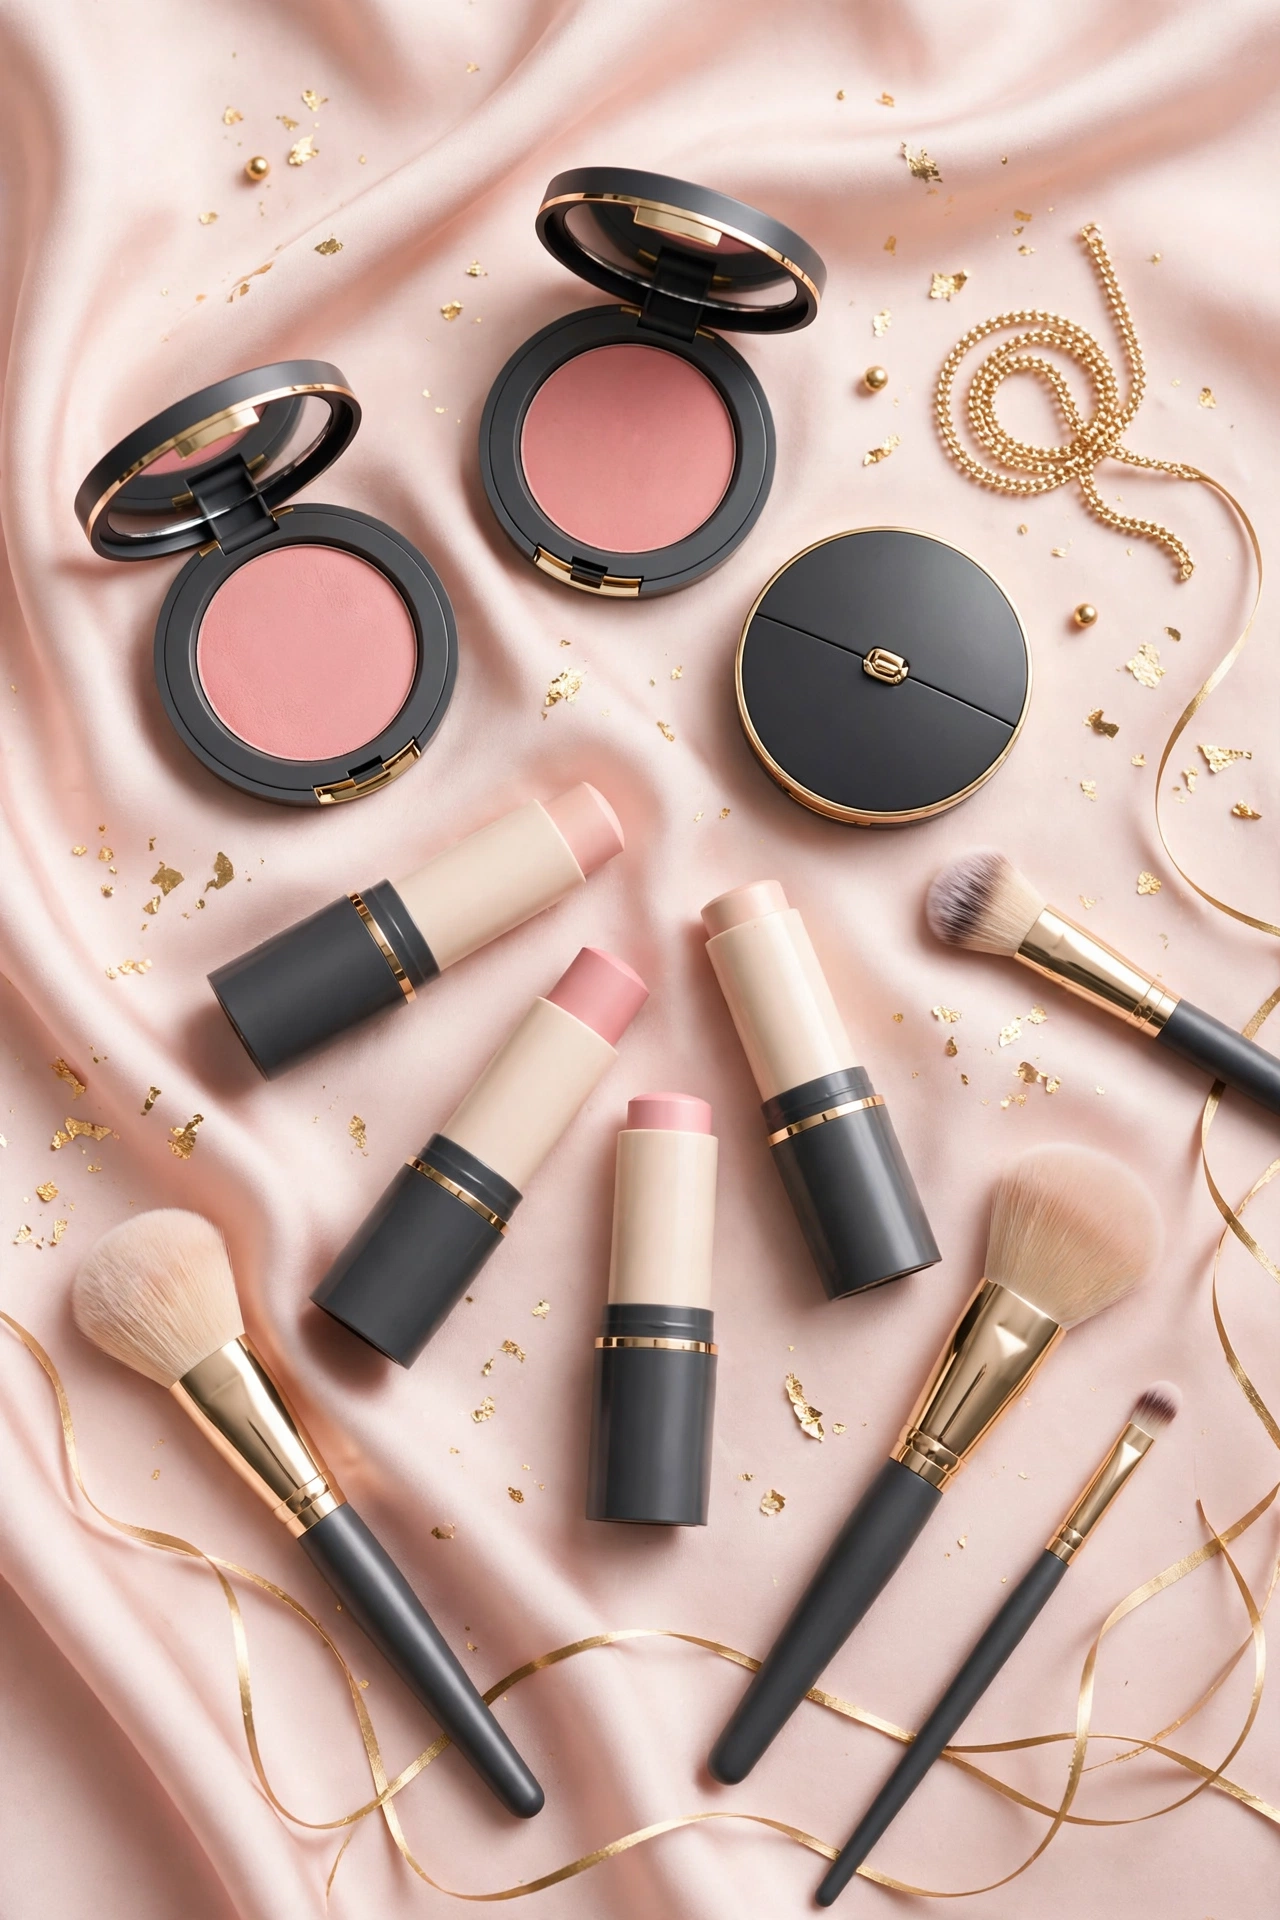
Walk down any makeup aisle and you’ll find blush in more formats than you’d expect. Each has a distinct finish, wear profile, and skill level. Here’s the honest breakdown.
Powder blush. The classic pressed-powder compact. Powder blush is the most forgiving formula for beginners: it goes on sheer, builds gradually, and is easy to blend with a brush. It suits normal, combination, and oily skin best, and offers the widest shade range. Matte powder finishes look natural; shimmer powders add glow but can emphasize texture. If you’re buying your very first blush, start here.
Cream blush. Packaged in compacts, pots, or tubes, cream blush melts into the skin for a dewy, skin-like finish. It suits dry, normal, and mature skin beautifully and doubles as a lip tint in a pinch. Application is done with fingers, a stippling brush, or a damp sponge. The trade-off: cream formulas can fade faster on oily skin and require a bit more blending skill to avoid patchiness. Our full [cream blush vs powder blush comparison → cream-blush-vs-powder-blush] goes deep on which to choose.
Liquid blush. The most pigmented of the bunch — usually just one or two dots covers a whole cheek. Liquid blush gives a fresh, watercolor-like stain effect and lasts impressively well. But that intensity is exactly why it’s tricky for beginners: over-application is easy, and blending must be fast before it sets. Best for those who already feel comfortable with cream products.
Gel and tint blush. Sheer, water-based formulas that stain the skin lightly. They create the most natural “just pinched my cheeks” effect and are nearly impossible to overdo, which makes them genuinely beginner-friendly. The downside is limited shade range and shorter wear time — the stain fades within a few hours on most skin.
Stick blush. Cream blush in twist-up stick form. Sticks are portable and convenient for touch-ups, and the direct-to-cheek application feels intuitive. The risk is applying too much product in one stripe, so the technique is to dot lightly and blend immediately rather than drawing full stripes across the cheek.
For a detailed head-to-head on the two most popular formulas, see our [cream blush vs powder blush → cream-blush-vs-powder-blush] guide, and if your skin runs dry, read our guide to the [best cream blush formulas for dry skin → best-cream-blush-for-dry-skin].
Tools of the Trade: Brushes, Fingers, and Sponges
The right tool makes blush application dramatically easier. You don’t need a drawer full of brushes — one good blush brush covers most situations.
A medium fluffy blush brush is the beginner’s best friend. Look for a brush with a rounded or slightly angled head, medium density (not too sparse, not too dense), and soft synthetic or natural bristles. The classic technique is to swirl the brush lightly in the pan, tap off excess, and apply in soft circular or sweeping motions. A brush that’s too dense picks up too much product; one that’s too sparse won’t deposit enough color. If you’re building a brush collection, our [makeup brushes guide for beginners → makeup-brushes-guide-for-beginners]… — actually, before buying a full set, one versatile blush brush plus a powder brush will handle 90% of cheek work.
Fingers are the ideal tool for cream and stick blush. The warmth of your fingertips melts cream formulas into the skin seamlessly, giving the most natural finish. Use your ring finger (it applies the least pressure) to tap and press — never drag or rub, which moves foundation underneath. Keep fingers clean between applications to avoid transferring excess product.
A damp makeup sponge works well for liquid and cream blush, especially if you want a sheer, diffused finish. Bounce the sponge over the blush to blend edges without lifting base makeup. Sponges absorb some product, so you’ll use slightly more blush per application — worth knowing for budgeting, but great for a soft-focus effect.
What to skip as a beginner: dense kabuki brushes (they deposit too much color too fast), fan brushes for blush (better for highlighter), and applying powder blush with fingers (oils from skin make powder patchy and can contaminate the pan).
Brush care matters more than most beginners realize. Wash your blush brush every one to two weeks with gentle soap — product buildup makes application streaky and can harbor bacteria. Our step-by-step [guide to cleaning makeup brushes → how-to-clean-makeup-brushes] walks through the process.
How to Apply Blush: A Beginner’s Step-by-Step
Here’s the foolproof method that works for the vast majority of face shapes and formulas. Master this first, then refine placement for your specific face shape using our [placement guide → where-to-apply-blush-face-shape].
Step 1: Do blush after foundation, before powder (usually). Apply blush after foundation and concealer so the color sits on an even base. If you’re using powder blush, apply it before setting powder — or after, if you prefer a softer effect. If you’re using cream or liquid blush, always apply before any powder products; layering cream over powder creates a cakey, patchy texture.
Step 2: Pick up less product than you think. For powder, swirl the brush and tap off the excess — the tap is non-negotiable for beginners. For cream, dab a tiny amount on the back of your hand first, then pick up from there. For liquid, one small dot per cheek is genuinely enough. You can always add more; removing excess means redoing base makeup.
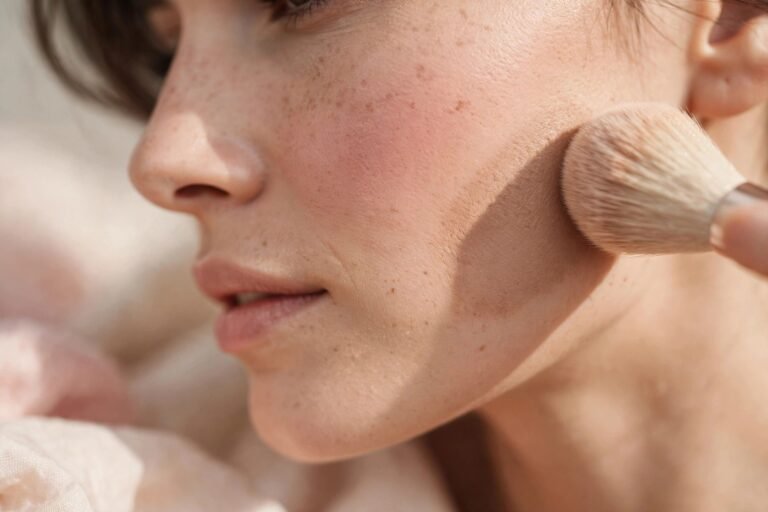
Step 3: Find the apples of your cheeks. Smile naturally (not a forced grin — a real smile shifts the apples too high). The apples are the fleshy, rounded part of the cheek that lifts when you smile. Place the first touch of color here, because this is where a natural flush appears.
Step 4: Blend up and outward. From the apples, sweep or buff the color upward and outward toward the temples, following the cheekbone. This upward direction is what creates a lifted effect. Use light, feathery strokes — pressing hard deposits too much color in one spot. Blend until there are no harsh edges; blush should fade seamlessly into the surrounding skin.
Step 5: Check in natural light. Indoor lighting, especially warm bathroom lighting, lies about blush intensity. Step near a window or check in daylight before leaving. If it looks too strong, buff over it with a clean fluffy brush or a light dusting of translucent powder to diffuse it — don’t try to wipe it off.
Step 6: Balance the rest of the face. A tiny touch of the same blush across the bridge of the nose and on the chin creates a cohesive, sun-kissed effect. Keep it extremely sheer in these areas — the cheeks are the main event.
Finding Your Shade: The Short Version
Shade selection deserves its own guide — and has one: our full walkthrough on [how to choose blush shade for your skin tone → how-to-choose-blush-shade-for-skin-tone]. But here’s the condensed version to get you started.
The single most useful thing to know is your undertone: cool (pink/red/blue hints in skin), warm (yellow/golden/peachy hints), or neutral (a mix). Cool undertones glow in berry, mauve, and blue-based pinks. Warm undertones glow in peach, coral, apricot, and warm rose. Neutral undertones can wear most shades. Quick test: look at the veins on your inner wrist in natural light. Blue or purple veins suggest cool undertones; green veins suggest warm; a mix suggests neutral.
Beyond undertone, match depth: fair skin suits soft pinks and light peaches; medium skin suits roses, mauves, and deeper corals; deep skin suits rich berries, brick reds, and vivid oranges — sheer washes of color that might disappear on fair skin show up beautifully on deep skin. The full shade guide covers swatching technique and the shades to avoid.
A beginner-safe shortcut: choose a shade close to the color your cheeks turn naturally when you exercise or blush. That color is, by definition, flattering on you.
Where to Apply Blush: Placement Basics
Placement is where blush goes from “nice color” to “face-changing.” The beginner default — apples of the cheeks blended toward the temples — flatters most faces. But tailoring placement to your face shape elevates the result:
- Round faces benefit from blush placed slightly higher and more outward, along the cheekbones toward the temples, which adds definition and a lifted look rather than emphasizing roundness.
- Oval faces can wear the classic apples-of-the-cheeks placement — the most versatile face shape for blush.
- Square faces suit blush swept in soft circular motions on the apples, which softens angular features.
- Heart-shaped faces do best with blush applied lower on the apples and blended outward, balancing a wider forehead with a narrower chin.
Our complete [blush placement guide by face shape → where-to-apply-blush-face-shape] includes how to identify your face shape and the exact application technique for each.
Cream vs Powder: Which Should You Start With?
If you’re buying your first blush and want the simplest path: start with powder. It’s the most forgiving, the easiest to control, and works with the basic brush technique above. Choose cream if your skin is dry or mature and you love a dewy, radiant finish — just be prepared for a slightly steeper learning curve with blending.
Many makeup wearers eventually own both: powder for everyday reliability, cream for that fresh, glowing weekend look. Some even layer them — cream underneath for luminosity, a whisper of powder on top to set and extend wear. Our in-depth [cream vs powder comparison → cream-blush-vs-powder-blush] covers longevity, finish, and skin-type matching in full, including a look at popular formulas like the ones compared in our [Rare Beauty vs Milani blush breakdown → rare-beauty-soft-pinch-vs-milani-baked-blush].
Blush for Dry Skin: What Changes
Dry skin and blush have a specific relationship worth understanding early. Powder blush on dry, flaky, or dehydrated skin can cling to dry patches and emphasize texture — the color grabs onto rough areas unevenly. If your skin is dry, cream, liquid, or gel formulas will almost always look better: they add color without highlighting flakiness, and many contain hydrating ingredients that keep cheeks comfortable.
The prep matters too. Well-moisturized skin takes blush more evenly regardless of formula. If you’re working with dry skin, our dedicated guide to the [best cream blush types for dry skin → best-cream-blush-for-dry-skin] explains exactly which hydrating formulas and formats to look for.
7 Beginner Mistakes (and How to Fix Them)
1. Applying too much at once. The #1 beginner error across all makeup, and blush shows it most. Fix: start with half the product you think you need and build in thin layers.
2. Choosing a shade that’s too dark or too bright. A blush that looks gorgeous in the pan can be overwhelming on the skin. Fix: test shades on your jawline in natural light, and when in doubt, go one shade lighter — sheer color always looks more natural than intense color.
3. Placing blush too low. Blush that sits too close to the mouth or below the cheekbones drags the face downward. Fix: keep color on the upper two-thirds of the cheek; if you can see blush below your nostril line, it’s too low.
4. Harsh, unblended edges. A visible line where blush stops looks artificial. Fix: blend past where you think you need to, using a clean brush in soft circular motions to diffuse the edges.
5. Layering cream over powder. This creates patchiness that no amount of blending fixes. Fix: creams and liquids always go under powders, never over.
6. Using the wrong undertone. A warm orange blush on cool skin (or a blue-pink on warm skin) can look disconnected from your complexion. Fix: learn your undertone with our [shade matching guide → how-to-choose-blush-shade-for-skin-tone].
7. Forgetting to check in daylight. Bathroom lighting is warm and dim — it hides over-application. Fix: always do a final check near a window.
Frequently Asked Questions
Do I really need blush if I wear foundation?
You don’t need any makeup product, but blush is one of the highest-impact steps you can add. Foundation evens out your complexion but removes natural color variation; blush restores it. Many people find that blush plus mascara looks more polished than a full face without blush. Try your routine with and without it for a week and compare photos in daylight — the difference is usually obvious.
Should blush go before or after setting powder?
It depends on the formula. Cream, liquid, gel, and stick blush always go before setting powder. Powder blush can go either before or after setting powder — before gives a more melded, natural finish, while after gives slightly more color payoff. Beginners usually get the best results applying powder blush before setting powder.
How do I know if I’m wearing too much blush?
The daylight test is the most reliable: check your makeup near a window. Other signs include visible edges where the blush stops, color that’s noticeable from across the room, or blush that competes with your lipstick for attention. When in doubt, buff it out with a clean brush — sheer and blended always beats bold and streaky for everyday wear.
Can I use blush as eyeshadow or lipstick?
Yes, and makeup artists do this constantly. A matte blush swept through the crease of the eye creates effortless coordination, and cream blush pressed onto lips gives a natural tint. This monochromatic trick is one of the easiest ways to make a simple look feel intentional. Just avoid shimmery blushes on the eyes if you have textured lids, and set expectations: blush won’t last on lips as long as actual lip products.
How long does blush last before expiring?
Powder blush lasts the longest — typically 2 years or more if kept dry and clean. Cream, liquid, and stick formulas last about 12 months after opening, since their moisture content makes them more hospitable to bacteria. If a cream blush smells off, separates, or applies patchily when it used to blend smoothly, it’s time to replace it. Regular brush cleaning extends the life of every formula.
Conclusion
Blush is simple once the fundamentals click: pick a formula that suits your skin type, choose a shade that harmonizes with your undertone, place it where it flatters your face shape, and blend until the edges disappear. Start with powder, start sheer, and check your work in daylight — those three habits alone will put you ahead of most beginners.
From here, go deeper wherever you need it: compare [cream vs powder formulas → cream-blush-vs-powder-blush], master [placement for your face shape → where-to-apply-blush-face-shape], find your perfect [shade match → how-to-choose-blush-shade-for-skin-tone], or explore [hydrating options for dry skin → best-cream-blush-for-dry-skin]. And if you’re still assembling the rest of your routine, our [step-by-step makeup guide for beginners → makeup-for-beginners-step-by-step-guide] puts blush in context with everything else.
makeup for beginners step-by-step guide
cream blush vs powder blush
where to apply blush by face shape
how to choose blush shade for skin tone
best cream blush for dry skin
how to clean makeup brushes
rare beauty soft pinch vs milani baked blush
Love this? Pin it for later!