Where to Apply Blush by Face Shape: The Complete Placement Guide
Here’s something most blush tutorials skip: the “right” place to apply blush isn’t the same for everyone. Blush placement changes the perceived shape of your face — it can lift, slim, soften, or balance your features depending on where the color sits. That’s why a placement technique that looks stunning on one person can look off on another. The missing variable is face shape.
This guide shows exactly where to apply blush for round, oval, square, and heart face shapes — including how to identify your face shape, the specific technique for each, and the placement mistakes that work against each shape. If you’re still learning blush basics, read our complete [blush guide for beginners → blush-guide-for-beginners] first, then come back here to refine your placement.
Key Takeaways
- Blush placement changes how your face shape reads: it can lift, slim, soften, or balance features.
- Round faces: place blush higher and outward along the cheekbones, blended toward the temples.
- Oval faces: the classic apples-of-the-cheeks placement works beautifully — the most versatile shape.
- Square faces: soft circular application on the apples softens angular features.
- Heart faces: apply lower on the apples and blend outward to balance a wider forehead.
- Never place blush below the nostril line or too close to the nose — it drags the face down.
- Placement matters more than formula, but the right [formula for your skin type → cream-blush-vs-powder-blush] helps the color sit beautifully.
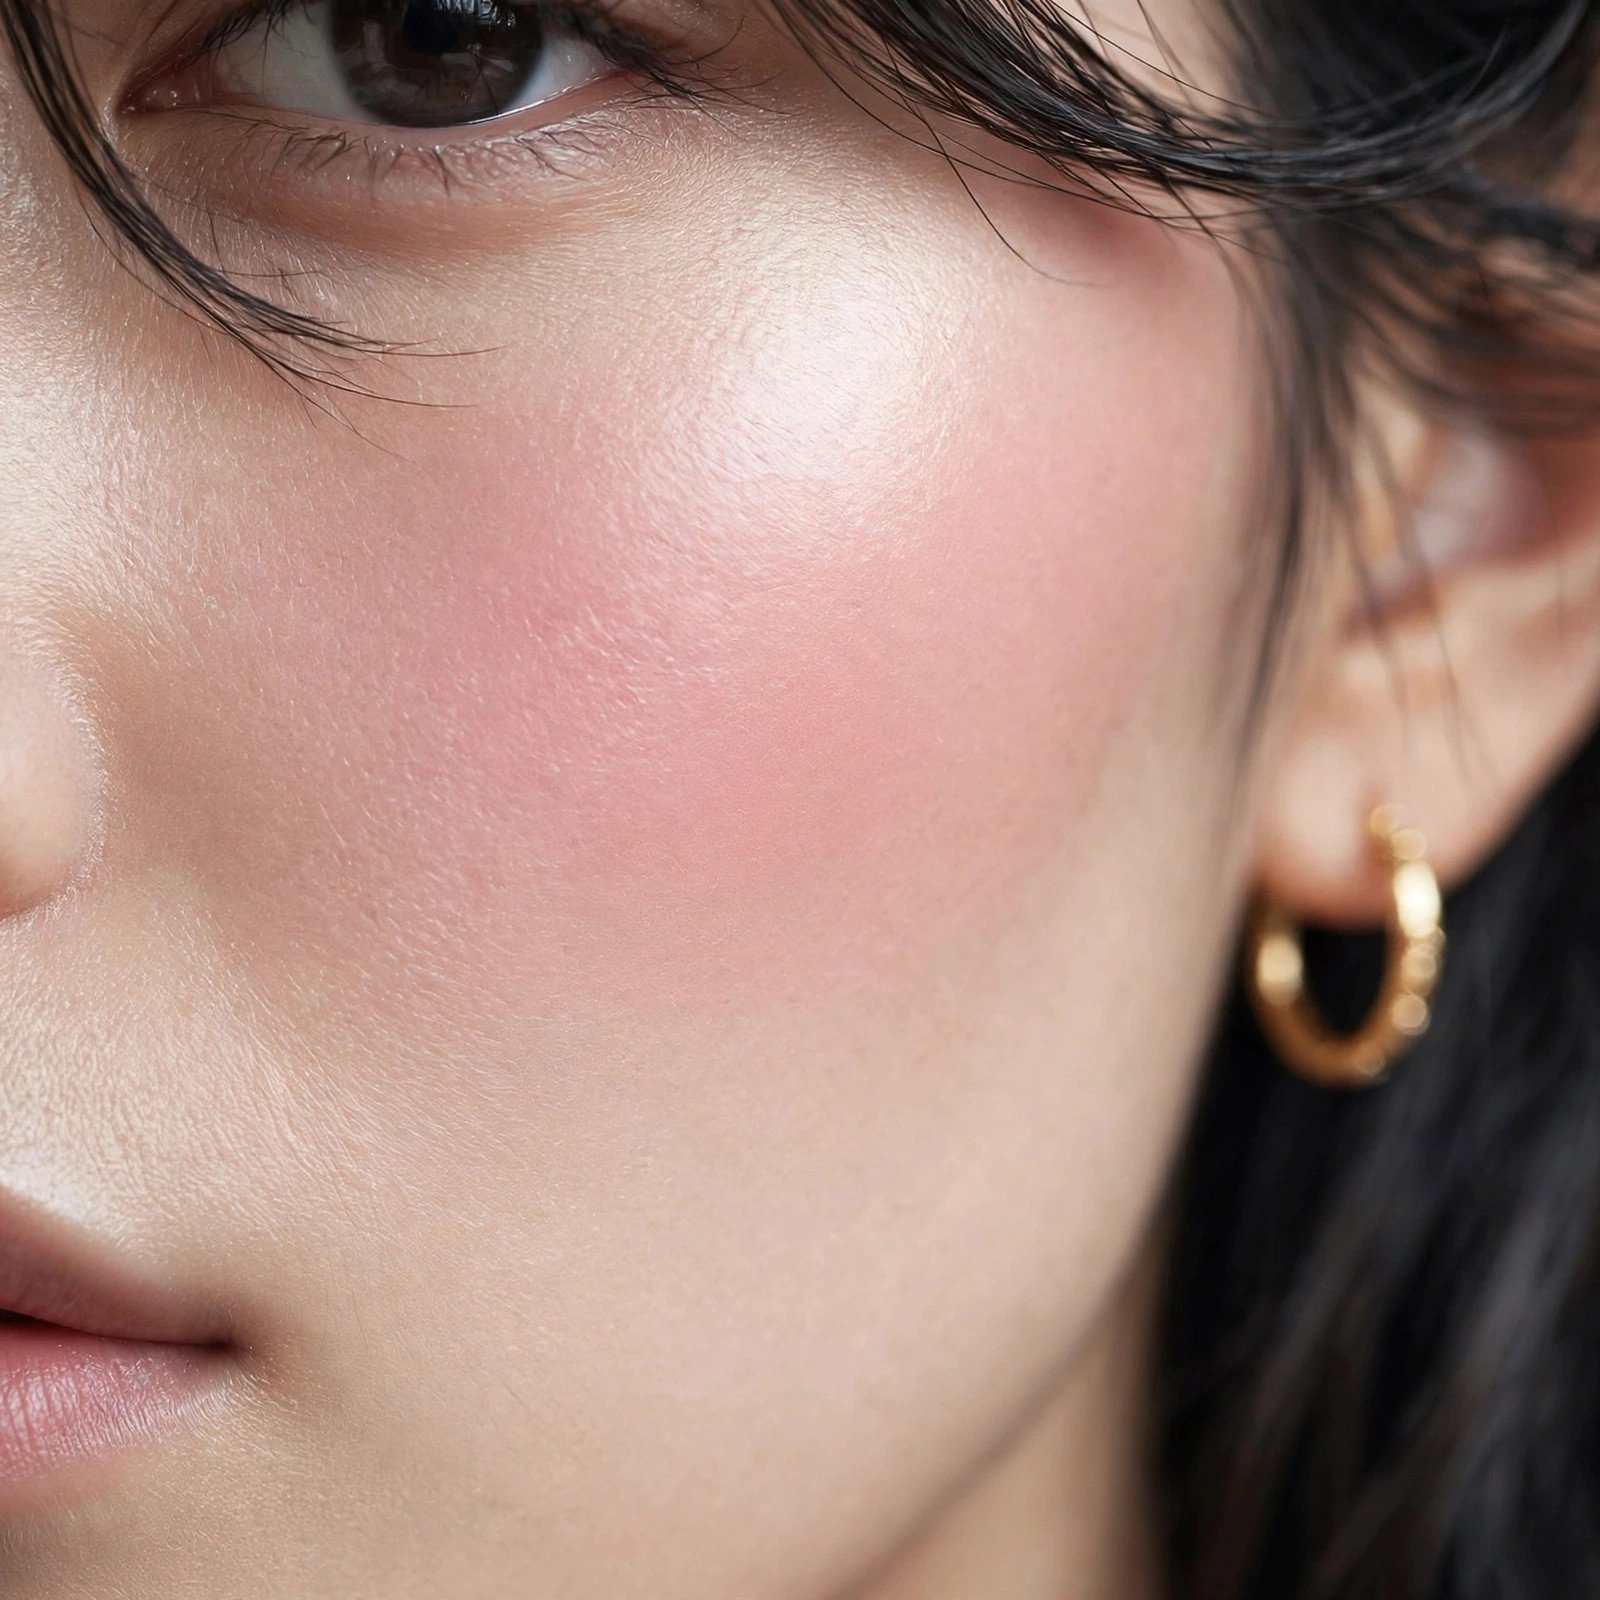
How to Find Your Face Shape
Before you can place blush correctly, you need to know your face shape. Here’s the simplest reliable method — no measuring tape required.
The mirror method: Pull your hair back completely, stand facing a mirror in even lighting, and trace the outline of your face on the mirror with a washable marker or lipstick (or just study the outline carefully). Step back and look at the overall shape:
- Round: Face is about as wide as it is long, with soft, curved edges at the forehead and jaw. Cheeks are the widest point, and the chin is rounded rather than pointed.
- Oval: Face is longer than it is wide, with a gently rounded jawline and forehead slightly wider than the chin. Often called the “ideal” shape because it’s balanced — but every shape is beautiful with the right techniques.
- Square: Forehead, cheekbones, and jawline are roughly the same width, with a strong, angular jaw and a flatter chin.
- Heart: Forehead is the widest point, cheekbones are high and defined, and the face narrows to a pointed or narrow chin. Sometimes called inverted triangle.
The photo method: Take a straight-on photo with your hair pulled back, then compare the widths of your forehead, cheekbones, and jawline. Which is widest? That single observation identifies most face shapes: cheeks widest = round, forehead widest = heart, all roughly equal = square, balanced length = oval.
A note on in-between shapes: Many faces don’t fit perfectly into one category — you might be between oval and round, or square with a slightly narrow chin. That’s completely normal. Read the sections for your two closest shapes and blend the techniques. Placement is a spectrum, not a set of rigid rules.
Round Face: Lift and Define
The goal: Add definition and create the illusion of lift, countering the natural fullness of round cheeks.
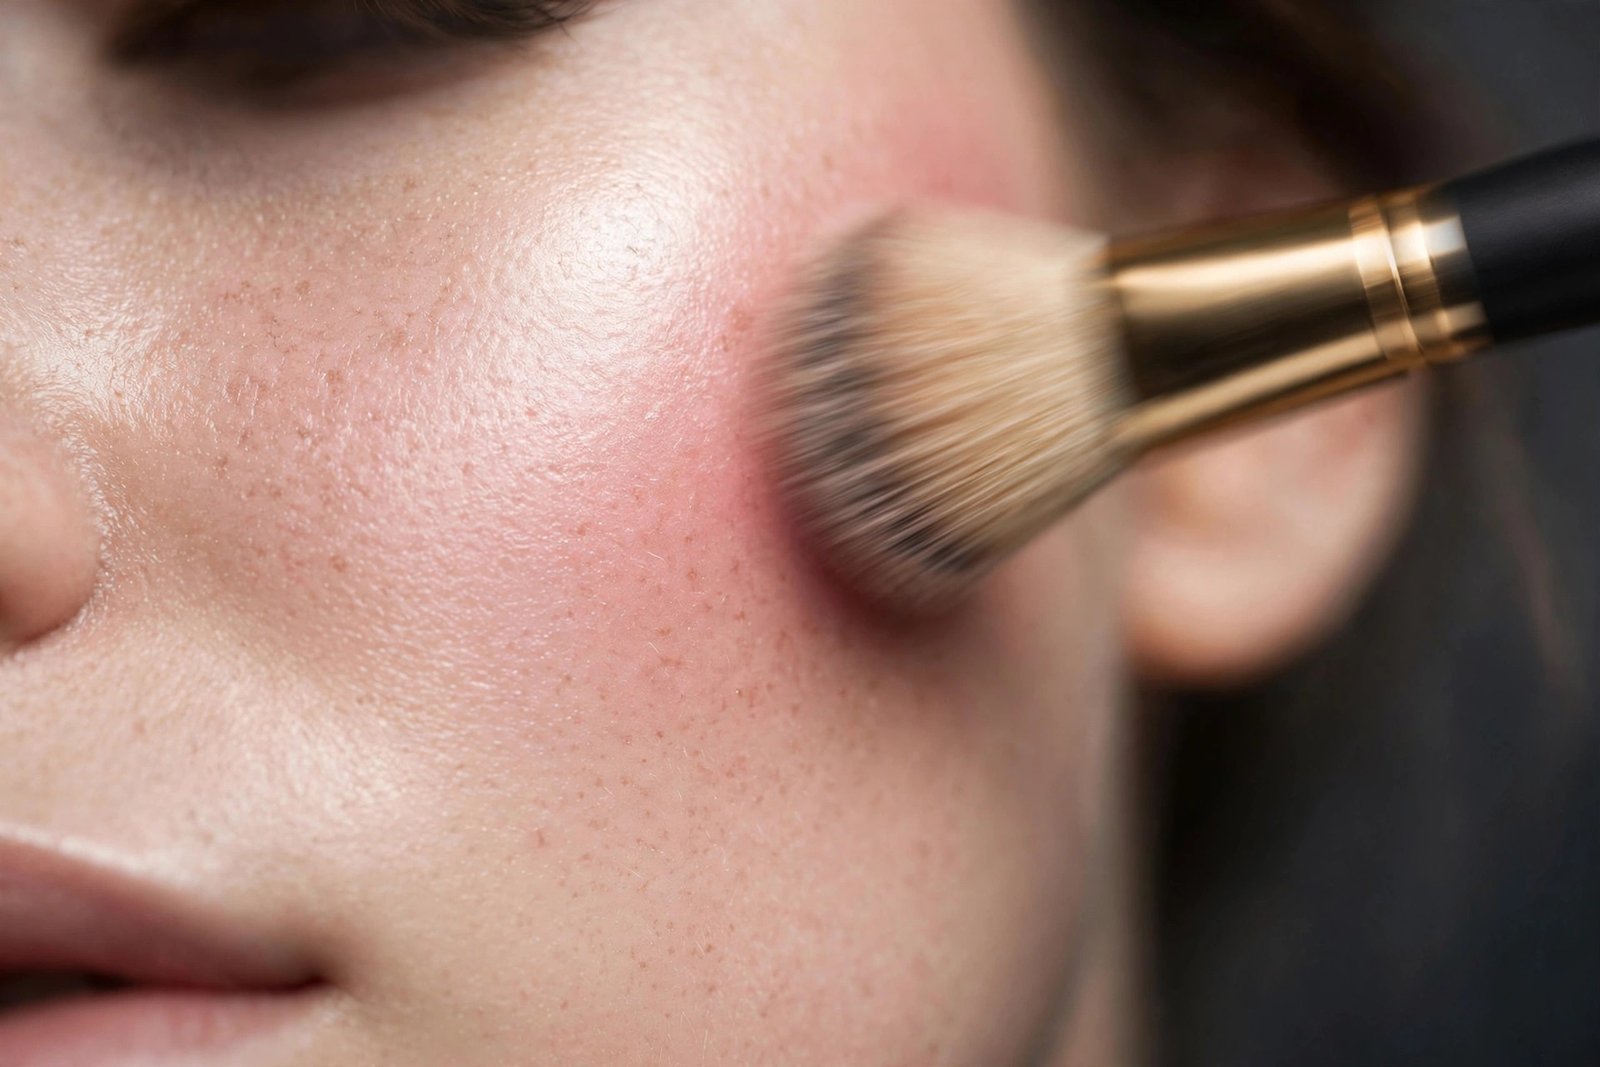
Where to apply: Skip the very center of the apples. Instead, place blush on the upper cheekbones, starting about two finger-widths from the nose and sweeping outward and upward toward the temples. Think of it as a diagonal stripe following the cheekbone rather than a circle on the cheek. The color should sit higher than you might expect — the top edge of the blush can nearly reach the temple.
Technique: Use sweeping motions rather than circular buffing. Start with the most product at the outer cheek (near the ear) and blend inward — this “reverse” application keeps the heaviest color where you want the lift, with the color diffusing naturally toward the center of the face. A slightly angled blush brush follows the cheekbone beautifully here.
What to avoid: The classic “smile and circle the apples” technique. On round faces, a concentrated circle of color on the fullest part of the cheek emphasizes roundness — it’s the one placement that works against this face shape. Also avoid bringing blush too close to the nose or too low on the cheek, which widens the mid-face visually.
Formula tip: Because this placement relies on a diffused, blended edge rather than a precise dot of color, powder blush is the easiest formula for round-face placement. If you prefer cream, our [cream vs powder comparison → cream-blush-vs-powder-blush] covers which suits your skin type.
Oval Face: The Versatile Classic
The goal: Maintain the natural balance of the oval face — you have the most placement freedom of any face shape.
Where to apply: The classic technique works perfectly: smile lightly, find the apples of the cheeks, and apply color there, blending upward and outward toward the temples. The blush should span from the apples up along the cheekbone, creating a soft wash of color across the upper cheek.
Technique: Circular buffing motions on the apples, then soft sweeps to blend the edges upward. Because oval faces are balanced, you can also experiment with trendier placements — draping (extending blush up toward the temples like a C-shape), the sun-kissed stripe across the nose, or a soft wash high on the cheekbones. Oval faces carry all of these well.
What to avoid: Very little, honestly. The main risk for oval faces is placement that’s too low (which shortens the face visually) or too much product (which overwhelms balanced features). Keep color on the upper two-thirds of the cheek and start sheer.
Experiment freely: If you have an oval face, use it as your laboratory. Try the higher draped placement one day and the classic apples the next — take daylight selfies and compare. You’ll quickly develop a sense of which placements you prefer, and that intuition transfers to every other makeup technique you learn.
Square Face: Soften the Angles
The goal: Soften the strong jawline and angular features with rounded, diffused color.
Where to apply: Focus on the apples of the cheeks with soft, circular motions. The roundness of the application contrasts beautifully with angular bone structure, creating balance. Blend the edges outward toward the temples, but keep the concentration of color on the apples themselves rather than sweeping high along the cheekbone.
Technique: Smile, place color directly on the apples, and buff in small circles. Then take a clean fluffy brush and diffuse the edges so there’s no harsh line. The overall effect should be a soft, round flush — think “rosy glow” rather than “sculpted cheek.” A touch of blush on the temples can also help soften a strong forehead, but keep it extremely sheer.
What to avoid: Harsh, angular placement — sharp diagonal stripes of blush along the cheekbone can emphasize rather than soften square features. Also avoid contour-heavy cheek looks paired with strong blush; on square faces, it’s better to let blush do the softening work and keep contour minimal or skip it. And as with every face shape, keep blush away from the jawline — color near a strong jaw draws the eye exactly where you don’t want it.
Shade tip: Softer, muted shades (dusty rose, soft mauve, warm peach) tend to flatter square faces more than vivid, high-contrast brights. Our [blush shade guide → how-to-choose-blush-shade-for-skin-tone] helps you find muted tones for your skin depth.
Heart Face: Balance Top and Bottom
The goal: Balance a wider forehead with a narrower chin by adding visual width and warmth to the lower half of the face.
Where to apply: Apply blush slightly lower on the apples than the classic placement — think the lower-middle of the cheek rather than the high apples — and blend outward toward the ears in a soft horizontal direction rather than sharply upward. This adds fullness to the mid-face, balancing the narrower chin below.
Technique: Place color on the apples but let it sit a touch lower, then blend outward and very slightly upward. The motion is more horizontal than the diagonal sweep used for round faces. A small amount of blush on the chin can also help — it adds a touch of color to the narrowest part of the face, creating better top-to-bottom balance. Keep the chin application extremely sheer; it’s a whisper, not a statement.
What to avoid: High, temple-focused placement (the draping trend) can exaggerate the width difference between forehead and chin on heart faces — it adds emphasis to the already-widest part of the face. Also avoid heavy blush on the cheekbones near the temples, which has the same widening effect up top.
The forehead factor: Heart faces sometimes benefit from a sheer wash of bronzer (not blush) along the hairline to visually narrow a wide forehead — but that’s contouring territory. For blush specifically, keeping the focus on the mid-to-lower cheek is the move.
Placement Mistakes That Work Against Every Face Shape
Regardless of your face shape, these placement errors undermine the result:
Too low. Blush below the nostril line or creeping toward the mouth drags the whole face downward and can read as ruddy rather than flushed. The fix: keep color on the upper two-thirds of the cheek. A useful landmark — if you draw an imaginary line from your nostril to your ear, blush should stay above it.
Too close to the nose. Color crowded against the nose makes the mid-face look congested and can emphasize pores. Leave at least two finger-widths between the nose and where your blush begins.
Visible edges. A harsh line where blush stops looks artificial on every face shape. Always blend past where you think the color should end, using a clean brush to diffuse the perimeter.
Asymmetry. It’s normal for one cheek to end up stronger than the other. Check both sides in the mirror before finishing — step back, don’t just stare close-up. A quick buff with a clean brush on the stronger side usually evens things out.
Ignoring the rest of the face. Blush isolated on the cheeks with nothing elsewhere can look disconnected. A sheer touch of the same blush on the eyelids (as a wash, not a full eyeshadow look — though our [eyeshadow guide for beginners → eyeshadow-guide-for-beginners] covers the full technique) and the bridge of the nose ties everything together.
Adapting Placement for Different Formulas
Placement principles stay the same across formulas, but the technique shifts slightly:
- Powder blush: The most forgiving for learning placement — you have unlimited blending time. Use the brush techniques described above.
- Cream blush: Work one cheek at a time and blend immediately. Dot the product where you want the most color, then blend outward — the initial dot placement matters more with cream because it doesn’t diffuse as far on its own.
- Liquid blush: Place dots precisely where each face shape’s guide indicates, then blend fast with a damp sponge. Liquid sets quickly, so there’s less room for repositioning.
For the full breakdown of which formula suits your skin, see [cream blush vs powder blush → cream-blush-vs-powder-blush].
Frequently Asked Questions
Should I smile when applying blush?
A light, natural smile helps locate the apples of the cheeks — but don’t grin widely. An exaggerated smile pushes the apples too high, and when your face relaxes, the blush ends up sitting too low. Think “pleasant expression,” not “photo smile.” Some makeup artists prefer a neutral expression for precise placement; try both and see which gives you more consistent results.
Where exactly are the “apples” of the cheeks?
The apples are the rounded, fleshy part of the cheek that becomes prominent when you smile — roughly in line with the outer corner of your eye, below the cheekbone. Press gently with your fingertip: the soft, bouncy area (as opposed to the firm bone of the cheekbone above it) is the apple. Placement guides reference them constantly because they’re where a natural flush appears.
Can I wear blush higher on my cheekbones instead of the apples?
Absolutely — high cheekbone placement (sometimes called “draping” when extended toward the temples) creates a lifted, sculpted effect and suits round and oval faces particularly well. It’s a more modern, editorial look compared to the classic apples placement. The key is blending thoroughly so the high placement looks intentional rather than misplaced.
How do I make blush placement look symmetrical?
Apply to one cheek, then immediately mirror it on the other before blending either side fully — it’s easier to match wet (unblended) product than finished, blended color. Step back from the mirror to assess; close-up inspection exaggerates small differences. And remember that faces aren’t perfectly symmetrical naturally, so “close enough” genuinely is enough.
Does blush placement change for mature skin?
Slightly. On mature skin, avoid placing blush directly on the apples if smile lines are prominent there — product can settle into the lines. Instead, place color slightly higher on the cheekbones and blend upward. Cream formulas also tend to sit better on mature skin than powder. The face-shape principles still apply; just shift everything a touch higher and choose forgiving formulas.
Conclusion
Blush placement is one of those skills that feels technical until it clicks — and then it becomes pure instinct. Learn your face shape, practice its placement for a week, and check your work in daylight. You’ll quickly see which techniques flatter you, and from there you can experiment with confidence.
Remember the core principles: round faces lift color up and out, oval faces enjoy the classic apples placement, square faces soften with rounded application, and heart faces balance by keeping color mid-cheek. Pair the right placement with a flattering [shade for your skin tone → how-to-choose-blush-shade-for-skin-tone] and the right [formula for your skin type → cream-blush-vs-powder-blush], and blush becomes the easiest — and most transformative — step in your routine. For the full picture, revisit our [complete blush guide for beginners → blush-guide-for-beginners] anytime.
blush guide for beginners
cream blush vs powder blush
how to choose blush shade for skin tone
makeup for beginners step-by-step guide
eyeshadow guide for beginners
Love this? Pin it for later!