How to Dye Hair at Home for Beginners: The Complete Guide to Salon-Worthy Color
Learning how to dye hair at home for beginners feels intimidating the first time — the stained towels, the ticking timer, the fear of ending up with a shade that looks nothing like the box. But here’s the truth: most at-home color disasters come from skipping the prep work, not from the dye itself. With the right shade choice, a strand test, and a calm, methodical application, a box dye job can look remarkably close to salon results.
This guide walks you through everything a first-timer needs to know: how to pick between permanent, demi-permanent, and semi-permanent color, how to choose a shade that actually suits you, the two safety tests you should never skip, a step-by-step application method (including how to section your hair like a stylist), timing, rinsing, and aftercare. You’ll also learn when to put the box down and book a professional instead — because knowing that boundary is what separates a great at-home colorist from a corrective-color appointment.
Whether you’re covering your first grays, going a shade darker for fall, or trying a fun fashion color, the fundamentals are the same. Let’s get into it.
Key Takeaways
- Choose demi-permanent or semi-permanent color for your first at-home dye — it’s more forgiving than permanent color.
- Always do a strand test and a patch (allergy) test 48 hours before coloring, no exceptions.
- Pick a shade within two levels of your natural color for the most natural, low-risk result.
- Section hair into four quadrants and work from roots to ends for even coverage.
- Set a timer and never leave dye on longer than the instructions say — more time does not mean more color.
- Wash with sulfate-free, color-safe shampoo and cool water to make your color last longer.
- Skip the box for major corrections, bleach on dark hair, or going more than 3 shades lighter — see a professional.
Understand Your Dye Options Before You Buy
Not all hair dye works the same way, and picking the wrong type is the number-one beginner mistake. Here’s the honest breakdown:
Temporary color (color-depositing sprays, hair chalk, wash-out gels) sits on the hair’s surface and washes out in one shampoo. Great for testing a vibe for a night out, useless for real change.
Semi-permanent color deposits pigment onto the hair shaft without developer or ammonia, and fades over 4–12 washes. It can’t lighten hair, but it’s the gentlest option and the best playground for beginners — if you hate it, it washes out. Fashion colors (pinks, purples, blues) are almost always semi-permanent.
Demi-permanent color uses a low-volume developer to push pigment slightly into the hair shaft. It lasts 20–28 washes, blends grays beautifully, adds shine, and causes far less damage than permanent color. Many stylists call this the sweet spot for at-home use — it fades gracefully instead of leaving a harsh line of demarcation as it grows out.
Permanent color uses ammonia (or an ammonia alternative) and developer to open the cuticle and permanently alter the pigment inside the hair. It offers full gray coverage and can lighten hair, but the commitment is real: it doesn’t wash out, and overlapping it on previously colored hair causes damage and banding. If this is your very first time, permanent color is a bigger leap than you need.
The beginner rule: start with semi-permanent or demi-permanent in a shade close to your natural color. You get to learn the whole process — sectioning, timing, rinsing — with training wheels on.
How to Choose a Shade That Won’t Disappoint You
The model on the box is not your guarantee. Here’s how to choose smartly:
Stay within two levels of your natural color. Hair color is measured in levels (1 = black, 10 = lightest blonde). Going more than two levels darker or lighter in one session is where most at-home results go wrong. A level-6 medium brown going to a level-5 looks rich and natural; jumping to level-9 blonde from a box is a recipe for orange.
Match your undertone, not just the color family. Hold the shade swatch near your face in natural light. If your skin has warm undertones (gold jewelry flatters you, veins look greenish), warm shades like golden brown or copper will harmonize. Cool undertones (silver jewelry, bluish veins) pair better with ash or neutral shades. When in doubt, choose a “neutral” shade — it’s the safest bet across undertones.
Read the “starting level” guidance on the box. Most boxes show before/after swatches by starting hair color. If your starting color isn’t shown, that shade isn’t formulated for you.
Buy two boxes if your hair is thick or past your shoulders. Running out of dye mid-application guarantees patchy results. Leftover mixed dye can’t be saved — once developer is mixed, the clock is ticking — but an unmixed second box keeps for your [root touch-up → how-to-touch-up-roots-at-home] down the line. (Check the expiration date first.)
The Two Tests You Must Never Skip
1. The Patch Test (Allergy Test)
Hair dye contains PPD (paraphenylenediamine) and other chemicals that can cause serious allergic reactions, even if you’ve dyed your hair before — sensitivities can develop over time. 48 hours before coloring, dab a small amount of mixed dye behind your ear or on your inner elbow. If you develop redness, itching, swelling, or burning, do not use the product. This isn’t optional advice; it’s printed on every box for a reason.
2. The Strand Test
Snip a small, hidden section of hair (from underneath, near the nape), apply the dye, time it exactly per instructions, rinse, and dry. This tells you three things: the true final color on YOUR hair (which differs from the box), whether your hair can handle the processing time, and how the texture feels afterward. If the strand feels gummy or stretches like chewing gum when wet, your hair is too damaged for color right now — focus on [repairing hair health first → how-to-oil-hair-for-growth].
Gather Your At-Home Dye Kit
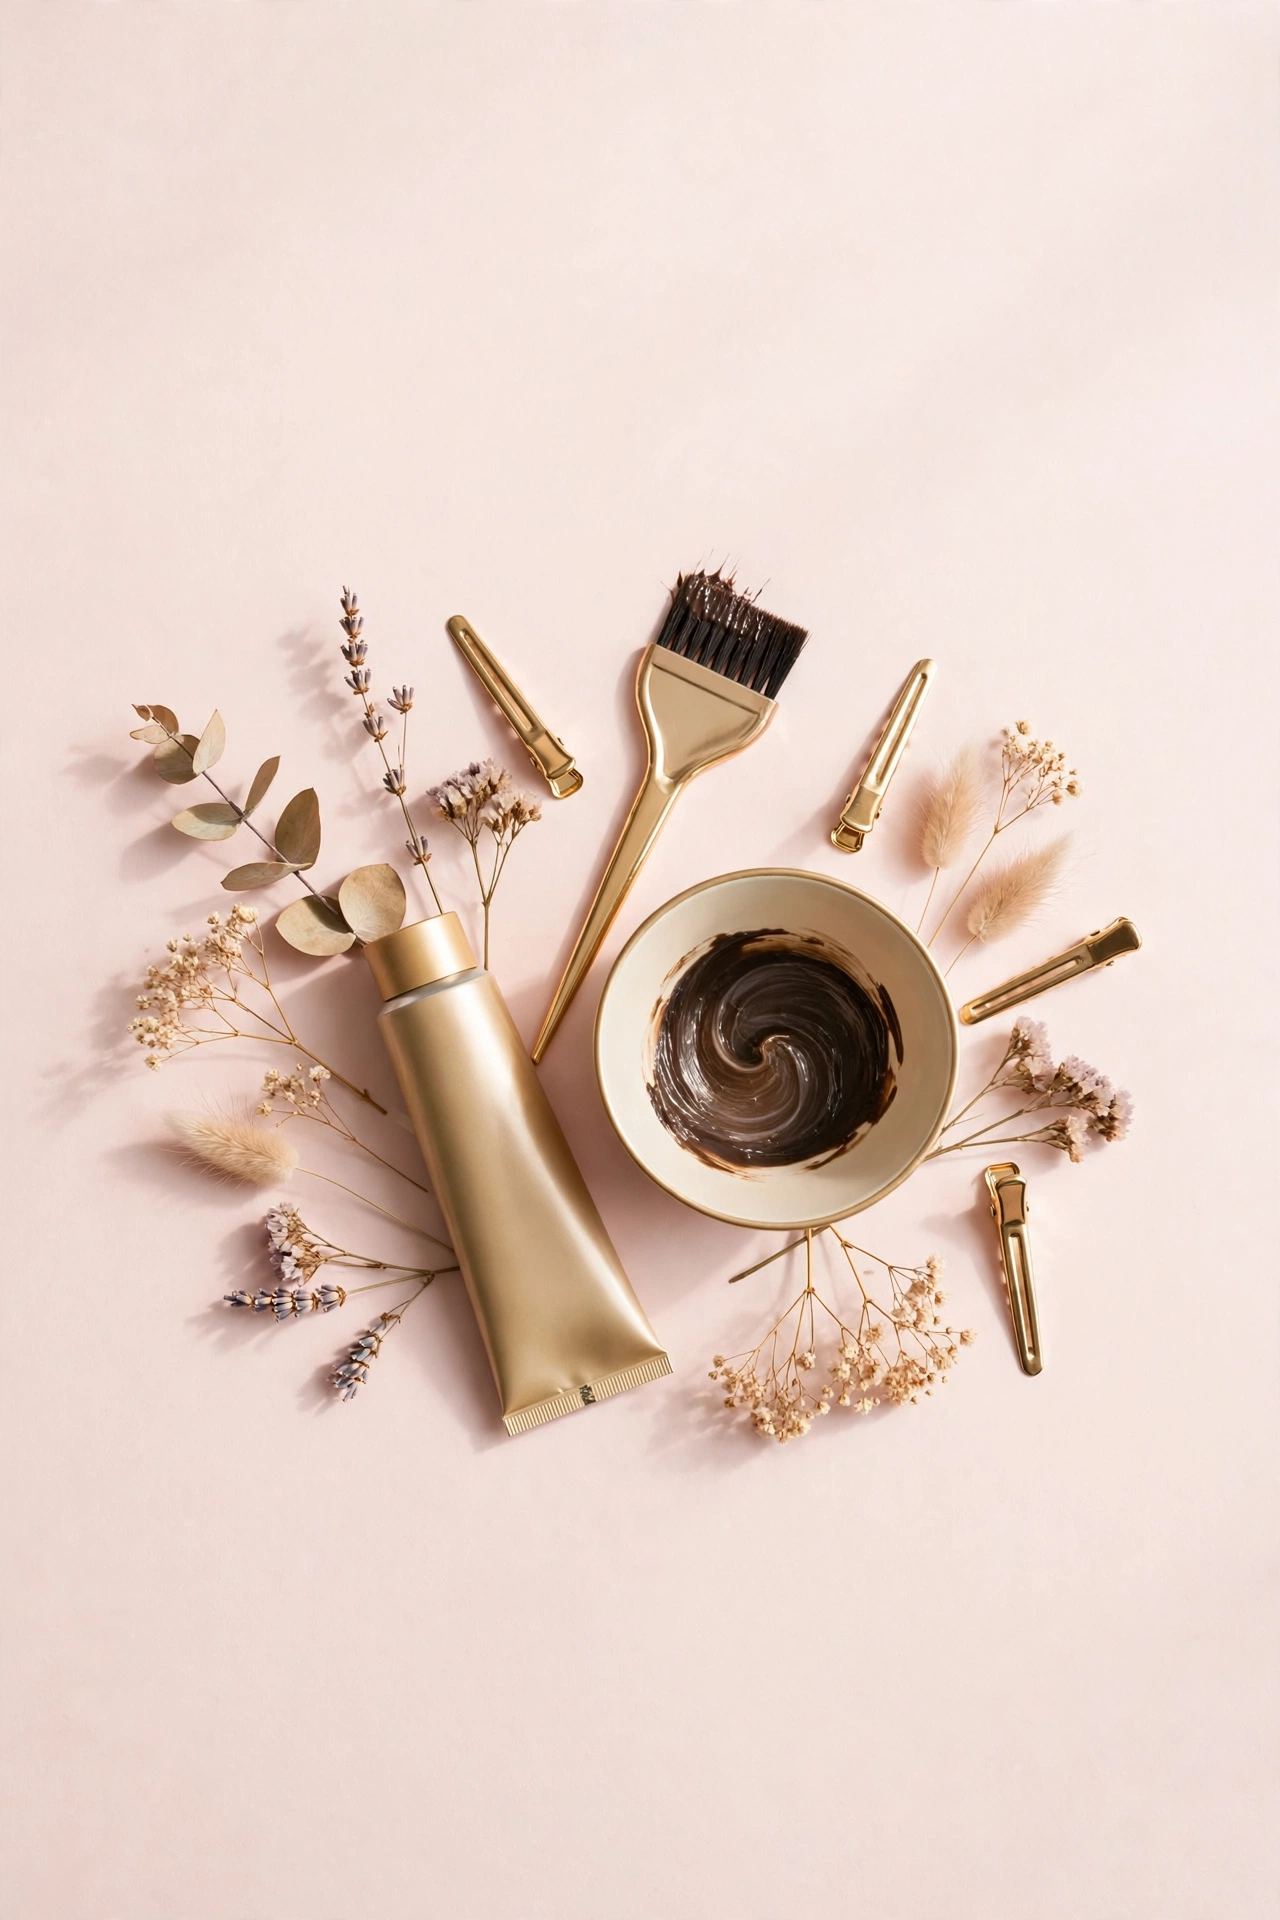
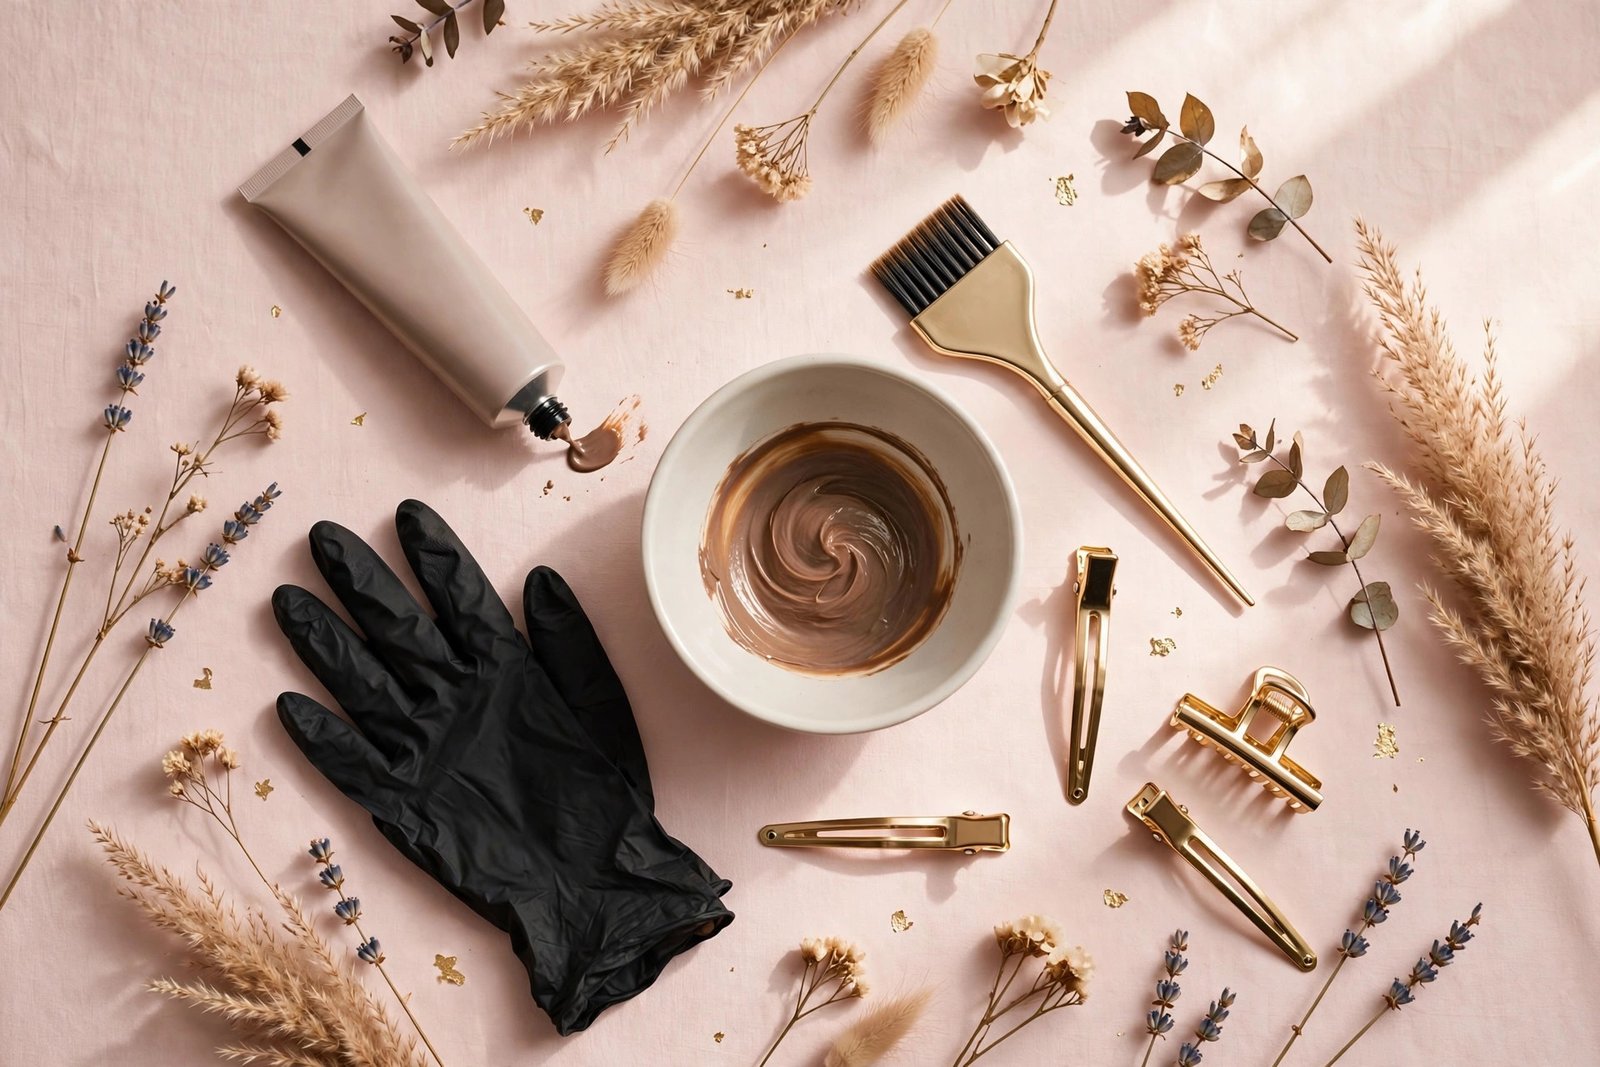
Box dyes include the basics, but a few extras make the difference between a smooth session and a stained-bathroom saga:
- The dye kit itself — color cream/tube, developer, gloves, and usually a conditioner packet
- An extra pair of gloves (the included ones tear; keep a backup)
- A tint brush and mixing bowl — far more precise than the squeeze-bottle nozzle, especially near the hairline
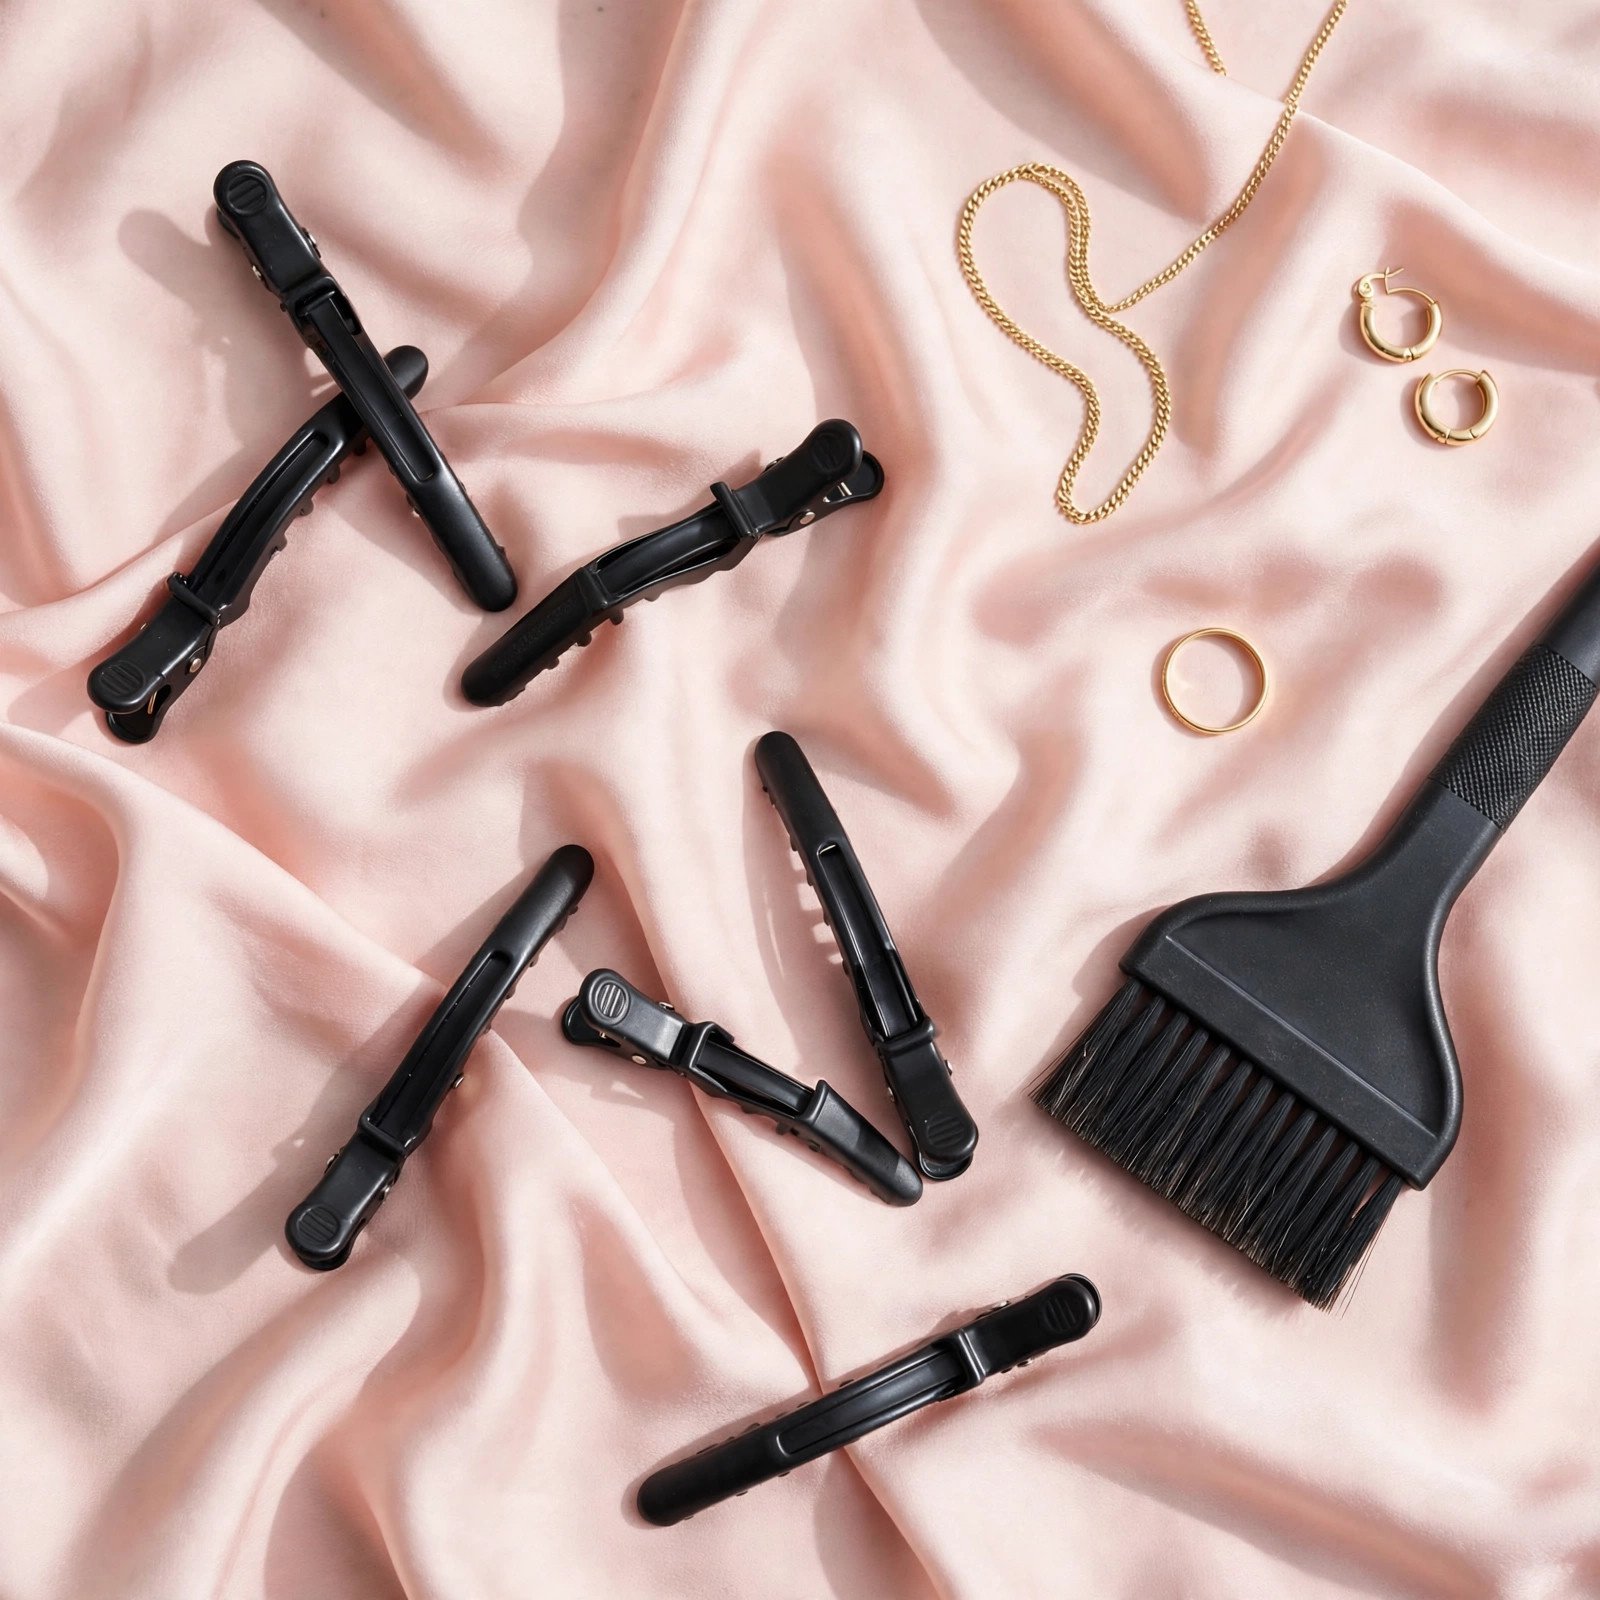
- Sectioning clips (at least 4)
- An old dark towel or a dedicated dye cape draped over your shoulders
- Petroleum jelly or a thick balm — applied along the hairline, ears, and nape to prevent skin staining
- A timer — your phone works; don’t guess
- Old T-shirt and bathroom you don’t mind staining — dye splatters, plan for it
Prep your hair, too: don’t wash it the morning of. Day-old (or even two-day-old) hair with its natural oils protects your scalp from irritation. Brush out all tangles before you start — knots create uneven color.
How to Dye Your Hair at Home: Step-by-Step
Set aside 1–2 uninterrupted hours. Rushing is how mistakes happen.
Step 1: Section your hair into four quadrants
Part your hair down the middle from forehead to nape, then ear to ear across the crown. Clip each of the four sections. This is exactly how stylists work — it keeps application orderly and guarantees you don’t miss the back of your head. If your hair is very thick, split each quadrant in half for eight sections.
Step 2: Protect your skin and clothes
Apply petroleum jelly along your hairline, around your ears, and at the nape of your neck. Put on your gloves and drape your old towel or cape. Lay newspaper or an old towel on the floor around you.
Step 3: Mix the dye
Follow the box instructions exactly — the ratio of color to developer matters. Mix in the bowl with your tint brush until completely smooth. Once mixed, start the clock: most dyes should be applied within 15–20 minutes of mixing for consistent results.
Step 4: Apply, back to front
Unclip one back quadrant first (the back processes slightly slower because it’s cooler, so starting there evens things out). Work in thin, half-inch subsections: paint dye from roots to ends, saturating each strand fully. Use the brush for precision at the roots and your gloved fingers to work color through the lengths. Repeat quadrant by quadrant until all hair is saturated. Pile hair loosely on top of your head — don’t twist it tightly, which creates uneven patches.
For root-only application (you’ve colored before and just need regrowth covered): apply dye to the new growth only, not over the already-colored lengths. Overlapping permanent color causes dark, damaged bands. If you’re new to this, read the full walkthrough on [how to touch up roots at home → how-to-touch-up-roots-at-home] before your second session.
Step 5: Time it — and don’t cheat
Set your timer for exactly what the instructions say, usually 20–45 minutes depending on the formula. Leaving dye on longer does not make it “more colorful” — it damages the hair and can shift the tone muddy. Check one strand at the 20-minute mark if you’re nervous, but don’t rinse early out of fear; under-processing gives weak, uneven color.
Step 6: Rinse and condition
Rinse with lukewarm water (not hot — heat opens the cuticle and lets color escape) until the water runs clear. Then use the conditioner packet from the box, or a deep conditioner if the box didn’t include one. Skip shampoo for this first wash; shampooing immediately after coloring strips fresh pigment. Wait at least 48 hours before your first shampoo so the color molecules can fully settle.
7 Beginner Mistakes That Ruin At-Home Color
- Choosing a shade from the box photo alone. Judge by the before/after swatches for your starting level, not the model’s hair.
- Skipping the strand test. It’s 30 minutes that can save you from months of regret.
- Applying to freshly washed hair. Natural oils protect your scalp — color on day-old hair.
- Using one box for long, thick hair. Patchy coverage is almost always an “I ran out of dye” problem.
- Overlapping permanent dye on old color. Roots only on touch-ups; the lengths don’t need re-processing.
- Ignoring the timer. More time ≠ better color. Follow the instructions to the minute.
- Washing with hot water and harsh shampoo right away. This is the fastest way to fade fresh color — learn [which shampoo actually protects color → sulfate-free-shampoo-vs-regular-shampoo].
Aftercare: Making Your Color Last Twice as Long
Your dye job isn’t finished when you rinse — aftercare determines whether it still looks good in week six.
Switch to color-safe shampoo. Sulfates are the enemy of fresh color; a [sulfate-free formula → sulfate-free-shampoo-vs-regular-shampoo] cleans without stripping pigment. Wash in cool or lukewarm water, and stretch washes to 2–3 times per week if you can — dry shampoo is your friend between washes.
Deep condition weekly. Coloring, even gentle demi-permanent color, stresses the hair shaft. A weekly mask keeps color-treated hair supple instead of straw-like. If your hair was already fragile before coloring, a regular [hair oiling routine → how-to-oil-hair-for-growth] between color sessions rebuilds strength.
Protect from the elements. UV rays fade color (a hat or UV-protectant spray helps), chlorine turns blonde greenish and dulls brunette, and heat styling without protectant cooks pigment right out. If brassiness creeps in on lightened hair, [purple shampoo → how-to-use-purple-shampoo] or a targeted [brassiness fix → how-to-fix-brassy-hair-at-home] will bring the tone back.
Plan your maintenance. Demi-permanent color needs refreshing every 4–6 weeks; permanent color needs [root touch-ups → how-to-touch-up-roots-at-home] every 4–8 weeks depending on growth and contrast. Mark it on your calendar — regrowth sneaks up.
When to Skip the Box and See a Professional
At-home color is fantastic for maintenance and subtle changes. It’s the wrong tool for:
- Going more than 3 shades lighter, especially on dark hair — this needs bleach, and bleach needs a trained hand to avoid breakage and orange banding
- Major color corrections — fixing a botched dye job, removing black box dye, or transitioning from one extreme to another
- Bleach on previously bleached or damaged hair — overlapping lightener is how hair melts
- Going from dyed dark hair back to blonde — color can’t lift color; this requires professional color removal
- If your strand test showed damage — gummy, stretchy hair needs repair before any chemical service
There’s no shame in the salon chair. A good stylist would rather do your color from the start than fix a box-dye emergency — and corrections cost far more than the original service would have.
Frequently Asked Questions
How long does at-home hair dye last?
It depends on the formula. Semi-permanent fades over 4–12 washes, demi-permanent lasts 20–28 washes (roughly 4–6 weeks), and permanent color is permanent — it grows out rather than washing out, so you’ll see regrowth at the roots within 4–8 weeks. Washing less often, using cool water, and choosing color-safe shampoo all extend the life of any dye job.
Can I dye my hair at home if I’ve never done it before?
Absolutely — that’s what this guide is for. Start with a semi-permanent or demi-permanent shade within two levels of your natural color, do your strand and patch tests, and follow the timing exactly. Save dramatic transformations (dark to platinum, for example) for a professional.
Should I dye dirty or clean hair?
Slightly “dirty” hair — washed 24–48 hours ago — is ideal. Natural scalp oils create a protective barrier that reduces irritation and staining. Don’t apply dye to hair that’s caked in heavy styling products, though; a light clarifying-free rinse the day before is fine if there’s buildup.
Why does my at-home color look darker than the box?
Box shades develop darker on porous or previously colored hair because damaged areas grab extra pigment. This is also why overlapping permanent color on old color creates dark bands. A strand test reveals how your specific hair takes the shade, and applying to roots only on touch-ups prevents the darkening cycle.
Can I mix two box dye shades together?
It’s not recommended. Each formula is balanced for its specific developer ratio and pigment load; mixing throws off the chemistry and the timing, and the result is unpredictable. If neither shade is quite right, choose the lighter of the two — you can always go darker next time, but fixing too-dark color is much harder.
How soon can I dye my hair again if I don’t like the result?
Wait at least two weeks and do a deep-conditioning treatment in between — sooner risks serious damage, especially with permanent color. If the result is dramatically wrong (orange, green tones, severe unevenness), see a colorist for a correction rather than layering more box dye on top.
Dyeing your hair at home for the first time is a skill, not a gamble — and like any skill, it gets easier every time. Start conservative, respect the strand test, keep your [root maintenance routine → how-to-touch-up-roots-at-home] on schedule, and protect your investment with [color-safe washing habits → sulfate-free-shampoo-vs-regular-shampoo]. And if you ever feel tempted by a trendy shade like [cherry cola brunette → cherry-cola-brunette-hair-at-home], you’ll already know exactly how to pull it off. When the day comes that you want to grow it all out, the [transition to gray → how-to-transition-to-gray-hair] follows the same patient principles. Happy coloring!
root touch-up guide
purple shampoo guide
fix brassy hair
transition to gray hair
cherry cola brunette hair at home
hair oiling for growth
sulfate-free vs regular shampoo
Love this? Pin it for later!