How to Touch Up Roots at Home: A Beginner’s Guide to Seamless Regrowth
Nothing announces “I need the salon” quite like a harsh line of regrowth — whether it’s grays peeking through at the part or your natural color clashing with dyed lengths. Learning how to touch up roots at home stretches the time between salon visits, saves serious money, and keeps your color looking fresh on your own schedule.
A root touch-up is simpler than a full dye job: you’re only coloring the new growth (usually the first half-inch to inch), not re-processing the lengths. That makes it faster, gentler on your hair, and very beginner-friendly — especially if you’ve already worked through the full [at-home dyeing process → how-to-dye-hair-at-home-for-beginners]. This guide covers choosing the right touch-up product, matching your shade, the feathering technique that blends regrowth invisibly, timing, and the mistakes that cause banding.
Key Takeaways
- A root touch-up colors only the new growth — never re-dye the already-colored lengths.
- Match your touch-up shade to your lengths, not your natural root color.
- Root touch-up kits, root cover sprays, and powders serve different needs — know which one your situation calls for.
- Apply in thin sections and “feather” the dye slightly past the line of demarcation for a seamless blend.
- Touch up every 4–8 weeks depending on growth speed and how much contrast there is.
- Always do a patch test 48 hours before, even with a product you’ve used before.
What a Root Touch-Up Is (and Isn’t)
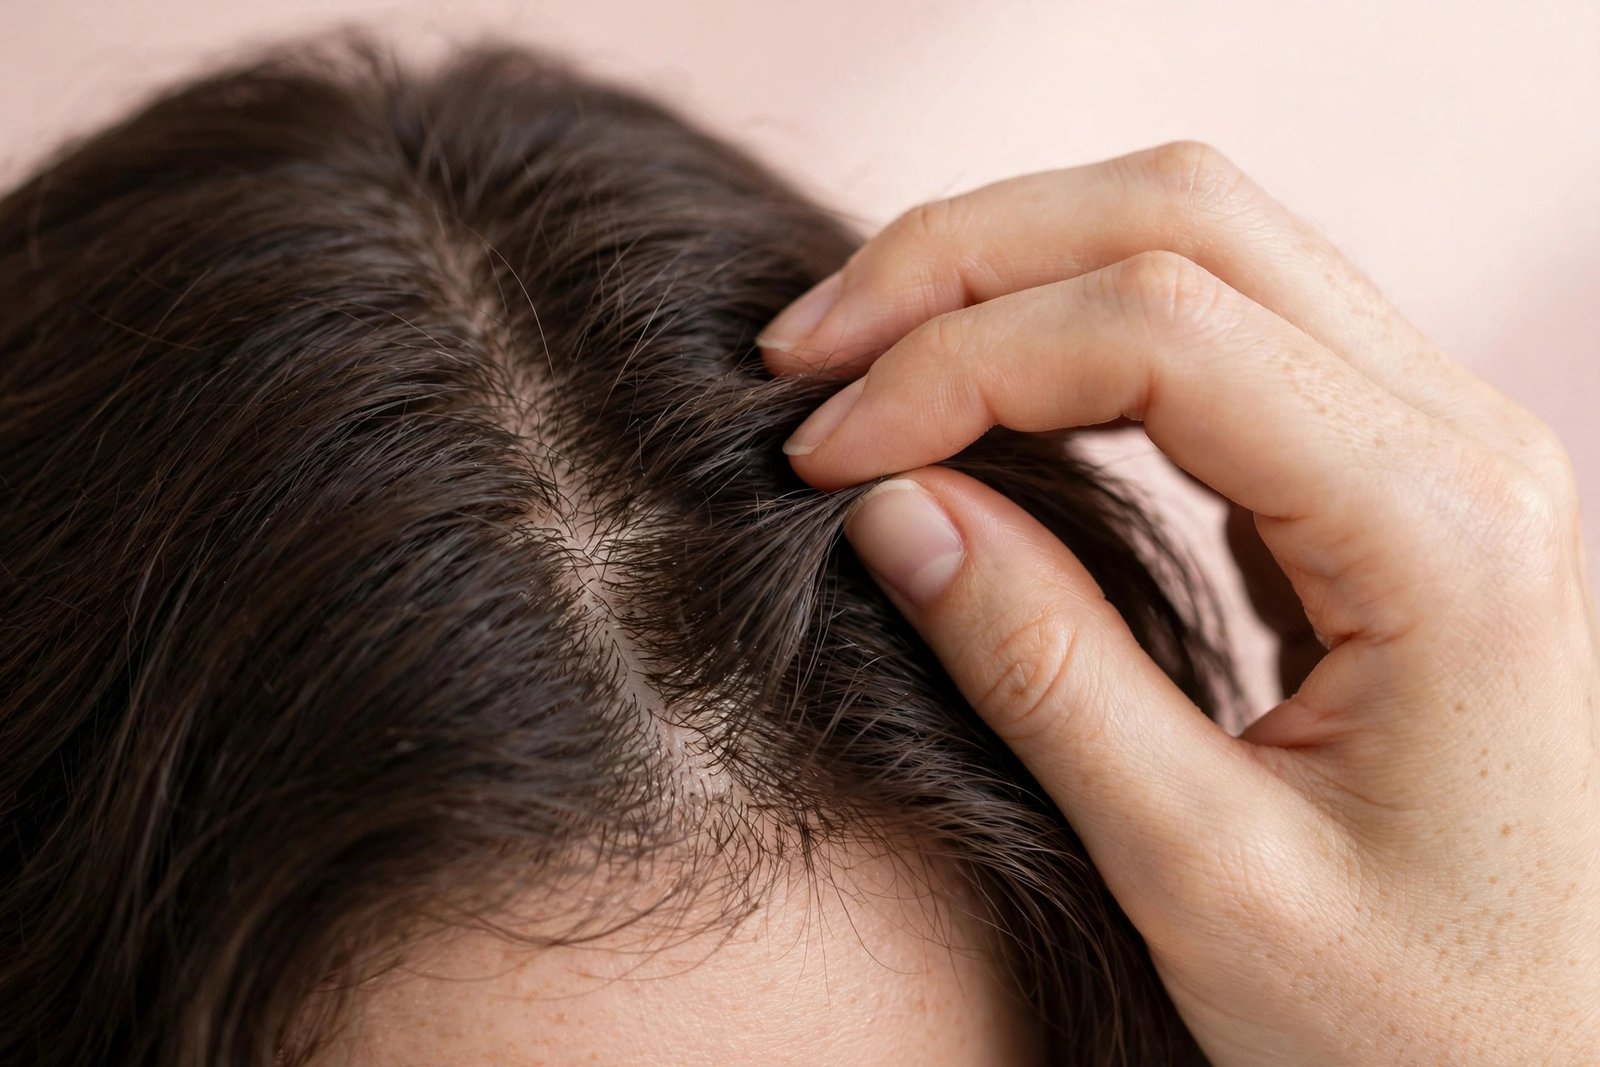
A root touch-up targets only the virgin regrowth at your scalp — the hair that has grown in since your last color. For most people that’s a half-inch to an inch of new growth every 4–8 weeks. The already-colored mid-lengths and ends do not need fresh dye; re-applying permanent color over them is the number-one cause of dark, damaged bands.
There are two categories of root products, and they solve different problems:
Permanent root touch-up kits (the small boxes) contain real dye + developer. They actually color the regrowth and last until it grows out again. Use these for your regular 4–8 week maintenance.
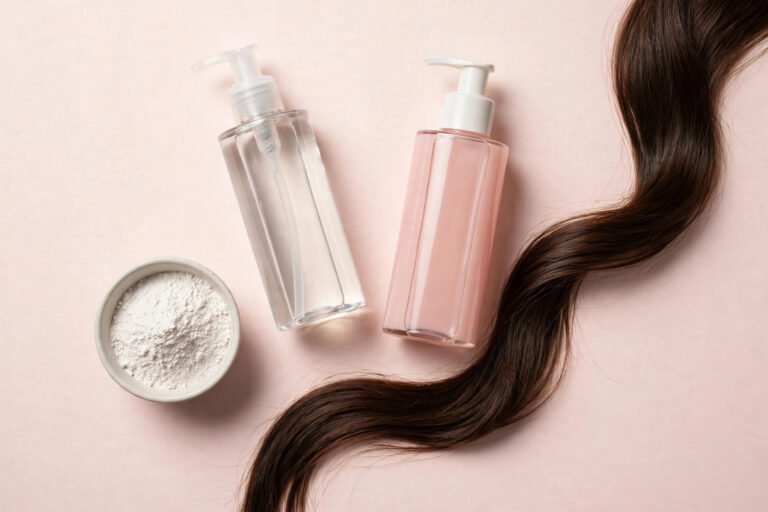
Temporary root concealers — sprays, powders, and crayons — coat the hair surface and wash out with shampoo. They’re perfect for emergencies (an event tomorrow, grays at the part line) and for stretching an extra week or two between real touch-ups. They don’t replace dyeing; they camouflage.
This guide focuses on the real thing: coloring your regrowth with a proper kit. For the full-color fundamentals — strand tests, sectioning, timing — the [beginner’s dyeing guide → how-to-dye-hair-at-home-for-beginners] has you covered.
How to Color-Match Your Roots
Matching is where touch-ups succeed or fail. The rule: match the shade of your colored lengths, not your natural roots. Your goal is for the new growth to disappear into the existing color.
- If a salon colored your hair: check your formula if you have it, or bring a photo of your hair in natural light to the store. Many brands’ root kits are designed to pair with their full-size dyes.
- If you used box dye: buy the same brand and shade you used last time. Dye lots are consistent within a brand, so this is the safest match.
- When in doubt, go slightly lighter. A touch-up shade that’s a touch lighter than your lengths blends more forgivingly than one that’s darker — dark regrowth against lighter lengths creates an obvious, harsh line.
- For gray coverage: choose a shade labeled for resistant gray coverage and expect to leave it on for the full recommended time. Grays are wiry and need the full processing window.
One caution: if your lengths have faded significantly since your last color, matching gets tricky — the fresh root color may look richer than the faded ends. In that case, consider refreshing the lengths with a [demi-permanent gloss in a matching shade → how-to-fix-brassy-hair-at-home] first, or as part of the same session.
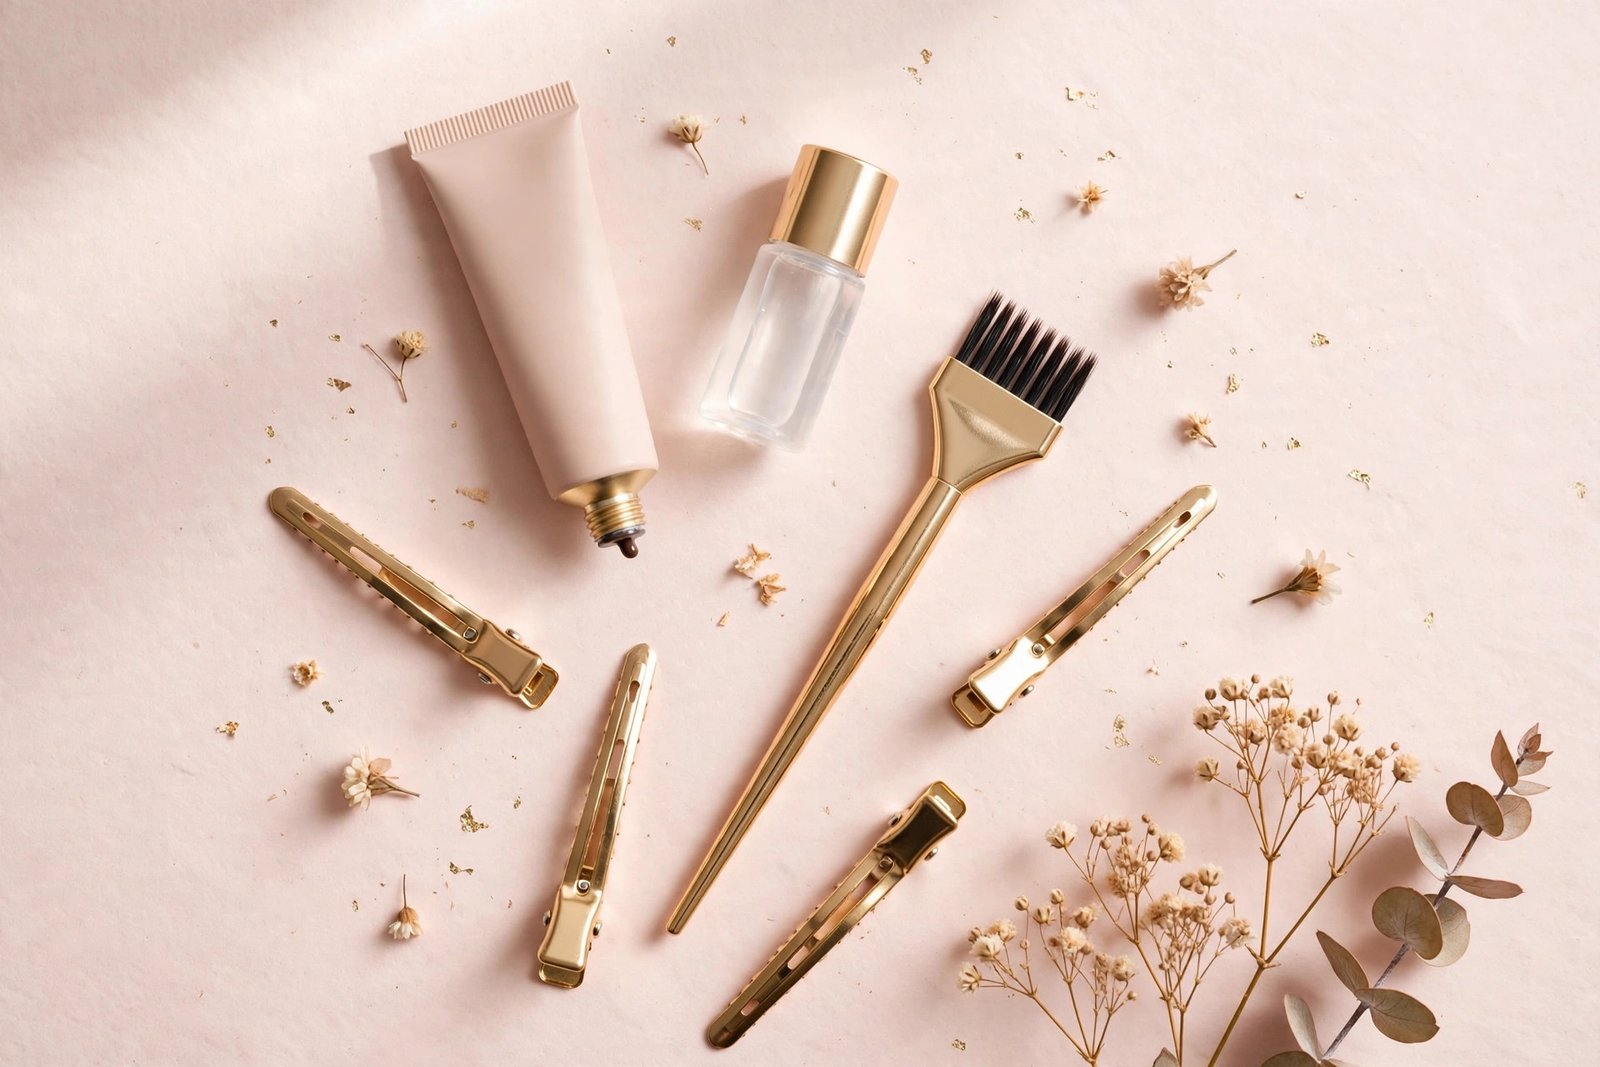
What You’ll Need
- A root touch-up kit in your matched shade (buy one kit for short to medium hair; two for very thick or long hair)
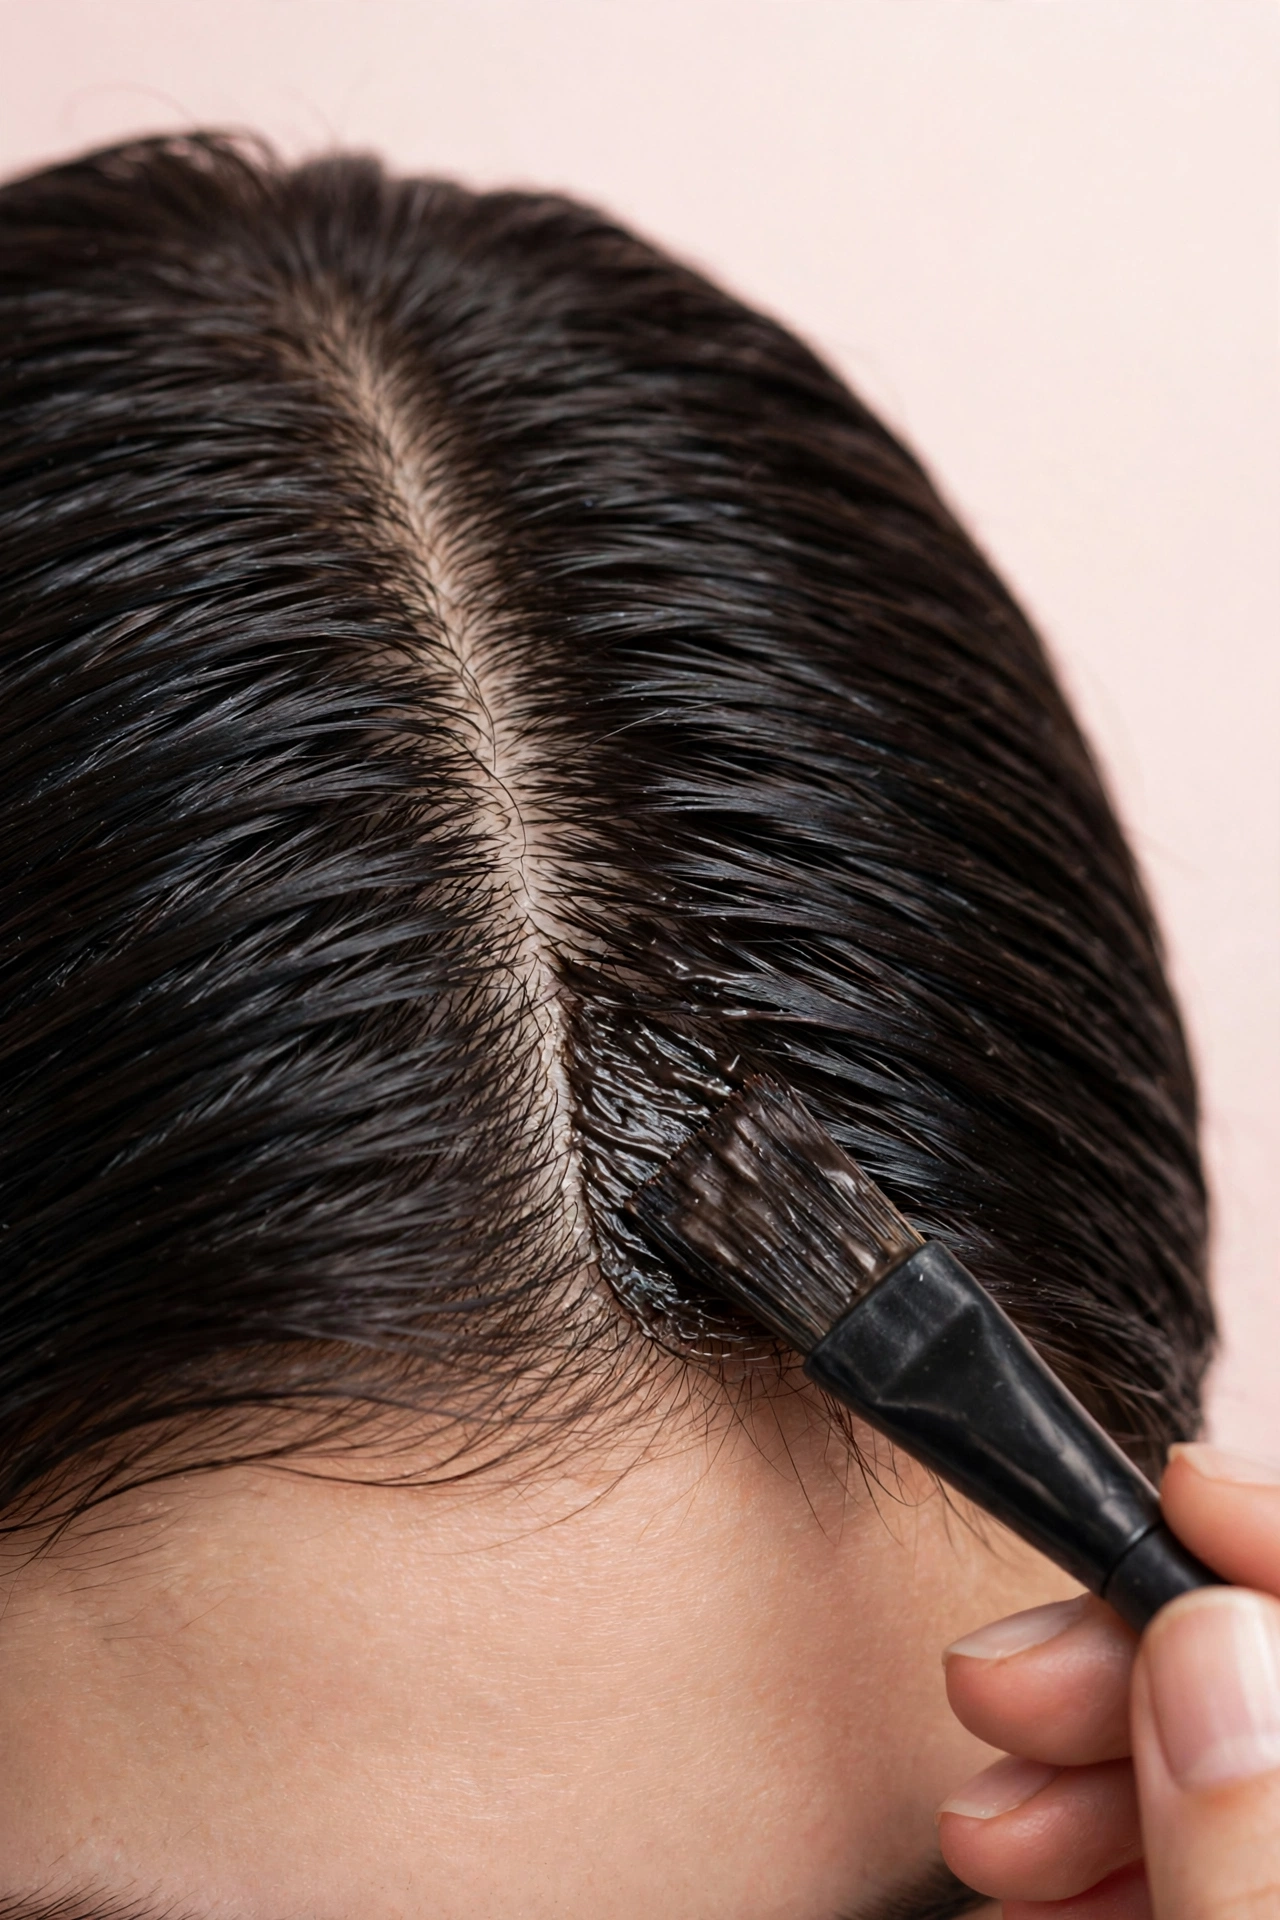
- Tint brush for precision (the bottle nozzle that comes with kits is fine, but a brush gives cleaner lines)
- Sectioning clips, gloves, old towel or cape
- Petroleum jelly for your hairline and ears
- A timer
Prep like a normal dye session: work on day-old hair, brush out tangles, and do your patch test 48 hours ahead. If your scalp is scratched, irritated, or sunburned, wait — dye on broken skin stings and risks a reaction.
Step-by-Step: Touching Up Roots at Home
Step 1: Section strategically
Part your hair where regrowth shows most — usually the center part and temples. Clip the hair into 4–6 sections, exposing the roots. Unlike full-head dyeing, you’re working with small, visible zones, so good lighting (and a hand mirror for the back) matters.
Step 2: Apply to regrowth only
Working one section at a time, paint dye onto the new growth only — from the scalp out to where the previously colored hair begins. Use thin, quarter-inch subsections so every bit of regrowth gets saturated. This is the step that determines your result: do not drag dye down the lengths. If a little overlaps, it’s not a disaster, but systematically painting the lengths re-darkens and damages them over time.
Step 3: Feather the line of demarcation
Here’s the pro technique: with the last bit of dye on your brush (or a clean, dry brush), softly feather the color about a quarter-inch past the regrowth line into the previously colored hair, using light, irregular strokes — not a straight line. This diffuses the boundary so there’s no visible stripe where new color meets old. Think of it like blending eyeshadow: soft edges, no harsh lines.
Step 4: Time it precisely
Set your timer per the kit instructions — typically 20–30 minutes for root kits. Roots process a little faster than lengths because of the warmth from your scalp, so don’t add “extra time for good measure.” Start your timer when you begin application on the first section.
Step 5: Rinse, condition, and assess
Rinse with lukewarm water until clear, then condition. Skip shampoo for 48 hours to let the color settle. Check your blend in natural daylight (bathroom lighting lies). If you spot a missed patch at the crown — the classic beginner miss — you can spot-apply to just that area the next day.
How Often Should You Touch Up Roots?
It depends on three things: how fast your hair grows (average is half an inch per month), how much contrast there is between your natural color and your dye, and how much regrowth bothers you.
- High contrast (dark roots on bleached blonde, or gray regrowth on dark dye): every 3–4 weeks
- Medium contrast (one to two levels of difference): every 5–6 weeks
- Low contrast (close to your natural shade): every 6–8 weeks
Temporary root concealers (sprays and powders) can buy you an extra week or two between sessions — handy before vacations or events. But don’t stack them indefinitely; product buildup at the roots can interfere with how evenly real dye takes later. Clarify gently before your next proper touch-up.
5 Root Touch-Up Mistakes to Avoid
- Dyeing the lengths “just to refresh them.” This causes progressive darkening and damage. Refresh lengths separately with a demi-permanent gloss, never by overlapping permanent root color.
- Choosing a shade to match your virgin roots. You want the new growth to match the dyed lengths — that’s the visible goal.
- Applying in thick, rushed sections. Missed spots at the crown and nape are the telltale sign of a hurried touch-up. Thin sections, good light, and a hand mirror fix this.
- Leaving dye on too long “to cover stubborn grays.” Over-processing doesn’t improve gray coverage; it damages hair and can darken the result. Use a formula made for resistant grays instead.
- Touching up too frequently. Coloring regrowth every two weeks out of perfectionism over-processes the hair near your scalp. Concealers exist precisely to bridge those in-between weeks.
Frequently Asked Questions
Can I use a root touch-up kit on my whole head?
You can in a pinch — it’s the same type of dye — but the small kit won’t contain enough product for full coverage on most hair, and it’s priced for root-size applications. For a full-head refresh, use a standard box dye following the [complete at-home guide → how-to-dye-hair-at-home-for-beginners].
Will a root touch-up damage my hair?
Any permanent color causes some stress, but a proper root touch-up is gentler than full-head dyeing because you’re only processing virgin regrowth, not re-processing old color. The damage comes from overlapping — keep dye off the lengths and your hair stays healthy. A regular [oiling routine → how-to-oil-hair-for-growth] between sessions helps even more.
How do I touch up roots on bleached blonde hair?
Bleach touch-ups are the one scenario where most beginners should see a professional. Lightener overlapping onto already-bleached hair causes breakage fast, and the timing is unforgiving. If you insist on DIY, apply lightener to regrowth only with zero overlap, and never exceed the recommended time.
My touch-up left a visible line. How do I fix it?
A visible line usually means the shade was too dark or the application stopped in a hard edge. Next time, feather past the demarcation line and consider going half a shade lighter. For now, a demi-permanent gloss over the line can soften it — the [brassiness and tone guide → how-to-fix-brassy-hair-at-home] explains gloss toning in detail.
Can I touch up roots the same day I wash my hair?
It’s better to work on day-old hair — natural oils protect your scalp. If you must wash the same day, skip conditioner at the roots (it can block dye uptake) and make sure your scalp is completely dry and calm before applying.
A good root touch-up should be invisible — nobody should be able to tell where your natural hair ends and your color begins. Master the regrowth-only rule, feather that demarcation line, and keep your [color-safe wash routine → sulfate-free-shampoo-vs-regular-shampoo] consistent, and your color will look freshly done for weeks. And when you’re ready for a full refresh rather than maintenance, the [beginner’s dyeing guide → how-to-dye-hair-at-home-for-beginners] walks through the whole-head process step by step.
how to dye hair at home for beginners
fix brassy hair at home
sulfate-free vs regular shampoo
hair oiling for growth
Love this? Pin it for later!