Eyeshadow Guide for Beginners: Complete Tutorial, Tools, and Looks
Eyeshadow is one of the most transformative products in a makeup bag — a single palette can take a look from barely-there daytime polish to full evening drama. But for beginners, eyeshadow can also feel intimidating: dozens of pans, unfamiliar brush names, and tutorials that seem to require professional-level skills.
This guide changes that. It covers everything a beginner needs to know about eyeshadow: what the different finishes mean, which tools actually matter, a universal step-by-step application method, easy looks to start with, and how to fix the mistakes everyone makes at first. By the end, eyeshadow will feel approachable instead of overwhelming.
Key Takeaways
- Start with a small palette of matte neutrals — they are the most forgiving shades for beginners.
- An eyeshadow primer is the single biggest difference-maker for longevity and color payoff.
- Blending matters more than expensive products; soft edges are the hallmark of a polished look.
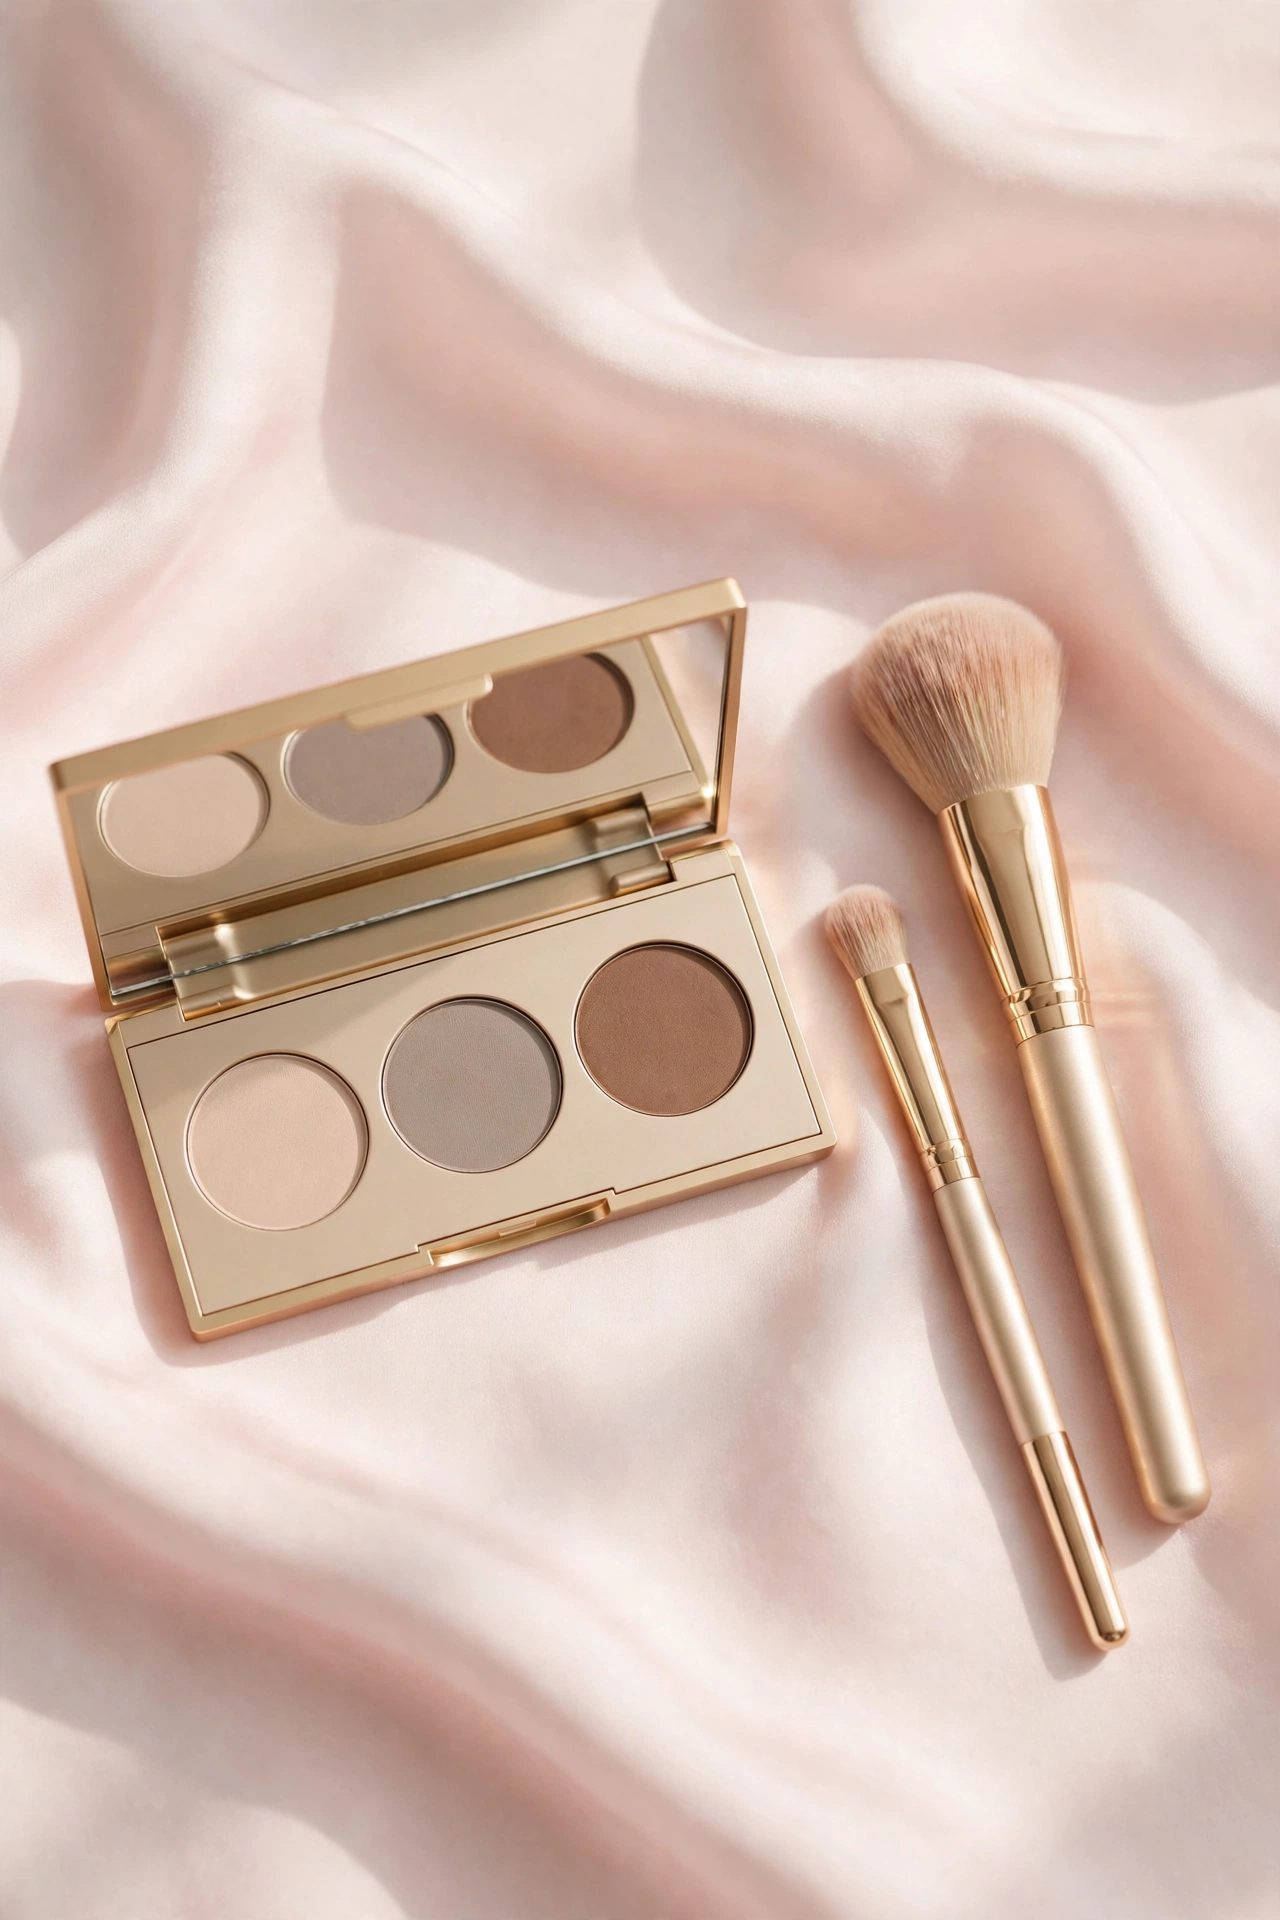
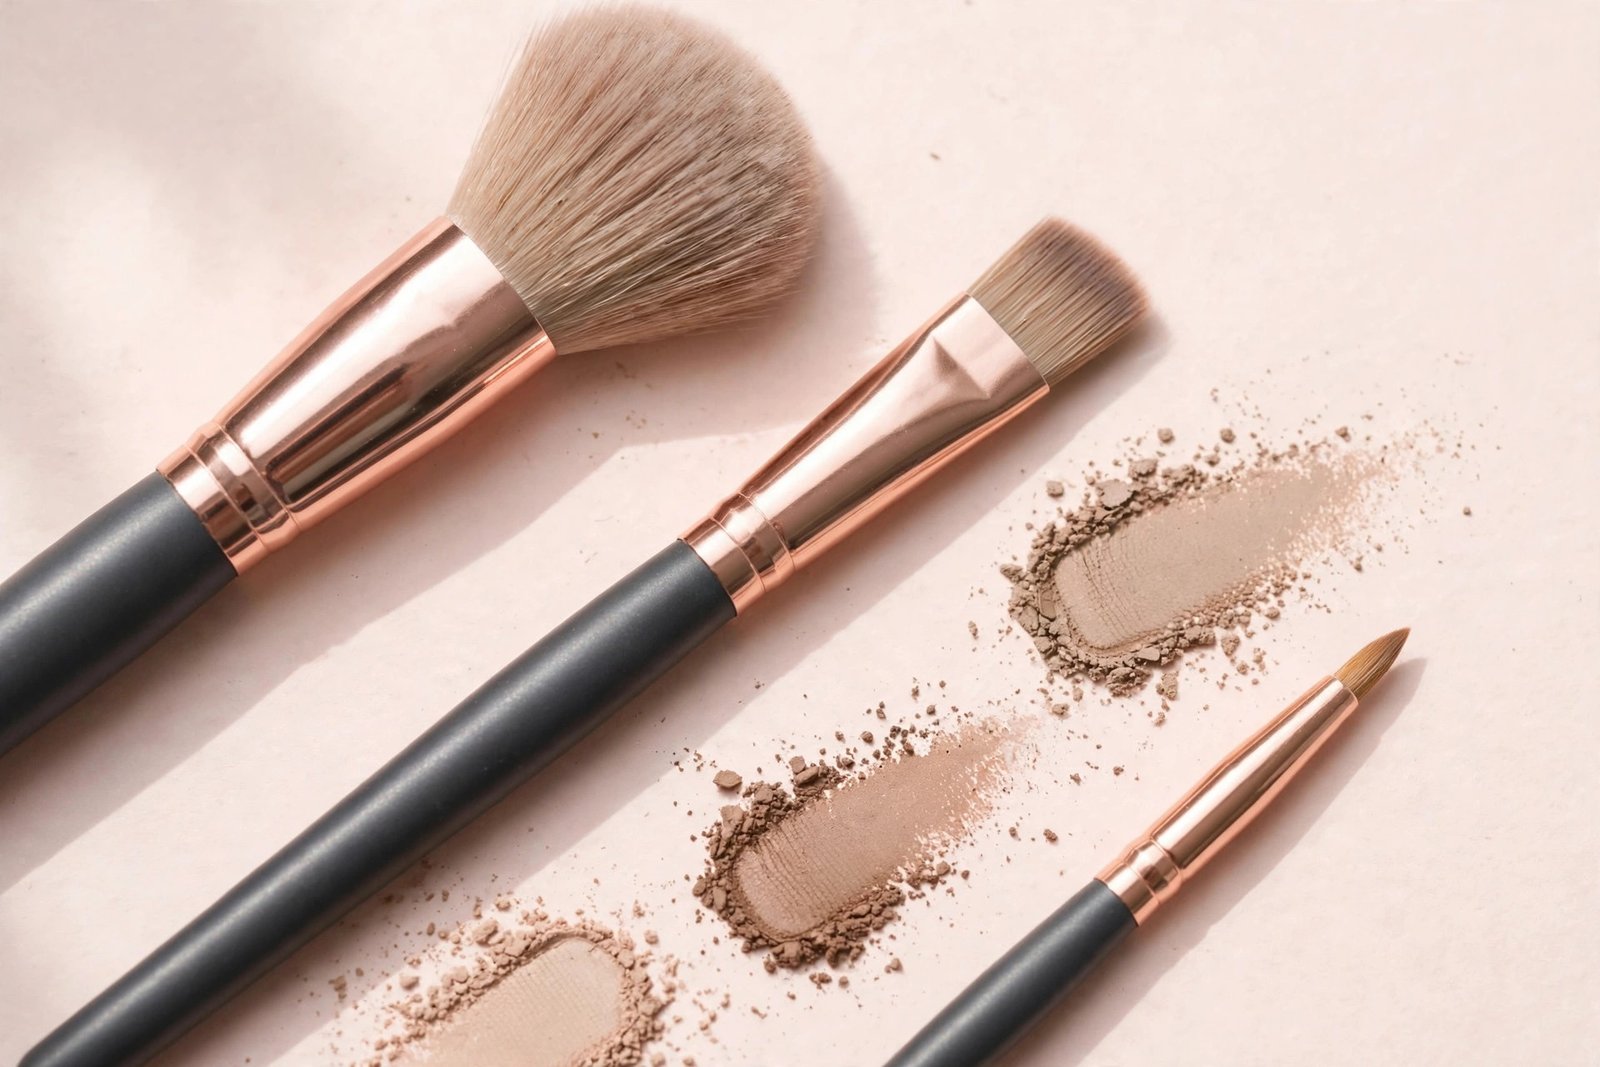
- A fluffy blending brush, a flat packing brush, and a small detail brush cover nearly every technique.
- Build color slowly in thin layers rather than applying a lot of product at once.
- Cream and powder eyeshadows behave differently — learn which suits your lids before buying more.
What Is Eyeshadow and Why Beginners Love It
Eyeshadow is a pigmented cosmetic applied to the eyelids (and sometimes the area around the eyes) to add color, depth, and dimension. It comes in pressed powders, loose powders, creams, sticks, and liquid formulas. Most beginners start with pressed powder palettes because they are easy to control and blend.
What makes eyeshadow beginner-friendly is its forgiveness. Unlike eyeliner, which demands a steady hand and symmetrical wings, eyeshadow can be blended, diffused, and layered until it looks right. A soft wash of a single shade across the lid is a complete, polished look — no advanced technique required.
Eyeshadow also teaches the foundational skills of all eye makeup: placement, blending, and building intensity gradually. Once these feel natural, everything else — eyeliner, lashes, brows — gets easier. For a full routine beyond the eyes, see the step-by-step makeup guide for beginners.
Eyeshadow Finishes Explained: Matte, Shimmer, Satin, and More
Palettes often describe shades by finish, and knowing what each one does helps you choose and place colors correctly.
Matte: Flat color with no shine or sparkle. Mattes are the workhorses of any palette — they define the crease, add depth, and create transitions between shades. Because they blend smoothly and never emphasize texture, mattes are the best finish for beginners and for mature or textured lids.
Shimmer: Fine reflective particles that catch the light. Shimmers look beautiful on the center of the lid and the inner corner, where they create brightness and dimension. They can emphasize texture, so apply them with a light hand on textured lids.
Satin (or pearl): A middle ground between matte and shimmer — a soft sheen without obvious glitter. Satins are flattering nearly everywhere and are great one-and-done lid shades.
Metallic: High-shine, almost foiled finish. Metallics deliver intense color payoff and are ideal for statement lid shades or evening looks. They apply best with a finger or a damp brush.
Glitter: Large reflective particles that sit on top of the skin. Glitter eyeshadows usually need a sticky base or glitter glue to stay put and can shed throughout the day. Beginners should treat glitter as an occasional accent rather than a daily finish.
A beginner-friendly palette typically contains mostly mattes with a few shimmers — enough range to create complete looks without tricky formulas.
The Essential Eyeshadow Tools Every Beginner Needs
You do not need a 20-brush set. Three brushes handle the vast majority of eyeshadow application:
1. A fluffy blending brush. This is the most important brush you will own. It has soft, loosely packed bristles that diffuse color into the crease and blend away harsh edges. If you buy one brush, make it this one.
2. A flat packing brush. Dense, flat bristles press color onto the lid with maximum payoff. Use it for shimmers and metallics, and for placing color precisely where you want it.
3. A small detail or pencil brush. A compact brush for targeted work: the outer corner, the lower lash line, and precise crease definition.
Beyond brushes, two more items matter enormously: an eyeshadow primer (covered in detail in the guide to eyeshadow primer) and a clean spoolie or cotton swab for tidying edges. A full breakdown of brush types lives in the beginner’s guide to makeup brushes.
Brush care matters: dirty brushes deposit old pigment and muddy your colors. Wash eyeshadow brushes weekly with gentle soap, reshape the bristles, and dry them flat or bristle-down.
How to Apply Eyeshadow Step by Step (The Universal Method)
This method works for nearly every daytime eye look and uses any neutral palette. Master it first — everything else is a variation.
Step 1: Prime the lids. Apply a thin layer of eyeshadow primer from lash line to brow bone and let it set for 30 seconds. Primer grips pigment, intensifies color, and prevents creasing for hours.
Step 2: Set the primer. Sweep a skin-toned matte shadow (or a light translucent powder) over the entire lid with a fluffy brush. This creates a smooth, dry base that lets other shades blend effortlessly instead of grabbing onto tacky primer.
Step 3: Add the transition shade. With a fluffy blending brush, sweep a medium matte neutral (a shade slightly deeper than your skin tone) through the crease using windshield-wiper motions. This softens the boundary between lid color and skin and is the secret to a professional-looking blend.
Step 4: Deepen the outer corner. Using the same brush or a slightly smaller one, press a deeper matte shade into the outer third of the lid and the outer crease, blending inward. Keep the darkest color concentrated at the outer corner — this creates dimension and a lifted effect.
Step 5: Brighten the lid. With a flat packing brush (or a fingertip), press a shimmer or satin shade onto the center and inner portion of the lid. Keep it below the crease line.
Step 6: Highlight. Dab a light matte or satin shade just under the brow bone and in the inner corner of the eye with a small brush. This lifts the brow area and makes eyes look more awake.
Step 7: Connect the lower lash line. Sweep the transition shade along the lower lash line with a small brush to tie the look together. This one step makes eye makeup look intentional rather than half-finished.
Step 8: Clean up. Sharpen the outer edge with a cotton swab or a touch of concealer on a flat brush for a crisp finish.
For a deep dive into the technique that makes or breaks every look, read the beginner’s guide to blending eyeshadow.
Easy Eyeshadow Looks for Beginners
Start with these three looks. Each uses the universal method with small adjustments.
The one-shadow wash. The simplest complete eye look: sweep a single satin or matte shade across the entire lid and blend the edges. Add mascara and you are done. Perfect for everyday wear and for learning how a brush moves across the lid.
Soft daytime definition. Follow the universal method with three neutrals — light, medium, and deep. This is the classic office-friendly eye: defined but natural. Stick to mattes for the most forgiving result.
Simple smoky eye. A smoky eye is just the universal method with deeper shades and heavier blending. Use a medium matte in the crease, a dark matte on the lid blended upward, and a deep shade along the lower lash line. Blend until no harsh lines remain — a true smoky eye has no visible edges, just a gradient from dark to light.
A note on the cut crease: the dramatic, sharp-lined cut crease is an advanced technique worth learning separately once the basics feel comfortable. A full walkthrough is in the cut crease tutorial for beginners.
Choosing the Right Eyeshadow Shades for Your Skin Tone and Eye Color
Shade selection becomes much easier with two simple frameworks.
By skin tone and undertone: Fair skin suits soft taupes, cool browns, and muted rose tones; deep shades can look harsh if applied heavily, so build slowly. Medium skin is flattered by warm coppers, bronzes, and rich browns. Deep skin tones carry both vibrant color and deep neutrals beautifully — golds, bronzes, and rich plums look stunning.
By eye color (complementary contrast): Blue eyes pop against warm coppers, peaches, and bronze tones. Green eyes are intensified by purples, plums, and warm reddish browns. Brown eyes are the most versatile and work with nearly everything, but golds, greens, and deep blues create striking contrast. Hazel eyes shift beautifully with golds, greens, and warm neutrals.
If you have hooded eyes — where the lid is partially or fully covered by skin when the eyes are open — placement matters more than shade. Techniques for this eye shape are covered in the guide to eyeshadow for hooded eyes.
Common Eyeshadow Mistakes Beginners Make (and How to Fix Them)
Skipping primer. The number one beginner mistake. Without primer, eyeshadow fades, creases, and loses intensity within hours — especially on oily lids. Primer fixes all three problems at once.
Using too much product at once. Loading the brush heavily creates harsh, patchy color that is hard to blend out. Tap off excess, start with a light layer, and build gradually. You can always add more; removing excess is much harder.
Blending with a dirty brush. A brush carrying leftover dark pigment will muddy every light shade it touches. Either wipe the brush on a clean towel between shades or keep a dedicated clean blending brush for light colors.
Ignoring the transition shade. Jumping straight from bare skin to a dark crease color creates a harsh line. The medium transition shade is what makes the gradient look seamless.
Closing one eye while applying. Applying with the eye closed changes the shape of the crease, especially for hooded or deep-set eyes. Apply with eyes open and relaxed, looking straight into the mirror, so placement matches how the makeup will actually look.
Forgetting the lower lash line. Eyeshadow only on the upper lid can look unbalanced. A soft sweep of the transition shade along the lower lashes completes the look.
Over-blending shimmer. Shimmers lose their impact when blended aggressively — the reflective particles scatter and the shade turns muddy. Press shimmers on; blend mattes around them.
How to Make Your Eyeshadow Last All Day
Longevity comes down to preparation and layering:
- Prime always. A dedicated eyeshadow primer outperforms face primer or concealer as a lid base for most people.
- Set with powder. A skin-toned matte shadow over primer locks the base and improves blendability.
- Layer cream under powder. For maximum intensity and wear, apply a cream shadow as a base and press powder shadow over it. The powder grips the cream and barely moves.
- Use waterproof formulas for the lower lash line, where moisture and blinking break makeup down fastest.
- Finish with setting spray. A light mist over the finished face helps everything — including eyeshadow — stay in place.
Oily lids need extra help: blotting the lids before priming and choosing long-wear formulas makes a visible difference. A full breakdown is in the guide to making eyeshadow last on oily lids. And once the shadow is done, curling the lashes opens up the whole look — see how to use an eyelash curler without pinching.
Powder vs Cream Eyeshadow: Which Formula Should Beginners Choose?
Eyeshadow comes in several formulas, and each behaves differently on the lid. Most beginners should start with pressed powder, but it helps to know what the alternatives offer.
Pressed powder is the standard: pigment pressed into pans, applied with brushes. Pros: the most blendable formula, the widest shade range, easy to control, and buildable from sheer to opaque. Cons: can create fallout (loose powder dropping under the eyes during application), and very shimmery powders can fade faster without primer. Verdict: the best starting formula for beginners, full stop.
Loose powder is unpressed pigment in a jar. It delivers intense color payoff but is messy, hard to control, and easy to over-apply. Beginners should skip loose powder until brush control feels natural.
Cream eyeshadow comes in pots, tubes, or sticks. Pros: no fallout, applies quickly with fingers, doubles as a base layer under powder shadow for serious longevity, and the dewy finish looks modern and fresh. Cons: creases faster than powder when worn alone (especially on oily lids), harder to blend into soft gradients, and the color range in any single product is limited. Verdict: excellent as a one-and-done lid shade or as a base under powder — less ideal as your only formula.
Eyeshadow sticks (crayons) are cream shadow in twist-up stick form. They are the fastest application method available: swipe, blend the edges with a finger, done. Great for travel and for simple looks. The trade-off is precision — sticks are too thick for detailed crease work, so they pair best with a powder palette rather than replacing one.
Liquid eyeshadow is the most pigmented and longest-wearing option, but also the least forgiving. It sets quickly, which means blending must happen fast, and mistakes are hard to fix. Beginners should treat liquid shadow as an advanced formula to try later.
The beginner recommendation: one pressed-powder neutral palette as your core, plus optionally one cream shadow stick in a flattering lid shade for quick days. That combination covers every situation without overwhelming you with formulas.
How to Choose Your First Eyeshadow Palette
The palette aisle is overwhelming, so here is a practical buying checklist for your first (or second) palette:
Size: A 9- to 12-pan palette is the sweet spot. Large 35-pan palettes look like better value but contain shades you will never touch, and the quality per pan is often lower. A focused small palette gets used; a giant one gathers dust.
Shade range: Look for a cohesive neutral story — lights, mediums, and deeps in the same undertone family (all warm, all cool, or all neutral). Your first palette should be able to create a complete look alone: that means at least two mattes for the crease and transition, a light lid shade, and one deeper shade for the outer corner.
Matte-to-shimmer ratio: Favor palettes that are at least half matte. Mattes do the structural work (transition, crease, depth); shimmers are accents. A palette that is all shimmer cannot build a complete beginner look.
Undertone match: Check the palette against your skin undertone. Warm undertones (golden, peachy skin) suit warm browns, coppers, and bronzes. Cool undertones (pink, rosy skin) suit taupes, cool browns, and mauves. Neutral undertones can wear both. When in doubt, a neutral-toned palette is the safest first purchase.
What to avoid: palettes dominated by neon brights, heavy glitter, or pressed pigments (which stain and are harder to blend) — these are fun but frustrating as learning tools. Also be wary of palettes where every shade looks identical once swatched; shade variety you can actually see matters more than pan count.
Price reality check: excellent beginner palettes exist at every price point. Pigment quality, blendability, and fallout vary more by specific product than by price tier, so check reviews that mention those three things specifically.
How to Remove Eye Makeup Without Damaging Your Lids
The skin on your eyelids is the thinnest on your face, so removal technique matters — scrubbing causes irritation, broken lashes, and premature fine lines over time.
Use the right remover. A dual-phase (oil-and-water) eye makeup remover or a cleansing balm dissolves eyeshadow, liner, and mascara without tugging. Micellar water on a cotton pad works for light looks. Waterproof formulas need an oil-based remover; water-based products will just smear them.
The press-and-hold method. Saturate a cotton pad, press it gently over the closed eye, and hold for 15–20 seconds. This dissolves the makeup so it wipes away instead of being scrubbed off. Then sweep downward gently — never rub back and forth.
Follow with a proper cleanse. Eye makeup remover takes off the makeup; a gentle facial cleanser afterward removes the residue. Sleeping in leftover eye makeup risks clogged oil glands along the lash line and morning irritation.
Be extra gentle with the lash line. Waterproof mascara and tightlining need patience, not pressure. If residue remains after one press-and-hold, repeat rather than scrubbing. Lost lashes from aggressive removal take weeks to regrow.
Frequently Asked Questions
How many eyeshadow brushes does a beginner really need?
Three: a fluffy blending brush, a flat packing brush, and a small detail brush. These three handle placement, blending, and precision work. Everything beyond that is a nice-to-have, not a necessity.
Should beginners start with matte or shimmer eyeshadow?
Matte. Matte shades are the most forgiving — they blend smoothly, hide texture, and never look patchy. Add shimmers once basic placement and blending feel comfortable.
Why does my eyeshadow disappear after a few hours?
The most common causes are skipping primer, oily lids, and applying over moisturizer that has not fully absorbed. An eyeshadow primer plus a powder shadow set over it solves the problem for most people.
Is expensive eyeshadow better than drugstore eyeshadow?
Not necessarily. Many affordable palettes have excellent pigment and blendability, while some luxury formulas underperform. Read reviews focused on pigmentation and fallout rather than assuming price equals quality.
Can I apply eyeshadow with my fingers?
Yes — fingers work well for cream shadows, shimmers, and metallics on the lid, since body heat helps the product melt in. But brushes are better for crease work, blending, and precision, so fingers cannot fully replace them.
Eyeshadow rewards patience more than talent. Start with neutrals, prime every time, blend more than feels necessary, and build color slowly — those four habits alone will make your eye makeup look polished from the very beginning.
Love this? Pin it for later!