Holiday Updos Tutorial: Elegant Styles for Parties
Updos are the backbone of holiday hair: weather-proof, photogenic, and mostly fifteen minutes or less once you know the steps. This tutorial breaks down four party-ready updos — the low chignon, the twisted updo, the braided crown, and pinned waves — plus the securing techniques that make them last all night instead of sliding by dessert.
For choosing between updos and loose styles, prep timelines, and accessories, see the complete holiday hair styles guide.
Key Takeaways
- Day-old hair holds updos far better than freshly washed hair — plan your wash day accordingly.
- Crisscrossed bobby pins grip dramatically better than parallel pins; direction matters more than quantity.
- The low chignon is the most forgiving party updo to learn — master it first, then branch out.
- Texturizing spray or dry shampoo at the roots before you start gives fine or slippery hair the grip it needs.
- A few pearl or jeweled pins turn any of these updos into an unmistakably holiday look.
What You’ll Need: The Updo Toolkit
Every updo here uses some combination of the same basic tools — assemble them before practicing:
- Bobby pins (15-20, matching your hair color)
- U-shaped hair pins (for thick hair — they grip bulk better)
- Clear elastics (small for sectioning, one sturdy for ponytail bases)
- Texturizing spray or dry shampoo (grip for clean or fine hair)
- Hairspray (light-hold for working, flexible-hold for finishing)
- Tail comb, soft bristle brush, hand mirror
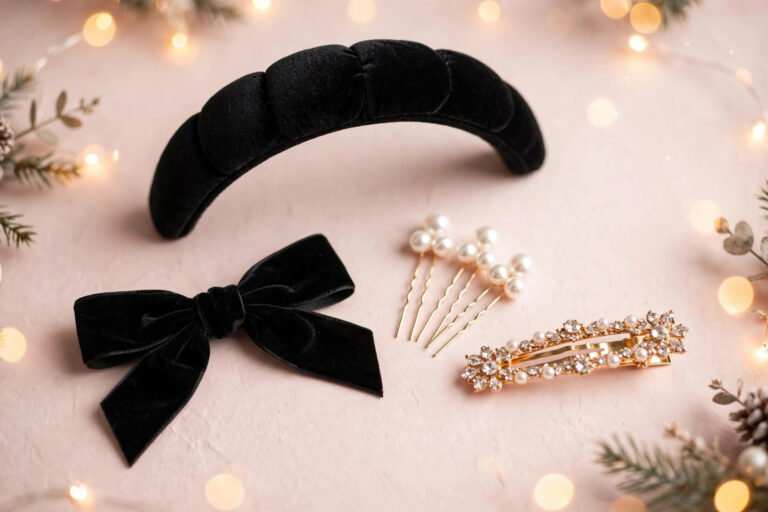
- Decorative pins or a small bow — the holiday finish (placement ideas)
Fine or slippery hair benefits from volumizing mousse on damp roots before blow-drying. If heat-styling first, check heat protectant guidance; if hair is dry and brittle, smooth serum through the ends first.
Updo 1: The Low Chignon (10 Minutes)
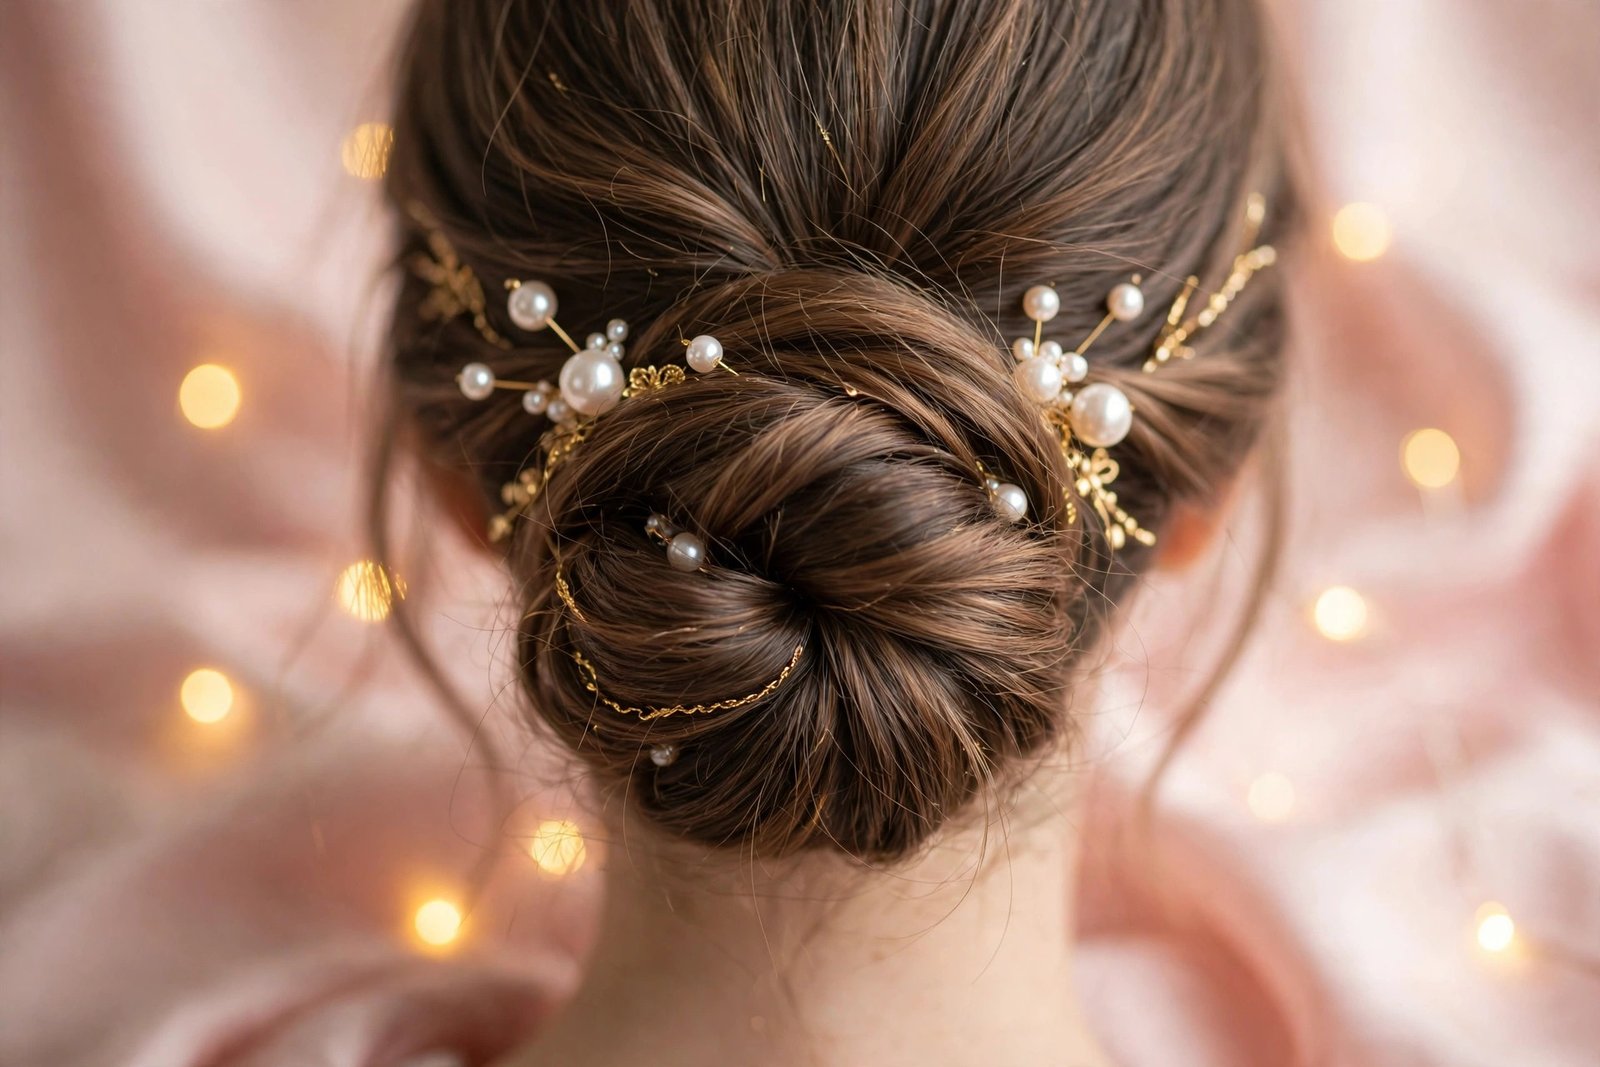
The little black dress of updos — appropriate everywhere, flattering on almost everyone, nearly impossible to mess up. If you learn one updo this season, make it this one. Best for medium to long hair.
Step 1: Prep. Start with day-old hair (texturizing spray through lengths and dry shampoo at roots if very clean or fine). Brush smooth and create your part — center for classic, deep side for drama.
Step 2: Low ponytail. Gather hair at the nape, smooth on top, and secure with a sturdy elastic. Position deliberately — slightly off-center reads modern, centered reads classic.
Step 3: Twist and wrap. Twist the ponytail loosely — tight twisting looks dated — then wrap it around the elastic base, tucking ends underneath. A slightly soft wrap looks more current than a shellacked bun.
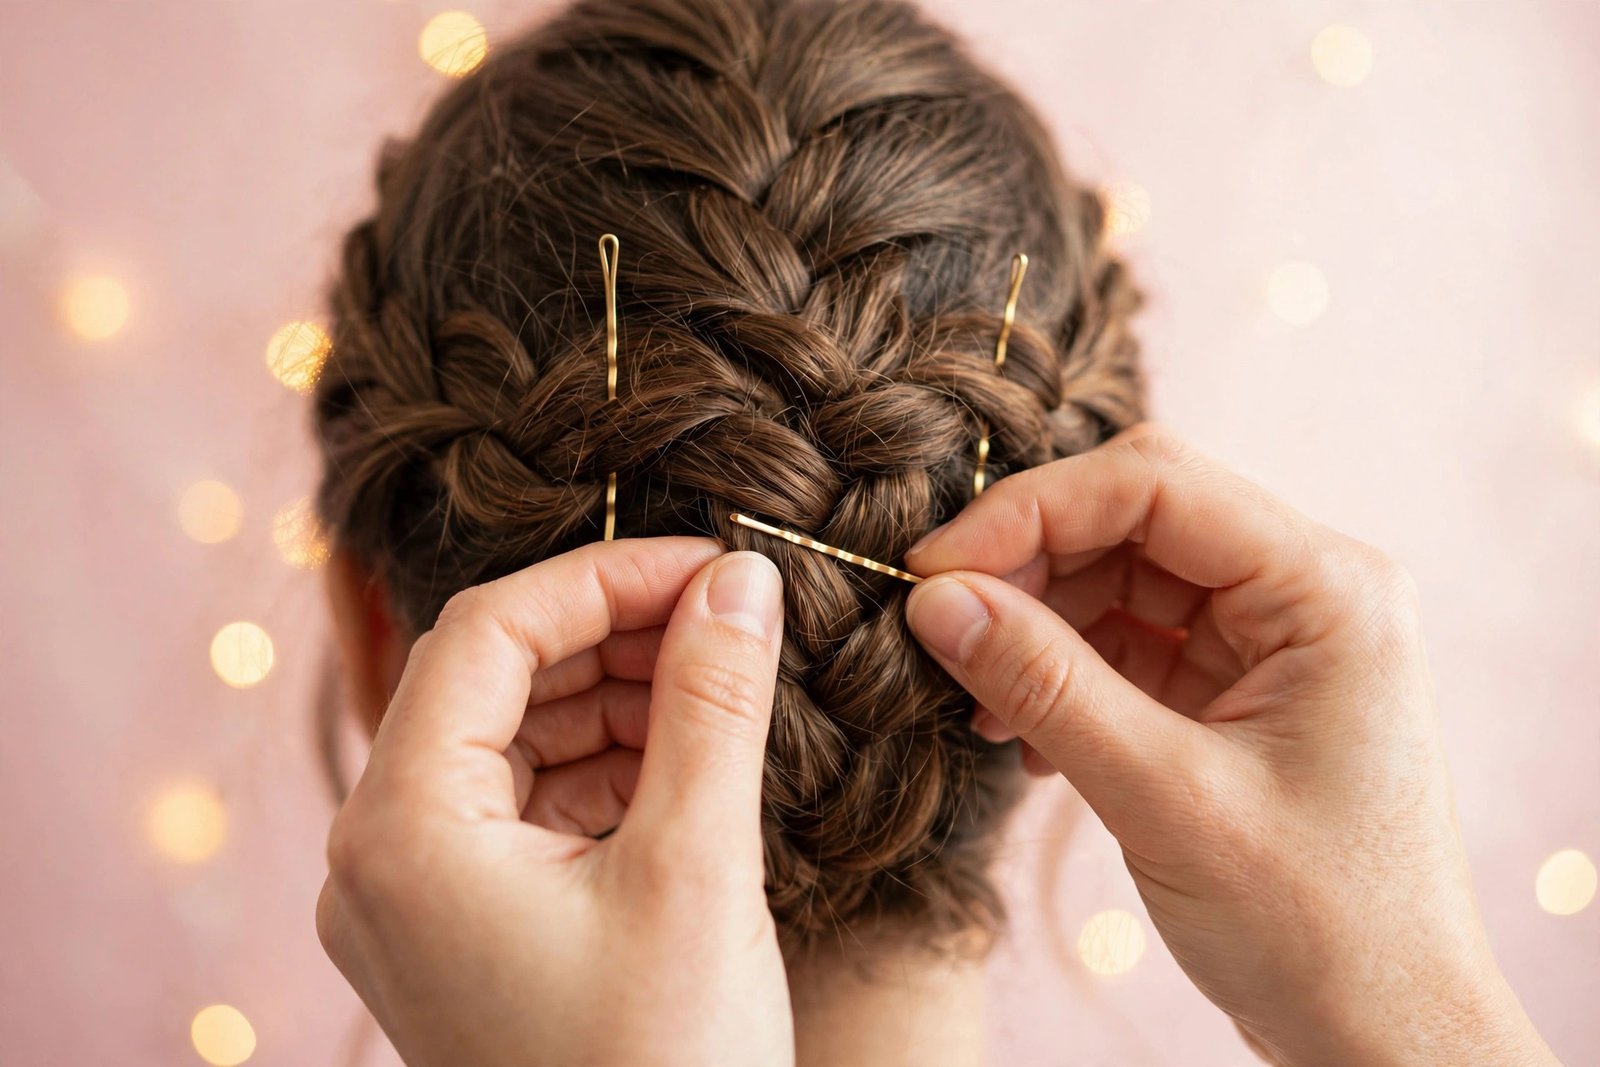
Step 4: Pin strategically. Insert bobby pins around the chignon, catching wrapped hair and scalp hair beneath. Push each pin in, then angle it back the opposite way — and place pins in opposing directions (12 and 6, 3 and 9) so they brace against each other.
Step 5: Soften and finish. Pull a few face-framing pieces loose; tug lightly at the crown for lift. Mist with flexible-hold hairspray, then scatter 2-3 pearl pins asymmetrically through the chignon.
Timing: 10 minutes once practiced; 20 for the first attempt. Holds: 6+ hours with proper pinning.
Updo 2: The Twisted Updo (15 Minutes)
Softer and more romantic than the chignon — sections twisted upward and pinned, distributing weight well. Ideal for thick or long hair, and lovely for Christmas dinner.
Step 1: Prep and part. Same prep as the chignon. Create a center or off-center part, leaving out two inch-wide face-framing sections.
Step 2: Section. Split remaining hair into 3-4 horizontal sections from nape upward; clip upper sections aside and work the lowest first.
Step 3: Twist and pin each section. Take the bottom section, twist it loosely upward, and pin flat with bobby pins in opposing directions. Repeat upward, tucking each twist just above the last — the shingle-like layering creates the soft, textured look.
Step 4: Front sections. Twist each face-framing section back away from the face and pin into the upper updo — this keeps the style from looking severe.
Step 5: Finish. Check the back — the silhouette should be soft and full. Fill gaps by gently pulling twists outward (“pancaking”), then hairspray and add holiday pins along an upper twist.
Timing: 15 minutes practiced. Holds: 5-6 hours; the layered pinning is very secure.
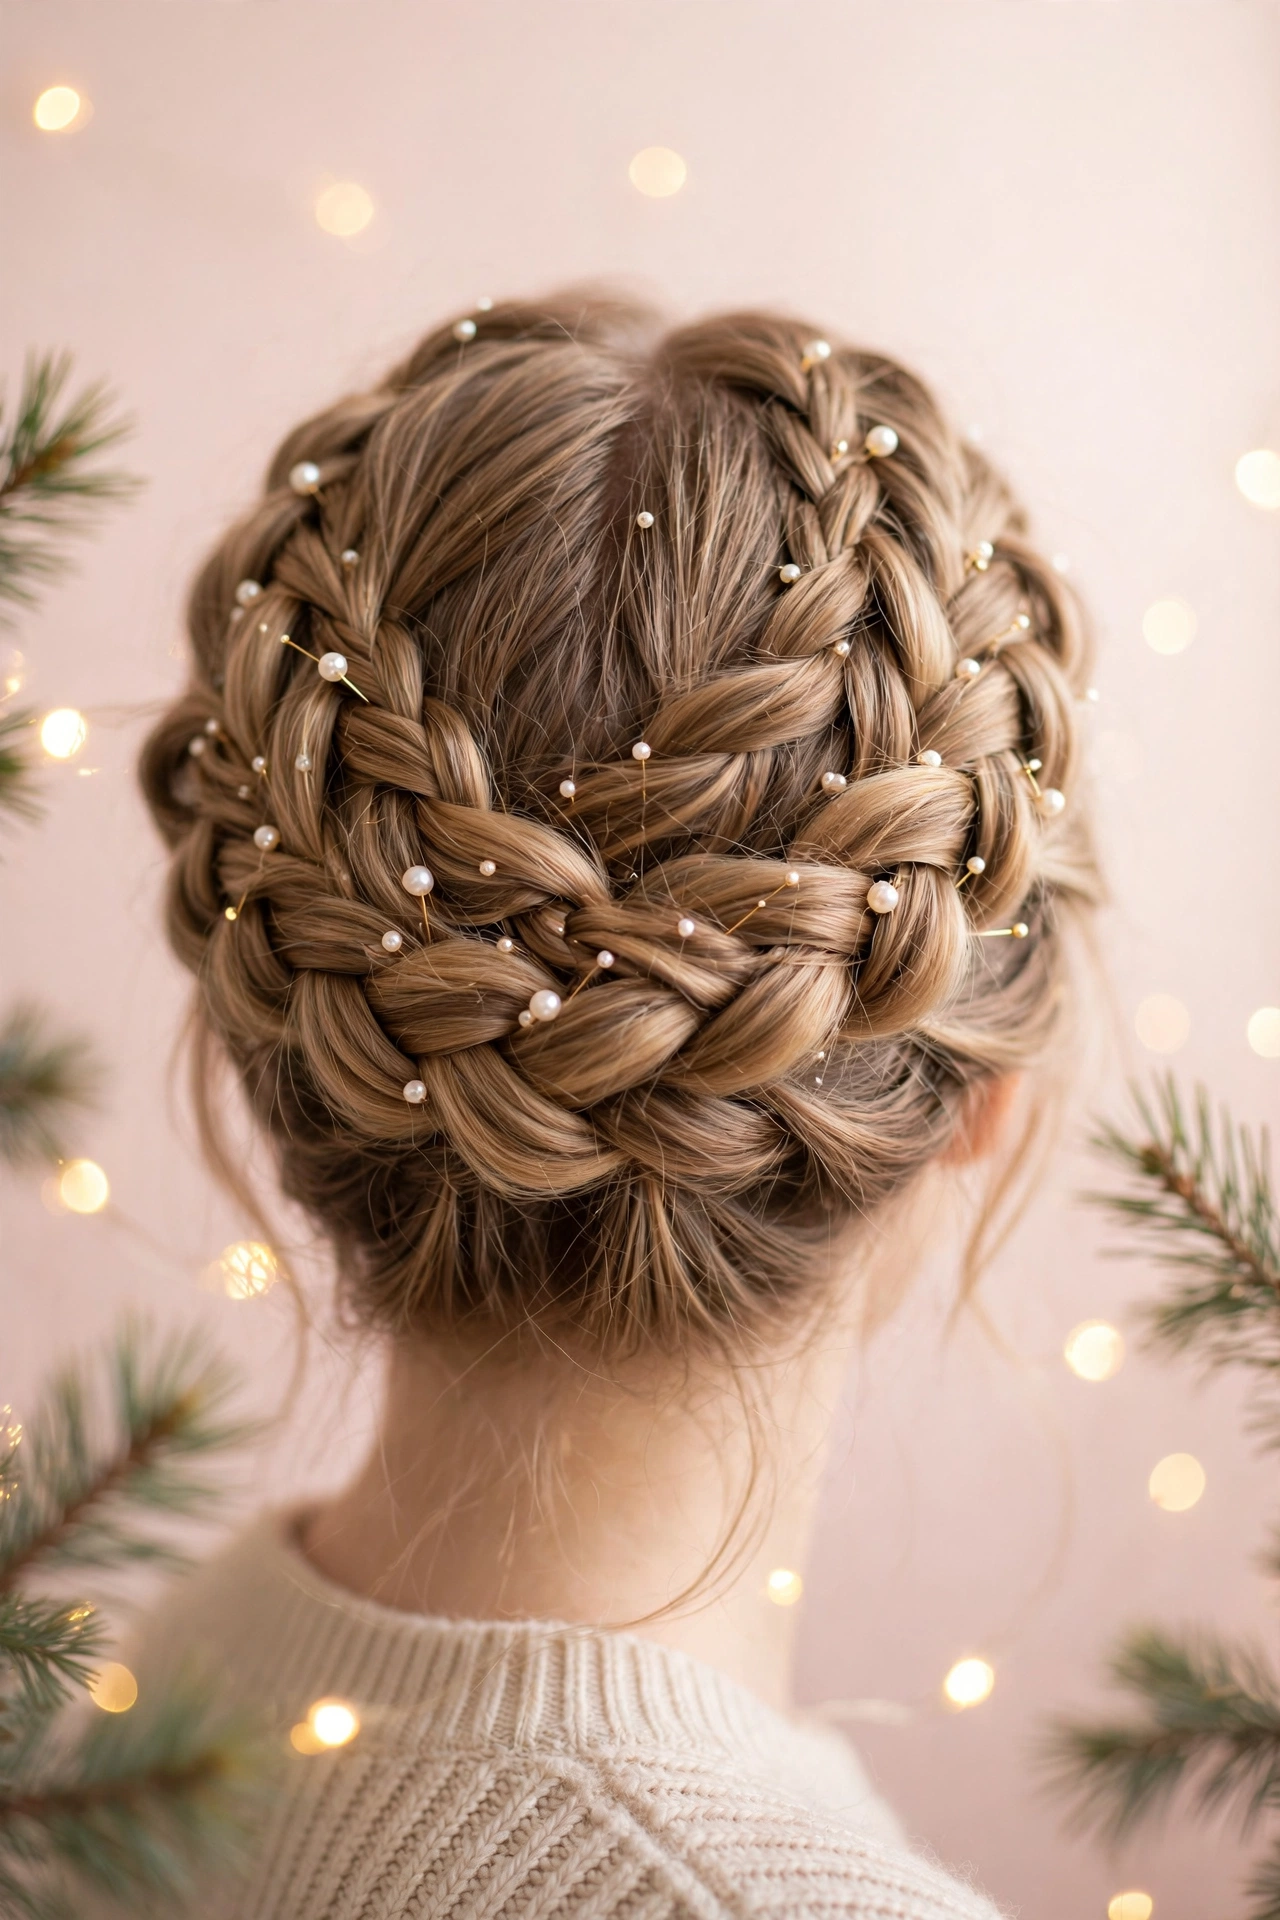
Updo 3: The Braided Crown (20 Minutes)
The showpiece: a halo braid wrapping around the head like a headband of your own hair. Festive, remarkably secure (weight distributes evenly), photogenic from every angle. Best for medium to long hair.
Step 1: Prep with grip. Braids need maximum grip — slippery hair unravels. Day-old hair is ideal; add texturizing spray if needed. Deep side part.
Step 2: Start the Dutch braid. Begin at the deep side of your part, near the temple. Dutch-braid (strands cross under, so the braid sits raised) along the hairline toward the back, adding hair from the hairline side only — this keeps the braid hugging the head like a headband.
Step 3: Continue around. Keep braiding around the back and up the other side along the hairline; when you reach the start, finish the tail as a regular three-strand braid.
Step 4: Secure and tuck. Wrap the tail along the inside of the crown, tucking the end under the braid’s start. Pin generously with bobby pins hidden inside the braid, catching scalp hair beneath.
Step 5: Soften and decorate. Gently pull the braid edges outward (pancaking) for fullness — this hides unevenness too. Mist with hairspray, then weave 3-5 pearl or jeweled pins in at irregular intervals, like a holiday wreath.
Timing: 20 minutes practiced; the first attempt may take 30. Holds: 6-8 hours — the most secure style here.
Updo 4: Pinned Waves (15 Minutes)
Updo polish with loose-hair softness: the top and sides pin back into a soft shape while lengths flow free. Very forgiving to execute.
Step 1: Create the waves. You need waves through the lengths — heat-styled or heatless overnight curls. If curls tend to fall flat, cool each section completely before pinning.
Step 2: Section the crown. Take the top section (temple to temple, back to the crown), tease the underside lightly for lift, and smooth the top layer over it.
Step 3: Twist and pin. Twist the crown section loosely once or twice and pin it at the back of the crown with crisscrossed bobby pins — the twist creates volume, the crisscross locks it.
Step 4: Pin back the sides. Twist a section from each side back and pin where they meet, overlapping the crown pins.
Step 5: Finish. Tousle the waves, mist with flexible-hold spray, and add one statement accessory where the twists meet — a velvet bow, jeweled barrette, or pearl-pin cluster. That single accessory is what reads “holiday” instead of “everyday.”
Timing: 15 minutes (plus whatever your wave method takes). Holds: 4-5 hours; the loose lengths will relax, which is part of the look.
Securing Tips: Making Any Updo Last
What makes an updo survive the night is almost entirely the securing — not the style.
Pin direction beats pin quantity. Ten pins all pointing the same way hold worse than five pins in opposing directions. Always crisscross: for every pin going up, place one going down nearby. The pins brace against each other and against the hair’s natural movement.
Anchor to the scalp. Every structural pin should catch scalp hair beneath the style — that’s the anchor. Decorative pins can sit in the style itself.
Weave, don’t stab. Push the pin along the scalp for an inch, then reverse direction — the wavy side faces down. This weaving motion grips far better than pushing straight in.
Build grip before you start. If your hair is fine, clean, or slippery, no amount of pinning technique fully compensates. Texturizing spray, dry shampoo at the roots, or a light mousse blow-dried in beforehand gives pins something to hold. This single prep step prevents most updo failures. And if you’re wearing the style into a second day, sleeping on a silk pillowcase reduces the friction that loosens pins overnight.
U-pins for bulk. Standard bobby pins struggle with very thick hair — they spring open under the weight. U-shaped hair pins (the kind that look like a wide “U”) hold bulky sections without springing, and they’re nearly invisible. If your updos always feel precarious, switching pin type may solve it entirely.
The two-mirror check. Check the back with a hand mirror: push in any visible pins, even out lopsided shape by gently pulling the flat side, and either pin in stragglers or pull them out as deliberate face-framers.
Frequently Asked Questions
Which holiday updo is easiest for beginners?
The low chignon: one ponytail, one twist, some pins. No braiding, no sectioning, and mistakes look intentional. Practice twice and you’ll have it.
Why does my updo always fall apart within a few hours?
Three usual causes: freshly washed slippery hair, pins all pointing the same direction, and pins anchored to styled hair instead of the scalp. Fix those three and most updos double their lifespan.
Can I do an updo on short hair?
Chin-length and shorter hair can’t do a true chignon, but pinned-back styles with jeweled pins, twisted side sections pinned at the back, and accessory-led looks (headbands, decorative clips) all work beautifully. The pinned-waves concept in this tutorial adapts well — just pin smaller sections.
Should I use hairspray before or after pinning?
Both, lightly — working spray before for grip, flexible-hold finishing spray after for hold. Heavy spraying before pinning gums up the pins.
How do I hide bobby pins in an updo?
Match pins to your hair color, push them fully into the style so only the very tip (if anything) shows, and angle them so they follow the direction of the hair around them. Any pin that still peeks out can be covered by gently pulling a small section of hair over it — or replaced with a decorative pin, which is supposed to be seen.
Updos reward practice more than talent. Run through your style once or twice the week before — not the day of. Pick your style, pin with intention, add something sparkly, and enjoy being the person whose hair still looks perfect at midnight.
Love this? Pin it for later!