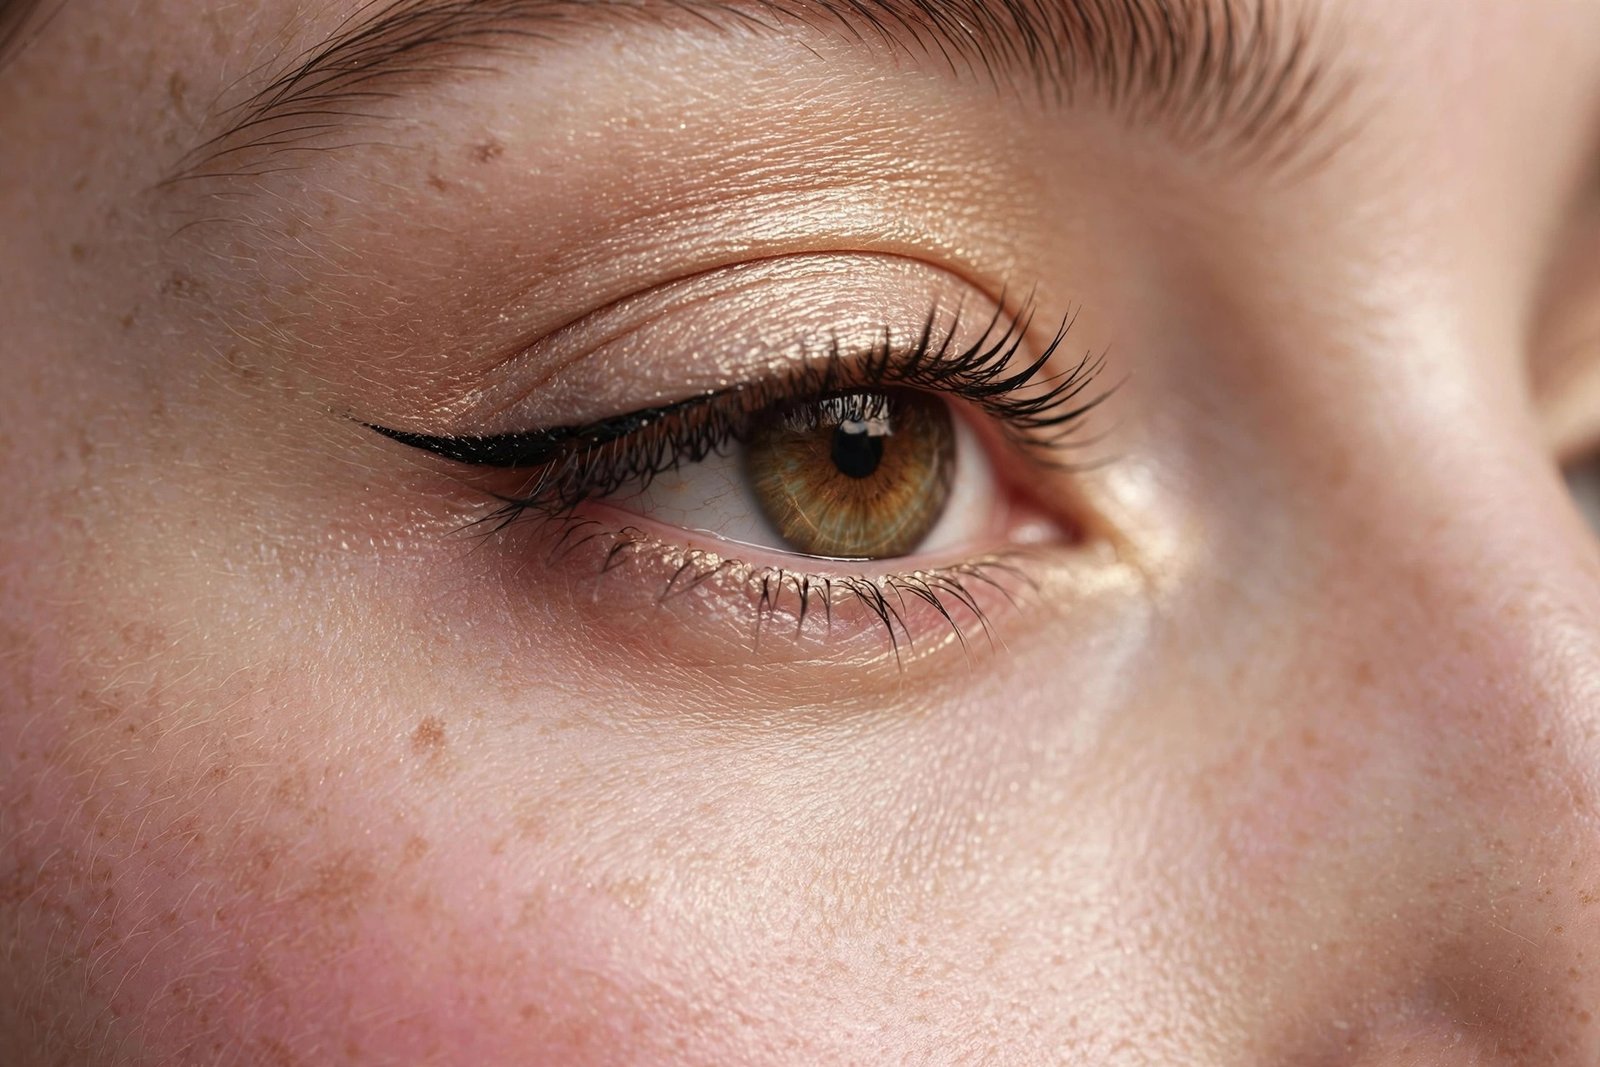
Eye Makeup for Different Eye Shapes: The Full Guide
The same eyeshadow look can appear stunning on one person and completely disappear on another — and the difference is almost always eye shape. A cut crease that looks dramatic on deep-set eyes vanishes under a hooded lid; a thick wing that flatters almond eyes can drag downturned eyes down. Eye makeup isn’t one-size-fits-all, and once you understand your shape, every look gets easier. This guide covers how to identify your eye shape and the exact placement tricks that flatter each one.
Key Takeaways
- Find your shape first: look straight into a mirror and note your lid space, crease visibility, eye corners, and how far apart your eyes sit.
- Most people have a combination (e.g., hooded + downturned) — apply the techniques for each trait together.
- Hooded and monolid eyes: keep the eye open and look straight ahead when applying; place color higher than feels natural.
- Deep-set eyes: light, shimmery shades on the lid bring eyes forward; avoid heavy dark color in the crease.
- Downturned eyes: lift with upward wing placement and brighter inner corners; avoid dragging liner downward at the outer corner.
- Close-set vs wide-set eyes: it’s all about where you concentrate color — inner third vs outer third.
How to Identify Your Eye Shape
Stand in front of a mirror, look straight ahead with a relaxed, neutral expression, and work through these checks:
1. Do you see a visible crease? If there’s little to no visible crease and the lid looks like one smooth surface, you likely have monolid eyes. If a fold of skin covers most of your mobile lid when your eyes are open, you have hooded eyes.
2. How deep do your eyes sit? Look at your profile. If your eyes sit noticeably back under a prominent brow bone, they’re deep-set. If the brow bone is less prominent and the lid area is flatter, they’re more standard or slightly prominent.
3. Check your outer corners. Imagine a horizontal line through the inner corner. If the outer corner sits below that line, your eyes are downturned. If it sits above, they’re upturned. If the corners are roughly level with a gently tapered shape, you have almond eyes.
4. How round are they? If you can see white above or below the iris when looking straight ahead, your eyes are round/prominent rather than almond.
5. Measure the spacing. Hold up one eye’s width as a unit: if the gap between your eyes is less than one eye-width, they’re close-set; more than one eye-width, wide-set; about one eye-width, average spacing.
Write down every trait that applies — most people land on two or three. Each section below is self-contained, so read the ones that match you.
Universal Rules for Every Eye Shape
Before the shape-specific tricks, a few principles that flatter everyone:
- Blend upward and outward, never downward — gravity already does enough.
- Mascara opens every eye shape. Even on no-shadow days, curled lashes and one coat of mascara make eyes look more awake.
- Match intensity to the occasion, not the shape. Your shape determines placement; your plans determine how much.
- Primer is non-negotiable for hooded, monolid, and oily lids — without it, shadow migrates into the crease within hours.
- Step back from the mirror. Eye makeup is viewed from conversational distance; check the overall effect, not just one eye at 6 inches.
Hooded Eyes: Make the Lid Space You Have Work Harder
Hooded eyes have a fold of skin that covers part or all of the mobile lid when the eye is open. This is extremely common — and the shape where standard tutorials fail most often, because color placed on the lid simply disappears.
The core technique: apply with eyes open, looking straight ahead. Place your transition shade above the natural crease, on the hood itself — higher than feels natural. This creates the illusion of a higher, more defined crease and keeps color visible when your eyes are open.
What works:
– Matte transition shades swept through and slightly above the crease to sculpt definition
– A slightly deeper shade on the outer V to add dimension that survives the fold
– Tightlining (filling the upper waterline) instead of thick liner on the lid — it defines the lash line without eating lid space
– Shimmer placed on the center of the lid, kept below the hood fold so it peeks through when you blink
What to avoid:
– Thick eyeliner on the lid — it consumes the little visible lid space you have
– Dark, heavy color across the whole lid — it can make hooded eyes look smaller and heavier
– Cut creases drawn at the natural crease — they’ll be hidden; draw them above it if you want the effect visible
Keep reading: shadow shades that flatter hooded lids
Monolid Eyes: Definition Without a Crease
Monolid eyes have a smooth lid surface with no visible crease — common in East Asian heritage and beautiful in its own right. The classic Western tutorial structure (crease color, lid color, brow bone highlight) doesn’t map onto this shape, so monolid makeup uses a different geometry: vertical gradients.
The core technique: build color from dark at the lash line to light toward the brow. Apply the darkest shade tight against the upper lashes, then blend upward and outward into progressively lighter shades. This gradient creates depth and dimension where there’s no natural crease to do it for you.
What works:
– Gradient eyeshadow (sometimes called the “horizontal gradient” in K-beauty) — dark to light, lash line to brow
– Eyeliner with a slightly thicker line and a small upward flick — liner is highly visible on monolids and defines the eye beautifully
– Shimmer or a light shade at the inner corner to open the eye
– Lower-lash definition — a soft smudge of shadow along the lower lash line balances the look
– Puppy liner (a downward-angled wing) for a soft, youthful effect, or a classic wing for drama
What to avoid:
– Trying to “create” a crease with a harsh line — it usually looks unnatural; gradients look better
– Very dark all-over lids without blending upward — can look heavy rather than defined
Keep reading: the full beginner routine for monolids
Deep-Set Eyes: Bring Them Forward
Deep-set eyes sit further back under a prominent brow bone. They’re often naturally dramatic, but heavy makeup can push them visually further back, making them look shadowed or sunken.
The core technique: light and brightness on the lid, restraint in the crease. Shimmery or satin light shades across the mobile lid catch light and pull the eye forward. Keep crease color soft and blended — deep, harsh crease contouring exaggerates the depth.
What works:
– Light, luminous shades on the lid (champagne, peach, soft gold)
– A bright inner corner — one of the highest-impact tricks for deep-set eyes
– Well-blended, medium-depth transition shades rather than dark crease carving
– Defined lashes — mascara and curled lashes bring focus forward to the eye itself
– Liner close to the lash line; a moderate wing is fine
What to avoid:
– Dark matte shadow packed into the crease — it deepens the socket look
– Heavy smoky eyes without a light lid base — can look bruised rather than sultry
– Skipping brow bone highlight — a soft highlight under the brow balances the prominent bone
Keep reading: detailed placement for deep-set eyes
Downturned Eyes: Lift Everything Up
Downturned eyes have outer corners that sit lower than the inner corners. The goal is simple: create lift — every line and blend direction should travel upward at the outer third.
The core technique: the upward wing. Whether you use liner, shadow, or both, angle the outer corner upward. For eyeliner, draw the wing from the outer corner angled toward the end of the brow — this single line does most of the lifting work. For shadow, concentrate the deepest color at the outer corner and blend it up and out, never down.
What works:
– Winged liner angled upward (even a small wing transforms downturned eyes)
– Tightlining the upper waterline for definition without downward weight
– Bright, light shadow at the inner corner and along the inner third of the lid
– Highlighting under the outer half of the brow to enhance the lifted effect
– Keeping the lower lash line light — heavy lower liner drags the eye down
What to avoid:
– Thick liner that follows the lash line straight out or downward at the corners — it emphasizes the downturn
– Dark shadow smudged below the outer corner
– “Puppy liner” (downward wings) — flattering on some shapes, counterproductive here
Keep reading: eyeliner tricks built for downturned eyes
Close-Set Eyes: Create the Illusion of Space
Close-set eyes sit less than one eye-width apart. The strategy: keep the inner corners light and push visual weight outward.
- Light, bright shadow and a touch of highlight at the inner corners — this visually pushes the eyes apart
- Concentrate darker shades on the outer third of the lid and blend outward
- Extend liner and wings slightly outward past the outer corner
- Avoid dark shadow at the inner corner or a harsh inner-corner liner start — it pulls the eyes visually closer together
- Brows matter here too: avoid over-extending the inner brow toward the nose
Wide-Set Eyes: Draw Focus Inward
Wide-set eyes sit more than one eye-width apart — the mirror strategy: concentrate depth at the inner third.
- Apply deeper shadow at the inner corner and inner third of the lid, blending inward
- Start eyeliner right at the inner corner (even slightly into it) rather than mid-lid
- Keep the outer corners softer — heavy outer wings exaggerate the spacing
- A subtle smoky effect at the inner corner works beautifully on this shape
Keep reading: balancing close-set vs wide-set spacing
Upturned Eyes: The Natural Cat-Eye
Upturned eyes have outer corners that lift above the inner corners — essentially a built-in cat-eye shape. Lucky you: most people draw wings trying to achieve what you have naturally.
- A thin liner along the lash line with a minimal wing enhances what’s already there — you need less wing than you think
- Smoky lower-lash definition balances the upward outer corners
- Avoid over-exaggerating the lift with dramatic upward wings unless you want a very dramatic effect — it can look costume-like fast
- Darker shadow at the outer corner blended slightly downward (the one shape where a touch of downward blending balances things)
Almond Eyes: The Versatile Shape
Almond eyes — tapered at both corners, roughly symmetrical, with the iris touching both lids — suit nearly every technique. If this is you, the guide above is mostly optional reading; your main job is choosing looks you like.
- Classic winged liner, cut creases, smoky eyes — all fair game
- Use the spacing and depth checks above (close/wide-set, deep-set) to fine-tune, since almond eyes can pair with any of those traits
- The most common mistake on almond eyes is over-application — because everything “works,” it’s easy to pile on too much
Round and Prominent Eyes: Add Length
Round eyes show white above or below the iris; prominent eyes project forward. The flattering move for both: elongate.
- Extend shadow and liner horizontally past the outer corner to add length and balance roundness
- Smoky, winged, and elongated shapes all work — anything that stretches the eye outward
- Avoid very round, halo-style placement (light center, dark all around) without elongation — it emphasizes the circular shape
- Tightlining plus a wing is a particularly flattering combo here
Eyeshadow Placement Map by Eye Shape
| Eye shape | Lid color | Crease / transition | Liner approach | Inner corner |
|---|---|---|---|---|
| Hooded | Medium matte, placed high | Above natural crease, on the hood | Tightline; thin line | Light shimmer |
| Monolid | Vertical gradient (dark→light) | Blend upward, no harsh crease line | Visible line, small flick | Light shimmer |
| Deep-set | Light, luminous | Soft, medium-depth only | Close to lash line | Bright highlight |
| Downturned | Light inner, deeper outer | Blend up and out | Upward-angled wing | Bright and light |
| Upturned | Balanced | Slight downward blend at outer | Thin line, minimal wing | Neutral |
| Almond | Any | Standard placement | Any style | Optional |
| Round/prominent | Elongated outward | Stretch past outer corner | Winged, extended | Light |
| Close-set | Light inner third | Darker on outer third | Extend outward | Bright highlight |
| Wide-set | Deeper inner third | Blend inward | Start at inner corner | Soft, not bright |
Tools That Make Shape-Specific Makeup Easier
- A small, precise blending brush — shape work lives or dies on blending; a brush that’s too big muddies the placement
- An angled liner brush — for drawing upward wings on downturned eyes or tightlining hooded eyes
- Eyeshadow primer — essential for hooded and monolid eyes where transfer is the main enemy
- A clean spoolie or fluffy brush — for softening edges; harsh lines rarely flatter any shape
- Good lighting and a hand mirror — apply hooded-eye shadow with eyes open, which means watching yourself straight-on, not looking down into a vanity mirror
Common Mistakes by Eye Shape
- Hooded: applying with eyes closed and being shocked the color vanished when you opened them. Always check with eyes open.
- Monolid: copying crease-based tutorials literally instead of translating them into gradients.
- Deep-set: packing dark matte shadow into the crease “for definition” — it reads as shadow, not structure.
- Downturned: letting liner follow the natural lash line downward at the outer corner, which spotlights the downturn.
- Close-set: starting dark shadow at the inner corner, which visually squeezes the eyes together.
- Everyone: judging the look with one eye closed at close range. Step back, both eyes open, normal distance.
Frequently Asked Questions
Can I have more than one eye shape?
Almost everyone does. Hooded + downturned, deep-set + close-set, monolid + upturned — combinations are the norm. Read each matching section and layer the techniques: apply the hooded placement rules and the downturned liner rules together, for example.
Does eye shape change with age?
It can. Lids can become more hooded with age as skin loses elasticity, and eyes can appear more deep-set. Revisit your shape every few years — the techniques that flattered you at 25 may need adjusting at 45. That’s normal, not a problem.
What’s the single most flattering trick for hooded eyes?
Applying shadow with your eyes open and placing the transition shade above the natural crease. It sounds small, but it’s the difference between makeup that disappears and makeup that actually shows.
Should I still follow trends that don’t suit my eye shape?
Adapt them. Love the cut-crease trend but have hooded eyes? Draw the cut above your natural crease. Want a smoky eye with deep-set eyes? Keep the lid light and smoke only the outer corner. Trends are starting points, not prescriptions.
How do I do eyeliner if my hands aren’t steady?
Rest your elbow on a table, look down into a hand mirror (for lid liner) or straight ahead (for wings), and draw in short connecting strokes rather than one continuous line. A slightly imperfect line that’s well-placed for your shape beats a perfect line in the wrong spot.
The Bottom Line
Eye makeup gets dramatically easier once you stop fighting your shape and start working with it. Identify your traits — lid space, crease, corner direction, spacing — then place color where your specific geometry needs it: higher for hooded eyes, gradient for monolids, light and bright for deep-set, lifted for downturned. Your eye shape isn’t a limitation to correct; it’s the map that tells you exactly where the makeup goes.
Love this? Pin it for later!