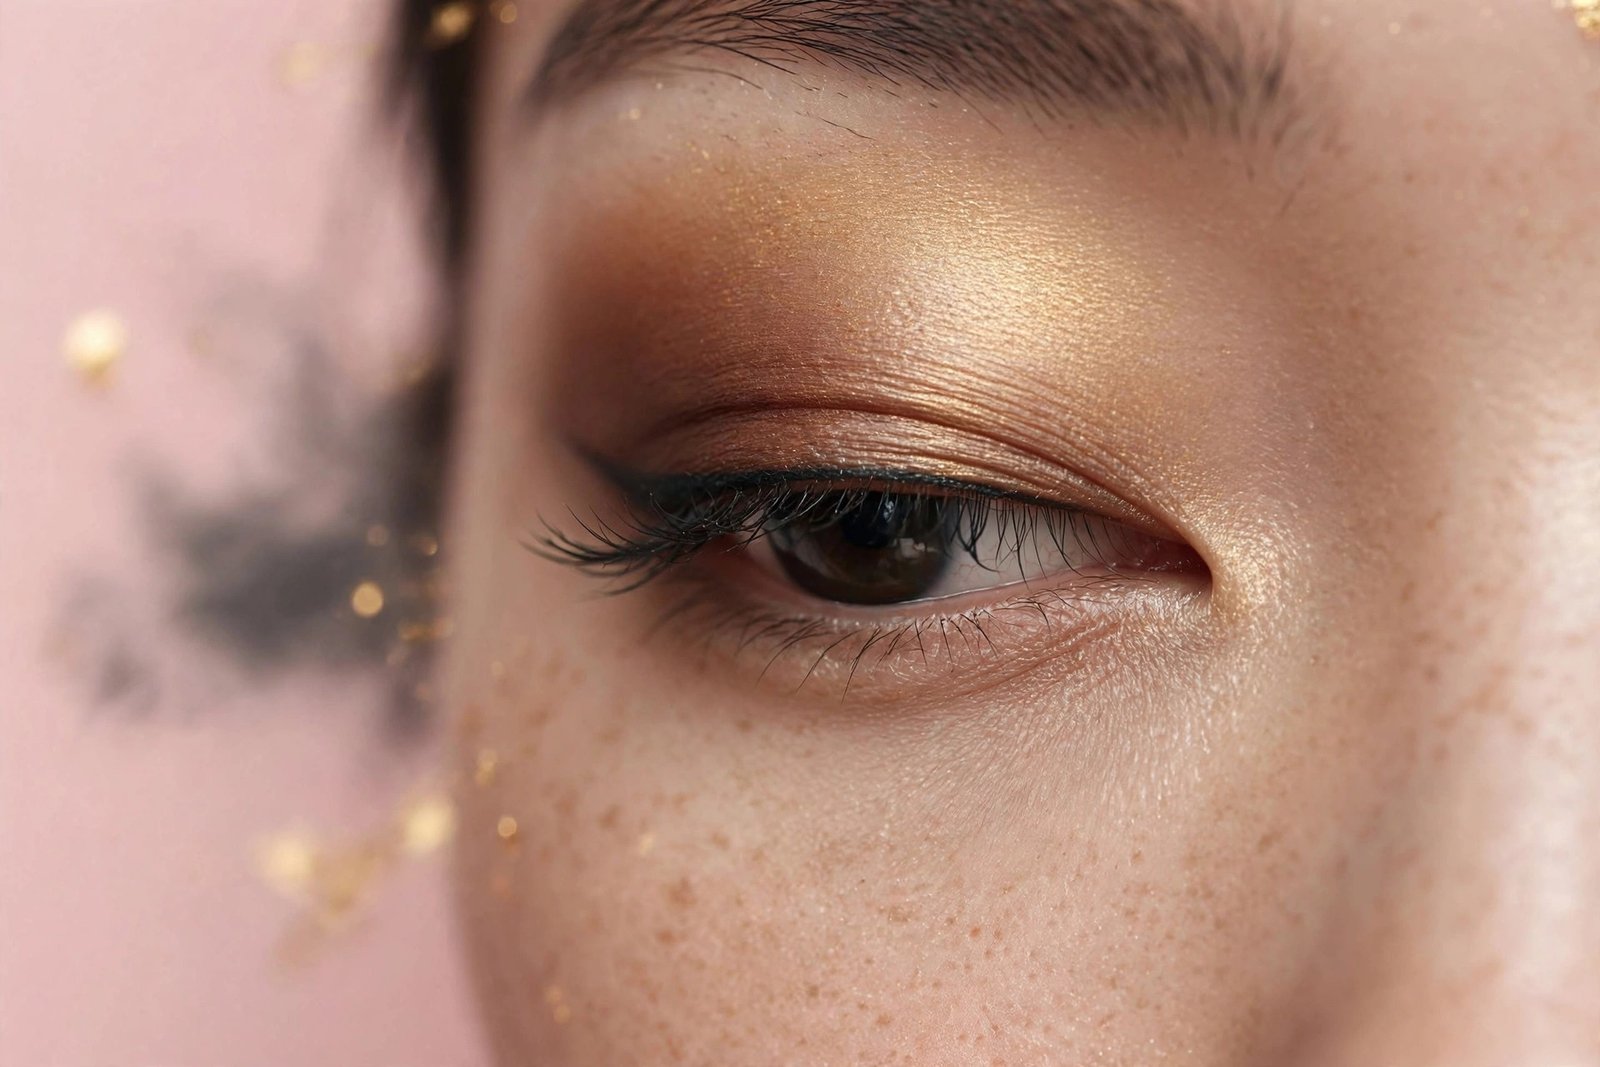
Monolid Eye Makeup Tutorial: Beginner-Friendly Steps
If you have monolid eyes, you have probably followed a beautiful eyeshadow tutorial step by step, opened your eyes at the end — and watched the entire look vanish. That is not your fault. Most eye makeup tutorials are designed for eyes with a visible crease, and monolid eyes work by completely different rules. The good news: once you learn the monolid-specific playbook, you can create defined, dimensional, gorgeous eye looks that actually show up when your eyes are open. This full eye-shape guide tutorial breaks down beginner-friendly steps for lid definition, gradient shadow, and liner tricks that make monolids pop — no crease required.
Key Takeaways
- Monolid eyes have a smooth lid surface with no visible crease, so all definition must be built on the lid itself, not “in the crease.”
- A long-wear primer and light setting layer are essential — monolid skin tends to be oilier at the lash line, causing smudging.
- Tightlining (lining the upper waterline) is the single highest-impact beginner step for instant definition.
- Build eyeshadow in a horizontal gradient: darkest at the lash line, fading lighter toward the brow bone.
- Eyeliner needs to be thicker than you think — roughly a third of your visible lid — to read as liner when eyes are open.
- Shimmer placed at the center of the lid creates the illusion of roundness and dimension on a flat lid surface.
Why Monolid Eyes Need a Different Playbook
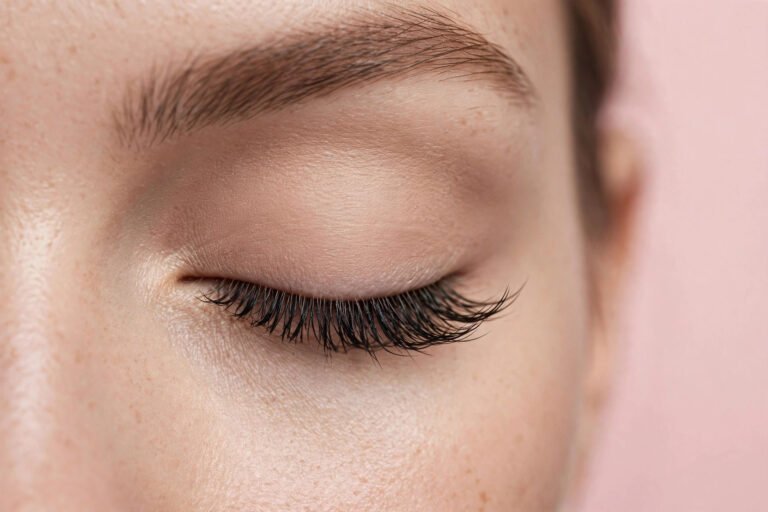
A monolid eye has a lid that runs smoothly from lash line to brow bone with no natural fold. This shape is common among people of East Asian descent but appears across all ethnicities. Because there is no crease to place transition or outer-corner color into, the classic tutorial structure — transition shade in the crease, deeper shade in the outer V, shimmer on the lid — simply has nowhere to land.
The biggest mindset shift is this: on monolid eyes, you check your work with your eyes OPEN. A look that seems bold in the mirror with closed eyes can disappear entirely when you open them, because the lid skin folds over and swallows detail near the lash line. Professional makeup artists who work with monolid eyes do most of their blending and all of their liner work with the model looking straight ahead into the mirror. Build that habit from day one, and you will avoid the number-one beginner frustration: the disappearing eye look.
Start With a Smudge-Proof Base
Monolid eyes sit closer to the lash line skin, and that skin tends to produce more oil through the day. Without a proper base, liner migrates onto the lid and shadow creases within hours. Preparation is not optional here — it is the step that makes everything else work.
Prime for Oil Control
Apply an eyeshadow primer (not face primer) from the lash line all the way up to the brow bone. Use a thin, even layer — a rice-grain amount per eye — and let it set for about thirty seconds before adding shadow. If your lids are very oily, look for primers marketed as mattifying or long-wear; cream and liquid primers grip better than dry powder ones. A common beginner mistake is skipping primer because “my shadow looks fine at first.” Judge primer by hour six, not minute one.
Set With a Light Veil
After primer, press a small amount of translucent setting powder or a skin-toned matte eyeshadow over the whole lid with a flat brush. This creates a dry, even canvas that lets colored shadows blend instead of grabbing onto sticky primer in patches. If you are learning blending basics, this step pairs well with the fundamentals in this eyeshadow basics for beginners.
Step 1: Tightline to Define Without Eating Lid Space
Tightlining means filling in the upper waterline — the strip of skin right between your lashes and your eyeball — with eyeliner. On monolid eyes, this is genuinely the most impactful beginner technique, and it takes about sixty seconds per eye.
Why it works so well: tightlining darkens the base of your lashes, making them look instantly thicker and your eyes more defined, without using up any visible lid space. Since monolids have limited visible lid to begin with, techniques that add definition without consuming real estate are gold.
How to do it: use a waterproof pencil or a gel liner on a small flat brush. Gently lift the lid from above with a clean finger, look down into a mirror, and dot or wiggle the liner into the waterline between the lashes. Short, gentle strokes beat one long drag. Waterproof formula matters — the waterline is wet, and regular pencil will be gone by lunch. If tightlining feels intimidating at first, the liner fundamentals in this beginner eyeliner guide walk through pencil control step by step.
Step 2: Build a Gradient Shadow (Your Crease Substitute)
Without a natural crease, you create depth with a gradient: darkest color hugging the lash line, fading progressively lighter as you move up toward the brow bone. This horizontal banding is the core monolid shadow technique, and it looks striking on every skin tone.
The Horizontal Gradient
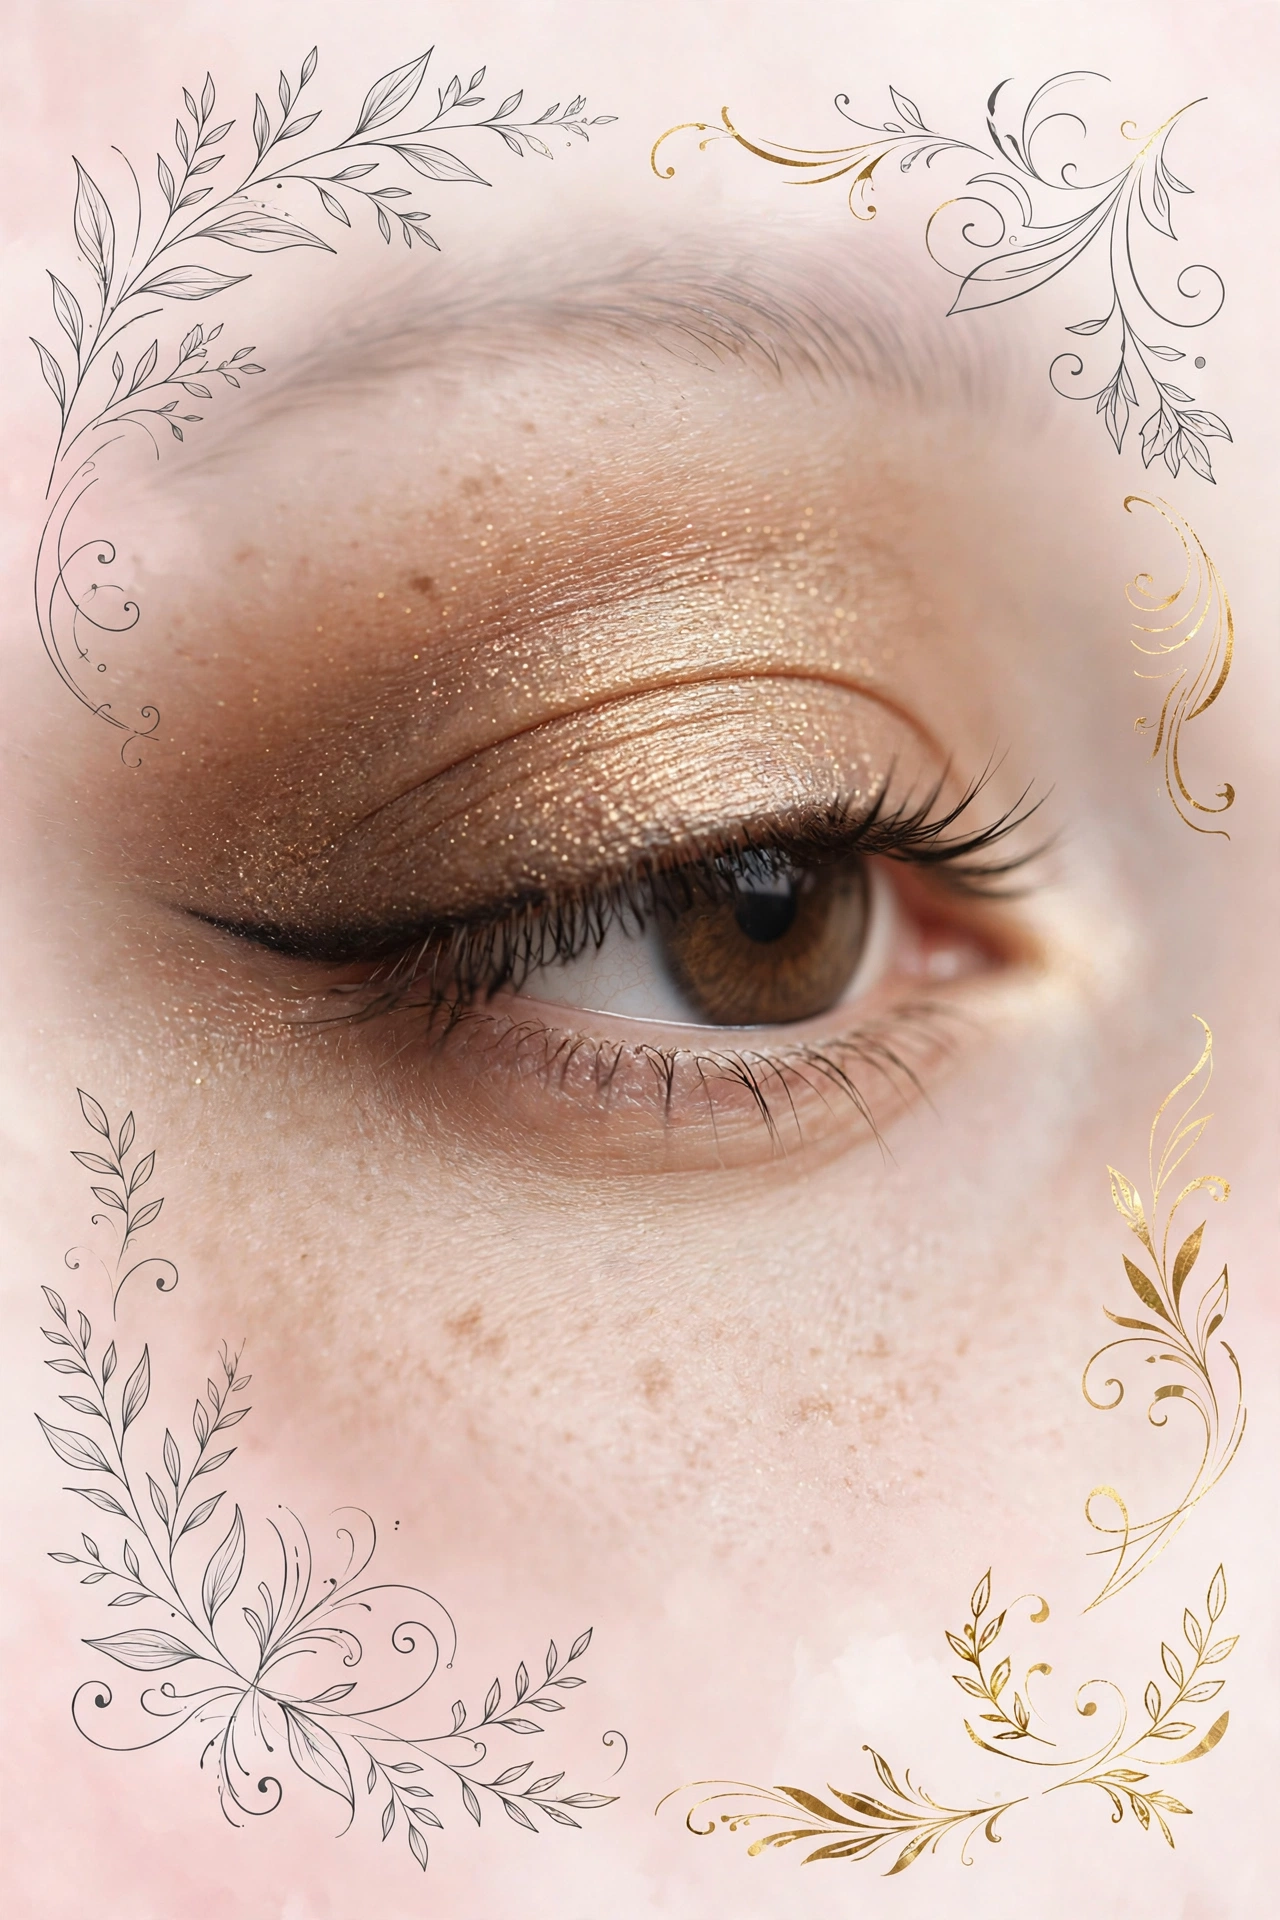
Start with a medium matte shade — a warm brown, soft taupe, or muted rose depending on your undertone — and sweep it across the entire mobile lid (the part of the lid that moves when you blink). Then take a deeper matte shade and press it along the lash line, blending upward into the medium shade so there is no harsh line. Finally, blend a light matte or satin shade from the middle of the lid up toward the brow bone to soften the top edge. Check with eyes open: you should see a smooth fade from dark (bottom) to light (top). That fade is doing the job a crease does on other eye shapes — it gives the eye dimension.
The “Floating” Outer V
For more drama, place your deepest shade in an outer V shape — but position it higher than you think. On creased eyes the V sits in the crease; on monolids, draw it so the V’s point sits slightly above where a crease would be, visible when your eyes are open. Use a small, dense brush, place the color, then blend the edges softly. This creates a lifted, winged-shadow effect that reads beautifully in photos.
Shimmer Goes Center, Not Inner Corner
A dab of shimmer or metallic shadow pressed onto the center of the lid (directly over the pupil, with eyes open) catches light and creates the illusion of a rounder, more dimensional eye. On monolid eyes this center highlight does more work than the traditional inner-corner highlight, which can get lost in the lid fold. Use a fingertip or a flat brush to press — never sweep — shimmer, so the pigment stays concentrated.
Step 3: Liner That Shows Up With Eyes Open
Standard thin liner disappears on monolids the moment you open your eyes. The fix is simple but feels counterintuitive to beginners: go thicker.
Thicker Than You Think
Draw your liner line about two to three millimeters thick at minimum — roughly a third of your visible lid height. Draw it with eyes open, looking straight into the mirror, so you can see exactly how much of the line survives. Many beginners draw a beautiful thin line, open their eyes, and see nothing. A thicker line also gives you room to wing it.
Floating Liner for a Modern Look
Floating liner — a graphic line drawn above the natural lash line, in the space where a crease would be — is practically made for monolid eyes. With eyes open and looking straight ahead, draw a clean line (liquid or gel) across the lid, roughly parallel to the lash line but floating above it. It reads as bold, editorial, and intentional, and it never gets swallowed by the lid. Start with black or deep brown; once you are comfortable, colored floating liner is a fun way to play.
Puppy Eyeliner for a Softer Effect
If sharp wings feel too harsh, try puppy eyeliner: instead of flicking the wing upward at the outer corner, follow the natural downward slope of the eye and extend the line slightly down and out. This Korean beauty staple gives a soft, doe-eyed effect that suits monolids beautifully and is far more forgiving for shaky hands than a classic cat eye.
Step 4: Finish With Lashes and Lower-Lid Detail
Curl and Lift
Curl your lashes before mascara — on monolid eyes, lashes often point straight down or forward, and curling opens up the whole eye. Heat the curler slightly with a hair dryer (test on your wrist first) or just pump at the base, middle, and tips. A waterproof mascara holds the curl better through the day, since lid oil can drag a regular formula down by afternoon.
Do Not Neglect the Lower Lid
A little definition on the lower lash line balances the whole look. Smudge a small amount of your medium shadow shade along the outer two-thirds of the lower lash line with a pencil brush — never a harsh line all the way across, which can make eyes look smaller. Some makeup artists also add a touch of shimmer to the center of the lower lid (the “aegyo-sal” highlight popular in Korean beauty) to brighten and widen the eye area.
Two Beginner Looks to Try This Week
Everyday soft definition: Primer, skin-tone set, one medium matte brown swept across the lid, tightline with waterproof black pencil, one coat of waterproof mascara, a whisper of brown shadow on the outer lower lash line. Ten minutes, and your eyes look defined and awake.
Evening gradient: Everything above, plus a deep matte shade pressed along the upper lash line and blended up into the medium shade, center-lid shimmer pressed on with a fingertip, and a thicker gel liner line with a small wing. Add false lashes with a thin, flexible band if you want extra drama — trim them to fit and let the glue go tacky for thirty seconds before applying.
Mistakes That Make Monolids Look Smaller
- Drawing liner only with eyes closed. Always check the final look with eyes open and looking straight ahead.
- Putting the darkest shade at the top of the lid. Depth belongs at the lash line; dark color high on the lid flattens the eye.
- Skipping primer. On oily monolid lids, this is the difference between a look that lasts and one that migrates by noon.
- Over-blending into one muddy color. Blend edges, not the whole lid — keep the gradient zones distinct.
- Using only shimmer. All-shimmer lids on monolids can emphasize puffiness; anchor every look with at least one matte shade.
Frequently Asked Questions
Can I wear a smoky eye with monolid eyes?
Absolutely — smoky eyes look stunning on monolids because there is so much lid surface to work with. Use the gradient method: deepest shade at the lash line fading upward, and keep the darkest color concentrated on the outer half. A brown or plum smoky eye tends to be more flattering and forgiving than harsh black for beginners.
Why does my eyeliner always transfer to my upper lid?
This is the classic monolid struggle, and it has two fixes. First, switch to a waterproof or long-wear formula — standard pencils and non-waterproof gels transfer on oily lids. Second, set your liner: after applying gel or pencil liner, press a matching eyeshadow over it with a small angled brush. The powder locks the cream in place. If transfer is severe, a lid primer plus translucent powder under everything solves most cases.
Should I draw a fake crease above my natural lid?
You can, and many artists do — a soft “cut crease” drawn above the natural lid line adds dramatic definition. But it is an advanced technique: drawn too high or too harsh, it looks artificial. Master the gradient and tightlining first; add a drawn crease later once your blending is confident. For daily wear, most monolid wearers get better results from gradient shadow than from a fake crease.
What is the best eyeliner formula for monolid eyes?
Waterproof gel liner (in a pot, applied with an angled brush) is the most versatile: it goes on smoothly, sets firmly, and resists transfer. Waterproof liquid liner is best for crisp wings and floating liner. Waterproof pencil is easiest for tightlining and smudging along the lower lash line. Beginners do well starting with pencil for the waterline and gel for the upper lid.
Do I need false lashes for monolid eyes?
No — curled natural lashes with a good waterproof mascara look great. But if your lashes are sparse or point downward, a pair of natural-looking falsies with a thin band adds visible definition that survives the lid fold. Look for styles labeled “natural” or “wispy” rather than dramatic, and trim from the outer corner to fit your eye.
Conclusion
Monolid eye makeup is not harder than any other eye makeup — it is just different, and most tutorials never teach the difference. Build your looks on a smudge-proof base, define with tightlining, create depth with a horizontal gradient instead of a crease, and draw liner thick enough to survive open eyes. Practice the everyday look a few times this week, then try the evening gradient once you are comfortable. Your monolids are not a limitation to work around; they are a smooth, generous canvas that takes color beautifully once you know the rules. For more shape-specific placement tricks, explore the hooded-eye eyeshadow techniques — several of the lid-space strategies overlap.
Love this? Pin it for later!