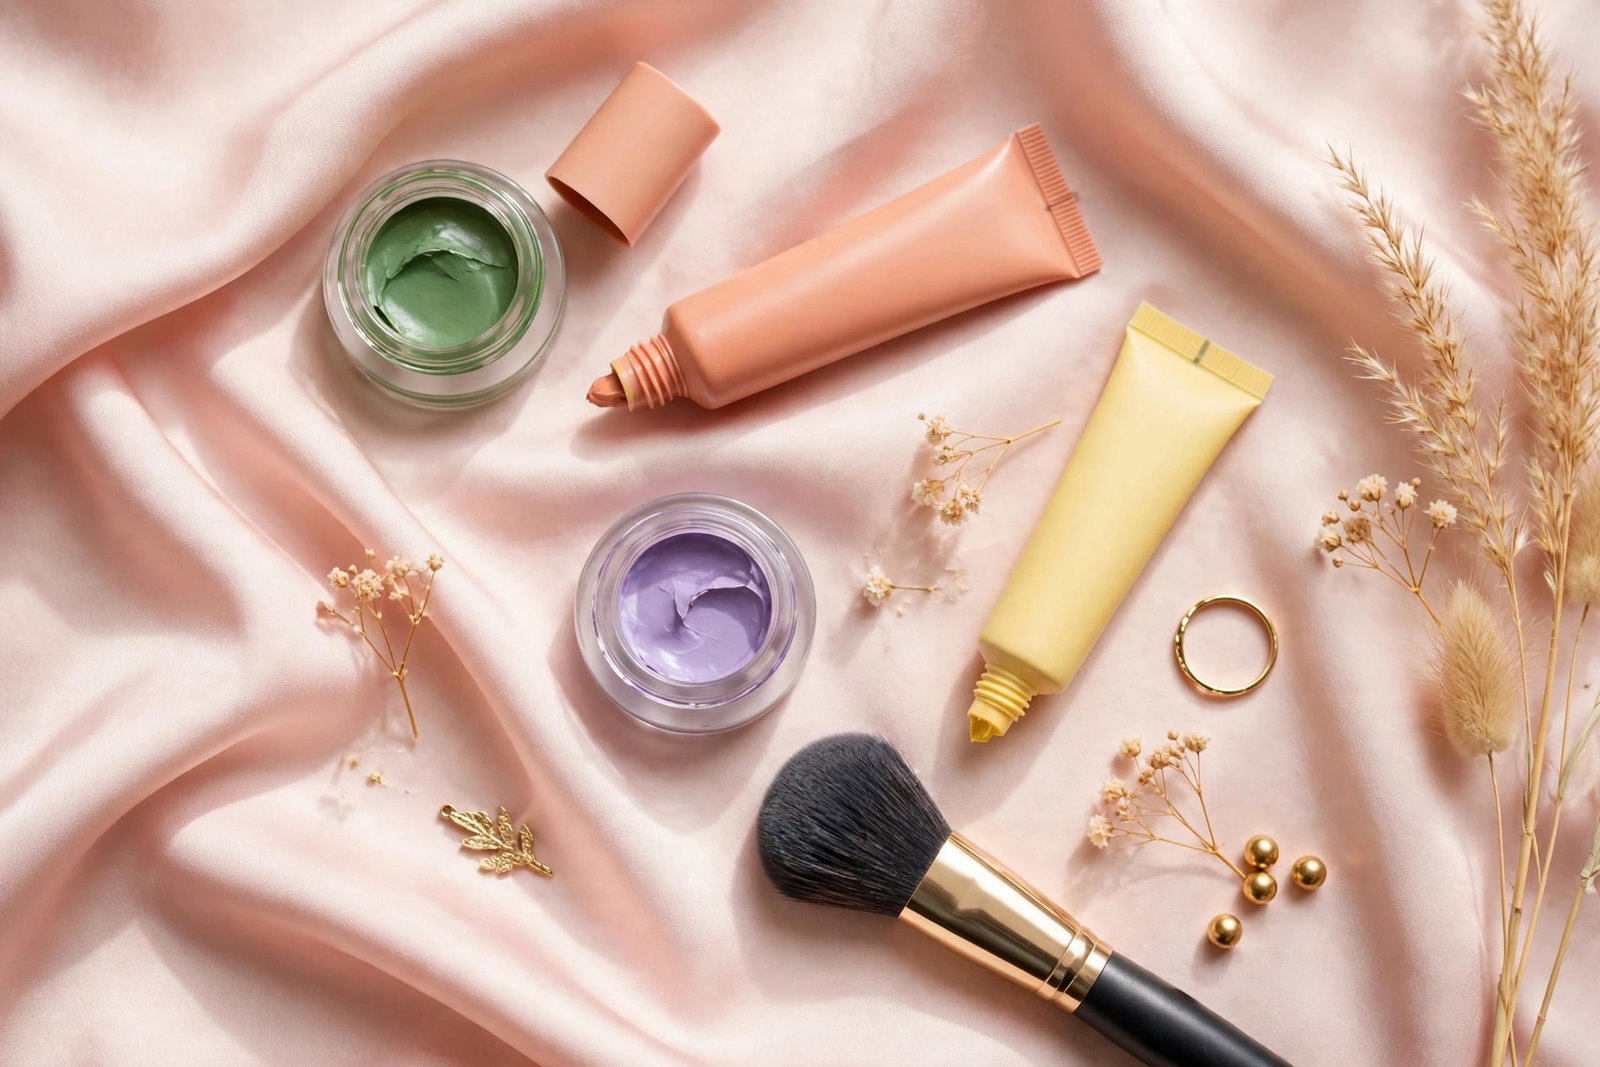
Color Correcting for Beginners: What Each Shade Does
If you’ve ever watched a makeup tutorial where someone paints green, peach, and purple streaks across their face and somehow ends up with flawless skin, you were watching color correcting in action. It looks dramatic, it looks a little alarming, and when it’s done right, it completely disappears — taking your redness, dark circles, and dullness with it.
Color correcting is one of those techniques that seems intimidating until someone explains the simple logic behind it. There’s no guesswork involved, just basic color theory: colors opposite each other on the color wheel cancel each other out. Green cancels red. Peach cancels blue. Purple cancels yellow. Once you understand that one principle, the whole rainbow palette in the makeup aisle suddenly makes sense.
For beginners, color correcting solves the problem that concealer alone can’t fix. Regular concealer is usually a shade close to your skin tone, and it covers by adding opacity. But some discoloration — a throbbing red breakout, blue-purple under-eye shadows, an ashen yellow cast — can peek through even under layers of skin-tone concealer. That’s because you’re covering the color without neutralizing it. A corrector neutralizes first, so the concealer on top needs to do far less work. The result is a thinner, more natural-looking base than you’d get by piling on concealer alone.
This guide walks you through every shade, what it cancels, where to apply it, and the mistakes that make correctors look obvious instead of invisible. By the end, you’ll know exactly which one or two shades you actually need — because despite the five-pan palettes on store shelves, most beginners only ever need two.
Key Takeaways
- Color correcting works on color-wheel theory: shades opposite each other on the wheel cancel each other out.
- Correctors go on before foundation and concealer, not after.
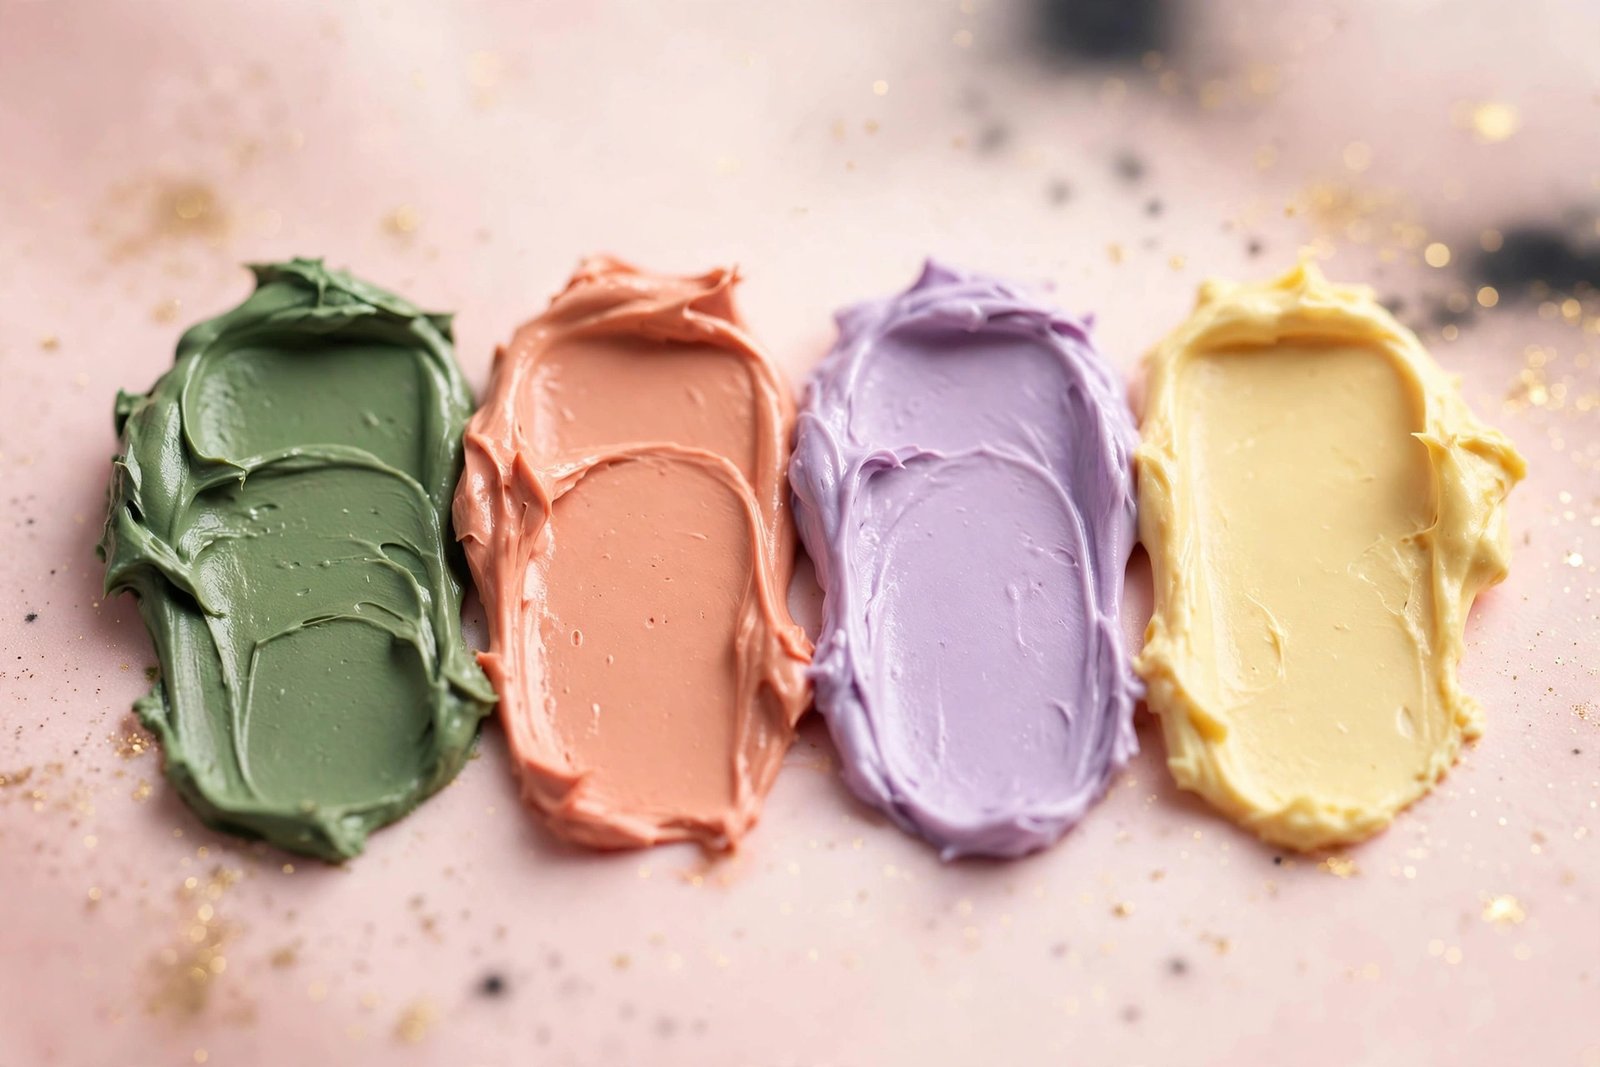
- Green neutralizes redness (acne, rosacea, irritation); peach and orange tackle dark circles; purple and lavender counter dullness and sallowness.
- Use the smallest amount possible — a thin layer blends invisibly; a thick one leaves a tinted cast.
- Most beginners only need one or two corrector shades, not a full rainbow palette.
What Is Color Correcting, Really?
Color correcting is the step that goes between your skincare and your base makeup. Using tinted products — usually cream, liquid, or stick formulas — you place specific colors on specific discolorations to neutralize them before your foundation goes on.
The concept comes straight from the art classroom. On a standard color wheel, complementary colors (opposites) mute each other when combined. Paint a stripe of red on a wall and cover it with green-tinted primer, and the red disappears with less paint. The same principle works on skin: a green tint placed over redness brings the area visually back toward neutral, so your skin-tone foundation can do its job with one thin layer instead of three.
It’s worth noting what color correcting is not. It’s not a replacement for concealer, and it doesn’t add coverage on its own. Most correctors are sheer and wouldn’t hide anything by themselves — their job is purely chromatic: shifting an unwanted undertone back to neutral. If you want the full breakdown of how the two products differ and when one alone is enough, there’s a detailed comparison of color corrector vs concealer that walks through the differences.
Beginners often wonder whether color correcting is a necessary everyday step. The honest answer: for most people, no. If your foundation and concealer already give you the finish you want, a corrector adds nothing. But if you deal with stubborn discoloration that eats through your base — blue-tinged dark circles, red around the nose, a yellow sallow cast — one targeted corrector can replace layers of concealer and leave you with a lighter, more skin-like finish.
The Color Wheel, Simplified
You don’t need to memorize a color wheel, but understanding the three main pairings makes every corrector shade logical rather than random:
- Green cancels red. This is the most famous pairing and the reason green correctors exist. Redness from blemishes, rosacea, sunburn, or irritation gets toned down by green.
- Peach and orange cancel blue and purple. Dark under-eye circles usually have blue or purple undertones (they’re blood vessels showing through thin skin). Peach and salmon shades neutralize them.
- Purple and lavender cancel yellow. Skin that looks dull, sallow, or yellowish gets brightened by a purple or lavender tint.
There’s also a secondary pairing worth knowing: yellow cancels very mild purple and red, which is why yellow correctors sometimes appear in palettes aimed at light skin. And pink correctors brighten sallow or dull skin while adding warmth, functioning as a gentler alternative to peach for fair complexions.
Once you’ve internalized “opposites cancel,” you’ll never stare at a corrector palette in confusion again. Match the shade opposite to your discoloration, and you’re most of the way there.
What Each Shade Does (The Complete Shade Guide)
Here’s every common corrector shade, what it neutralizes, and where it belongs on the face.
Green: For Redness
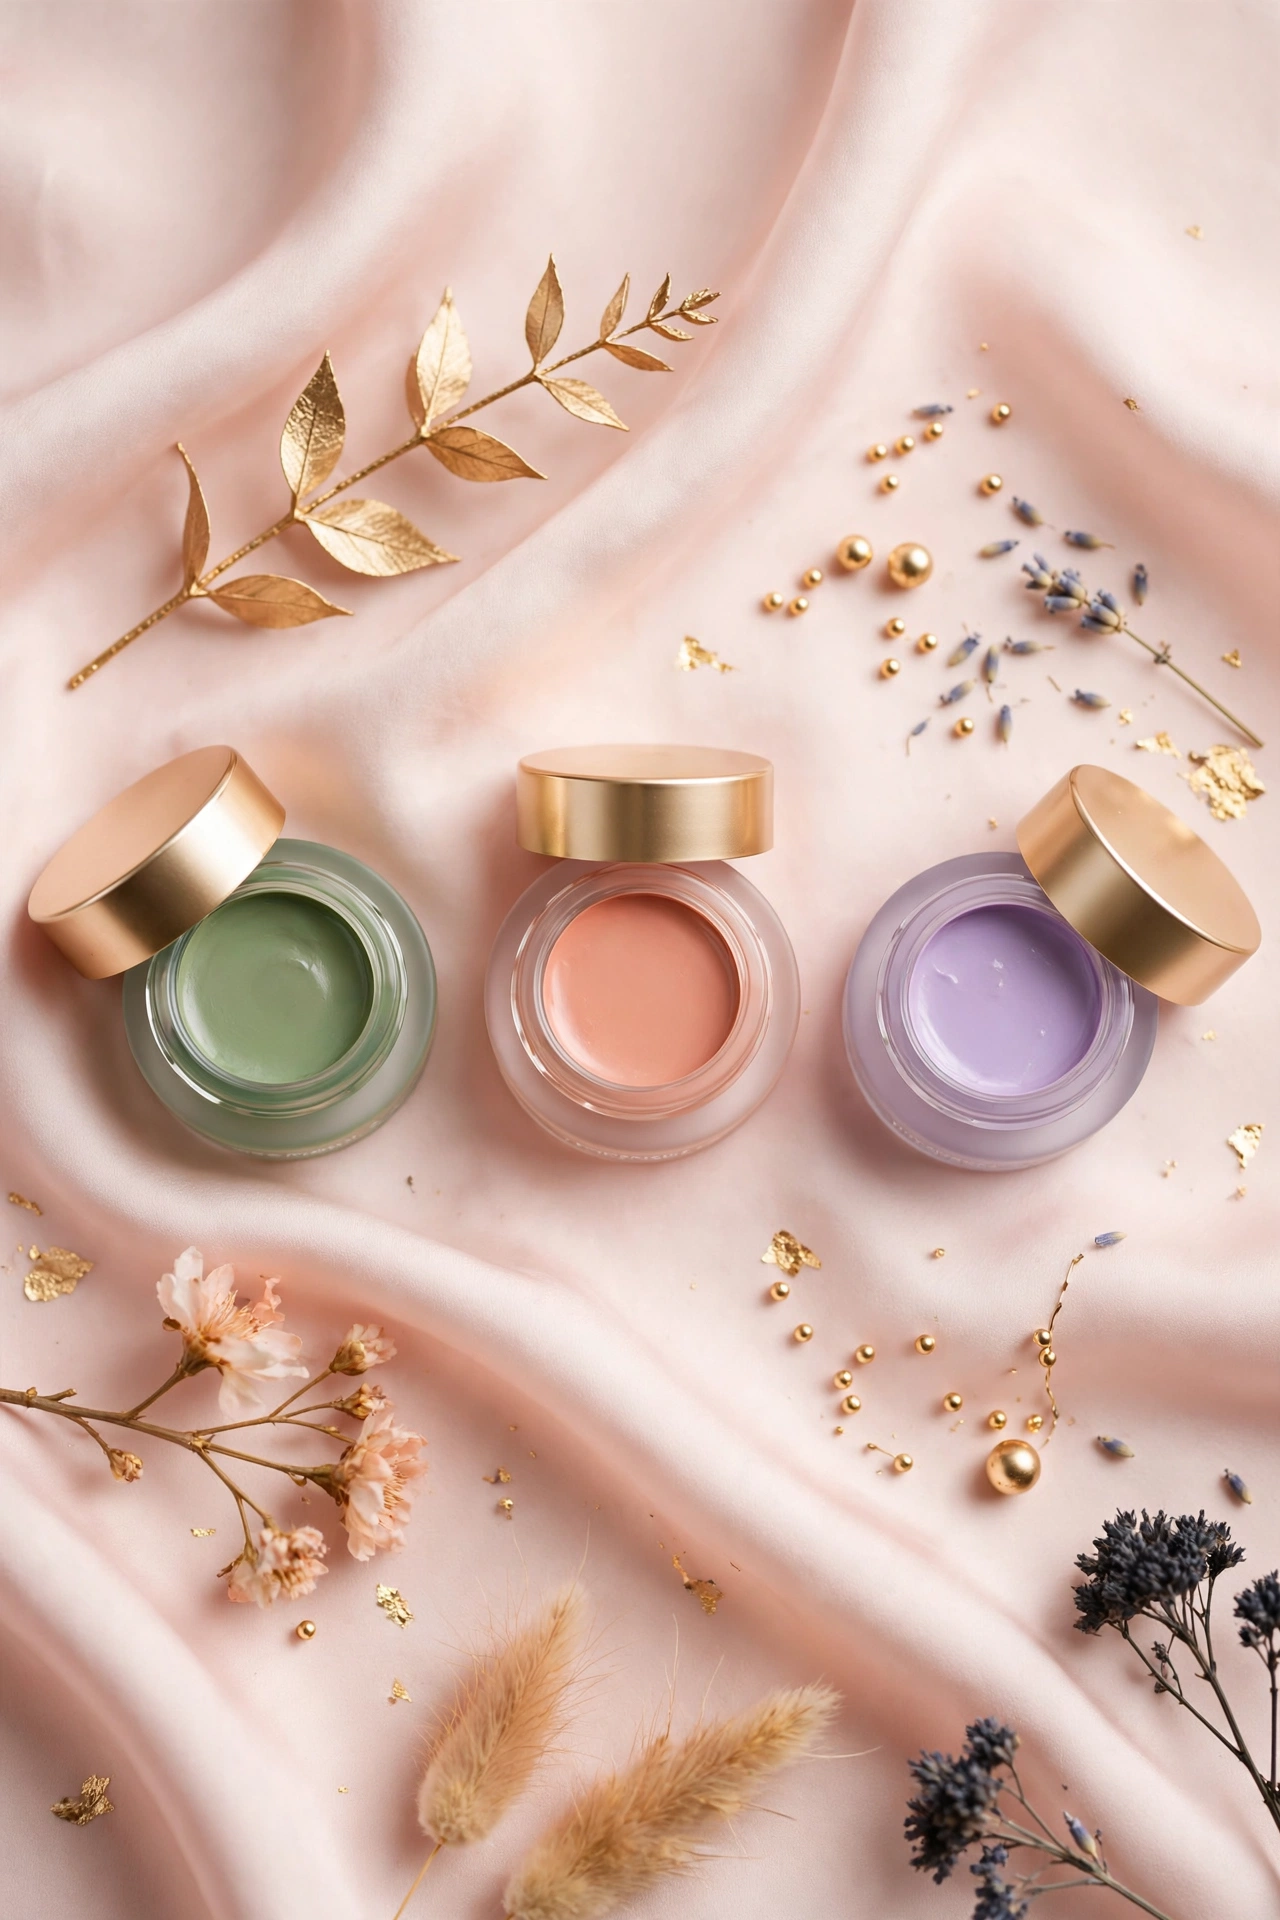
Green is the entry-level corrector and the one most beginners reach for first. It neutralizes anything red: active blemishes, acne marks, rosacea flare-ups, broken capillaries around the nose, and post-irritation redness (like the pinkness after exfoliating).
Apply green only to the red areas themselves — around the nose, over a breakout, on rosacea-prone cheeks — and keep it off healthy skin, or you’ll create a green cast that shows through. For a detailed walkthrough of technique, amounts, and what to layer over it, see the dedicated guide to using green concealer for redness.
Peach and Salmon: For Dark Circles
Peach is the workhorse corrector for under-eye circles on light to medium skin. Most dark circles have blue or purple undertones, and peach — sitting between orange and pink on the color wheel — cancels those tones while staying close enough to skin color to blend invisibly.
Apply a thin layer to the inner corner and the darkest part of the under-eye area, then tap on your regular concealer over it. If your circles lean more purple than blue, a salmon shade (peach with more pink) can work even better. The full undertone-matching method is covered in the guide to color correcting dark circles by undertone.
Orange: For Deep Skin Tones
Orange is essentially peach’s deeper sibling. On deep skin tones, peach can look too light and leave an ashy or grayish cast — orange has the same color-canceling properties (it neutralizes blue, purple, and dark-brown discoloration) with a richness that melts into deeper complexions.
Orange correctors are the go-to for hyperpigmentation and dark spots on medium-deep to deep skin: dark circles, melasma patches, and the dark marks acne leaves behind. They pair with a foundation or concealer matched to your actual skin tone on top. If this is your main concern, the guide to the best color correctors for dark skin tones breaks down shade selection specifically for deeper complexions.
Purple and Lavender: For Dullness and Sallowness
Purple correctors cancel yellow undertones, which makes them the brightening shade. If your complexion looks tired, dull, or sallow — a common complaint in winter or after a few sleepless nights — a sheer wash of lavender brings back a luminous, awake look.
Unlike the other correctors, purple is often applied over a larger area rather than spot-treated: think a thin veil across the center of the face, or mixed sparingly with foundation or primer. Keep it sheer. Lavender is easy to overdo, and the line between “radiant” and “ashen” is just one extra pump of product.
Yellow: For Mild Discoloration
Yellow is the mildest corrector in the lineup. It cancels very subtle purple and red tones, making it useful for mild under-eye shadows on fair skin or faint redness that doesn’t warrant green. Some people use yellow corrector over a larger area as a brightening primer of sorts.
That said, yellow is the least essential shade for beginners. If your circles are genuinely dark, peach will outperform yellow every time. If your redness is visible, green will do more. Yellow earns its place mainly for people with very fair skin and very mild discoloration.
Pink: For Brightening and Warmth
Pink correctors brighten sallow skin and add warmth and vitality, functioning like a more luminous, fairer-friendly version of peach. On light skin, pink can counteract dark circles with a brighter finish than peach, and it works nicely as an all-over brightener for tired complexions.
Some makeup artists use pink corrector as the final brightening step in the under-eye area, layered over peach for extra radiance. It’s optional for most beginners, but lovely if your skin tends to look dull.
Corrector vs Concealer: The Correct Order
This is the single most common point of confusion, and getting it wrong is why many beginners give up on color correcting. The order is always:
- Corrector first — neutralize the discoloration.
- Foundation second — even out the skin tone overall.
- Concealer third — add targeted coverage where still needed.
Applying corrector after foundation defeats the purpose: the tint needs to sit directly on the discoloration to neutralize it, and burying it under foundation just creates a muddy layer that shows through. Similarly, corrector is not a concealer replacement — after neutralizing, you still need a skin-tone concealer or foundation on top to even out the finish. A green patch with nothing over it just looks like a green patch.
Beginners building their first real makeup routine sometimes try to add every step at once and get overwhelmed. If color correcting is your next frontier, it helps to have the full sequence down first — the step-by-step beginner makeup guide lays out the complete order of operations from primer to setting spray.
How to Apply Color Correctors: Step-by-Step
Technique matters more than product. A drugstore corrector applied well outperforms a luxury one applied badly. Here’s the method:
Step 1: Prep the skin. Corrector sits better on hydrated skin. Apply moisturizer (and eye cream under the eyes) and give it a minute to absorb. Dry skin grabs pigment unevenly, which makes correctors look patchy.
Step 2: Apply sparingly, only where needed. Less is everything with correctors. Use a fingertip, small brush, or the product’s applicator to place a thin layer directly on the discoloration. For dark circles, stay within the shadow itself — don’t paint a wide triangle. For redness, dot it on the red area only.
Step 3: Blend the edges, not the center. Tap or press with a damp sponge or fingertip to diffuse the edges into surrounding skin. Don’t rub the center of the application — you’ll just move the pigment away from where it’s needed.
Step 4: Let it set briefly. Give the corrector 30 seconds to settle before layering over it. This prevents the foundation from dragging it around.
Step 5: Layer foundation and concealer on top. Use a light hand. The whole point of correcting first is that you need less base product — if you still need three layers of foundation, the corrector wasn’t the right shade or wasn’t blended well.
Step 6: Set lightly. A dusting of translucent powder over corrected areas (especially under the eyes) keeps everything in place. Skip heavy baking over corrector — thick powder plus corrector plus concealer is a recipe for cakiness.
Blending Mistakes Beginners Make
Most color correcting failures come down to one of these five mistakes:
Using too much product. This is the number one offender. Correctors are concentrated pigments — a rice-grain amount covers a blemish, a pinhead amount covers an under-eye. If the tinted shade is visible through your foundation, you used too much. Sheer it out and try again.
Applying corrector everywhere. Correctors are spot treatments (except sheer purple used as a brightening veil). Painting green across your whole cheek creates a green cast; painting peach across your whole under-eye leaves an orange ring. Target the discoloration, blend the edges, and stop.
Skipping the concealer or foundation on top. Corrector alone is never the finished look. The tinted shade will show — that’s its job. It only disappears under a skin-tone layer.
Rubbing instead of pressing. Dragging a sponge or brush across corrector displaces it and streaks the tint. Press, tap, stipple — keep the product where you placed it.
Wrong shade for your discoloration. Green on dark circles (wrong pairing — green cancels red, not blue) or peach on a bright-red breakout (peach won’t touch true redness) just creates new color problems. Go back to the pairings: identify your discoloration’s color first, then choose its opposite.
Color Correcting for Different Skin Tones
Corrector shades aren’t one-size-fits-all — the same discoloration needs different corrector depths depending on skin tone:
- Fair to light skin: Green for redness, peach or salmon for dark circles, lavender for dullness. These sheer shades blend without leaving a cast.
- Medium to tan skin: Green still works for redness (though a mint shade can look less stark), while peach deepens toward a true orange-peach for dark circles. Yellow can help with mild under-eye shadows.
- Deep skin tones: Orange and red-orange are the stars — they neutralize dark circles, hyperpigmentation, and acne marks without the ashy cast that lighter correctors leave. Green can still work for redness but should be sheered out well. Purple is best skipped or used very sheer, as it can look ashen on deep skin.
The underlying rule: your corrector should be close enough to your skin’s depth that it doesn’t leave a visible film. A corrector several shades lighter than your skin will look like a light patch no matter how well you blend it.
Frequently Asked Questions
Do I really need a color corrector, or is concealer enough?
For many people, concealer is enough. Color correctors earn their place when discoloration keeps showing through your concealer — blue-purple dark circles, persistent redness, or a sallow cast. If your base makeup already looks the way you want, skip the extra step. If you’re layering concealer to the point of cakiness trying to hide something, a corrector will let you use less.
Can I use color corrector without foundation?
You can, but you’ll still need concealer. A corrector neutralizes color but doesn’t match your skin tone, so it needs a skin-tone product on top to disappear. For a no-foundation look, try corrector plus a dab of concealer only where you corrected, blended well — it reads as a very natural “your skin but better” finish.
What color corrector should a total beginner buy first?
Buy for your single biggest concern. Redness or blemishes? A green corrector. Dark circles? A peach (light to medium skin) or orange (deep skin) corrector. One targeted product you’ll actually use beats a five-shade palette that sits in a drawer. Most beginners never need more than two shades.
Does color correcting work on textured skin or active acne?
It works on the color of active acne — green will neutralize the redness of a breakout. It won’t hide texture, bumps, or raised areas; no color product can flatten texture. Keep the application thin over active breakouts and consider a non-comedogenic formula. Heavy layering over inflamed skin tends to emphasize texture rather than hide it.
Liquid, cream, or stick corrector — which formula is best?
It depends on where you’re using it. Liquids are easiest to sheer out and work well under the eyes. Creams offer more pigment for stubborn discoloration like dark spots. Sticks are convenient for precise spot work on blemishes. For beginners, a liquid or cream in a tube with an applicator is the most forgiving — it’s easier to control the amount than with a stick.
Can I mix corrector into my foundation?
Mixing a drop of purple or peach corrector into foundation is a legitimate brightening trick — makeup artists do it. But mixing defeats the purpose of targeted correcting: you lose the precision of placing green on redness or peach on circles. Use mixing for all-over brightening (lavender or peach), and spot-apply for real discoloration.
Conclusion
Color correcting looks like wizardry, but it’s just applied color theory: find the color of your discoloration, apply its opposite, and layer your normal base on top. Green for redness, peach and orange for dark circles, purple for dullness — that’s 90% of what you’ll ever need to know.
Start with one shade for your biggest concern, apply it thinly and only where needed, and always follow with foundation or concealer. Get those basics right and correctors disappear completely — leaving behind the even, natural-looking skin that made you curious about them in the first place. Once you’re comfortable, the cluster guides in this series take each concern deeper: redness, dark circles, and choosing the right formulas for your skin tone.
Love this? Pin it for later!