How to Color Correct Dark Circles (By Undertone)
Dark circles are the number one reason most people buy a color corrector — and the number one area where beginners pick the wrong shade. The mistake is treating all dark circles the same. They aren’t. Circles can be blue, purple, brown, or a mix, and each undertone needs a different corrector. Use the right one and circles vanish under a thin layer of concealer. Use the wrong one and you get an ashy, orange, or gray cast that looks worse than the circles you started with.
The fix is simple: learn to read your undertone, match the corrector to it, and apply with a technique that prevents the creasing and cakiness the under-eye area is famous for. This guide covers all three steps.
Key Takeaways
- Dark circles have undertones: blue/purple (thin skin showing blood vessels) or brown (hyperpigmentation) — each needs a different corrector.
- Peach and salmon correct blue/purple circles on light to medium skin; orange and red-orange work for medium-deep to deep skin.
- Corrector goes on the shadow itself in a thin layer, then skin-tone concealer on top — never corrector alone.
- Creasing comes from too much product and skipped prep; moisturize, use thin layers, and set lightly.
- If your circles are brownish, treat them as hyperpigmentation (orange/peach corrector) rather than vascular circles.
Step 1: Read Your Undertone
Before buying anything, figure out what color your dark circles actually are. Look in natural daylight, without makeup, and study the shadow:
- Blue or purple circles are the most common. They look like a bluish or violet shadow, often darkest at the inner corner near the nose. This is blood vessels showing through thin under-eye skin, and it gets worse with fatigue, genetics, allergies, or thinning skin with age.
- Brown or grayish-brown circles look more like a shadow of pigmentation than a vein shadow. This is hyperpigmentation — excess melanin in the under-eye area — and it’s more common in medium to deep skin tones and with sun exposure.
- Mixed circles combine both: a brownish cast with blue-purple depth underneath. Very common, and the reason some people need a layered approach.
Why does this matter? Because color theory demands opposite pairings. Blue and purple are canceled by peach, salmon, and orange. Brown pigmentation is best neutralized by peachy-orange tones that are close to the skin’s own warmth. Using green (which cancels red) or yellow on dark circles is a classic beginner error — those shades address the wrong colors entirely.
For the full rundown of which shade cancels which color across the whole face, the beginner’s color correcting guide covers every pairing.
Step 2: Pick Your Shade by Skin Tone and Undertone
Match both your undertone and your skin depth:
Fair to light skin, blue/purple circles: A peach or salmon corrector. Salmon (peach with pink tones) is particularly good when circles lean purple. These shades are light enough to disappear under concealer without leaving a cast.
Light to medium skin, blue/purple circles: A true peach corrector. This is the classic under-eye correcting shade and the one most tutorials demonstrate.
Medium to deep skin, blue/purple or brown circles: Orange or red-orange corrector. On deeper skin, peach reads too light and leaves an ashy or gray film — orange has the same canceling power with the depth to blend invisibly. For brown pigmentation specifically, a warm orange-peach bridges the gap between the discoloration and your skin tone.
Deep skin, dark brown circles or hyperpigmentation: A rich orange or red-orange corrector, followed by a concealer matched to your actual skin tone. Shade selection for deeper complexions has its own nuances — the guide to the best color correctors for dark skin tones goes deeper on avoiding ashiness.
One shade is usually enough. If you have truly mixed circles (brown pigmentation over blue vascular shadow), apply the orange-peach corrector first for the pigmentation, let it set, then assess — most of the time one well-chosen shade handles both.
Step 3: Apply Without Creasing
The under-eye area is thin, mobile, and prone to settling into fine lines — which is why corrector technique matters as much as shade choice here.
Prep with eye cream. This is non-negotiable. Corrector and concealer applied over dry under-eyes grab onto texture and crease within hours. Apply a lightweight eye cream, then wait a full minute for it to absorb. The skin should feel hydrated but not slippery.
Apply only to the shadow. Use a small brush, fingertip, or applicator to place a thin layer of corrector directly on the dark area — typically the inner corner and the hollow beneath it. Don’t paint a wide triangle across the whole under-eye; product where there’s no discoloration just adds bulk that creases.
Press and stipple, don’t swipe. Tap the product in with a fingertip or damp sponge. Swiping drags it thin in some spots and thick in others, and the thick spots are what settle into lines.
Keep layers thin. One thin layer of corrector plus one thin layer of concealer beats two thick layers of anything. If coverage isn’t enough, build a second sheer layer of concealer rather than adding more corrector — excess corrector is the fastest route to cakiness.
Concealer on top, matched to your skin. After the corrector sets (about 30 seconds), tap your regular skin-tone concealer over it. The concealer evens out the finish and brings the area back to your natural tone. Corrector alone always looks tinted — it needs this step.
Set with a whisper of powder. A tiny amount of translucent powder, pressed in with a small brush or puff, locks everything down. Heavy powder is the enemy here: it exaggerates every line. If your under-eyes are very dry or lined, you can skip powder on the mobile area and set only the outer edges.
Creasing that persists despite good technique usually means one thing: too much product. Under-eye skin can’t hide bulk. When in doubt, remove half of what you applied and try again — the corrector should be barely visible before concealer goes on.
For a broader look at how correctors and concealers differ and the right order to layer them, the color corrector vs concealer comparison breaks down the full layering sequence.
Why Does Concealer Crease Under Eyes?
Creasing is the most-searched under-eye complaint, and it has a handful of usual suspects:
- Too much product. The number one cause. Corrector plus concealer plus powder in thick layers will settle into lines no matter the formula.
- Skipped eye cream. Dry under-eyes drink up the water in liquid products, leaving pigment concentrated in creases.
- Wrong concealer texture. Very thick, dry concealers crease more than creamy, flexible ones. If creasing is chronic, try a thinner formula before blaming your technique.
- Setting too heavily — or not at all. No powder lets liquid products migrate; too much powder cakes into lines. The sweet spot is a very light press of translucent powder.
- Applying over unset skincare. Slippery, unabsorbed eye cream or moisturizer makes everything slide into folds. Always let skincare absorb fully first.
There’s a dedicated deep-dive on why concealer creases under eyes if you want the full troubleshooting checklist beyond color correcting.
Corrector Formulas for the Under-Eye Area
Not every corrector formula suits the delicate under-eye area:
- Liquids are the most beginner-friendly here. They sheer out easily, layer thinly, and are the least likely to cake. A doe-foot applicator gives good control.
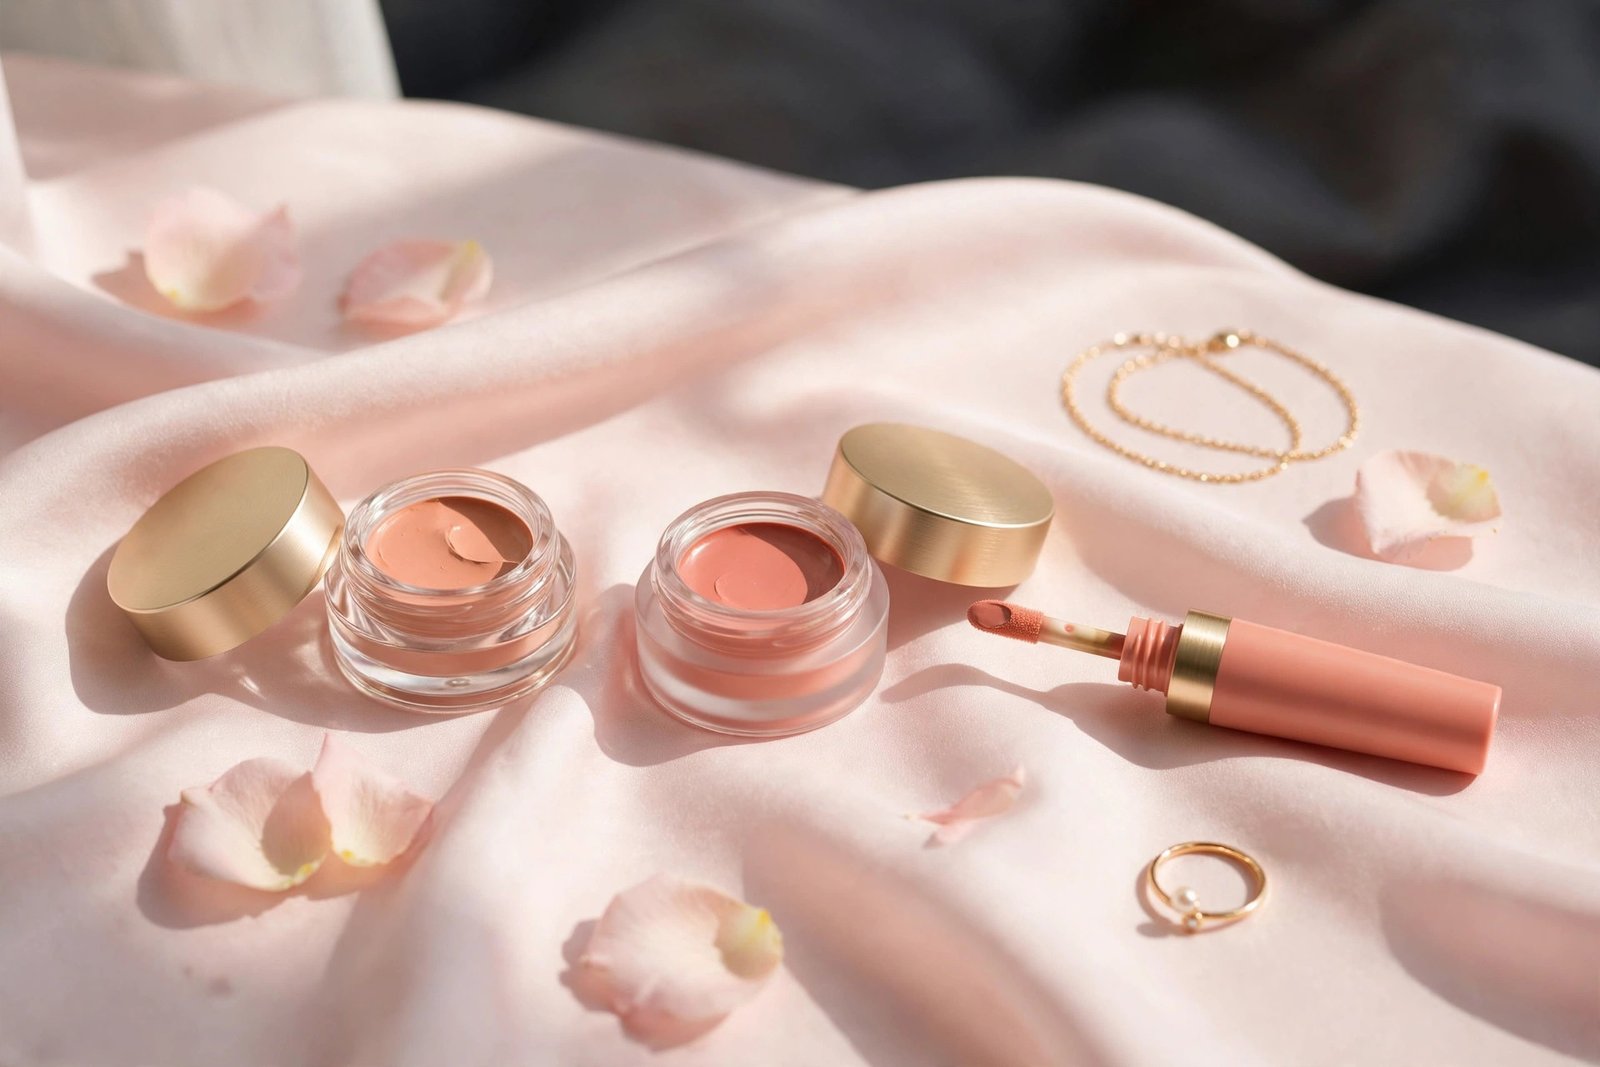
- Creams (in pots or palettes) offer more pigment for stubborn circles but demand careful sheering. Warm a tiny amount on the back of your hand first.
- Sticks are convenient but tend to drag on delicate skin and deposit too much product. If you use one, transfer it to a fingertip first rather than drawing directly under the eye.
Whatever formula you choose, look for one labeled hydrating or creamy rather than matte — matte correctors emphasize every fine line. And as with all eye-area products, replace liquids and creams every 6–12 months once opened.
Frequently Asked Questions
Should I use peach or orange corrector for my dark circles?
It depends on your skin depth. Peach suits fair to medium skin; orange suits medium-deep to deep skin. The test: if a corrector looks visibly lighter than your skin or leaves a grayish film, it’s too light — go deeper and warmer. The corrector should nearly disappear into your skin tone before concealer goes on.
Can I just use a full-coverage concealer instead of color correcting?
You can, and many people do. But stubborn blue-purple circles often need so much full-coverage concealer that the under-eye looks heavy and cakes by midday. A thin corrector layer neutralizes the color first, so you need far less concealer — the finish looks more like skin and lasts longer. If your concealer alone already works, skip the extra step.
Do I put color corrector on before or after foundation?
Before — always directly on the discoloration, then foundation (if you wear it) over the top, then concealer. Under the eyes specifically, most people skip foundation in that area and go corrector → concealer → powder. Foundation dragged under the eyes adds unnecessary bulk.
Why do my dark circles look gray after correcting?
Gray or ashy results mean the corrector was too light for your skin tone — this happens most often when deeper skin tones use a peach shade meant for light skin. Switch to a deeper orange or red-orange corrector, and make sure your concealer on top actually matches your skin tone rather than running light.
Will color correcting help with under-eye bags or puffiness?
No — color correcting addresses color, not shape. Puffiness and bags are structural (fluid, fat pads, or skin laxity), and no corrector flattens them. That said, correcting the shadow that often sits in the hollow beneath a bag can make the whole area look better, since much of what reads as “bags” is actually shadow plus puffiness combined.
Conclusion
Color correcting dark circles comes down to three decisions: read your undertone (blue/purple vs. brown), pick the matching shade at the right depth (peach/salmon for light skin, orange for deep skin), and apply thinly over prepped skin with concealer on top. Get those right and circles disappear under a base so light it barely feels like makeup.
If your circles are only part of the story — redness, dullness, or dark spots elsewhere — the complete beginner’s guide to color correcting maps every shade to every concern. And remember the golden rule of the under-eye area: less product, more prep, and always a skin-tone concealer to finish. Your future self, checking the mirror at 5pm with zero creasing, will thank you.
Love this? Pin it for later!