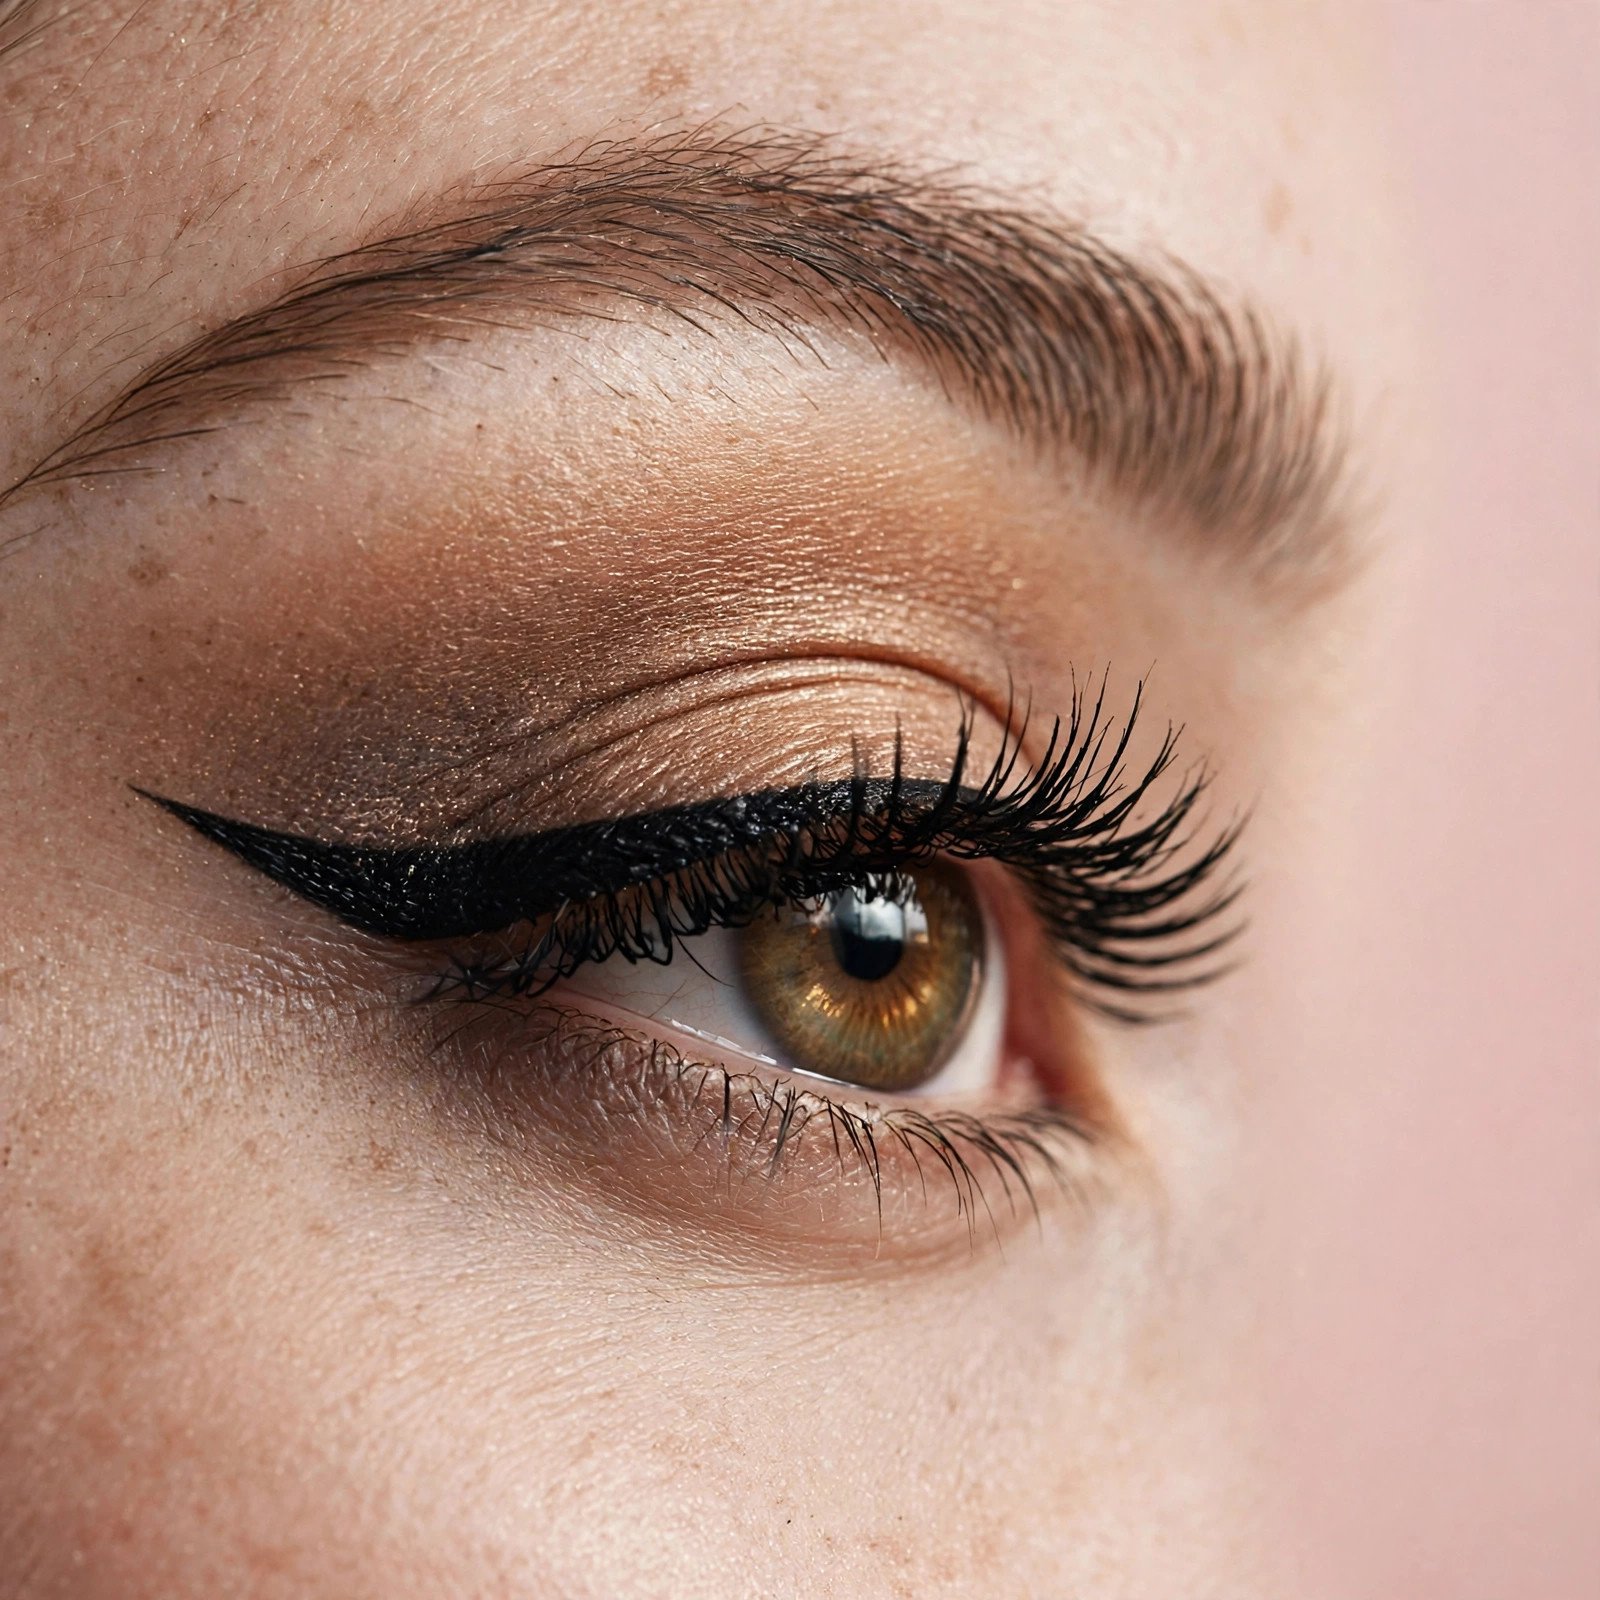
Downturned Eyes Eyeliner Tricks That Actually Work
Downturned eyes — where the outer corners tilt slightly downward — have a naturally soft, soulful look. But standard eyeliner techniques can accidentally emphasize that downward slope, making eyes look tired or sad when you were going for sultry. The good news: a few placement adjustments turn eyeliner into a lifting tool. This guide covers the golden rule of downturned-eye liner, five specific tricks (wing placement, tightlining, tapering, shadow reinforcement, and lower-lash restraint), the best formulas for the job, and the mistakes that drag the eye down. Confirm your shape first with the full eye-shape guide, then try these tricks today.
Key Takeaways
- Downturned eyes have outer corners that tilt downward; every liner line should angle upward to counteract the slope.
- The lifted wing starts at the outer corner and angles toward the tail of the brow — never following the eye’s downward line.
- Tightlining the upper waterline adds definition without emphasizing the outer corner’s droop.
- Taper your liner: thinnest at the inner corner, thickest at the outer third, lifting up at the end.
- Keep the lower lash line minimal — heavy lower liner drags downturned eyes down.
- Gel and liquid formulas give the crisp control needed for lifted wings; waterproof is non-negotiable at the outer corner.
Spotting Downturned Eyes (and Why Standard Liner Fails Them)
Draw an imaginary horizontal line through the center of your pupil. If your outer corners sit below that line, your eyes are downturned. This is an extremely common shape — many people have slightly downturned eyes without realizing it, which is why standard liner tutorials can feel mysteriously unflattering.
Standard liner fails downturned eyes for one reason: most tutorials tell you to follow the natural lash line out to a wing. On a downturned eye, the natural lash line heads downward, so a wing that follows it points down too — emphasizing droop instead of creating lift. The entire trick set below exists to break that habit: you will learn to draw where the eye should lift, not where it naturally slopes.
The Golden Rule: Every Line Goes Up
Before any specific technique, internalize this: on downturned eyes, no line should travel downward at the outer corner. Every stroke of liner, every placement of shadow, every lash decision should angle upward and outward. When in doubt, look straight into the mirror with eyes open and ask: “Is this line lifting or drooping?” If it droops, adjust. This one rule, applied consistently, does more for downturned eyes than any product.
Trick 1: The Lifted Wing (Your Most Important Skill)
The lifted wing is the cornerstone technique for downturned eyes, and it differs from a standard wing in its angle.
Finding Your Angle
Look straight ahead into the mirror. Imagine a line running from the outer corner of your eye up to the tail end of your eyebrow. That is your wing’s trajectory — noticeably more upward than the natural lash line. Place a small dot where you want the wing tip to end (usually level with or slightly above the outer corner, out toward the brow tail). This dot is your target; everything connects back to it.
Drawing the Wing
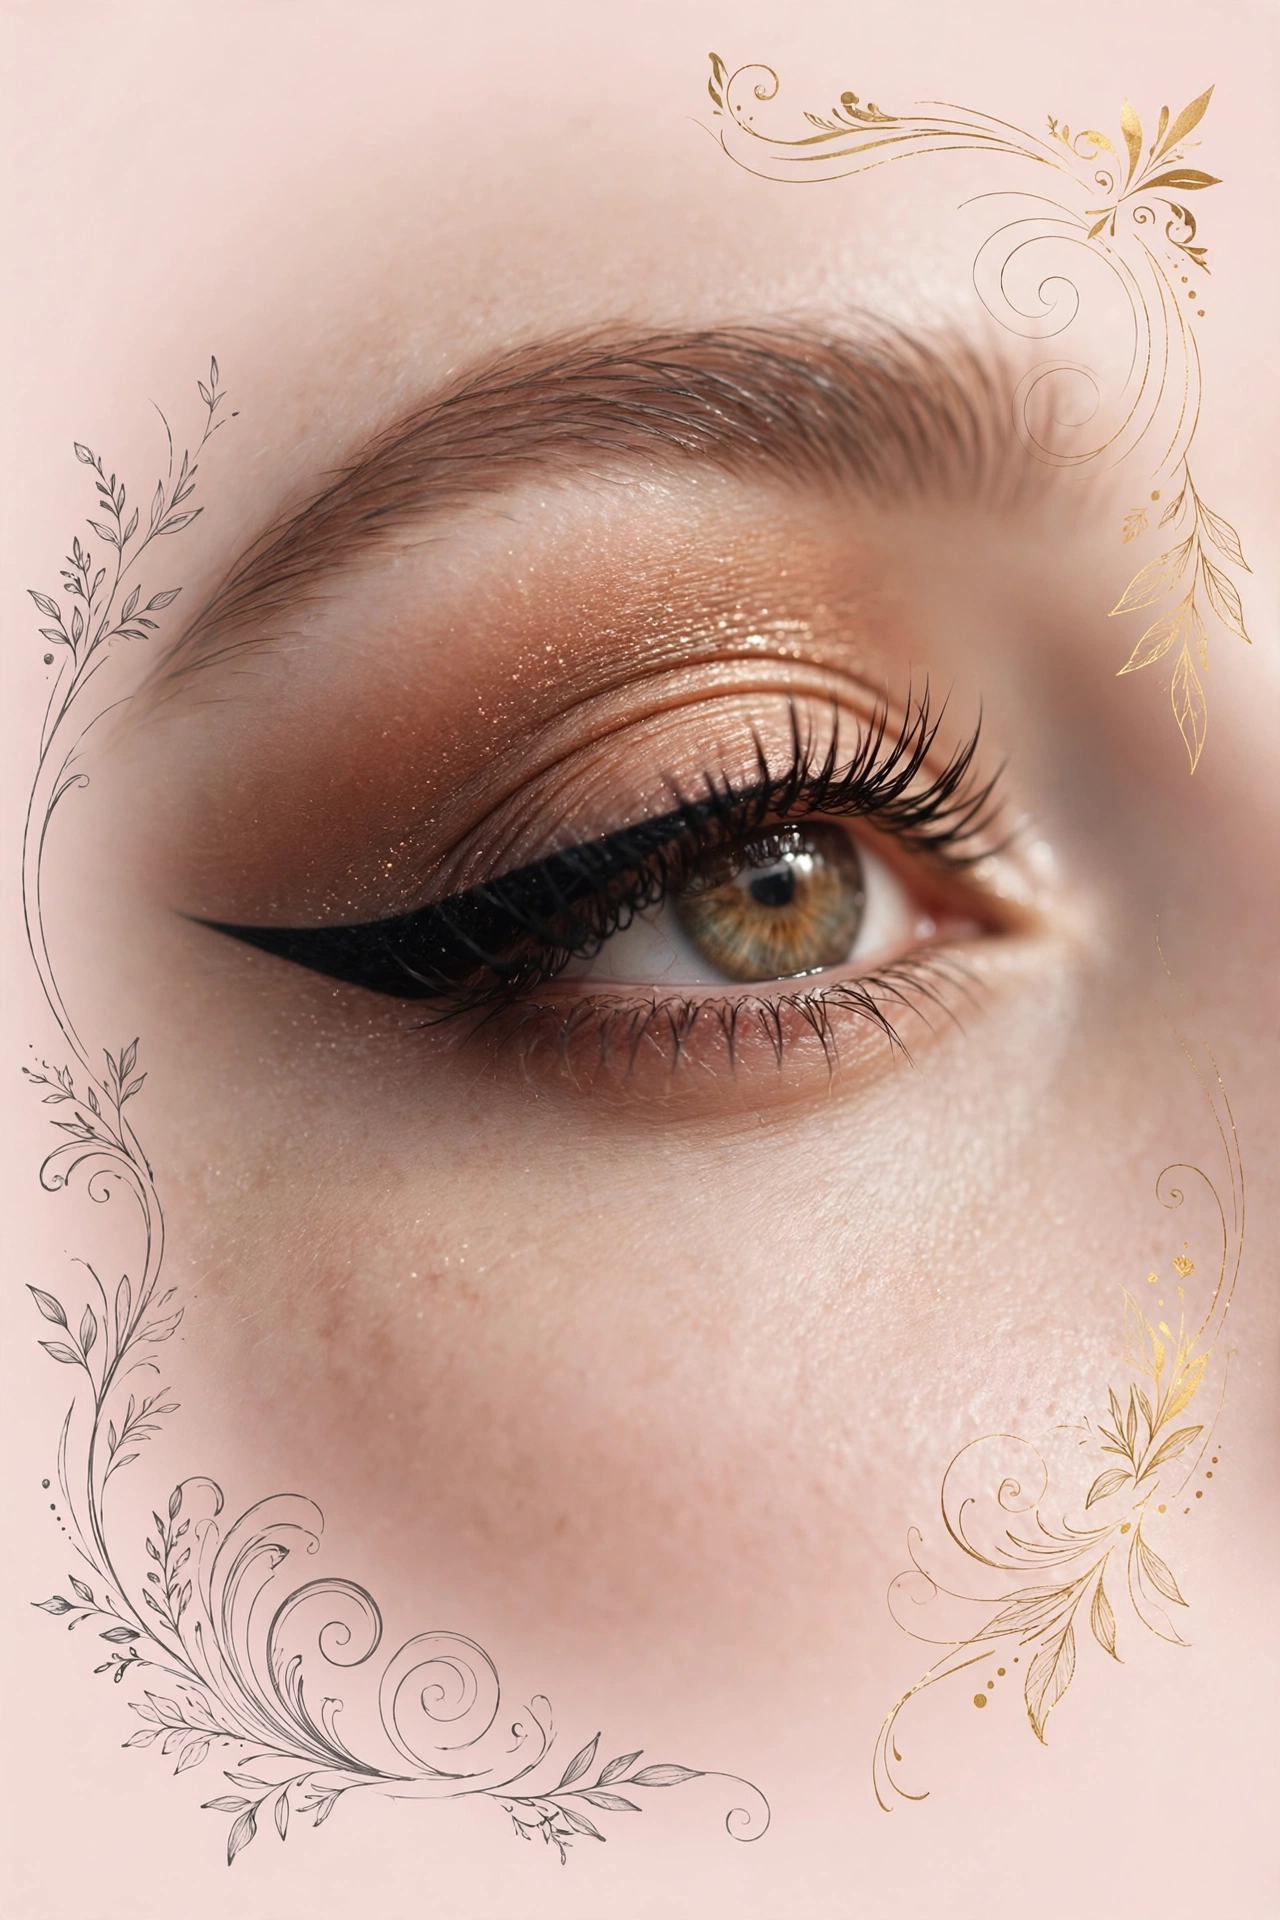
Using a liquid or gel liner, draw from the outer corner of the eye outward and upward to your dot, creating the wing’s lower edge. Then draw a second line from the dot back down to about the middle of your upper lash line, forming a triangle, and fill it in. Connect the triangle to your lash-line liner. The key detail: the wing’s lower edge must angle UP from the outer corner. If you draw it straight out along the lash line, it will droop. Beginners learning wing mechanics should also review the step-by-step basics in this winged eyeliner for beginners.
Length and Thickness
Start with a short, subtle wing — extending just a few millimeters past the outer corner. A modest lifted wing flatters downturned eyes more reliably than a dramatic long one, which can look disconnected from the eye’s natural shape. As your control improves, you can extend further.
Trick 2: Tightline the Upper Lash Line
Tightlining — filling the upper waterline between the lashes — is a quiet powerhouse for downturned eyes. It darkens the lash base and makes lashes look thicker without adding any visible liner at the outer corner, which means zero risk of emphasizing droop.
Use a waterproof pencil or gel on a flat brush, gently lift the lid, and work the color into the waterline with short strokes. Because tightlining adds definition without visible line weight, it is the perfect base under any of the other tricks here. Pair it with the lifted wing for a complete look: invisible definition at the base, visible lift at the corner. The stroke-control fundamentals in this beginner eyeliner guide make tightlining much easier to learn.
Trick 3: Taper — Thin Inside, Thick Outside
A uniform-thickness liner line does downturned eyes no favors. Instead, taper: start thin at the inner corner and gradually thicken toward the outer third, with the thickest point right where the wing begins its upward turn.
This tapering does two things. First, it concentrates visual weight at the outer corner — exactly where you want the eye to lift. Second, it keeps the inner eye light and open, preventing the heavy, closed look that a thick inner line creates. Draw the thin inner portion first, then build thickness as you move outward. Think of it as a gradient of liner, not a stripe.
Trick 4: Use Shadow to Reinforce the Lift
Eyeliner works best on downturned eyes when eyeshadow backs it up. Shadow placed with an upward trajectory amplifies the liner’s lifting effect and makes the whole eye look intentionally sculpted.
The Upward Blend
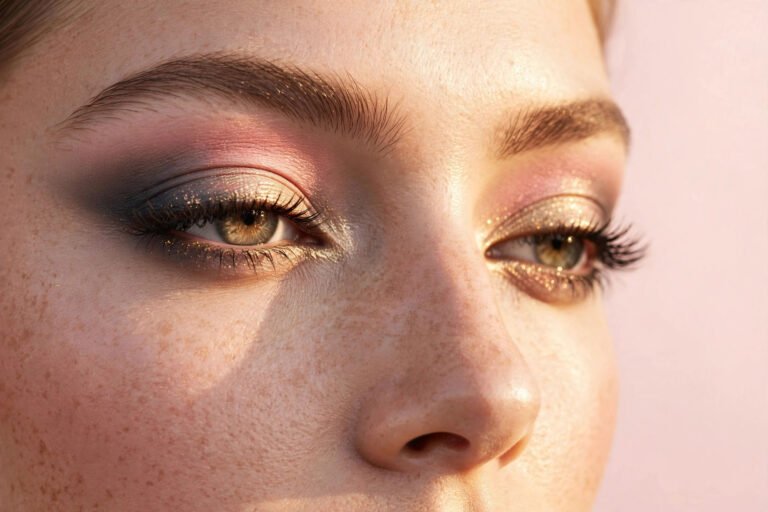
After applying your lid shade, take a medium matte shadow (warm brown, taupe, or soft bronze) and blend it from the outer corner upward and outward — following the same trajectory as your lifted wing, toward the brow tail. Keep the color soft and diffused; you are creating a gentle upward wash, not a harsh line. This shadow “ramp” makes the wing look like a natural extension of the eye rather than a drawn-on addition.
Highlight the Inner Corner
A touch of light shimmer at the inner corner brightens the eye and draws attention inward and upward, away from the outer corner’s downward tilt. Combined with the upward shadow at the outer corner, you get a push-pull effect: brightness pulling in, lift pushing up. For more on shadow placement that complements liner work, the hooded-eye eyeshadow techniques covers overlapping lid-space strategies.
Trick 5: Lower-Lash Line — Less Is More
The lower lash line is where downturned-eye looks most often go wrong. Heavy liner along the full lower lash line visually extends the downward slope and makes eyes look tired.
The Safe Approach
If you want lower definition, restrict it to the outer third of the lower lash line, and blend it upward to meet the wing — never let it travel down or inward along the whole lash line. Use a soft shadow rather than a hard pencil line, and smudge thoroughly. Better yet, tightline only the outer third of the lower waterline with a nude pencil to brighten, and skip dark lower liner entirely.
What to Skip
Skip black pencil smudged all the way across the lower lash line. Skip liquid liner on the lower lash line — it is too harsh and too precise for the softness downturned eyes need there. And skip connecting a thick lower line to the upper wing in a fully ringed eye; that closed loop emphasizes the downturn more than any other single choice.
Choosing Your Formula: Gel, Liquid, or Pencil
Gel liner (pot + angled brush): The best all-rounder for downturned eyes. It offers the control of a pencil with the staying power of a liquid, and the angled brush makes the upward wing stroke natural. Ideal for the tapered lash line and the lifted wing.
Waterproof liquid liner: Best for crisp, graphic wings once your hand is steady. The fine tip makes the upward angle precise. Choose a waterproof formula — the outer corner is where tears, oil, and blinking conspire to smudge, and a migrated wing tip ruins the lift.
Pencil: Best for tightlining and for smudging soft lower-lash definition. Not ideal for the wing itself, which needs more precision than most pencils offer. Keep a waterproof pencil in your kit for the waterline regardless of what you use on top.
One non-negotiable across all formulas: waterproof or long-wear. The outer corner of a downturned eye sits where the lid meets more skin contact, and non-waterproof liner transfers and fades there first.
Mistakes That Drag Downturned Eyes Down
- Following the natural lash line into the wing. This is the number-one mistake — the wing must angle up toward the brow tail, not out along the drooping lash line.
- “Puppy” liner that extends downward. Puppy eyeliner (which follows the eye’s downward slope) is lovely on some shapes but directly counterproductive on downturned eyes — it doubles the droop.
- Thick liner at the inner corner. Heavy inner liner closes the eye and makes the outer droop look worse by contrast.
- Full lower-lash liner in dark shades. It extends the downward visual line and reads as tiredness.
- Skipping the upward shadow blend. Liner alone lifts; liner plus upward-blended shadow lifts convincingly.
- Wings that are too long too soon. An overlong wing on a downturned eye can look detached. Master the short lifted wing first.
Frequently Asked Questions
Should downturned eyes wear winged eyeliner?
Yes — winged eyeliner is one of the most flattering choices for downturned eyes, as long as the wing angles upward toward the brow tail rather than following the natural downward lash line. The upward wing is essentially corrective: it visually lifts the outer corner. Start short and subtle while learning the angle.
What is the difference between downturned eyes and puppy eyeliner?
Downturned eyes are an eye shape (outer corners tilt down). Puppy eyeliner is a technique where the wing follows the eye’s natural downward slope instead of flicking up. On downturned eyes, puppy liner emphasizes the droop — it is one of the few shapes where this trendy technique actively works against you. Stick with upward wings.
Can I wear eyeshadow on the lower lash line with downturned eyes?
Yes, with restraint: keep it to the outer third, use a soft shadow (not harsh liner), blend it upward toward the wing, and keep the color medium-toned rather than black. This adds sultry definition without dragging the eye down. Skip the inner two-thirds entirely.
Why does my wing always look droopy even when I try to angle it up?
Usually one of three causes: you are drawing with eyes closed (the angle shifts when you open them), your wing’s lower edge follows the lash line instead of breaking upward from the outer corner, or the wing is too thin to read as “lifted.” Draw with eyes open, looking straight ahead; start the upward angle right at the outer corner; and make the wing bold enough to see.
Are false lashes good for downturned eyes?
Yes — especially styles that are longer or more voluminous at the outer corner. Outer-corner-focused lashes enhance the lifting effect of your wing. Avoid styles that are longest at the center or inner corner, which do nothing for lift. Trim from the outer edge to fit, and let the glue go tacky before applying.
Conclusion
Downturned-eye eyeliner comes down to one rule applied five ways: every line goes up. Angle your wing toward the brow tail, tightline for invisible definition, taper liner thin-to-thick toward the outer corner, reinforce with upward-blended shadow, and keep the lower lash line minimal. Avoid the traps — following the natural droop, puppy liner, heavy lower liner — and your eyes will look lifted, bright, and beautifully defined. Practice the short lifted wing a few times this week; once the angle feels natural in your hand, it becomes the fastest eye look you own.
Love this? Pin it for later!