How to Put In Clip-In Hair Extensions (Step-by-Step)
Clip-in extensions have a reputation problem they don’t deserve. When they’re done badly — wrong color, wrong placement, zero blending — they look like exactly what they are. But when they’re done well, even hairstylists have to look twice. The difference isn’t the price of the hair. It’s the technique: how you section, where you place the wefts, and how you blend.
This tutorial walks you through the full process, from prep to the final blend, with the specific tricks that make clip-ins disappear into your natural hair. It works for first-timers and for anyone whose current method looks a little too obvious. If you haven’t bought extensions yet, read our complete beginner’s guide to hair extensions first so you get the right type, length, and weight.
Key Takeaways
- Always apply clip-ins to dry, detangled hair — never wet.
- Work bottom to top in clean horizontal sections for even, hidden placement.
- Place the widest wefts at the back of the head, narrower ones at the sides.
- Tease roots lightly or apply on second-day hair so clips grip on fine hair.
- Blending (curling or straightening your hair together with the extensions) is what makes them invisible.
What You’ll Need
- A full clip-in set (7–10 wefts, human or synthetic)
- A tail comb for clean sectioning
- Sectioning clips to hold your top hair out of the way
- A soft-bristle or loop brush for detangling
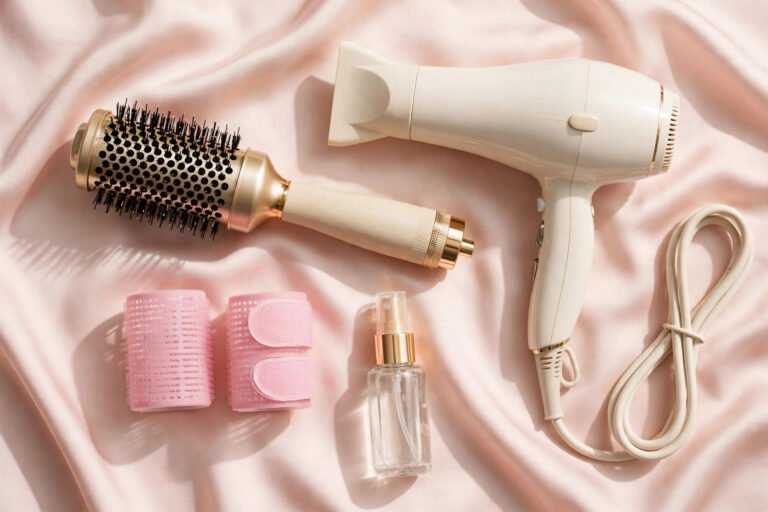
- A flat iron or curling iron for blending (optional but recommended)
- Light-hold hairspray (optional, for fine hair grip)
Set up in front of a mirror with good lighting — a bathroom mirror plus a handheld mirror for the back of your head is ideal. Lay your wefts out in order from widest to narrowest so you’re not hunting mid-application.
Prep: The Step Everyone Skips
Start with dry, detangled hair. Extensions grip best on hair with a little texture, so second-day hair is actually ideal — freshly washed, silky hair is slippery and clips slide. If you just washed, a light mist of texturizing spray or dry shampoo at the roots gives the clips something to hold.
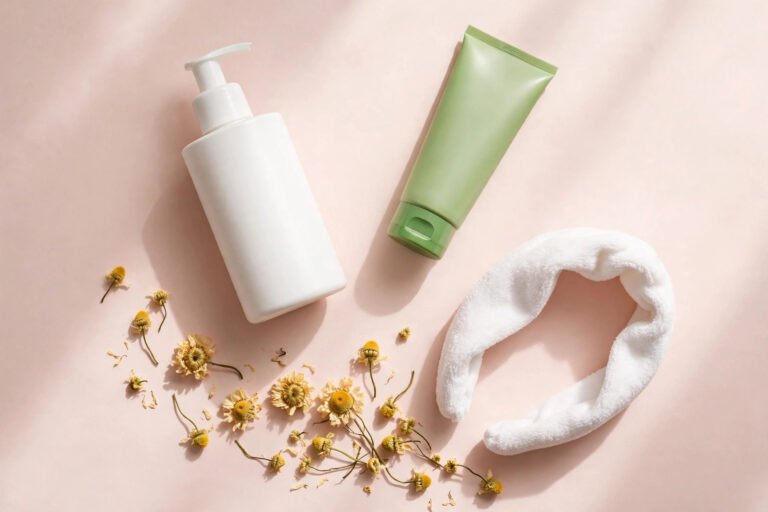
Brush your natural hair thoroughly, then brush each weft gently from ends to roots (never roots to ends — that pushes tangles tighter). Lay the wefts flat and check that all clips are open. If your extensions are new, wash them once before first wear to remove the factory coating — it makes them blend and style much more naturally. Our proper extension washing method covers exactly how to do this without damaging the wefts.
Match your part before you start. Decide where your part will be (middle, side) and style your top section accordingly — the top layer is what hides everything, so it needs to fall naturally over the wefts.
Step-by-Step Application
Step 1: Section the bottom layer
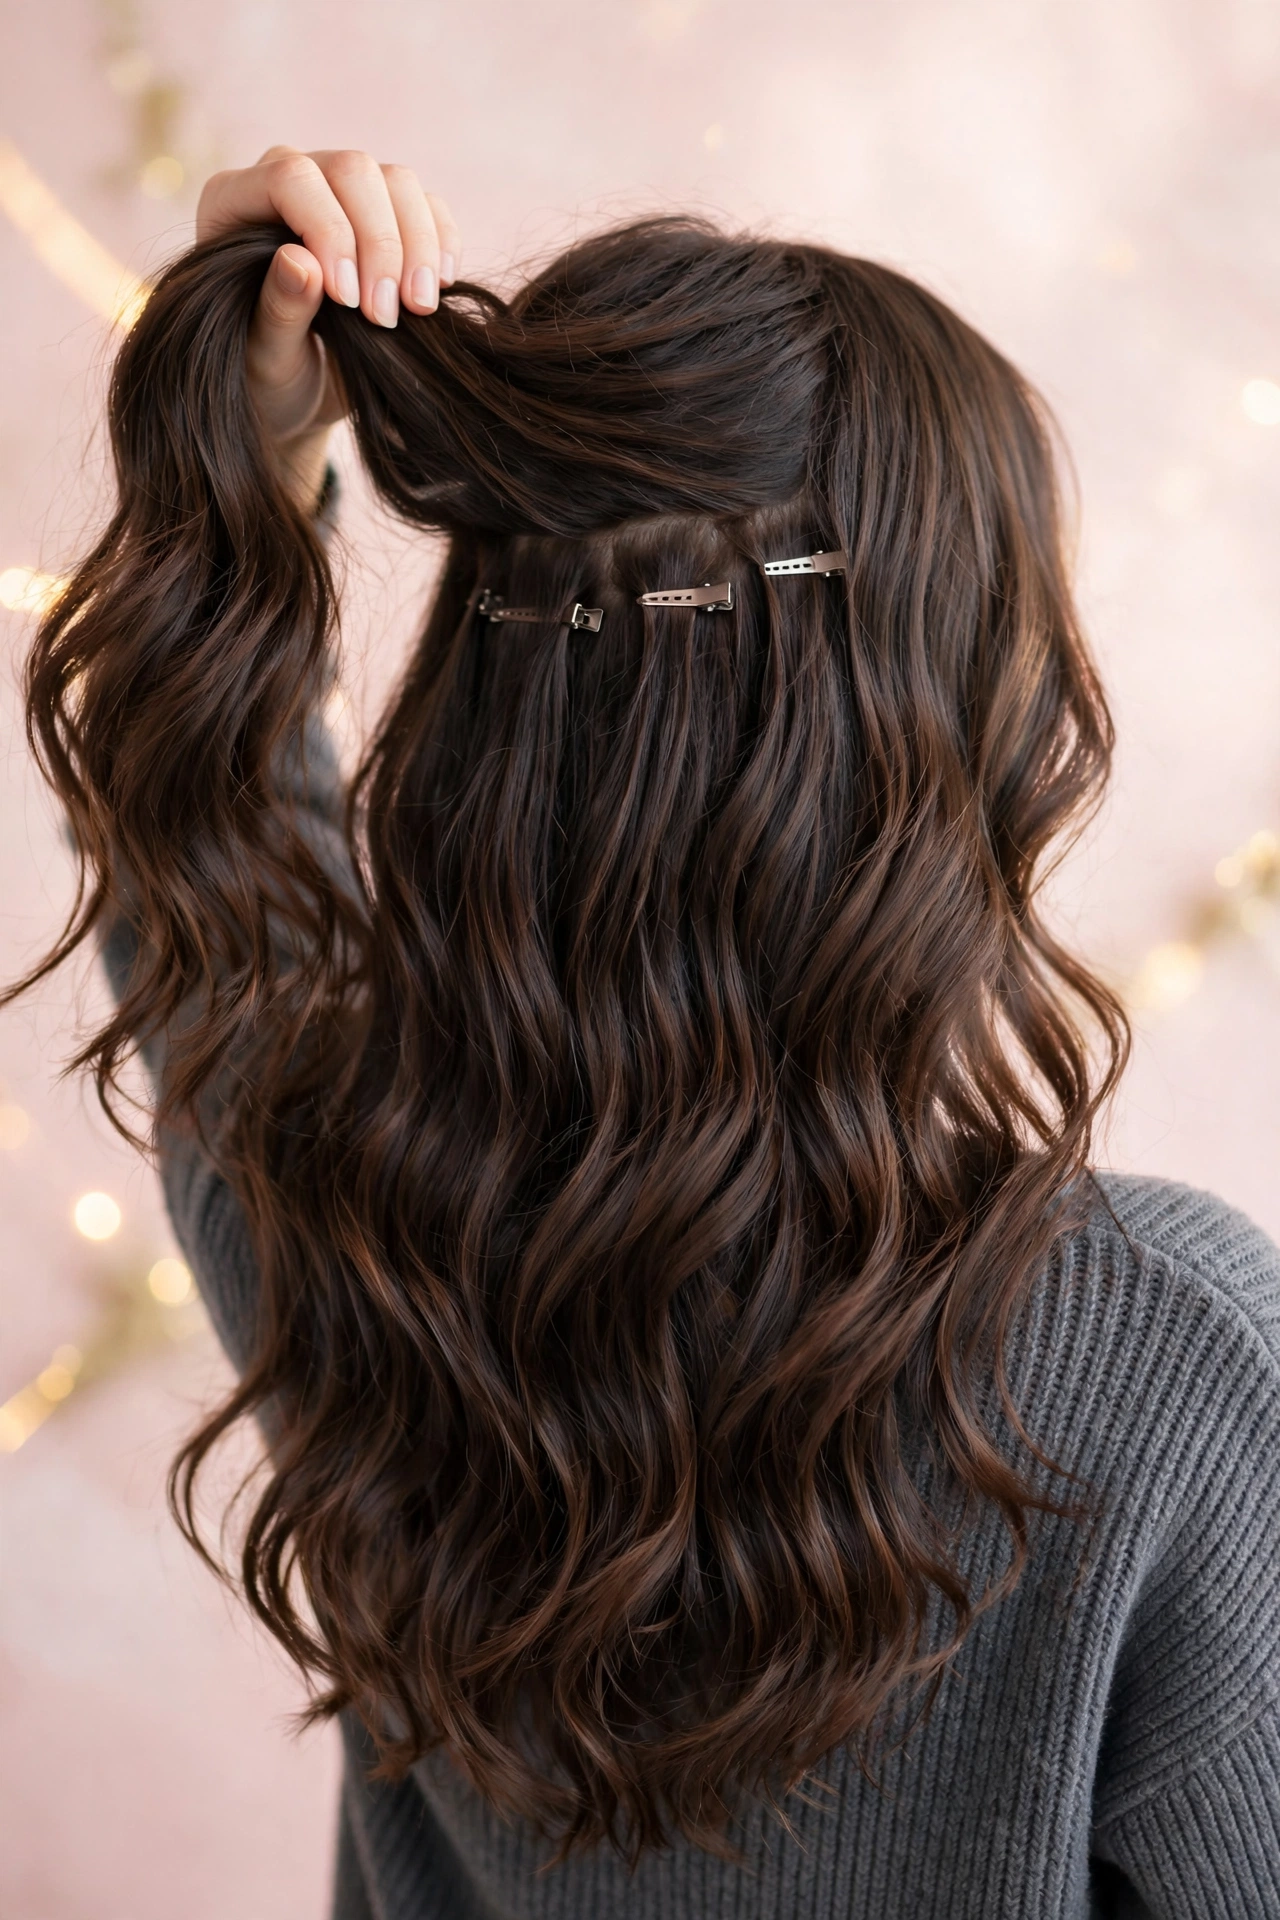
Using your tail comb, create a clean horizontal part about an inch above the nape of your neck — ear to ear. Clip everything above that line up and out of the way. This bottom section is where your first (narrowest) weft goes. A clean, straight part matters more than you’d think: crooked sections create bumps that show through.
Step 2: Attach the first weft at the nape
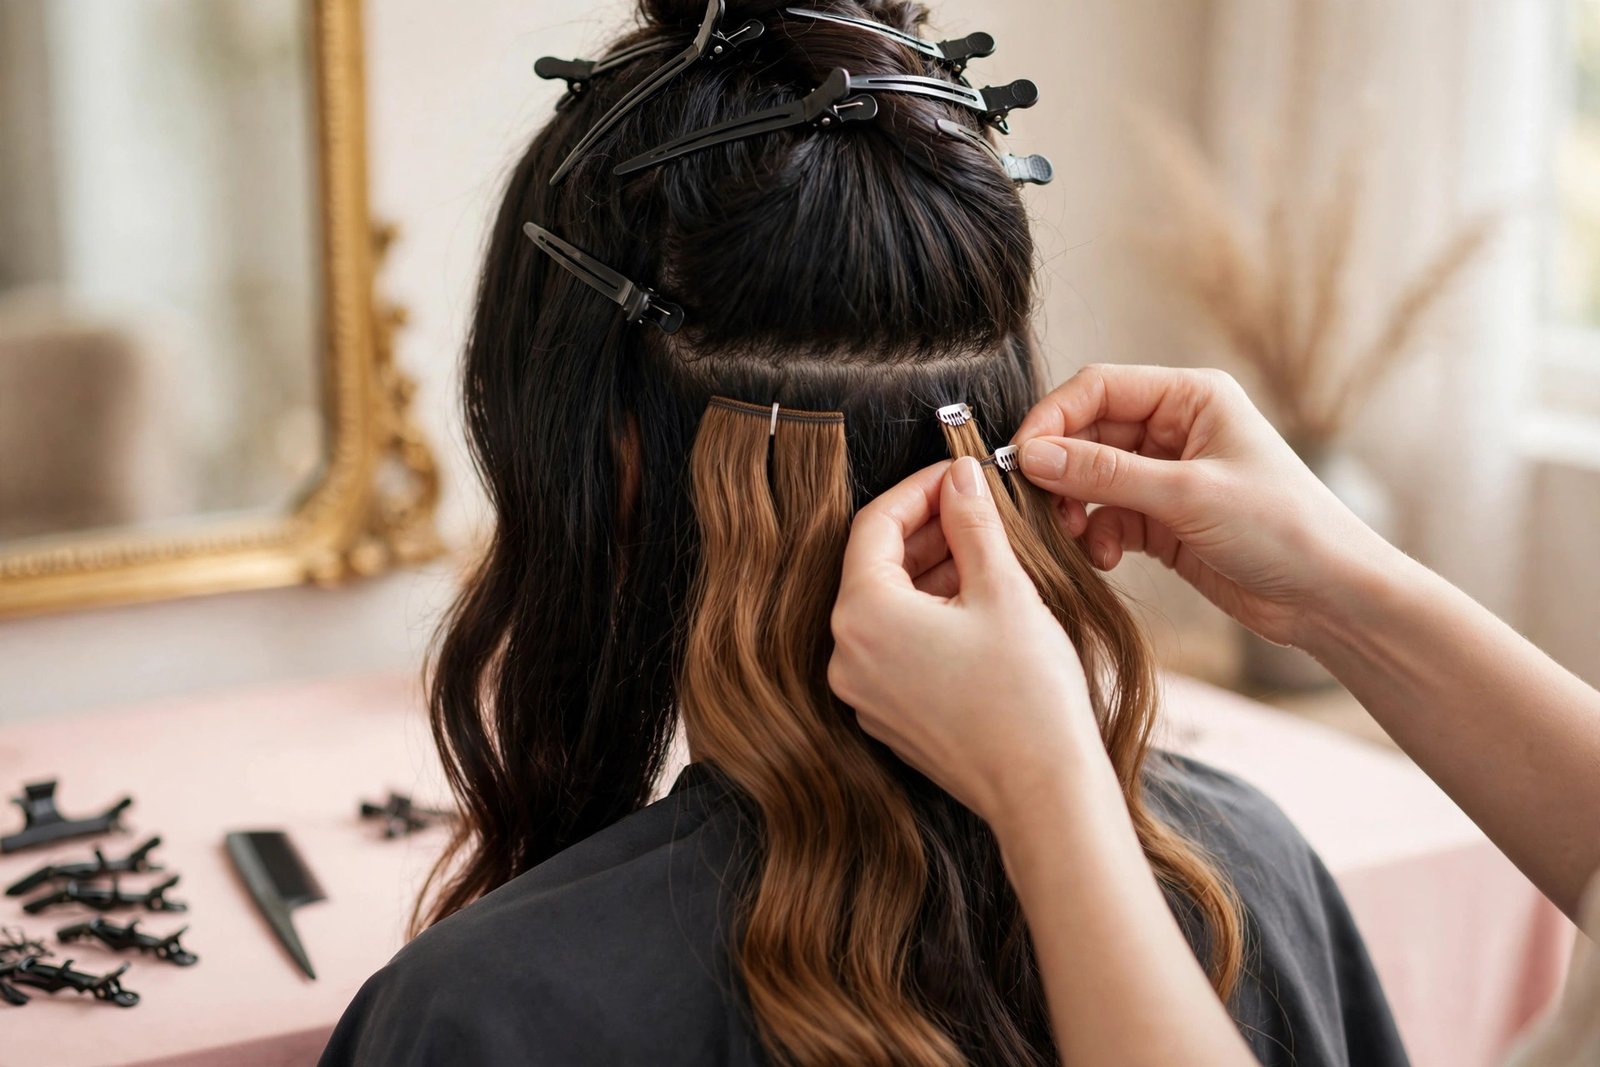
Take your narrowest weft (usually a 2-clip piece). Starting from the center, press the middle clip onto your hair about a quarter-inch below the part line, then snap the side clips. The weft should sit flat against your head with no gaps. Give it a gentle tug — it should feel secure, not painful. If it hurts, you caught too much hair or placed it too close to the scalp; reposition slightly lower.
Step 3: Work upward with progressively wider wefts
Release another inch of hair, create a new horizontal part, and attach the next weft up. Continue working bottom to top, using wider wefts (3-clip, then 4-clip pieces) as you reach the widest part of your head — roughly at ear level and above. Most full sets follow a natural order: narrow at the nape, widest across the back, medium at the sides. Keep each weft about a finger’s width apart vertically so they don’t stack and create bulk.
Step 4: Place the side wefts
The 2-clip side pieces frame your face and add the thickness that makes extensions look real from the front. Part a small section above each ear, angling slightly back, and clip the weft in about an inch above the ear. These are the pieces most beginners forget — and the reason many clip-in jobs look thin and obvious from the front. Don’t skip them.
Step 5: Check placement from all angles
Before blending, do a full check. Run your fingers along each weft to confirm it lies flat. Look in the handheld mirror at the back — no clips should be visible, and the wefts shouldn’t peek through when you tilt your head. Shake your head gently; nothing should shift or rattle. If a weft feels loose, remove it and re-clip with a light backcomb (tease) at the root first for grip.
Step 6: Blend, blend, blend
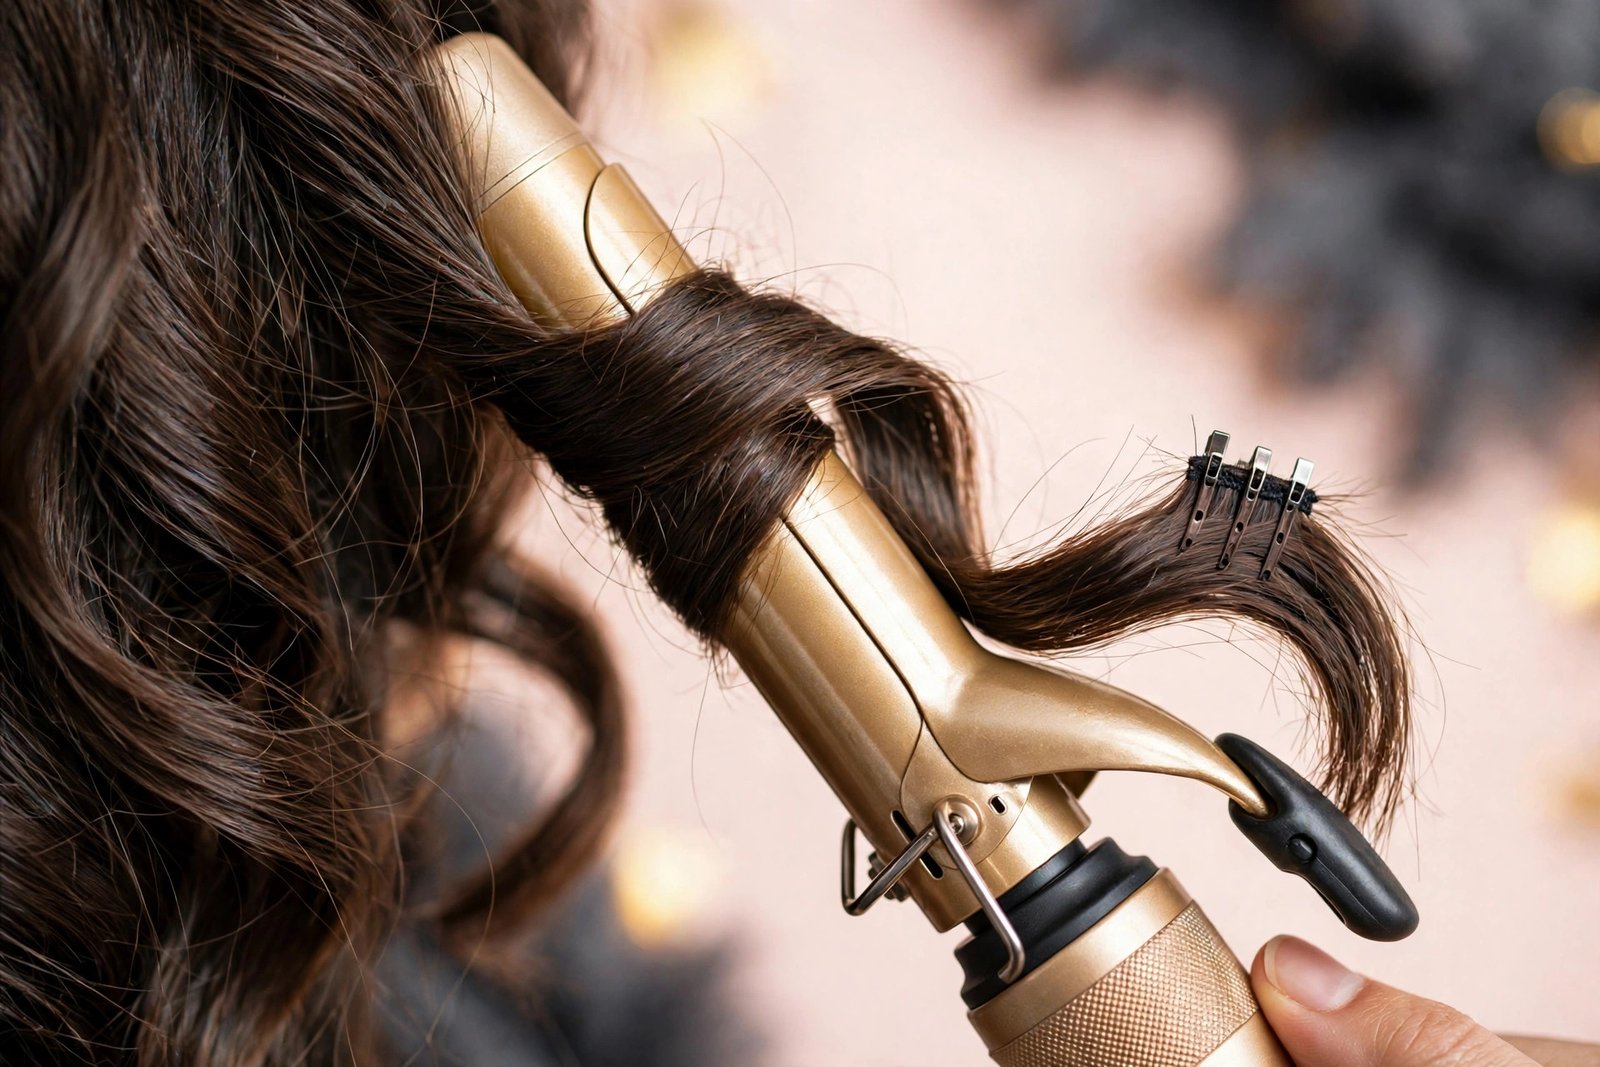
This is the step that separates natural from obvious. Take your flat iron or curling iron and style your natural hair together with the extensions in the same sections — curl a piece of your hair with the extension hair right beside it, or straighten them as one. This merges the textures so there’s no visible line where your hair ends and the extensions begin. If your natural hair is shorter than the extensions, curling everything into loose waves is the most forgiving blend — straight styles show length mismatches ruthlessly.
Step 7: Final check and set
Let down your top layer and style it as usual — it’s the curtain that hides every weft. Do one last mirror check from the front, sides, and back. A light mist of flexible-hold hairspray over the crown smooths flyaways without stiffening the extensions. And that’s it — you’re done.
The whole process takes most beginners 20–30 minutes the first few times, dropping to 10–15 once the placement becomes muscle memory. If you’re still weighing clip-ins against the salon alternative, our clip-in vs tape-in breakdown can help you decide which method fits your routine.
Blending With Short Hair: The Hard Mode
If your natural hair is at or above shoulder length, blending takes extra work — but it’s absolutely doable. The goal is eliminating the visible line where your short hair ends and the long extensions begin.
Curl everything. Loose waves are the great equalizer. When your short layers and the long extensions are curled in the same direction with the same iron, the eye reads one continuous head of textured hair. Straight styles are the enemy here — they expose every length difference.
Layer your extension cut. If your set is one blunt length, have a stylist trim the extensions (on your head, while you’re wearing them) to create face-framing layers that connect your short hair to the long lengths. This single haircut transforms obvious extensions into believable hair. It’s inexpensive and worth every penny.
Use fewer, longer wefts on top. The topmost wefts are the ones most likely to reveal short layers poking out. Placing your longest pieces higher and keeping the very top section of your natural hair slightly longer-looking (via the curl trick) hides the transition.
Consider the “two-length” strategy. Some short-haired wearers buy a 14–16 inch set instead of 20+ inches for their first try. The length jump is smaller, blending is dramatically easier, and it still reads as a major transformation. You can always go longer once the technique clicks.
Hiding the Wefts: Making Clips Disappear
Visible clips are the #1 giveaway, and every one is preventable:
- Leave a buffer zone. Never place a weft closer than about an inch below your part line — the hair above needs enough length and density to fall over and cover it.
- Tease the base. A light backcomb at the root where each clip attaches does two jobs: it gives the clip grip and creates a little cushion of hair that hides the weft’s edge.
- Angle side wefts back. Side pieces clipped straight horizontally can peek out when you tuck hair behind your ears. Angle them slightly backward so they sit behind the ear line.
- Check the crown. The weft nearest your crown is the most visible from above and behind. Make sure your top layer is thick enough to cover it — if your crown hair is thin, skip the highest weft and keep volume lower.
- Mind the wind and movement. Before leaving, do the “head shake test” — shake, tilt, and run your fingers through your hair. If a weft flashes, reposition it lower or add coverage from the layer above.
Styling Your Extensions for a Seamless Look
Once the wefts are in and blended, style as one head of hair — that’s the whole secret. A few method-specific notes:
Curling: Use the same barrel size on your hair and the extensions, curling away from the face in consistent sections. Let curls cool before touching them — this sets the shape in both hair types equally. For heat-friendly synthetic or human hair, keep the iron at medium heat (around 300–350°F) with heat protectant.
Straightening: Run the flat iron over your natural hair and the extension beneath it in the same pass. This marries the textures. One pass is usually enough — repeated passes dry out extension hair fast since it gets no natural oils.
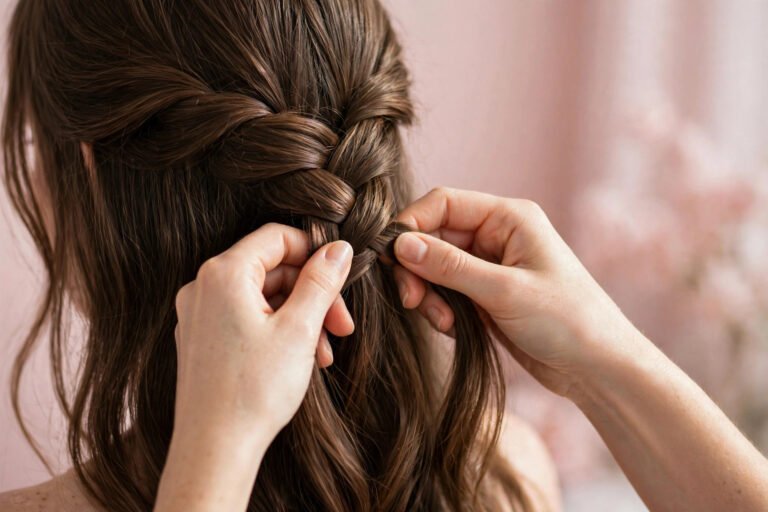
Updos and ponytails: These need strategic weft placement — keep wefts lower (below the ponytail base) and skip the crown weft entirely. A low ponytail, side braid, or low bun works beautifully; high top knots expose wefts and are best avoided with a full set. For holiday styling ideas that work with extensions in, our heatless holiday curls tutorial has options that are gentle on both your hair and the wefts.
Adding volume at the crown: Tease your top layer lightly at the roots before letting it fall — this lifts your natural hair over the highest weft and creates the fullness that sells the whole look.
Taking Them Out (and Storing Them Right)
Removal is the reverse of application and takes about two minutes: working top to bottom, open each clip (press the sides — never yank) and slide the weft out. If a clip resists, there’s likely hair caught in the hinge; work it free gently rather than pulling.
After removal, brush each weft from ends to roots with a loop brush, then store flat. Most sets come with a storage box or hanger — use it. Crumpled wefts develop kinks and tangles that shorten their lifespan significantly. Keep them somewhere dry and away from direct sunlight, which fades color over time.
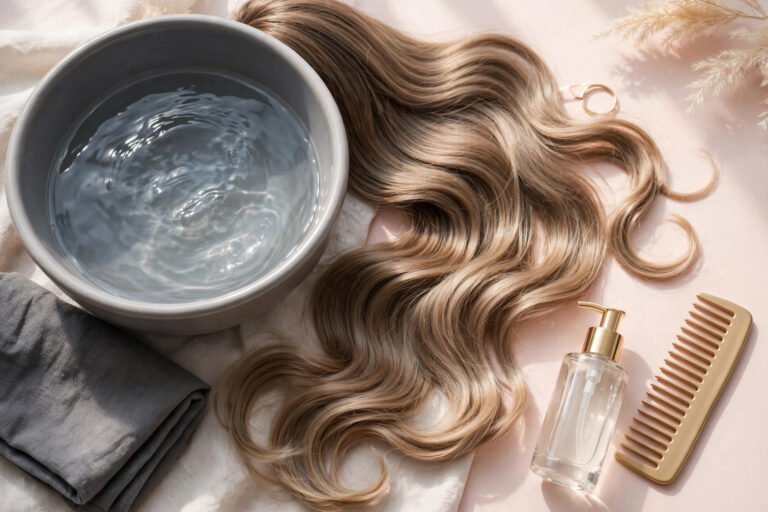
Wash day comes every 15–20 wears, or when you notice product buildup or a dull coating. The full process — products, water temperature, drying method — is covered in our proper way to wash hair extensions. The short version: lukewarm water, sulfate-free shampoo, condition mid-lengths to ends, air-dry flat.
6 Mistakes That Make Clip-Ins Look Obvious
- Skipping the blend. The single biggest offender. Unstyled extensions next to styled hair always look separate.
- Wrong color match. When in doubt, match your ends and go slightly darker rather than lighter.
- Too much length. A dramatic length jump draws the eye straight to the transition line.
- Wefts too high. Clips placed near the crown peek through thin top layers — keep them an inch below the part.
- Forgetting the side wefts. No side pieces = thin, obvious front. They’re small but essential.
- Sleeping in them. They tangle, mat, and stress your roots. Two minutes of removal saves the set.
Frequently Asked Questions
How long does it take to put in clip-ins?
First-timers: 20–30 minutes. After a week of practice: 10–15 minutes. Speed comes from knowing your weft order and sectioning by feel — lay wefts out widest-to-narrowest before you start and it goes much faster.
Can I put clip-ins in by myself?
Yes — that’s the entire point of the method. The back wefts are the only tricky part, and a handheld mirror solves it. Most wearers are fully independent within 3–4 applications.
Will clip-ins damage my hair?
When used correctly — daytime wear only, varied placement, gentle removal — clip-ins are the lowest-damage extension method available. Problems come from sleeping in them, clipping the same stressed roots daily, or yanking them out. Treat them gently and your hair won’t notice.
Can I wear clip-ins with thin or fine hair?
Yes, with adjustments: choose a lighter set (120–160 grams), tease roots lightly for grip, apply on second-day hair rather than freshly washed, and skip the heaviest wefts if they show through. Halos are another good option for very fine hair since nothing clips to your strands at all.
How do I hide clip-ins in a ponytail?
Place wefts below where the ponytail base will sit, skip the crown weft, and wrap a small section of hair around the elastic to cover the base. Low and side ponytails hide wefts far better than high ones.
Can I swim or exercise with clip-ins in?
Exercise: yes, in a braid or bun — then remove and brush after. Swimming: take them out first. Chlorine and salt water are brutal on extension hair, and wet wefts under a swim cap tangle badly. Clip-ins’ removability is actually an advantage here over semi-permanent methods.
How often should I wash my clip-ins?
Every 15–20 wears, or sooner if there’s visible product buildup. They don’t get oily like scalp hair, so overwashing just dries them out. When you do wash, our extension washing guide has the full step-by-step.
The Bottom Line
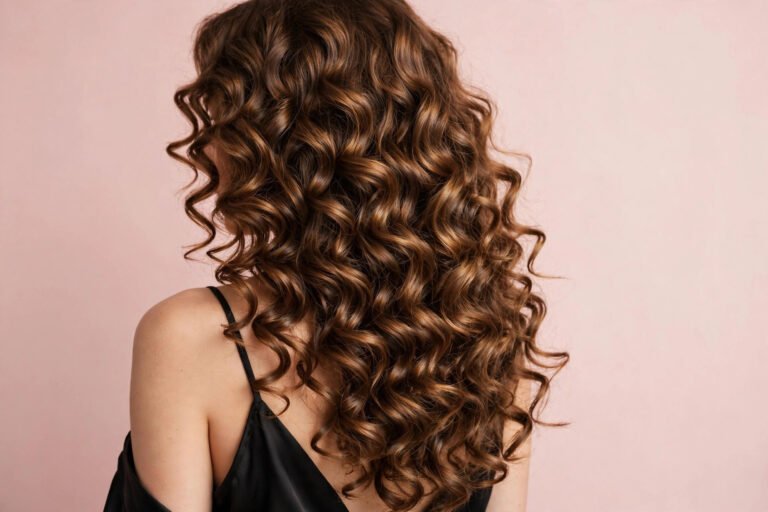
Great clip-in application isn’t talent — it’s a repeatable process: clean sections bottom to top, widest wefts at the back, side pieces for framing, and always, always blend. Your first attempt won’t be perfect, and that’s normal. By the fifth try, it’ll be muscle memory, and nobody will know your secret unless you tell them.
If you’re still choosing between methods, our clip-in vs tape-in comparison lays out the trade-offs, and the complete beginner’s guide covers every extension type. Now go practice — your best hair days are ahead.
Love this? Pin it for later!