How to French Braid Your Own Hair: Step-by-Step Tutorial
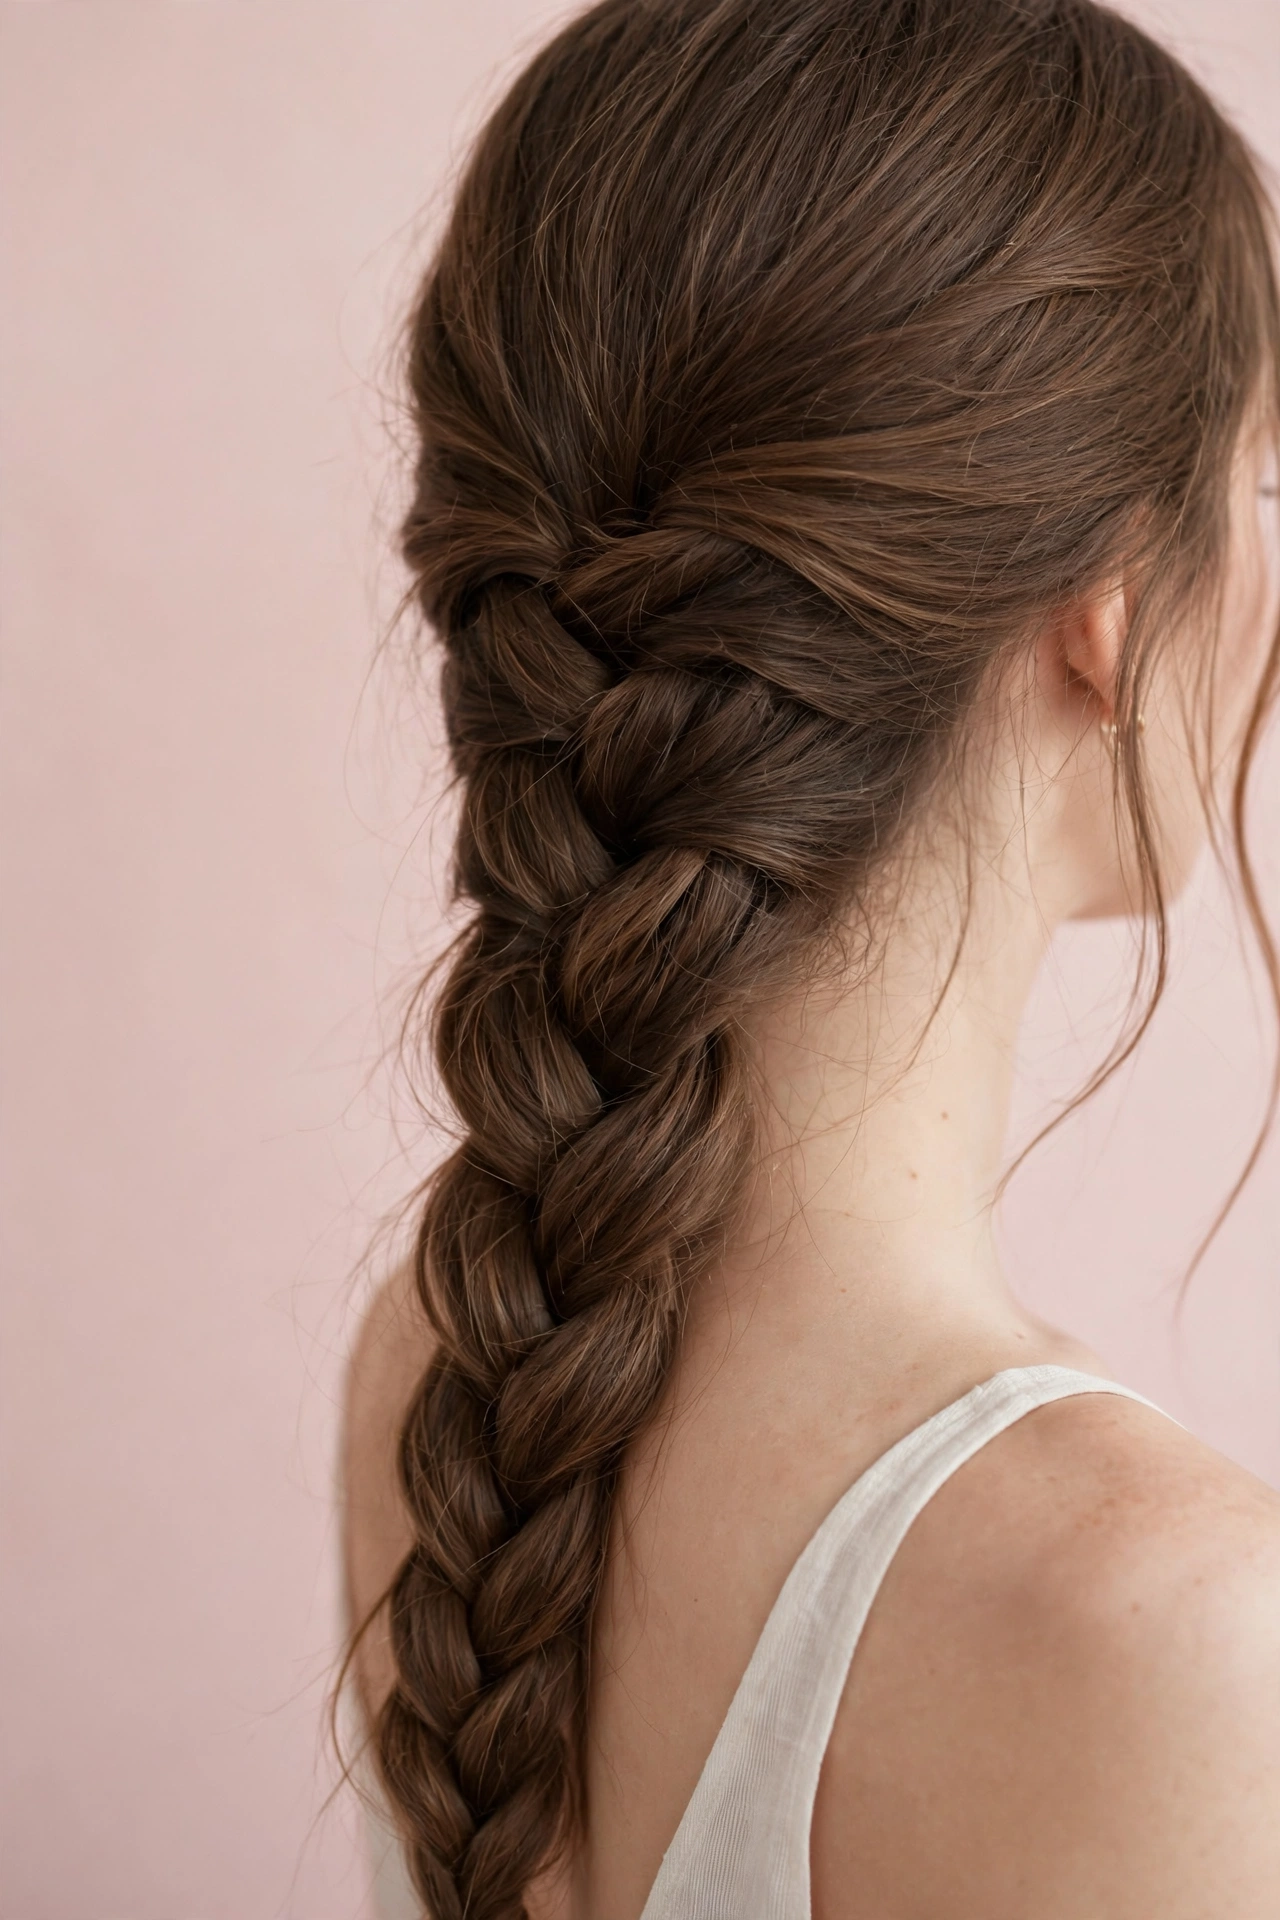
The French braid is the single most useful braiding skill you can learn. Once you can French braid your own hair, you unlock dozens of styles — from polished work looks to gym-proof sport braids to the base of almost every braided updo. It looks complicated, but it’s really just a three-strand braid with one added move: picking up new hair before each cross.
This tutorial breaks the technique into small, learnable steps with exact hand positioning, since that’s where most beginners get stuck. If you haven’t yet learned the basic three-strand braid, start with our complete braids for beginners guide first — this tutorial assumes you can already do a simple braid comfortably.
Before You Start: Setup and Hair Prep
French braiding your own hair happens behind your head, where you can’t see. Setting up correctly before you touch a strand makes the whole process dramatically easier.
What you need
- A rat-tail comb for a clean center or side part (optional but recommended)
- 2–4 sectioning clips
- Small elastics
- A spray bottle with water
- Light mousse or braid gel for grip
- Two mirrors: your bathroom mirror plus a handheld mirror so you can check the back
Prep your hair
French braids need grip, so freshly washed, slippery hair is actually harder to work with. Hair washed the day before is ideal. Detangle thoroughly from ends to roots, then lightly mist with water or apply a small amount of mousse through the lengths. Decide on your parting — center part for a single centered braid or symmetric doubles, side part for an off-center braid — and comb it clean before you begin.
A quick note on hair type: this technique works on straight, wavy, curly, and coily hair. On very curly or coily textures, stretching the hair first (with a blowout or banding method) makes sectioning cleaner, but it’s optional. Work with your hair’s natural texture and adjust pickup sizes — curlier hair generally needs slightly larger pickups to keep the braid smooth.
Hand Positioning: The Foundation Nobody Explains
Most tutorials say “hold three sections” without explaining how, and that’s exactly where beginners drop strands. Here’s the grip that works:
- Gather your starting section at the crown with both hands, as if making a half ponytail.
- Divide into three strands. Hold the left strand between the thumb and index finger of your left hand. Hold the right strand between the thumb and index finger of your right hand. Let the middle strand hang — you’ll catch it with your free fingers.
- The working grip: Your pinky and ring fingers are your “holders.” Use them to pin strands against your palm while your thumb and index finger do the crossing. This leaves your middle fingers free to help scoop new hair.
- Keep hands close to the scalp. The further your hands drift from your head, the looser and messier the braid. Think of your knuckles nearly brushing your scalp as you work.
Practice this grip with just the three strands for a minute before adding hair. It should feel awkward for about 30 seconds, then start to click.
Step-by-Step: French Braiding Your Own Hair
Step 1: Section the crown
Using your thumbs or the rat-tail comb, gather a triangle-shaped section of hair at the top of your head — roughly from temple to temple, extending back to the crown. This is your starting section. Divide it into three equal strands: left, center, right.
Step 2: Anchor with two crosses
Do one or two regular three-strand crosses (right over center, left over center) without adding any hair. This anchors the braid so the top doesn’t loosen while you work. Keep these crosses snug.
Step 3: Add hair to the right strand
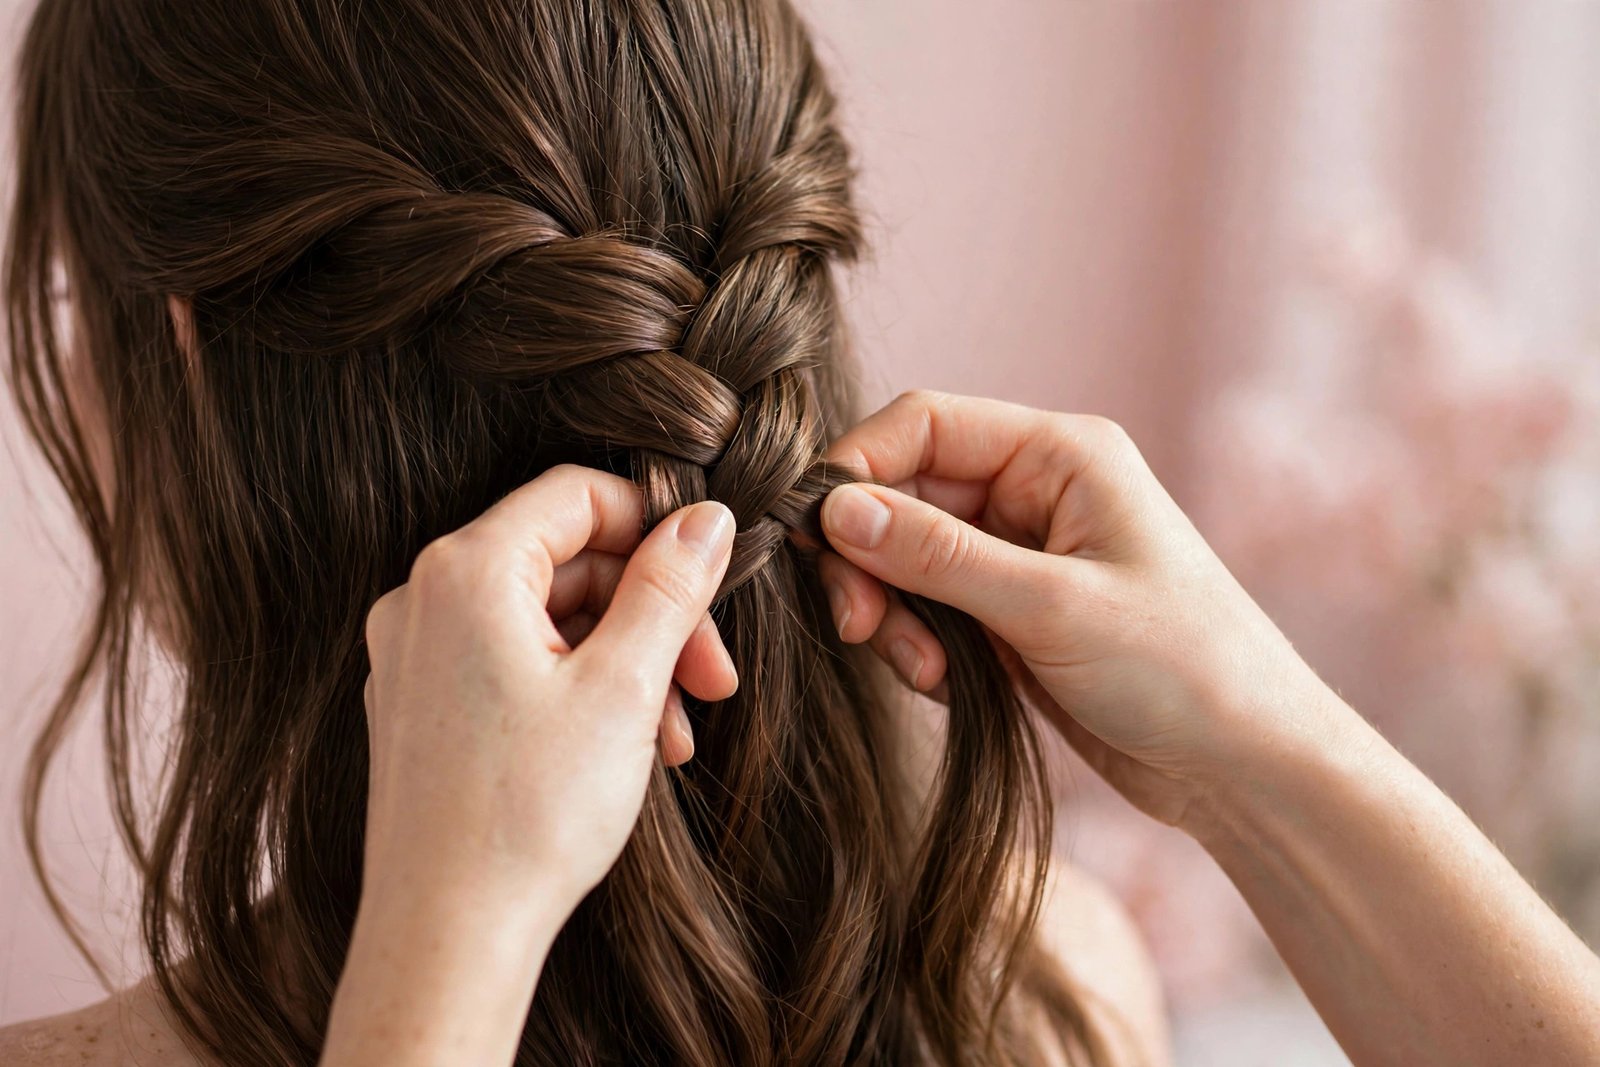
Here’s the core move. Before crossing the right strand over the center, use the fingers of your right hand to scoop up a new strip of hair from the right side of your head — from the hairline back to where your braid currently sits. Add this new hair to the right strand, smooth it together, then cross the combined strand over the center.
Pickup size: Aim for a strip about 1–2 inches wide. Smaller pickups create a tighter, more detailed braid; larger ones go faster but look chunkier. The critical rule: keep every pickup roughly the same size on both sides.
Step 4: Add hair to the left strand
Mirror the move on the left: scoop a matching strip from the left side of your head, add it to the left strand, smooth, and cross over the center.
Step 5: Repeat down the head
Continue the pattern — right side pickup and cross, left side pickup and cross — working diagonally downward toward the nape. After each cross, give all three strands a gentle, even tug to keep tension consistent. Use your thumbs to sweep the side hair cleanly into each strand; stray wisps left out of pickups become frizz.
Step 6: Transition at the nape
When you’ve added all the hair from the sides of your head and reach the nape of your neck, stop adding hair. You should now be holding three full strands containing all your hair.
Step 7: Finish as a regular braid
Continue with a plain three-strand braid (right over center, left over center) down the remaining length. Keep the same tension you used on the scalp portion so the transition looks seamless. Secure with an elastic, leaving about an inch of hair below it.
Step 8: Clean up
Check the back with your handheld mirror. Smooth any bumps by gently tugging the braid edges. Tame flyaways along the hairline with a tiny amount of edge control or gel on your fingertips. If you want a softer, fuller look, gently pull (“pancake”) the outer edges of the braid loops outward, starting from the bottom and working up.
Troubleshooting Common French Braid Problems
The braid is lumpy. Uneven pickups are the cause 90% of the time. Consciously make each added section the same width. It also helps to comb each side section smooth with your fingers before adding it — twisted or folded pickups create bumps.
One side looks tighter than the other. Your dominant hand is pulling harder. This is extremely common and fixes itself with awareness: after every few crosses, glance in the mirror and consciously ease up on the dominant side.
Strands keep slipping out of my fingers. Your hair is too slippery. Add mousse or braid gel, or lightly mist with water. Also check your grip — strands should be pinned by your ring and pinky fingers against your palm, not just held by fingertips.
The top of the braid loosens after I finish. You didn’t anchor firmly enough. Do two (not one) plain crosses at the very start, and keep the first few pickups small and snug. The crown area loosens most because it’s handled longest.
My arms are exhausted halfway through. Rest your elbows on a countertop or table — this takes most of the weight off your shoulders. Take a 20-second break whenever you need one; clip the braid in place so it doesn’t unravel. Stamina builds fast over a week of practice.
The braid drifts to one side. Check your centering in the mirror every 4–5 crosses. Consciously direct each pickup slightly toward the center line. Side-drift usually means you’re adding bigger pickups on one side.
I can’t reach the back of my head comfortably. Try braiding with your head tilted slightly forward — this brings the working area closer to your hands and is much easier on the shoulders. Many beginners find this single adjustment solves their reach problem.
French Braid Variations to Try Next
Once your basic French braid is solid, these variations use the same skill with small twists:
- Side French braid: Start the crown section off-center and angle your pickups diagonally across the head. Elegant and easier to see while you work.
- Double French braids: Part down the middle, clip one side away, and French braid each side separately. Uses identical technique — just smaller sections.
- French braid into a bun or ponytail: Stop adding hair at the crown or mid-head and gather everything into a ponytail or twist into a bun instead of finishing the braid.
- Reverse French (Dutch) braid: Cross strands under instead of over for a raised, 3D braid. Our Dutch braid tutorial for beginners covers this in full.
- French fishtail: Combine the French pickup technique with the two-strand fishtail pattern for an intricate hybrid. Learn the base fishtail first with our fishtail braid step-by-step.
For a broader foundation covering all the basics, our braids for beginners guide walks through five fundamental braid types in learning order.
How to Make Your French Braid Last
A well-done French braid can last 1–3 days with basic care:
- Night protection: Wrap the braid in a silk or satin scarf, or at minimum sleep on a satin pillowcase. This is the single biggest factor in multi-day wear.
- Refresh the hairline: On day two, smooth new flyaways with a dab of edge control and re-mist the braid lightly with water to reactivate the products.
- Don’t re-braid dirty hair repeatedly: If the braid is frizzy beyond refreshing, take it down, detangle, and redo it. Braiding over frizz just locks the mess in.
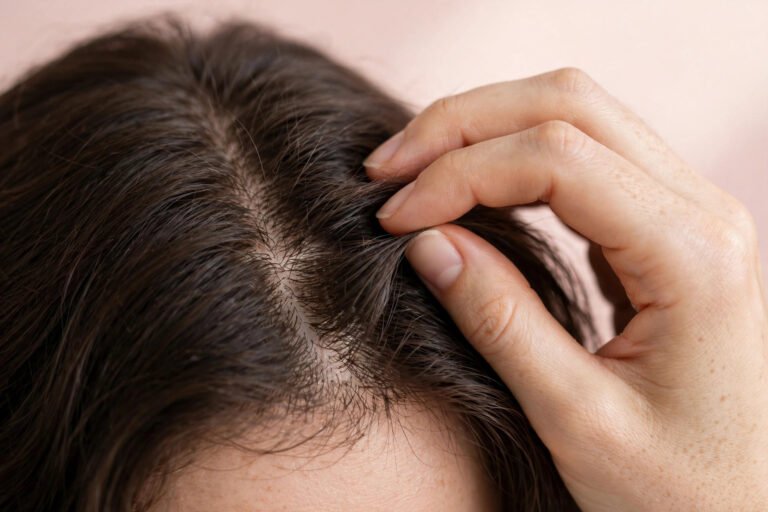
- Keep the scalp comfortable: A French braid should feel secure, never painful. If you wake up with a headache or tender spots, the tension was too high — redo it looser. Consistent too-tight braiding can stress the hairline, so pair braided styles with a gentle scalp care routine.
Key Takeaways
- Prep matters: detangled, slightly grippy hair (day-old or with mousse) braids far easier than slippery just-washed hair.
- Master the grip: pin strands with ring and pinky fingers against your palm, cross with thumb and index finger, keep hands close to the scalp.
- Anchor with two plain crosses, then add same-sized pickups (1–2 inches) before every cross, alternating sides.
- Lumps come from uneven pickups; one-sided tightness comes from dominant-hand pulling — both fix with conscious correction.
- Tilt your head forward and rest elbows on a surface to beat arm fatigue; clip the braid if you need a break mid-way.
- A French braid lasts 1–3 days with satin night protection; never tolerate pain from too-tight tension.
FAQ
How long does it take to learn to French braid your own hair?
If you can already do a three-strand braid, expect 2–4 weeks of short daily practice before your French braid looks smooth. The hard part isn’t the pattern — it’s adding hair evenly while working behind your head. Practice the pickup motion slowly; speed comes naturally later.
Why does my French braid look messy at the top?
The crown area is handled the longest, so it loosens first. Fix it by anchoring with two firm plain crosses at the start, keeping your first few pickups small and snug, and keeping your hands close to the scalp rather than pulling sections outward and away.
Can I French braid short hair?
Yes, if it’s at least chin-to-shoulder length. Shorter hair needs smaller pickups and more grip product, and you may need bobby pins to secure the nape pieces that escape. A side French braid is usually easier than a centered one on shorter lengths.
What’s the difference between a French braid and a Dutch braid?
In a French braid, side strands cross over the middle, so the braid sits woven into the hair. In a Dutch braid, strands cross under, making the braid pop out in a raised 3D effect. The pickup technique is identical — only the crossing direction changes.
How do I keep my French braid from frizzing the next day?
Sleep in a silk or satin scarf, and in the morning lightly mist the braid with water and smooth the surface with your palms. A tiny amount of smoothing serum on the outer layer tames flyaways without redoing the braid.
Conclusion
French braiding your own hair is genuinely one of those skills where the first attempts feel impossible and then — usually within a couple of weeks — something clicks and your hands just know what to do. Focus on the grip, keep your pickups even, and don’t rush the behind-the-head learning curve. Every messy attempt is building the muscle memory that makes the next one better.
Once this technique feels natural, expand your repertoire: try the raised 3D effect of Dutch braids, the intricate weave of the fishtail braid, or explore long-term protective styling with our guide to how long box braids last. And if you ever need to revisit the fundamentals, the complete beginner braids guide is always there.
Love this? Pin it for later!