How to Do a Fishtail Braid: Step-by-Step Tutorial for Beginners
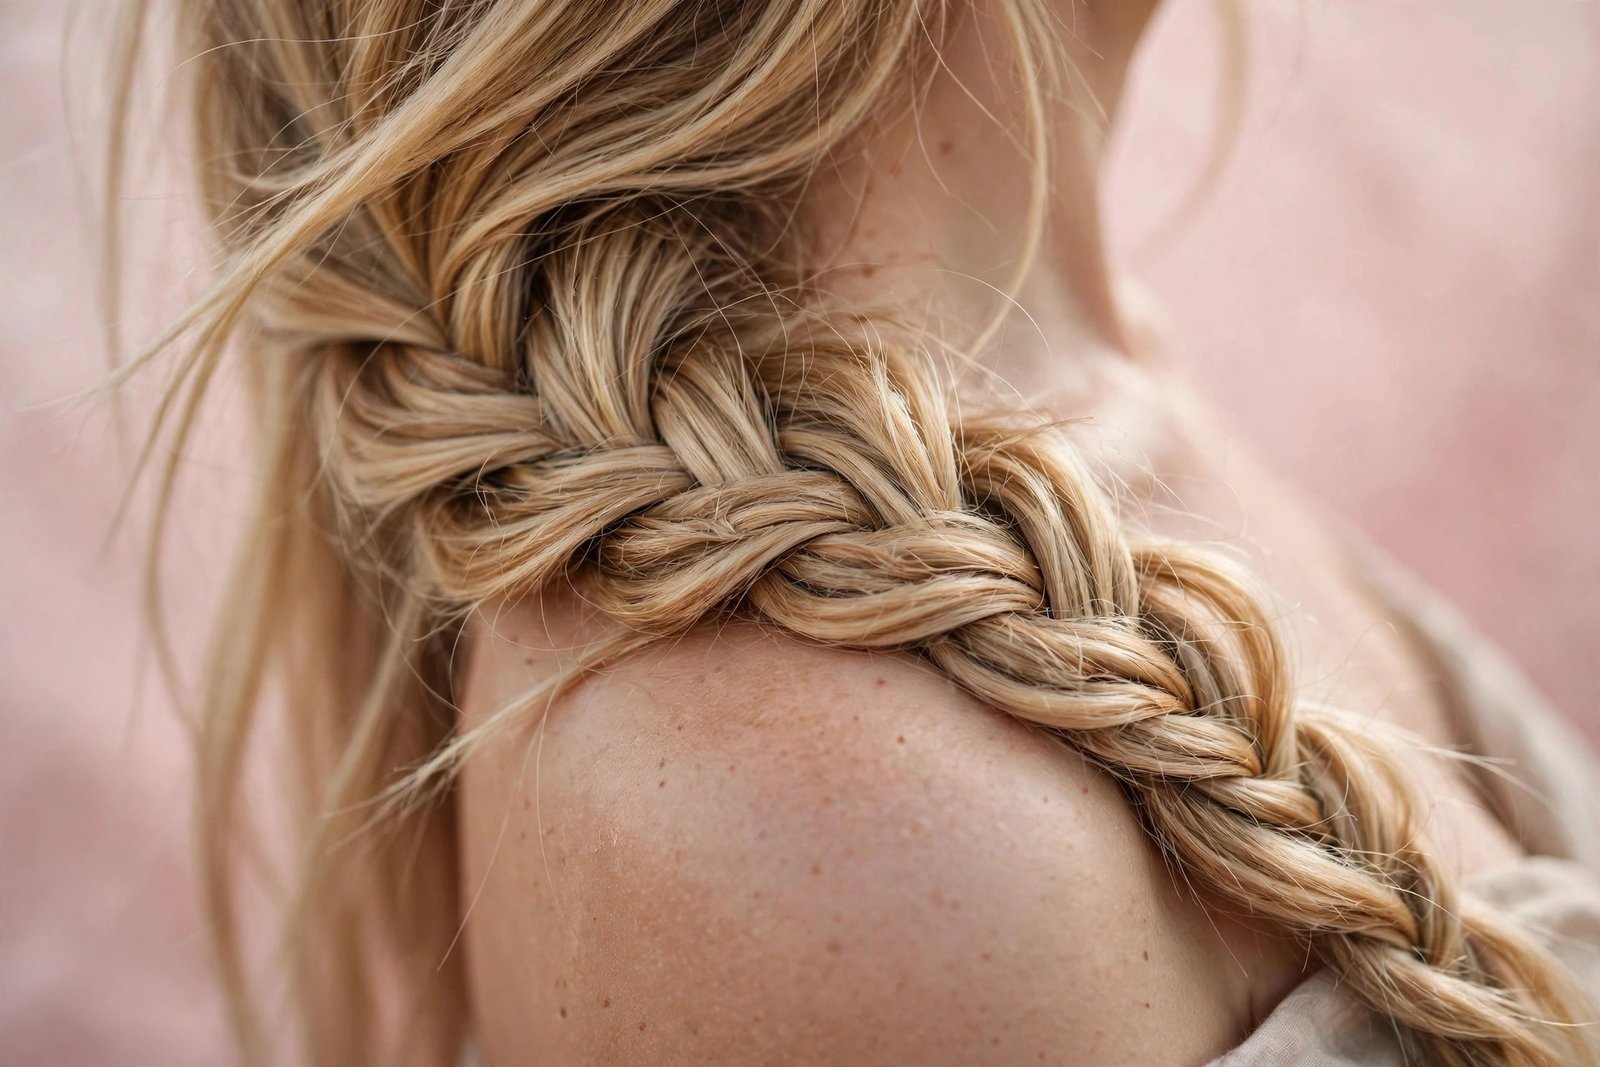
The fishtail braid looks like the hardest braid in the room — an intricate herringbone weave that seems to require serious skill. In reality, it’s one of the simplest braids to learn, because it uses only two sections and one repeating move. If you can do a basic three-strand braid, you already have the coordination for a fishtail; you just need to learn the new rhythm.
This tutorial covers the complete technique: setup, the exact weaving motion, how to get that full, textured finish, and the common mistakes that trip up beginners (with fixes). If you’re brand new to braiding altogether, start with our braids for beginners guide to build your foundation first.
What Makes a Fishtail Different
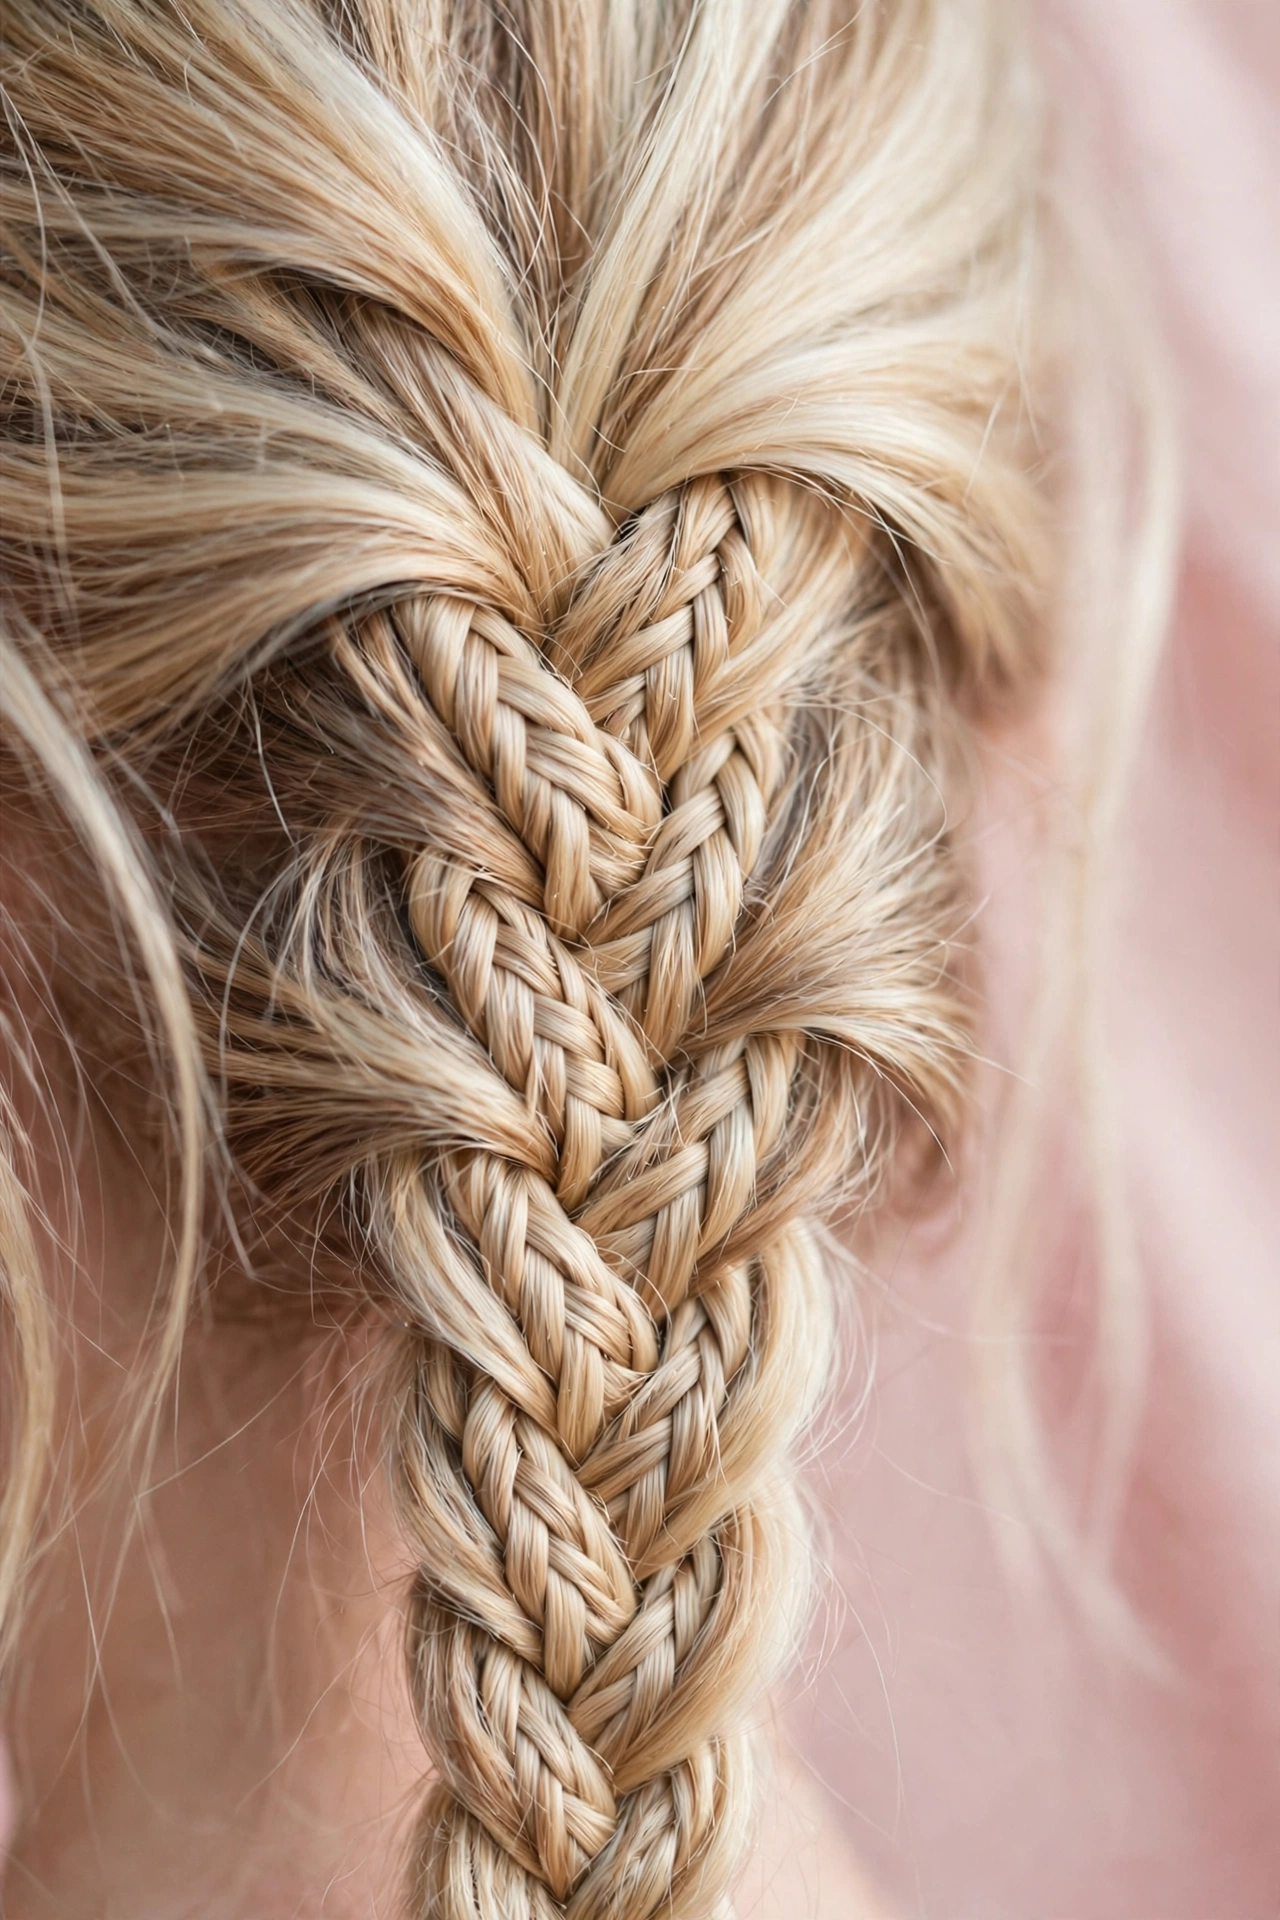
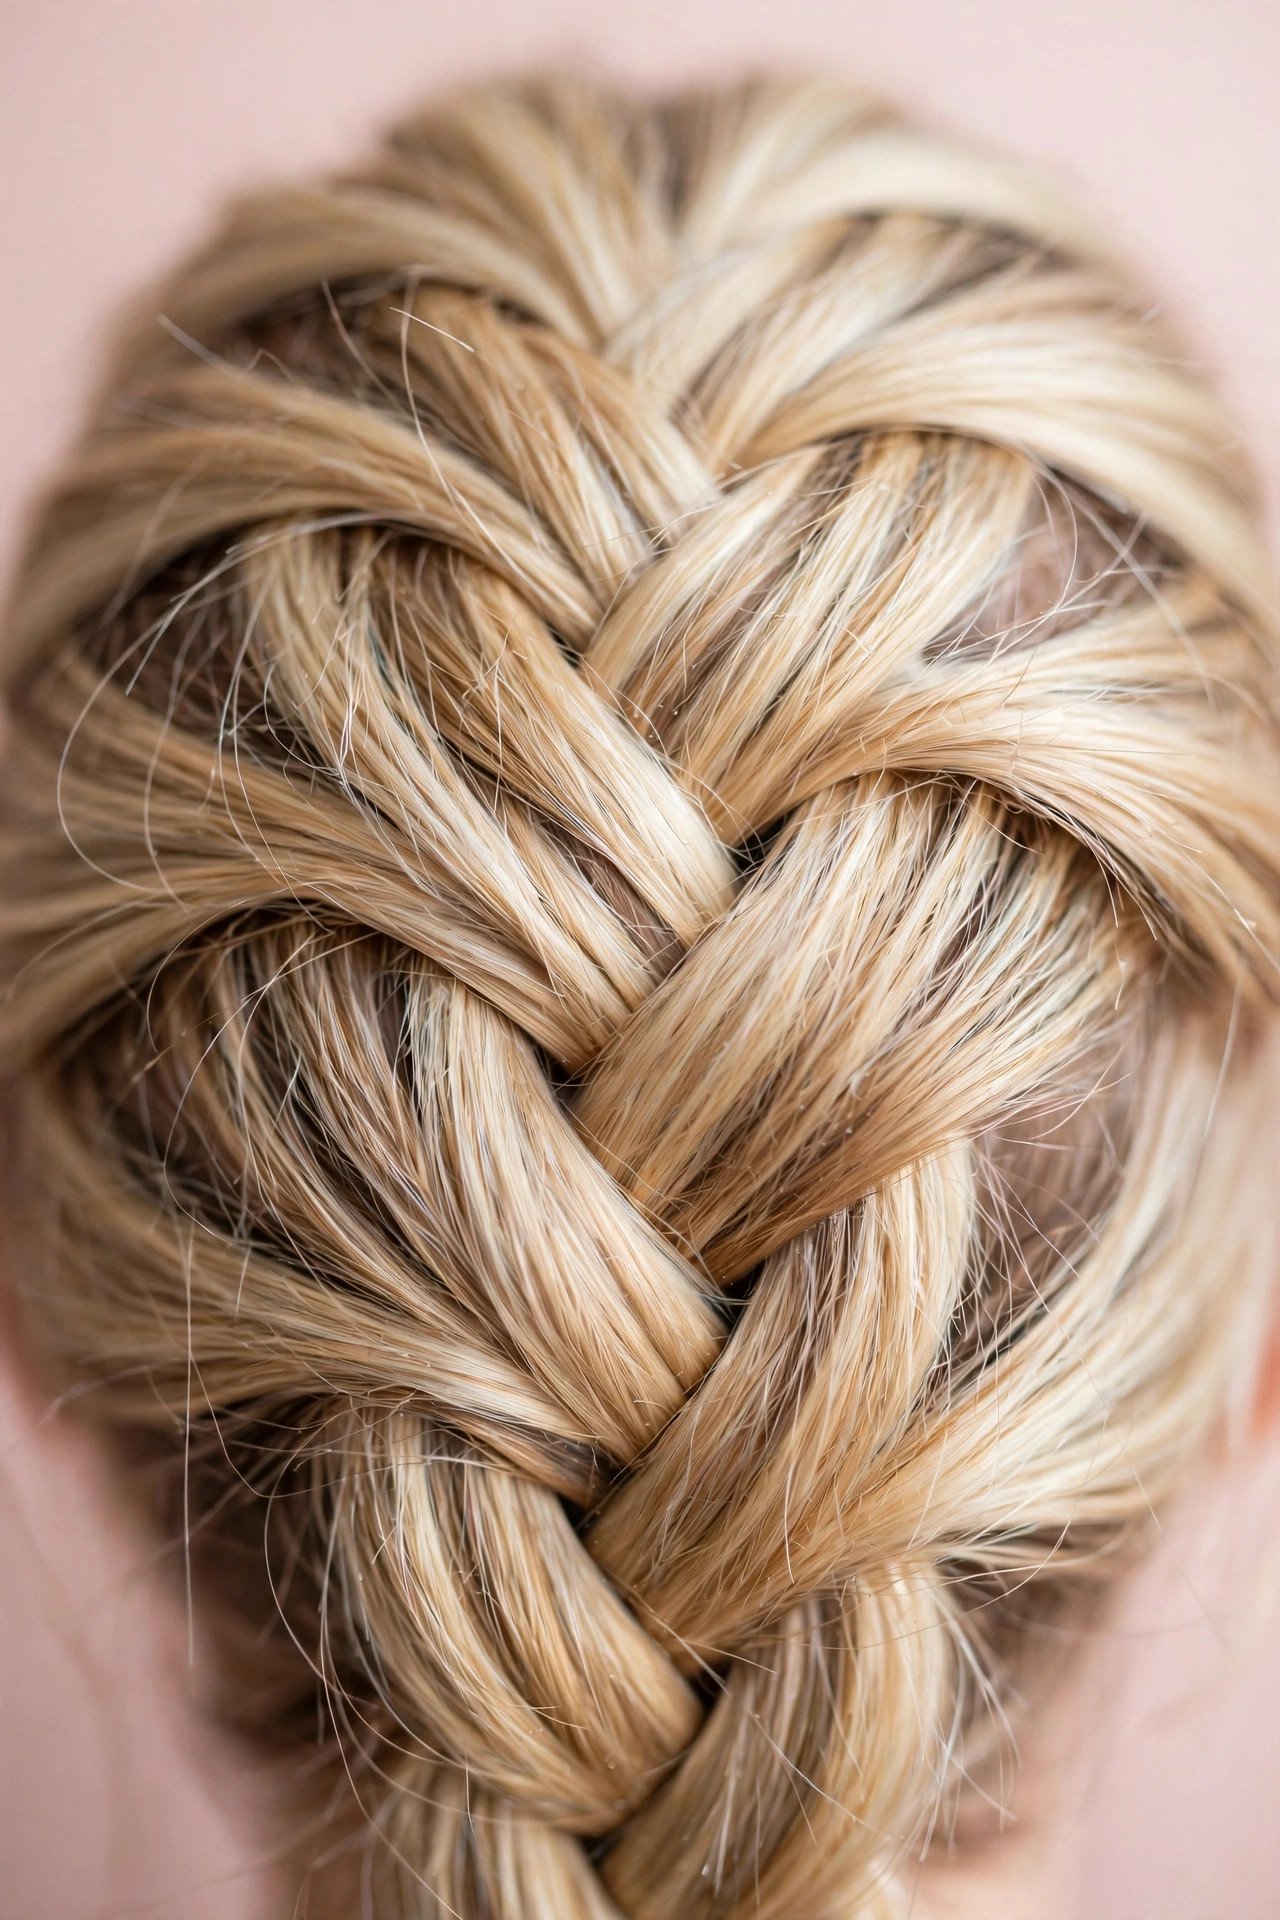
Every other basic braid uses three strands. The fishtail uses two — and that’s the whole trick. Instead of crossing strands over a middle, you repeatedly take a thin piece from the outside of one section and cross it to the inside of the other section. Alternate sides, and the characteristic V-shaped herringbone pattern emerges on its own.
Because you’re working with tiny pieces rather than chunky sections, the fishtail takes longer than a three-strand braid — typically 10–20 minutes depending on hair length and how fine your pieces are. The payoff is a braid that looks far more elaborate than the effort it requires, and it photographs beautifully, which is why it’s a staple for weddings, festivals, and Pinterest boards.
What You Need and How to Prep
Tools: wide-tooth comb, small elastics, spray bottle with water, light mousse or texture spray, and clips if your hair is thick.
Hair prep: The fishtail shows every bit of frizz, so start with thoroughly detangled hair. Slightly textured hair actually works better than slippery just-washed hair — day-old hair, or hair with a light mist of texture spray or mousse, gives you the grip needed to handle thin pieces without them sliding away. If your hair is very fine, a light teasing at the crown before you start adds fullness to the finished braid.
Positioning: A side fishtail (draped over one shoulder) is the easiest version for beginners because you can see what you’re doing. A centered back fishtail works the same way but requires the behind-the-head coordination. Start with the side version.
Step-by-Step: The Basic Fishtail Braid
Step 1: Divide into two sections
Gather your hair to one side (for a side fishtail) and split it into two equal sections — left and right. Hold one section in each hand. That’s your entire setup: two sections, no middle strand.
Step 2: Cross the first piece (right to left)
Using your right hand, take a thin strand from the outside edge of the right section — about a quarter to half an inch wide for beginners. Cross it over the right section and add it to the inside of the left section. In other words: the piece travels from the outer right, across the top, and joins the inner left.
Step 3: Cross the second piece (left to right)
Now mirror it: take a thin strand from the outside edge of the left section, cross it over the left section, and add it to the inside of the right section.
Step 4: Repeat, alternating sides
Continue the pattern — outside-right to inside-left, outside-left to inside-right — working down the length of your hair. After each cross, gently tug both sections to keep even tension. The herringbone pattern will start appearing after 6–8 crosses.
Step 5: Secure and finish
When you reach the ends, secure with an elastic. For the classic boho fishtail look, don’t stop here — the magic is in the finishing.
Step 6: Pancake for fullness (optional but recommended)
Starting from the bottom of the braid and working upward, gently tug the outer edges of each woven loop outward with your fingertips. This “pancaking” widens the braid, makes it look thicker and more textured, and gives that effortless, lived-in finish. Go slowly — you can always pull more, but you can’t un-pull. Pancaking can easily double the visual width of your braid.
Getting the Piece Size Right
Piece size is the single biggest variable in how your fishtail looks, and beginners should experiment deliberately:
- Thin pieces (⅛–¼ inch): Intricate, delicate, jewelry-like braid. Takes 20+ minutes on long hair. Stunning for formal occasions.
- Medium pieces (¼–½ inch): The sweet spot for beginners — the pattern is clearly visible, it takes 10–15 minutes, and mistakes are less noticeable.
- Chunky pieces (½–1 inch): Faster (under 10 minutes), more casual and modern-looking. A good choice for everyday wear and for learning the rhythm.
The golden rule: whatever size you choose, keep it consistent. A braid that alternates between thin and chunky pieces looks accidentally messy rather than intentionally textured. Pick a size, and stick with it all the way down.
Common Fishtail Mistakes (and How to Fix Them)
Mistake 1: Crossing from the inside instead of the outside
The most common beginner error. If you take pieces from the inside edges (where the two sections meet) instead of the outside edges, you get a tangled rope rather than a fishtail. Fix: Before each cross, consciously identify the outer edge of the section — the edge facing away from the other section. Say “outside to inside” in your head until it’s automatic.
Mistake 2: Letting the two sections merge
As you work, the boundary between your two main sections can blur, especially with fine hair — and then you can’t tell which piece belongs where. Fix: After every 4–5 crosses, pause and re-separate the two sections cleanly with your fingers. Keeping a slight gap between the sections as you hold them also helps.
Mistake 3: Inconsistent tension
Pulling some pieces tight and others loose creates a braid that alternates between pinched and puffy. Fix: After each cross, give both main sections one gentle, even tug — the same pressure every time. Think “snug, not tight.” Your hands will calibrate within a few practice sessions.
Mistake 4: Pieces too thick at the start, too thin at the end
Beginners often start with confident chunky pieces and unconsciously take thinner and thinner pieces as their fingers tire. The braid then looks like it’s dissolving toward the ends. Fix: Consciously check your piece size every few crosses. If anything, slightly larger pieces near the ends look better, since hair naturally thins toward the tips.
Mistake 5: Skipping the pancaking — or overdoing it
An un-pancaked fishtail can look thin and underwhelming, especially on fine hair. But yanking too aggressively unravels the weave. Fix: Pancake gently from the bottom up, pulling only the outer loops. Stop when the braid looks full but the herringbone pattern is still clearly visible.
Mistake 6: Giving up because it’s slow
The fishtail legitimately takes longer than other braids, and beginners often abandon it halfway, convinced they’re doing it wrong. Fix: You’re not doing it wrong — it’s just a slow braid. Use chunkier pieces while learning, put on a podcast, and treat the first few attempts as practice, not performance.
Fishtail Variations Worth Trying
Once the basic side fishtail feels natural:
- French fishtail: Add hair from the sides into each section before crossing pieces, exactly like a French braid pickup. Creates a fishtail that starts at the crown. Advanced, but the same two skills combined.
- Double fishtails: Part down the middle and fishtail each side. Sporty and symmetrical.
- Fishtail ponytail: Secure a high or low ponytail first, then fishtail the tail. Much easier to handle because the base is anchored — a great stepping stone to freehand fishtails.
- Half-up fishtail: Fishtail just the top section of hair and leave the rest down. Pretty with minimal effort.
- Messy boho fishtail: Pancake aggressively, pull out face-framing pieces, and let it look undone on purpose. Very forgiving for beginners since “messy” is the goal.
Compare the technique with its close cousin: the Dutch braid uses three strands crossed under for a raised effect — a nice contrast to the fishtail’s flat, woven look.
Making Your Fishtail Last
Fishtails hold well because of their interlocked structure, but the pancaked, textured finish loosens faster than a tight three-strand braid:
- Set it lightly: A light mist of flexible-hold hairspray after pancaking helps the texture survive the day without going stiff.
- Sleep protection: For multi-day wear, loosely braid or wrap the fishtail in a silk scarf. Re-pancake gently in the morning to restore fullness.
- Refresh, don’t redo: A day-two fishtail usually just needs the surface smoothed with a tiny bit of serum and a light re-misting — the weave itself holds.
- Mind the elastic: Thin elastics can snap fine fishtail ends. Use a snag-free elastic and don’t wrap it more times than necessary.
For overall hair health between braided styles, a simple hair care routine for beginners keeps your strands resilient enough for regular braiding.
Key Takeaways
- The fishtail uses two sections and one repeating move: thin piece from the outside of one section crosses to the inside of the other.
- Start with a side fishtail (visible) and medium pieces (¼–½ inch) — the easiest learning combination.
- Keep piece size and tension consistent all the way down; inconsistency is the main cause of messy-looking fishtails.
- The #1 beginner mistake is taking pieces from the inside edges instead of the outside — “outside to inside” is your mantra.
- Pancaking (gently widening the loops from bottom to top) transforms a thin braid into a full, textured one.
- It’s a slow braid (10–20 minutes) — that’s normal, not a sign you’re doing it wrong.
FAQ
Is a fishtail braid hard for beginners?
Not mechanically — the motion is simpler than a French braid. The challenge is patience: handling many small pieces takes 10–20 minutes, and keeping them consistent requires focus. Most beginners get a decent fishtail within 2–3 practice sessions, much faster than French braiding.
Why does my fishtail look like a regular braid?
Your pieces are probably too thick. A fishtail needs thin pieces relative to the section size for the herringbone pattern to read. Try halving your piece size — the pattern should emerge clearly within the first 8–10 crosses.
Can I fishtail braid short hair?
Shoulder-length hair and longer works well. On shorter hair, try a fishtail ponytail (secure the ponytail first, then fishtail the tail) — the anchored base prevents pieces from escaping. Very short layers will poke out; that’s fine for a messy boho look.
How do I make my fishtail braid look thicker?
Three things: pancake the edges after braiding, start with slightly dirty or texturized hair (more grip = more volume), and lightly tease the crown before you begin. Fine hair benefits enormously from pancaking — it can double the braid’s visual width.
Fishtail vs. French braid — which should I learn first?
Learn the basic three-strand braid first, then the fishtail, then the French braid. The fishtail teaches you piece control and tension consistency without the added complexity of picking up new hair behind your head, making the French braid easier when you get to it.
Conclusion
The fishtail braid is proof that impressive doesn’t have to mean difficult. Two sections, one repeating motion, and a little patience produce one of the most eye-catching braids you can wear. Start with a side fishtail and medium pieces, drill the “outside to inside” rhythm until it’s automatic, and don’t skip the pancaking — it’s what takes the braid from neat to stunning.
From here, you’ve got options: combine the fishtail weave with scalp pickups for a French fishtail, contrast it with the bold 3D texture of Dutch braids, master the classic French braid on your own hair, or revisit the fundamentals in our complete braids for beginners guide.
Love this? Pin it for later!